
This is a short follow on from my post on Tuesday and this will just cover the same principles but focussing on using flex track for your helix.
Start by selecting the type of flex track you want to use. In this example peco code 55 but the principle is pretty much the same with any type of flex or scale.

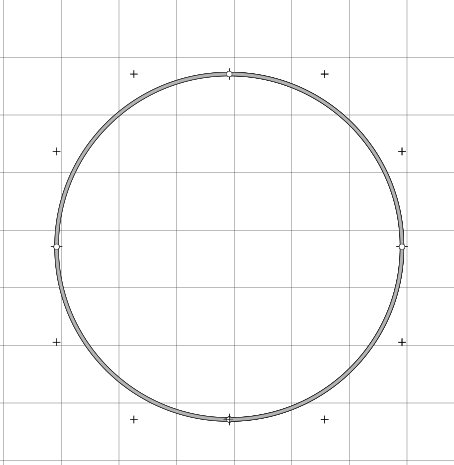
Once you have your flex track select it and then click on Curve flex … on the tool bar. The ‘Set flex curve wizard’ will pop up in N scale you can enter 90 as the angle (the max is 90) but in other larger scales you may need to use a smaller angle, maybe 45 degrees. Then enter the radius, I am goint to use 457mm or 18″ in this example.

Once you have a curve you can then open the helix wizard as we did previously, make sure the track is still selected.

Enter your start and end heights, in this example 225mm (approx 9″)

As you can see I have saved time here and adjusted the turns to 3.5 which would have a slope % of 2.2% its not ideal but most N scale locomtives will run quite happily up that grade with a train. With a 914mm or 3′ radius which is going to result in a helix about 6’6″ wide you would only have a 1.1% grade. Most of us wouldn’t be able to give up over 40 sqft in our train room for this monster Helix although in HO thats quite common.
Anyway back to the helix click ok and you will have your helix on your plan. to quickly see how much track is swollowed up by the helix double click on it and you will see at the bottom of the screen the track length. here its 10,051.25mm which is over 10m(33′) of flex track in a small 3.5 turn helix.
I hope this helps you add your perfect helix to your layout. The Waukesha Sub & WSOR Northern Sub N Scale layouts I am constructing will have 4 helicies (yes thats the plural of Helix) on the layout.

I always wondered what the plural of Helix was, but I was perhaps too lazy to look it up. Good luck with having so many of them. One is enough for me.
LikeLike