
The build
First I cut a section of the 5/32” x 5/16” rectangular brass tubing to a 40’ HO scale length, this forms the main body of the car. I used a mitre box to ensure a square cut and then removed any burrs with a file . 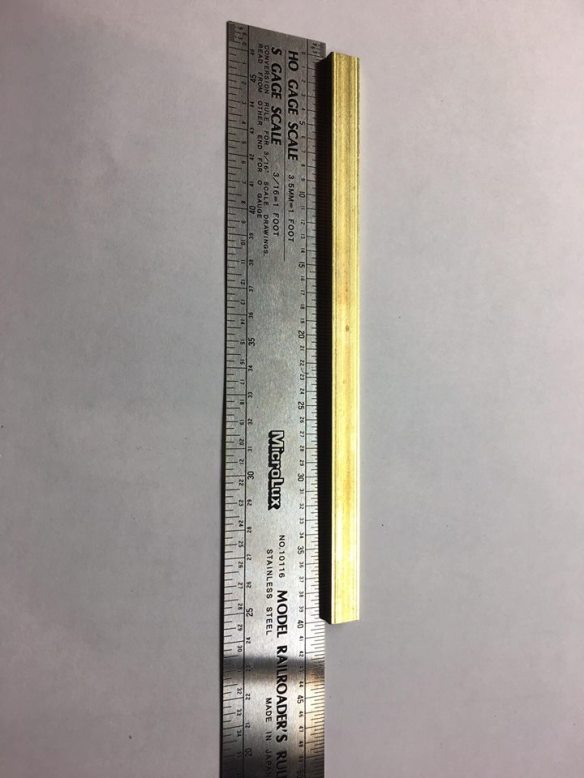 I then used my scale rule, set square and scribe to mark out the centres for my drill holes for the trucks and NBW details. If you have difficulties seeing the marks you have made you can use a marker pen and then scratch off the ink with your scribe, engineers blue is the traditional method but it’s much easier to just use a marker pen.
Once I had marked the centres I used a pin vice and a 0.90mm drill bit to drill the holes for the details on the side of the body and two on the top of the body for the track pin that will secure the couplings. Then I drilled two holes to mount the trucks with a 1.80mm drill bit for the 2/56 kadee mounting screws, if you have one you could also use a No50 drill bit .


So now to make the log bunks, I cut two sections 10’ in HO sections of 5/32 x 5/32 brass channel, file off any burs and use a mitre box to ensure you have a square cut. Next I made the ends of the log bunks, I took a piece of the 1/8 x 1/4 rectangular tube and made marks at 6”,12” and 18” in HO scale on the tube. Then I made a 45 degree cut between 6” and 12” marks then made a 90 degree cut at the 18” mark and repeated the process so that I had 4 ends .


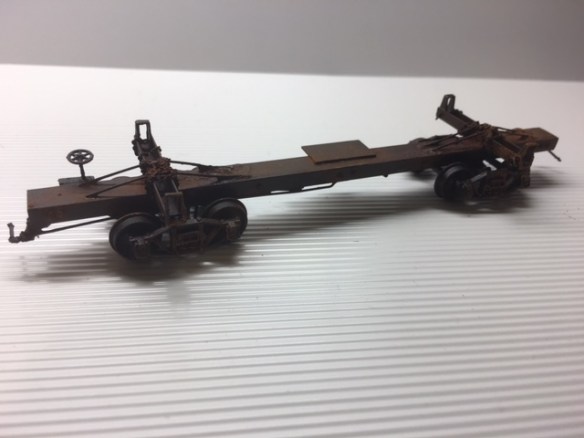
I then applied solder paste on the insides of the log bunk ends and under the bunks. I then made sure the bunks were square on the body using my set square. then used a blow torch to heat the joints, now you could use a soldering iorn but mine simply isn’t hot enough. Alternatively with solder paste you can apply it to your model and then pop it in the oven, ask the oven owner’s permission first! It’s important when using a blow torch that you don’t set fire to everything on your work bench so I use a spare ceramic tile, you probably have one lying around the house alternatively this was a sample tile that cost me 98p .  I also test fitted my trucks so that I could make sure the car would roll.
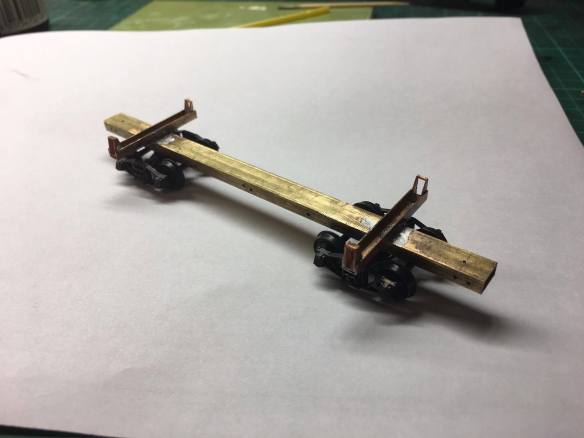
The next job was to add some strapping to the log bunks for this I used 20 thou brass wire, I didn’t use solder paste here I used solder and put two blobs of solder onto the main body securing one end of the wire and then I bent the wire over the bunks before securing them on the other side of the log bunk .
Then I drilled the holes in the log bunk ends to secure the chain that would be used to secure the loads to the car. I secured the car into a vice and used a pin vice with a 0.90mm drill bit .

Now all the soldering and drilling has been done, so I could start adding the plastic detail parts first I added the NBW nut and bolt details to the side of the car body. Being careful to cut the details short near the coupler boxes at the car ends .
I choose to use the old KC brake system on my car. I decided that the likelihood would be that this car would be old possibly built in house and built using what was to hand, plus the KC system has less parts than the AB system. This did present a problem though I had no space to mount the brake cylinder. So I fitted a 5’ x 3’ in HO scale piece of 10 thou styrene to the car body, lined up with the centre line.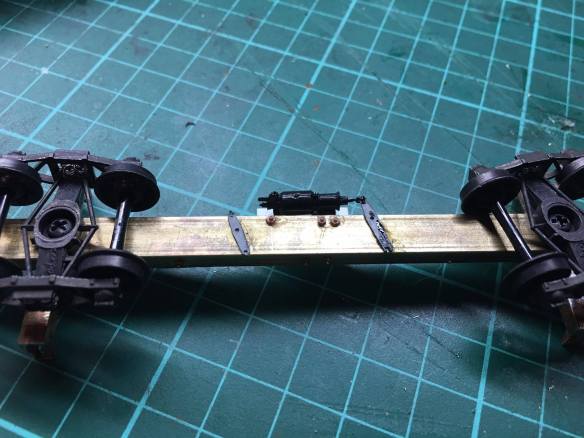
I added the brake cylinder and brake levers to the underside of the car body & plate, I used CA to attach these to the brass car body . I then added the brake wheel to the end of the car and used 20 thou brass wire for the brake rods to the brake wheel and the trucks. 
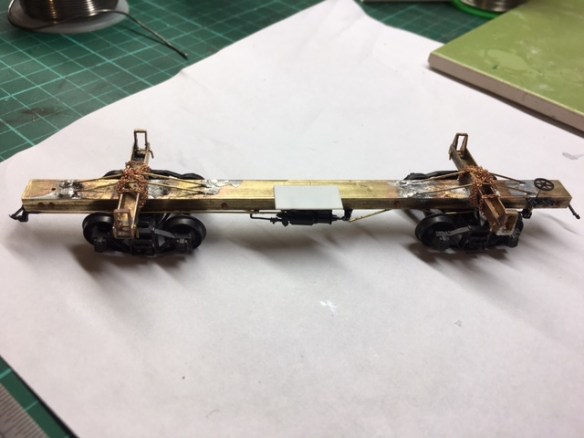
In real life we need air to make the brakes work, so I added Kadee #438 air hose and angle cock assemblies to each end of the car and then added a length of 20 thou brass wire between the two assemblies and connected it to the pipe from the brake cylinder.


With that the brake gear was complete and it was time to add the chain, I used 35 links per inch chain from scalemodelscenary.co.uk this works our as about 2.5inch chain in HO scale. I measured out two lengths of 50’ in HO scale of chain and opened up the link at the end of each chain using the end of some pointed tweezers. I then passed through some 20 thou wire and passed this through the holes in the end of the log bunks that I drilled earlier. I bent the wire through 90 degree and trimmed it off, I wrapped the chain around the log bunk and then secured the end with a drop of CA .


At this point I assembled the car with the trucks and test ran the car before disassembling the car for painting, I used Tamiya flat black paint for the body and trucks .

I weathered the car by applying dark rust powder and then sprayed the car with dullcote, I then applied medium and light rust to the chain and bolt details .
The final job was to fit the couplers, I used Kadee #148 whisker couplers with Kadee #262 Narrow gear boxes. At ¼” wide these fit snugly inside the end of the car body. Then the final task is to fit a peco track pin through the holes I drilled in the top of the car body, this is to secure the draft box in place. To fit the pin I used a drop of CA applied with a tooth pick any more than a tiny drop could get into the draft box and clog the coupler. I then cut off the excess at the bottom of the car. Ideally if I had the correct couplers to hand when I started the project I would have fitted these before painting as I then had to go back and paint and weather the top and bottom of the track pins. But here is my first scratch built freight car ready for service together with my second log car ready for paint.

List of Materials
5/32” x 5/16” Rectangular Brass Tube
1/8” x 1/4” Rectangular Brass Tube
5/32” x 5/32” Brass Channel
20 thou brass wire
10 thou styrene
Cal Scale KC brake system kit
1 pair of Kadee arch bar trucks
1 pair of kadee No178 whisker couplings
Kadee Airhoses
NBW 2.5” nut and bolt details O scale (4 ¾” in HO)
Track pins
scalemodelscenary.co.uk Ultra Fine Chain CX003
Scale Drawing – Scratch Built Skeleton Log Cars Drawing
