Waukesha Sub Division – Ackerville module 1 – sub roadbed

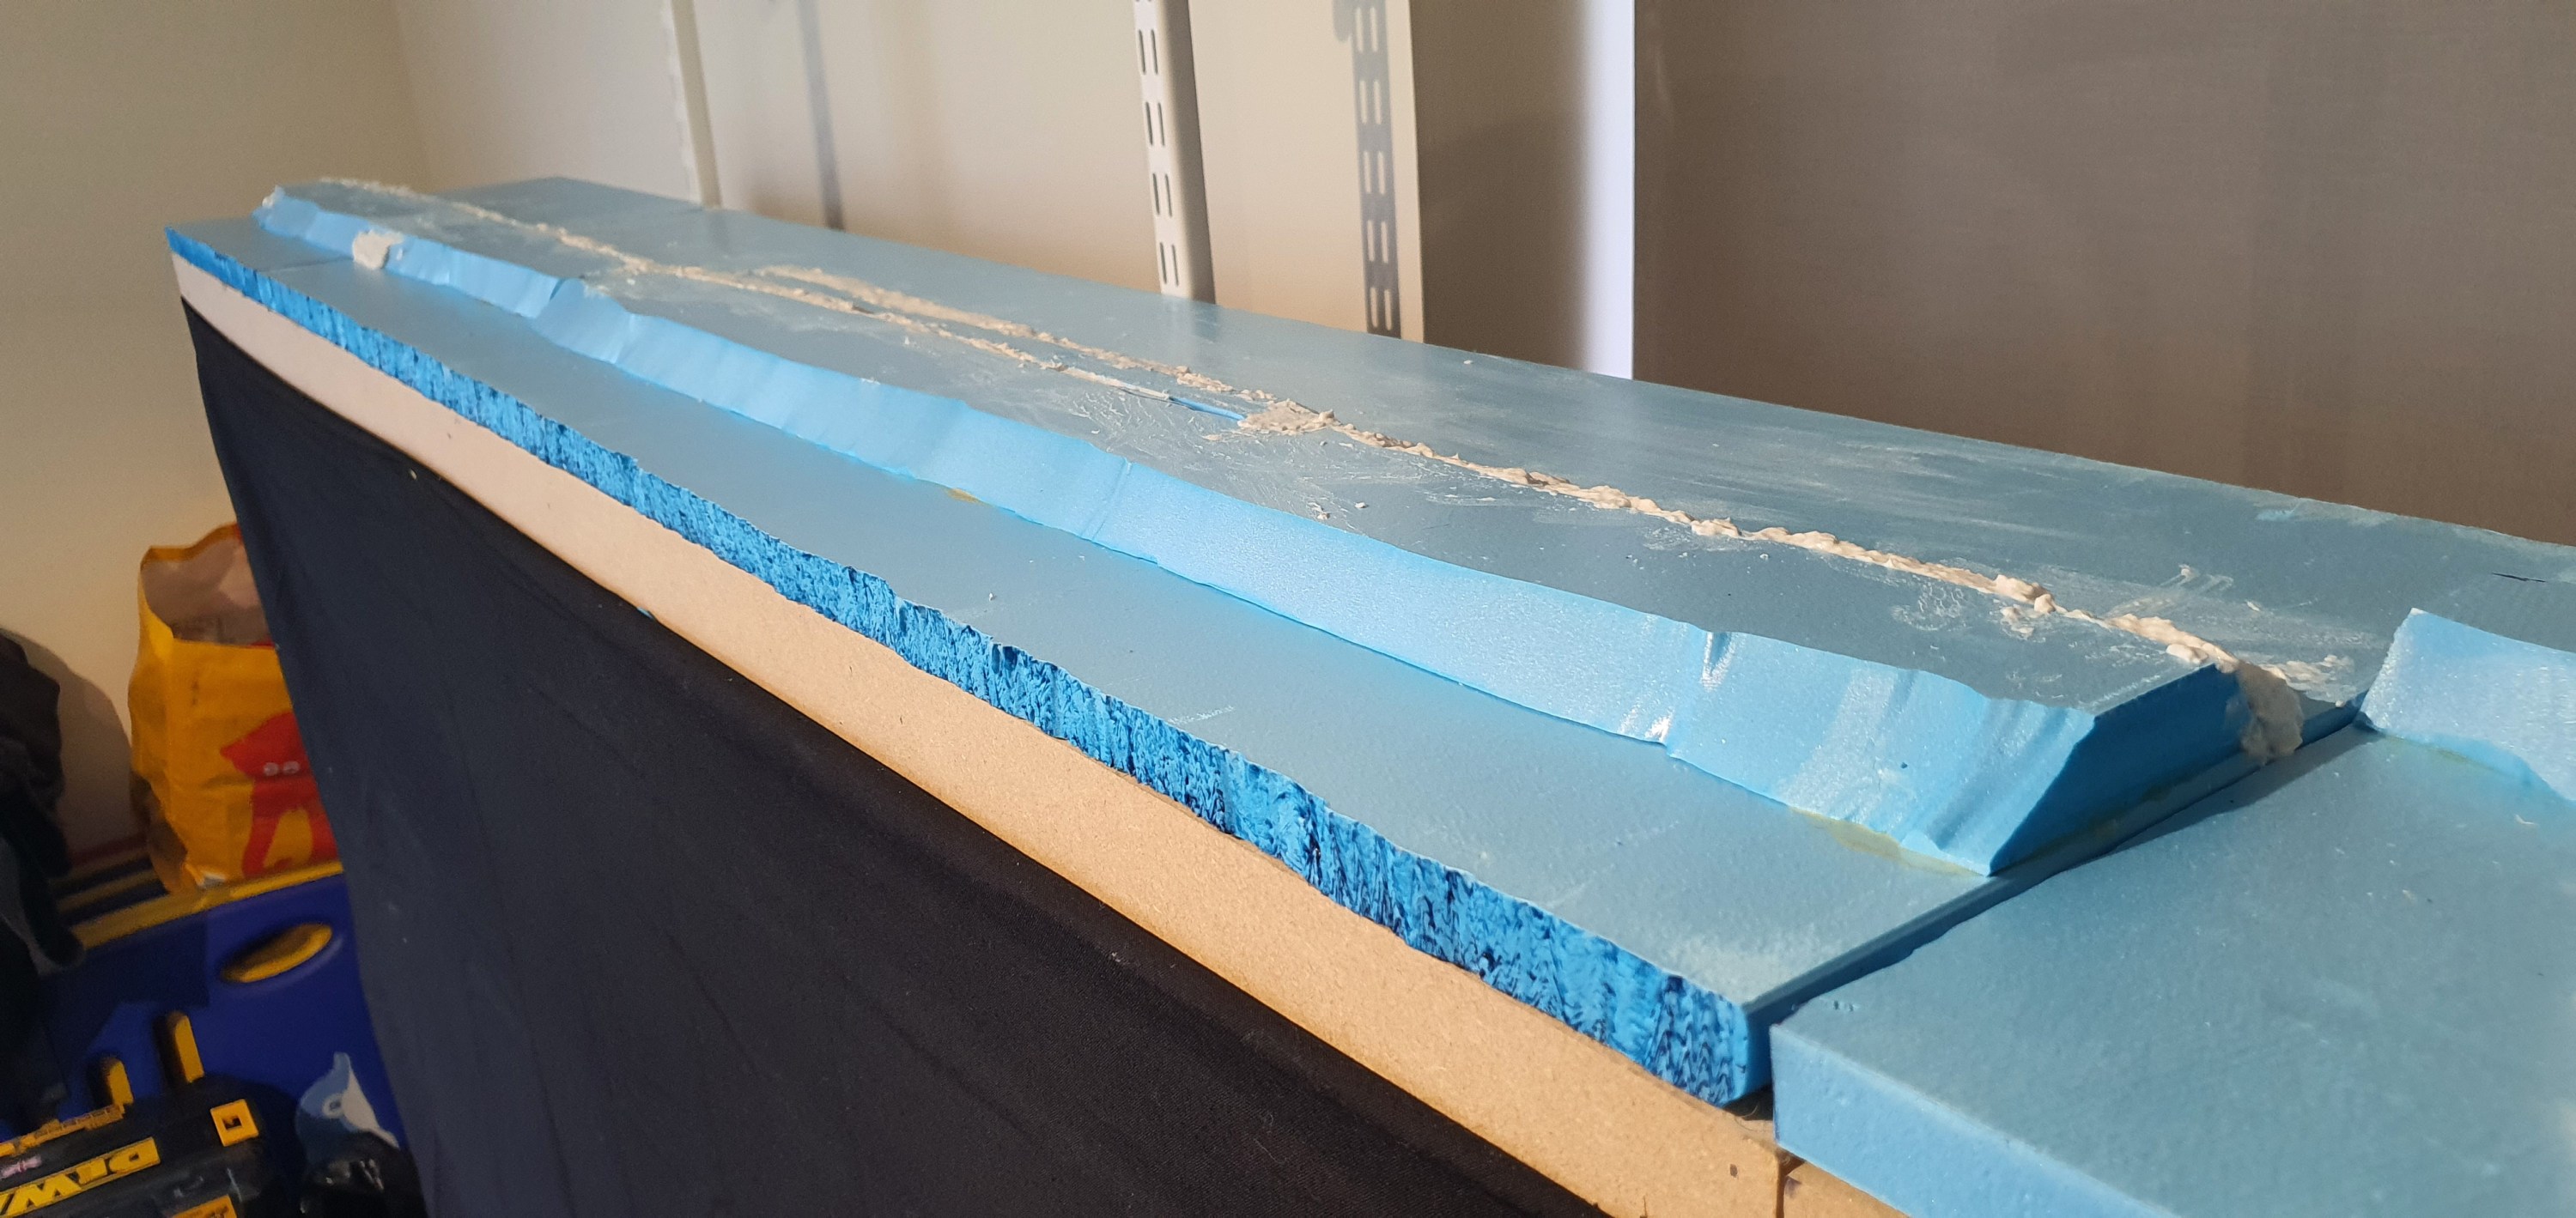
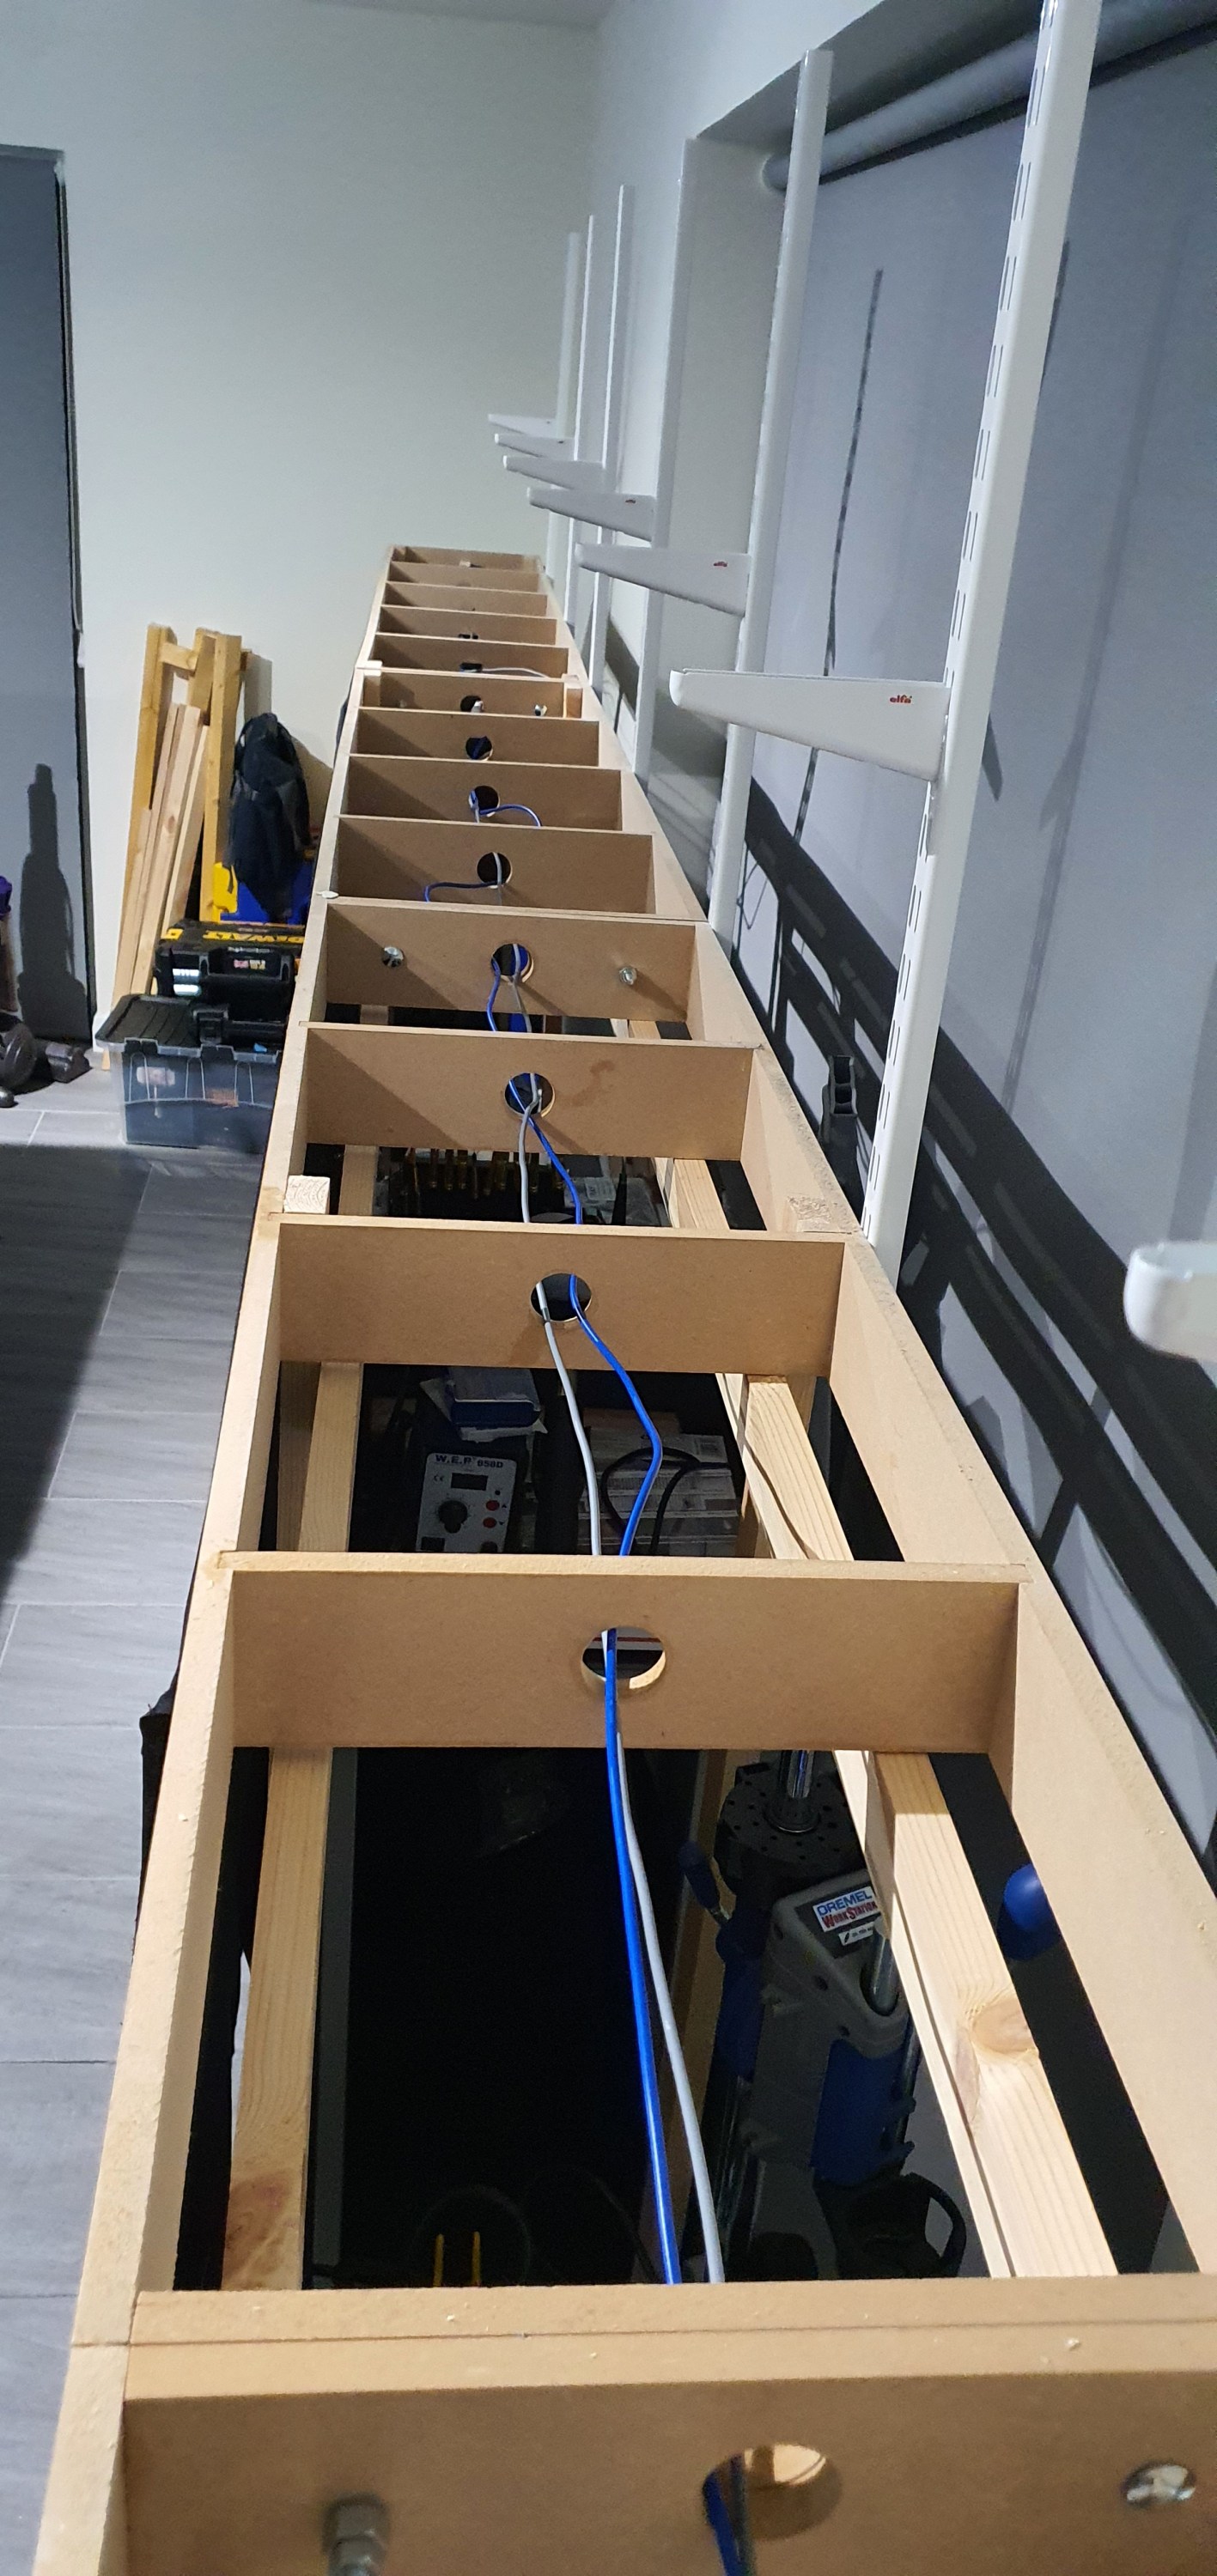
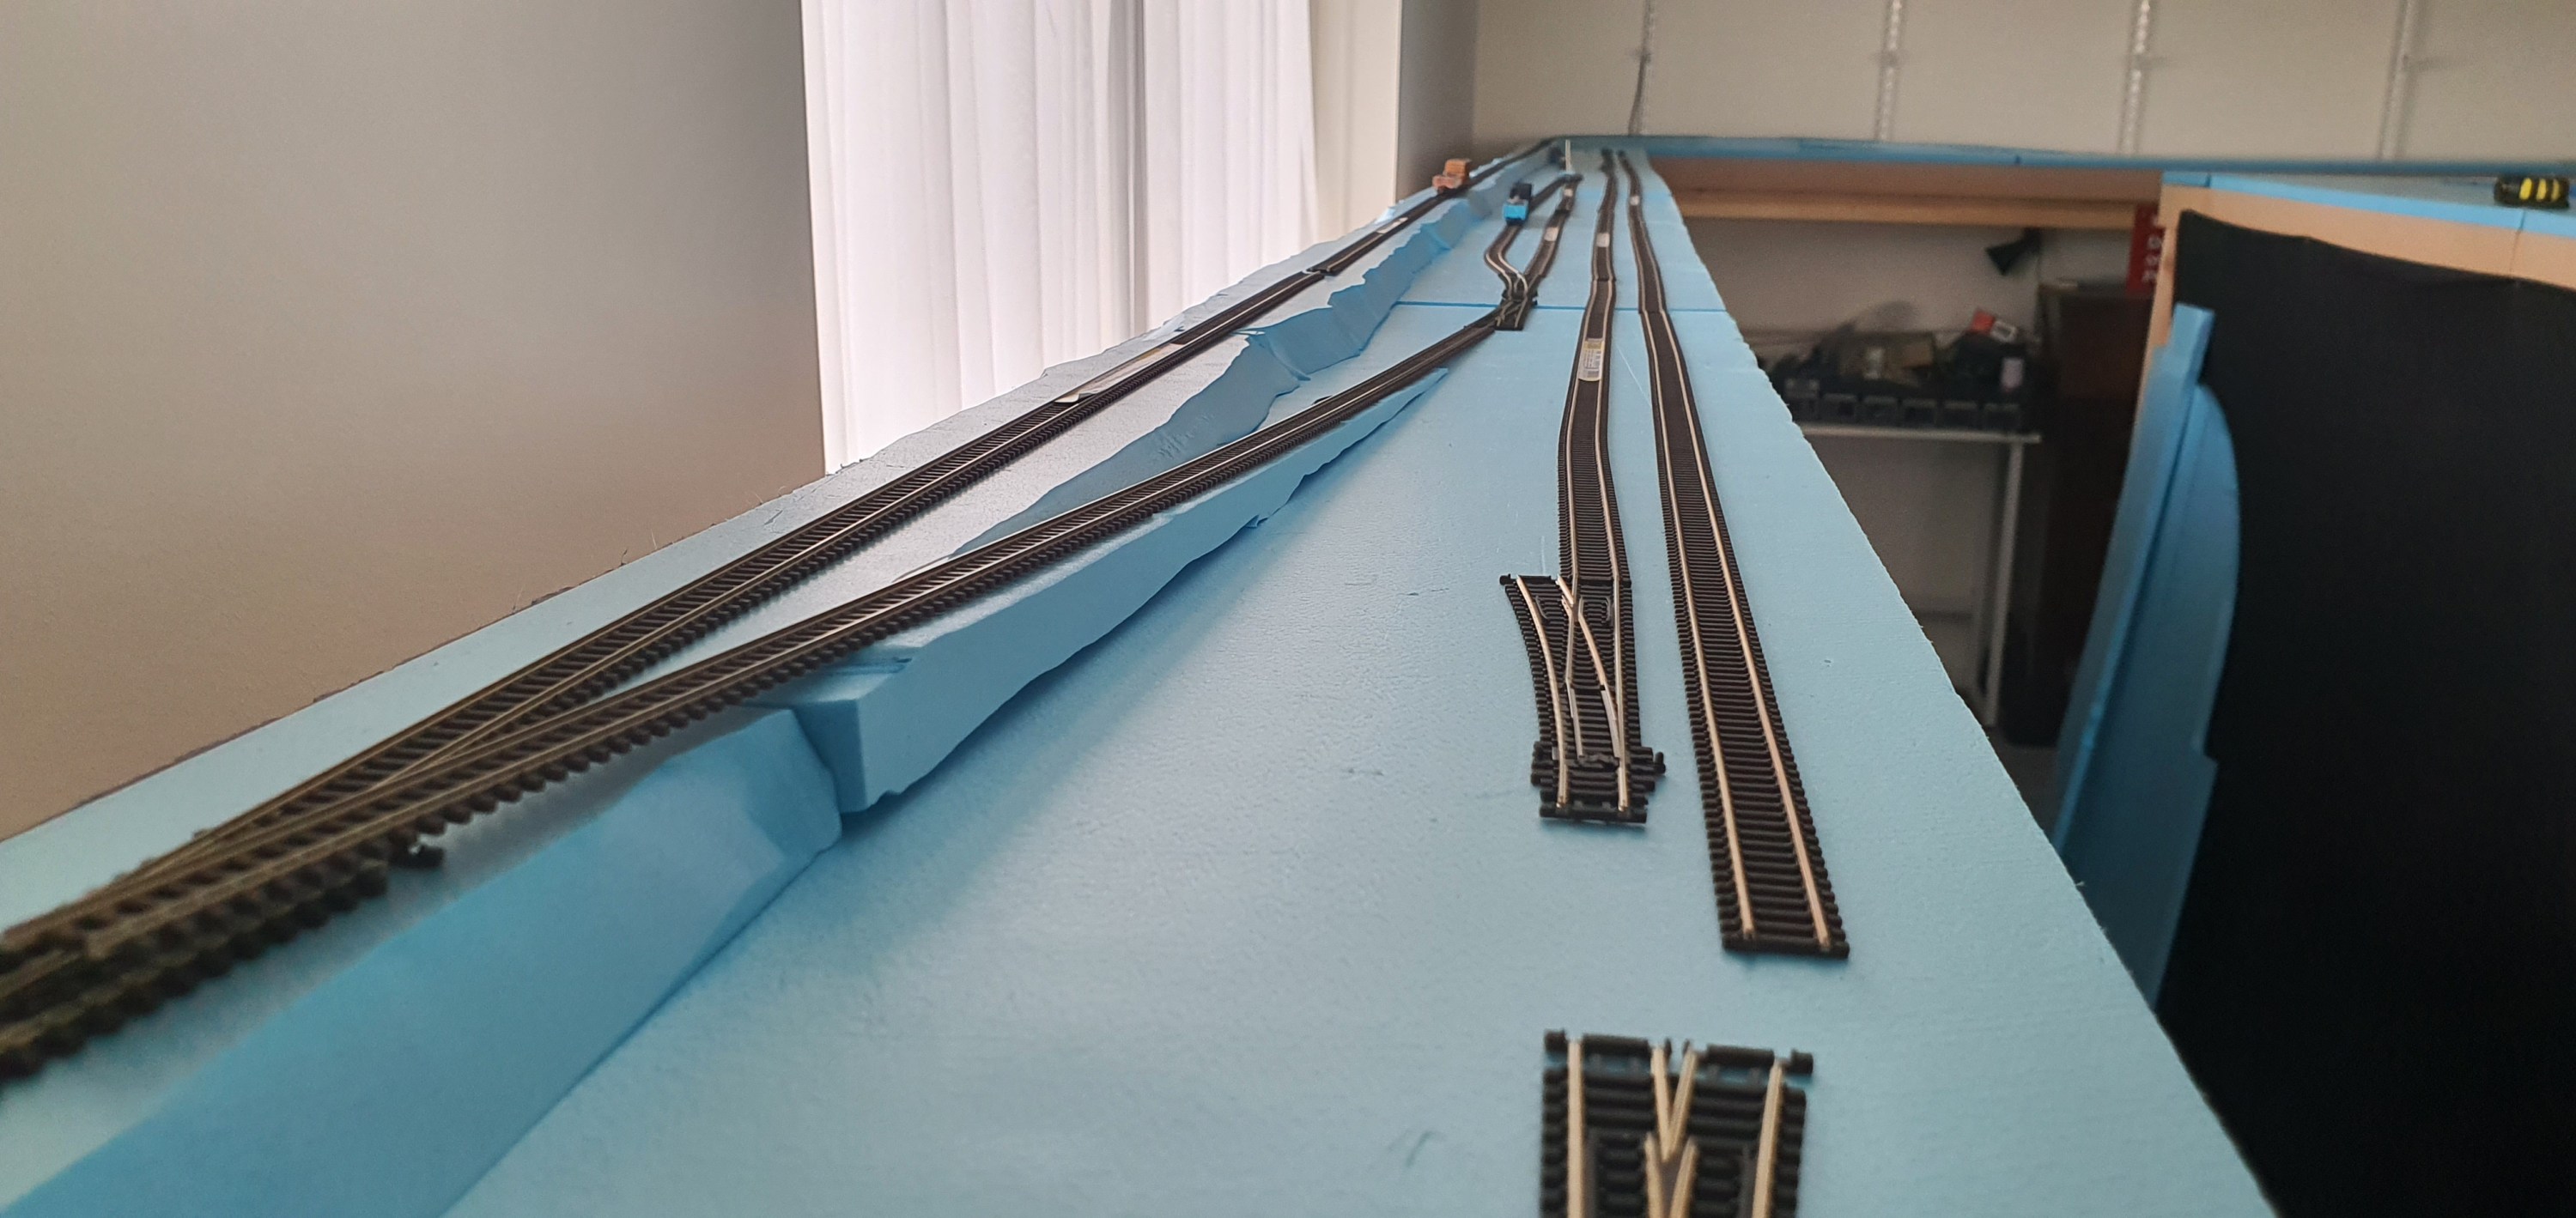
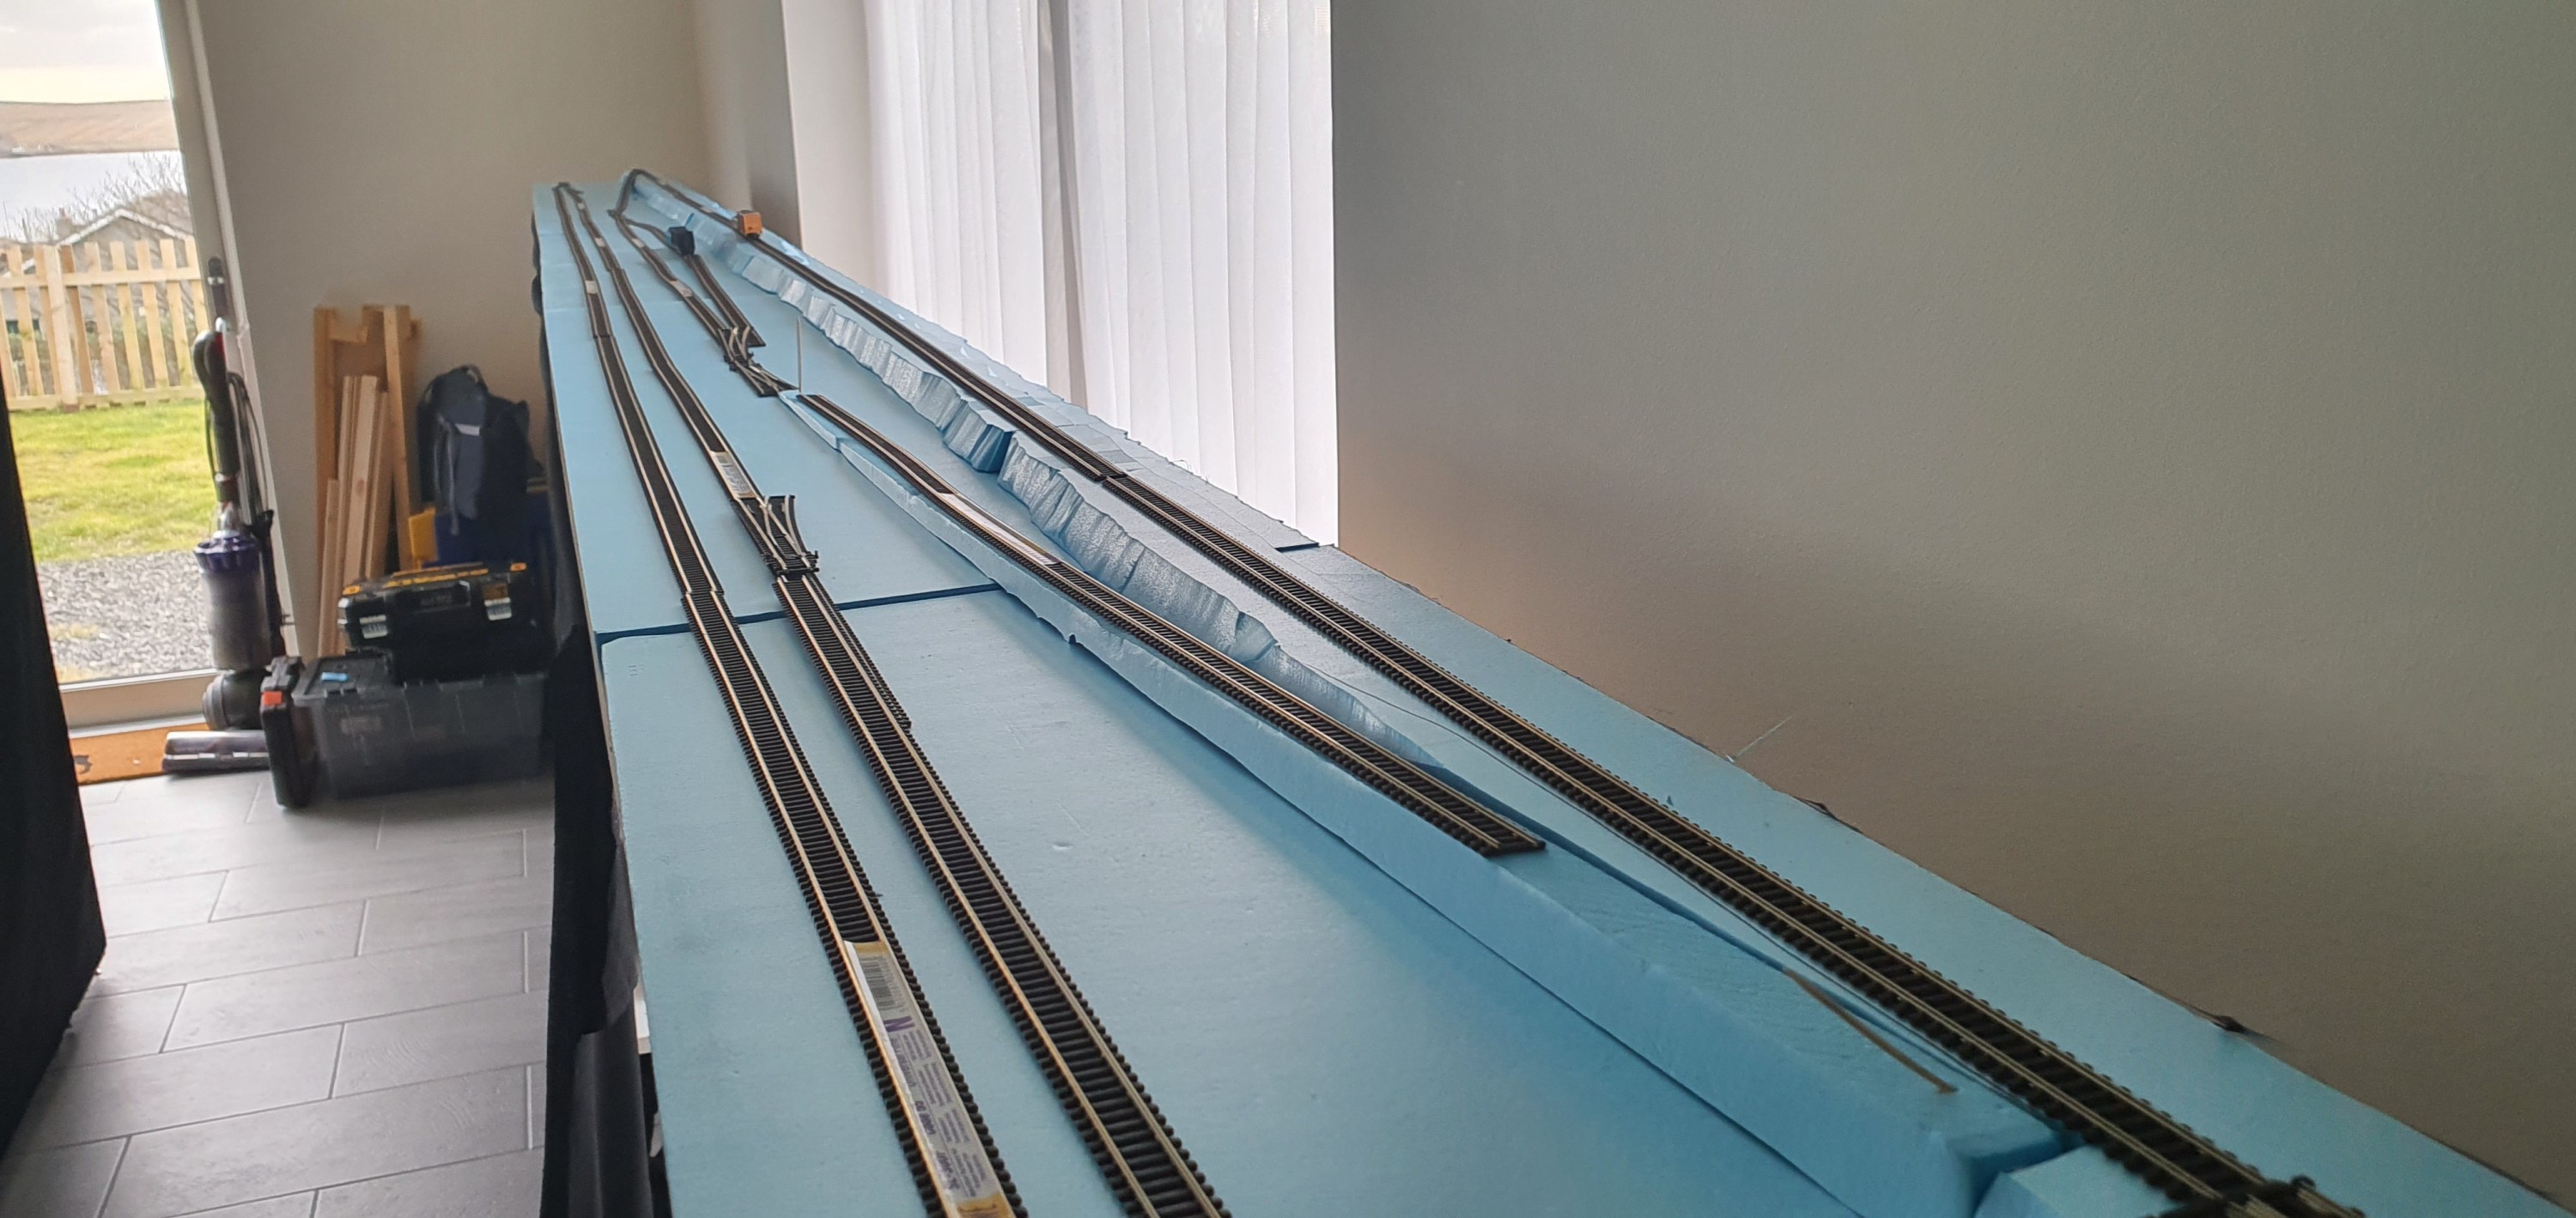
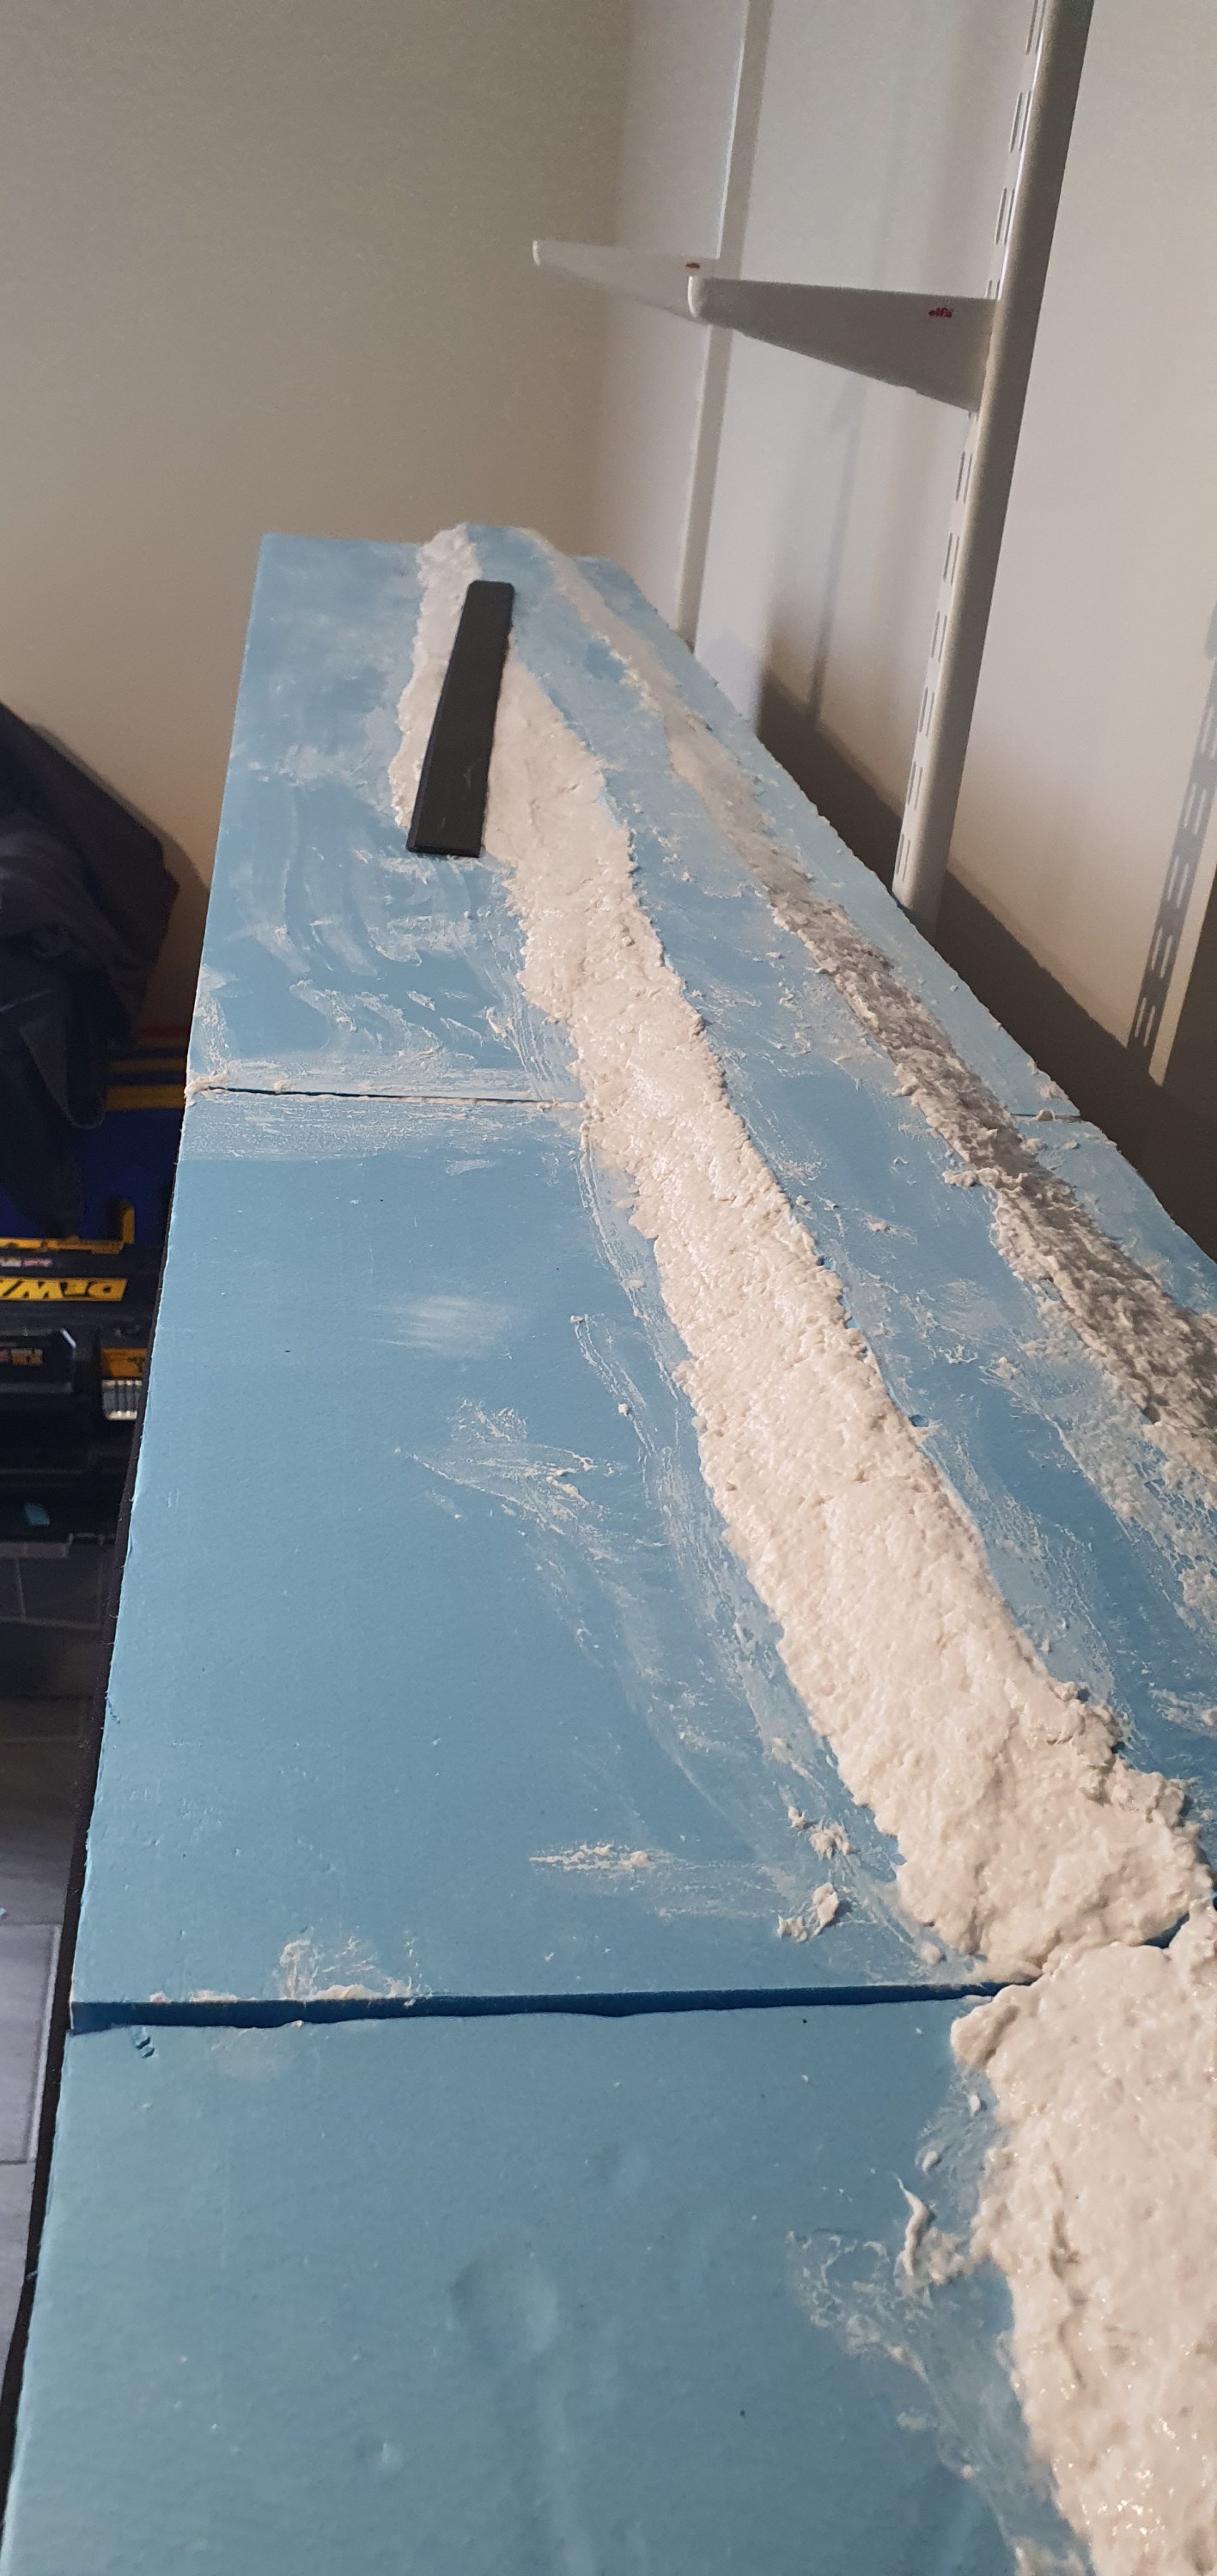
Before the sculptamold dries its really important to make sure that the road bed will fit. Mine didn’t so I had to cut away some sculptamold to fit the roadbed to it. Fortunatly the height of the roadbed and the height of the section that was left matched so you can’t see that this happened. Although the purists would notice that the drainage is missing from the side of the sub roadbed.

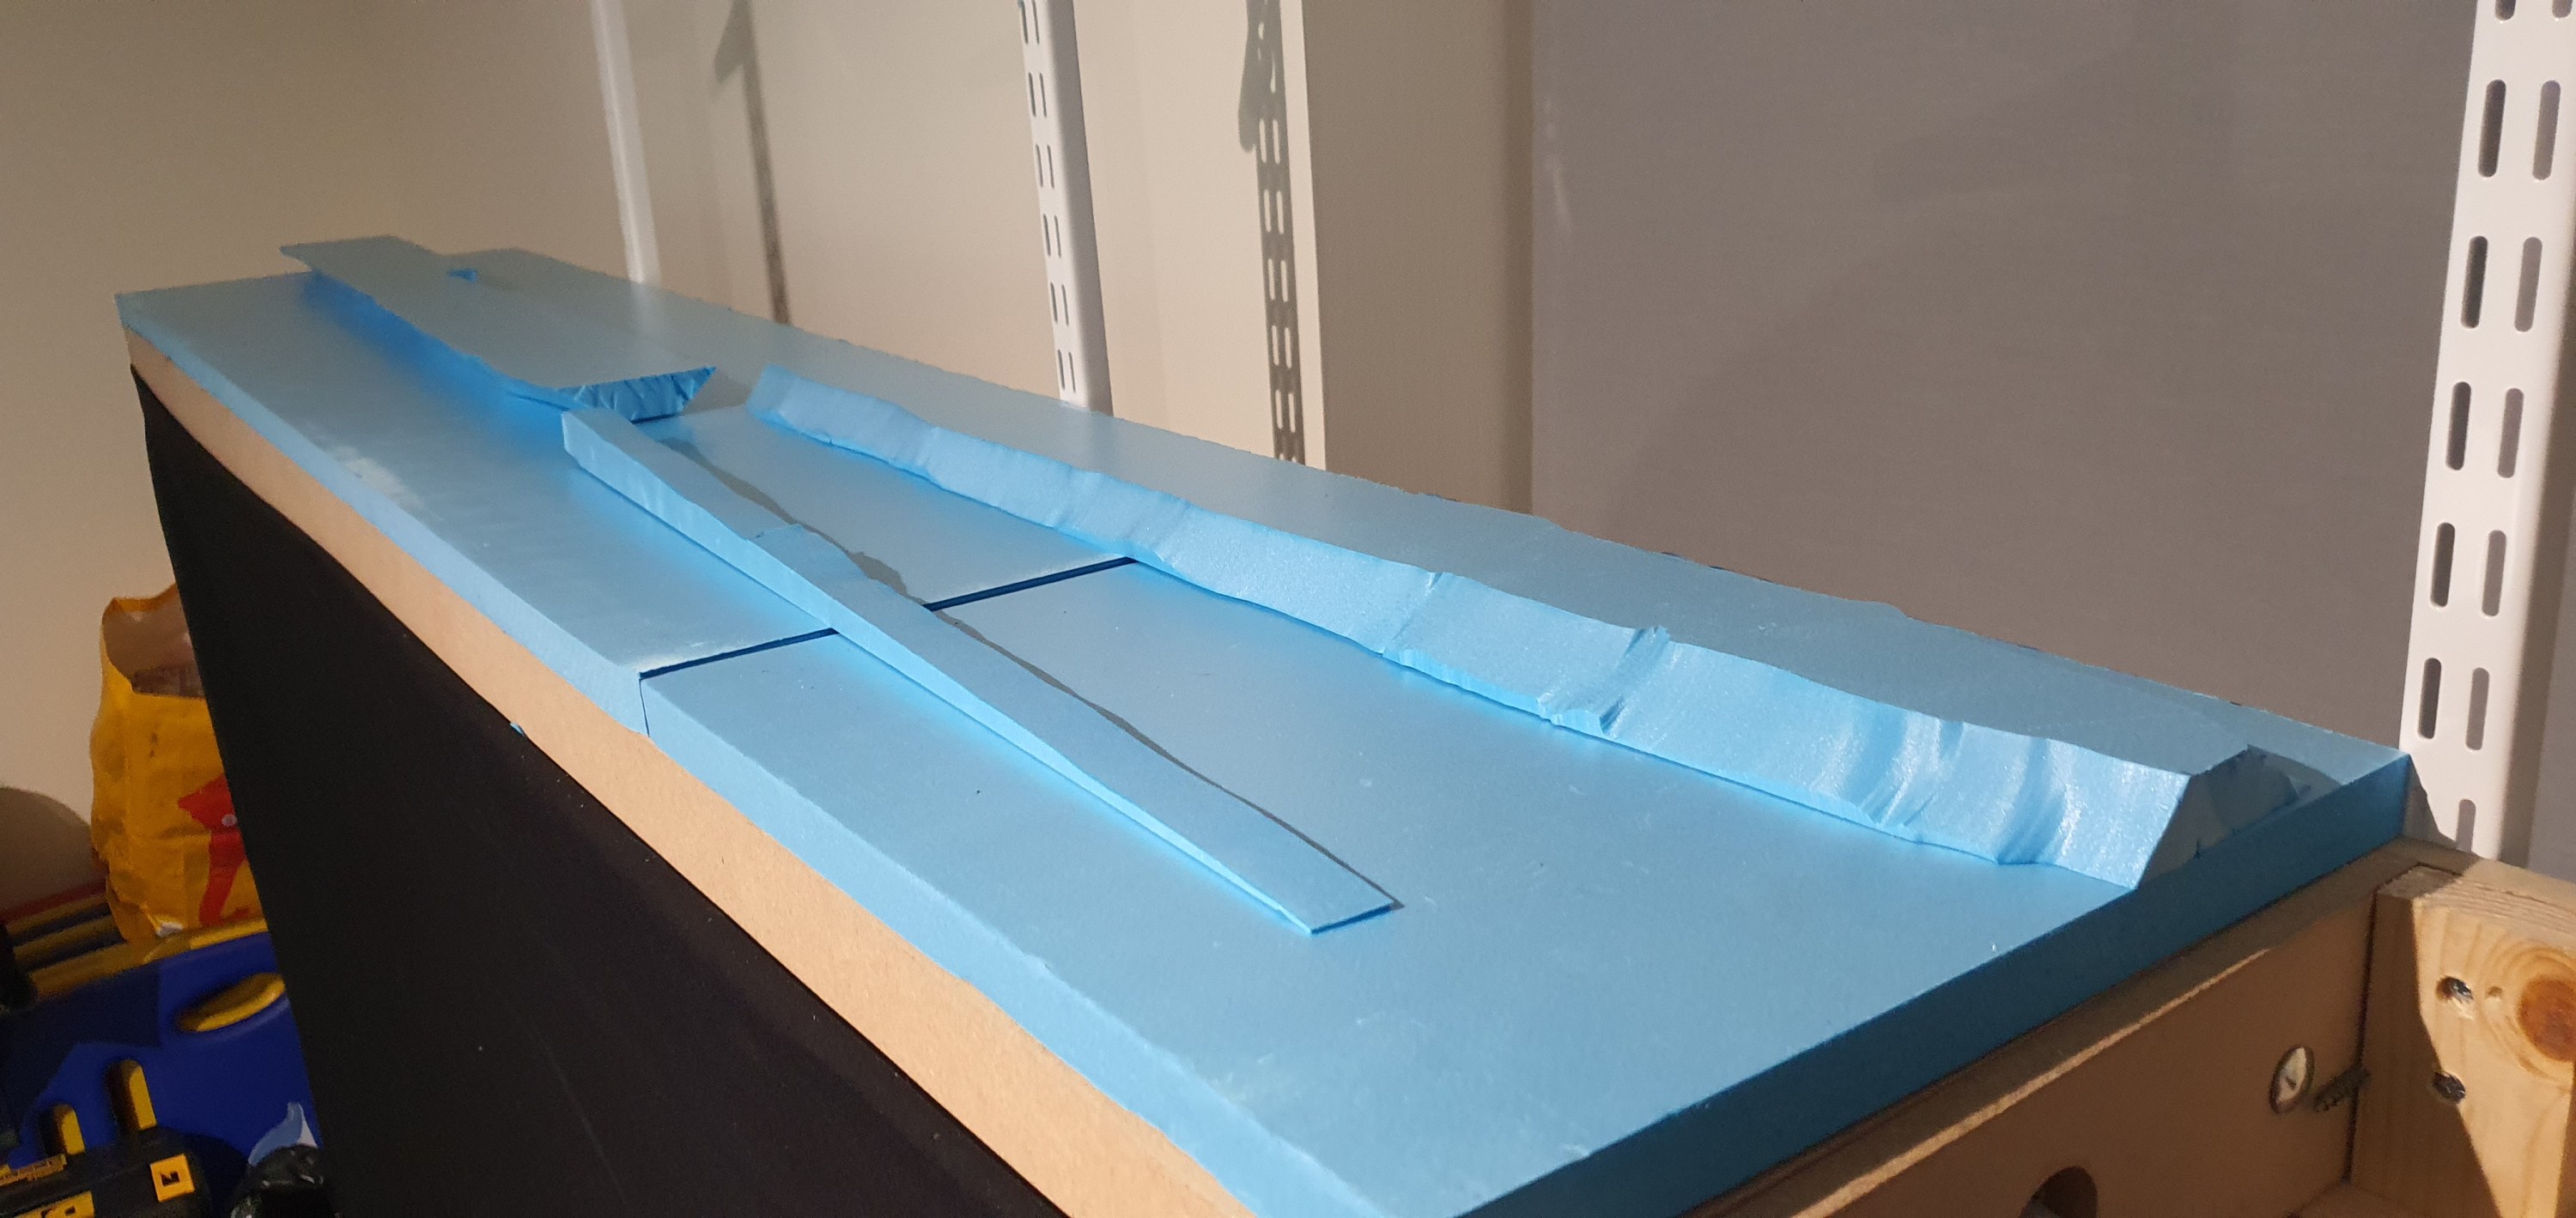
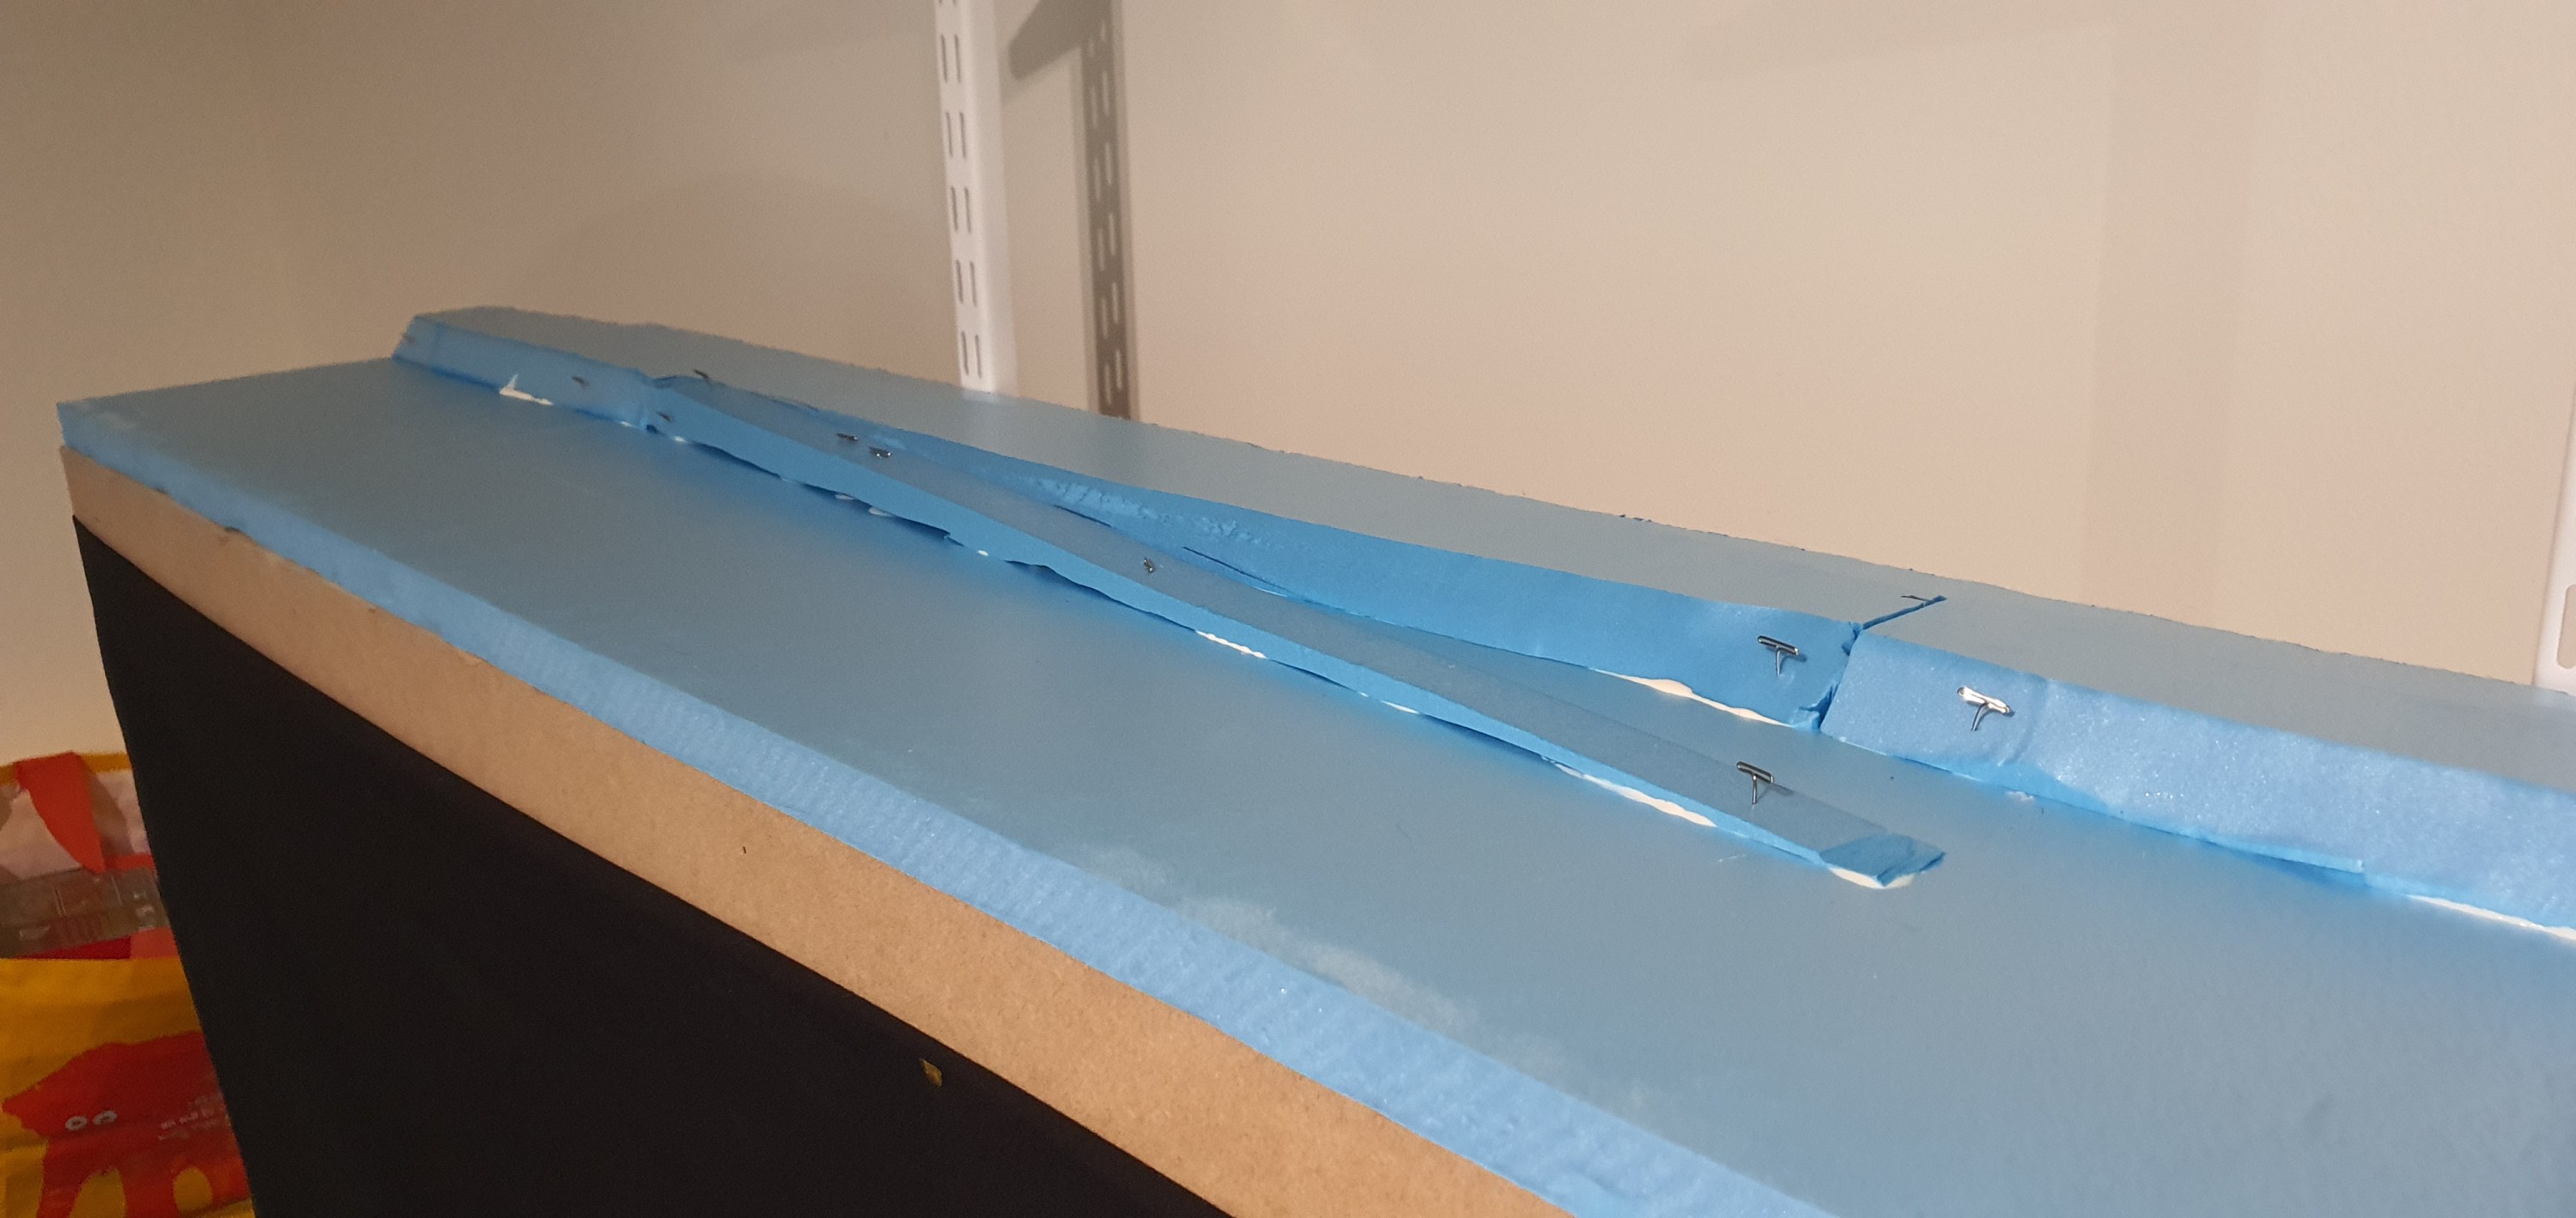
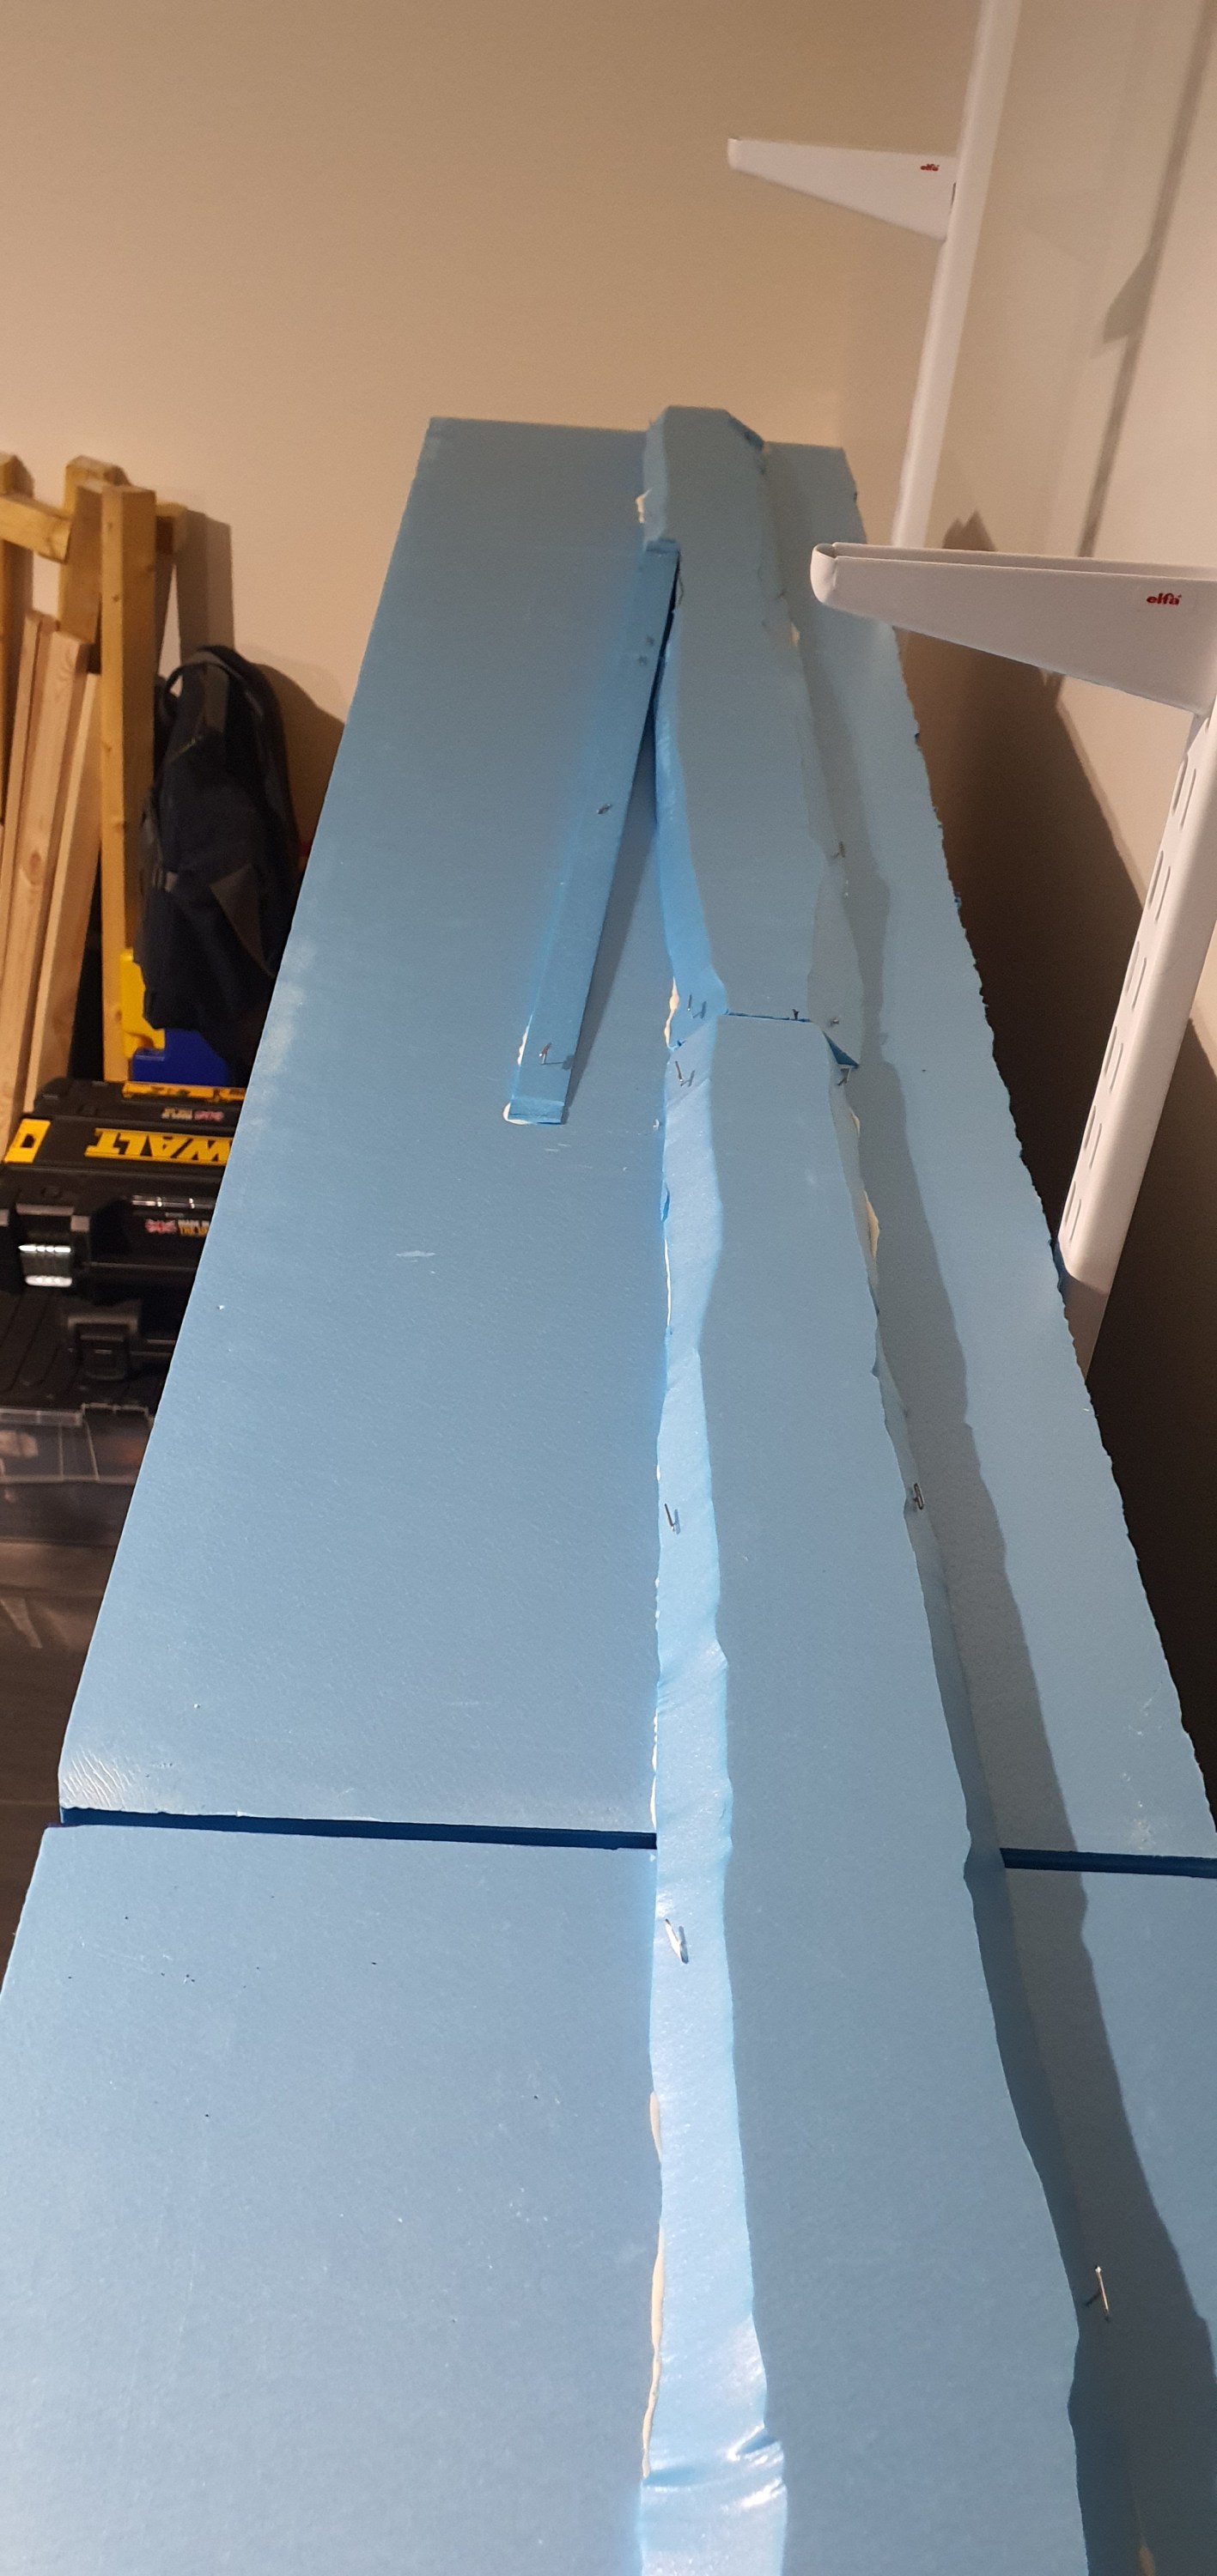
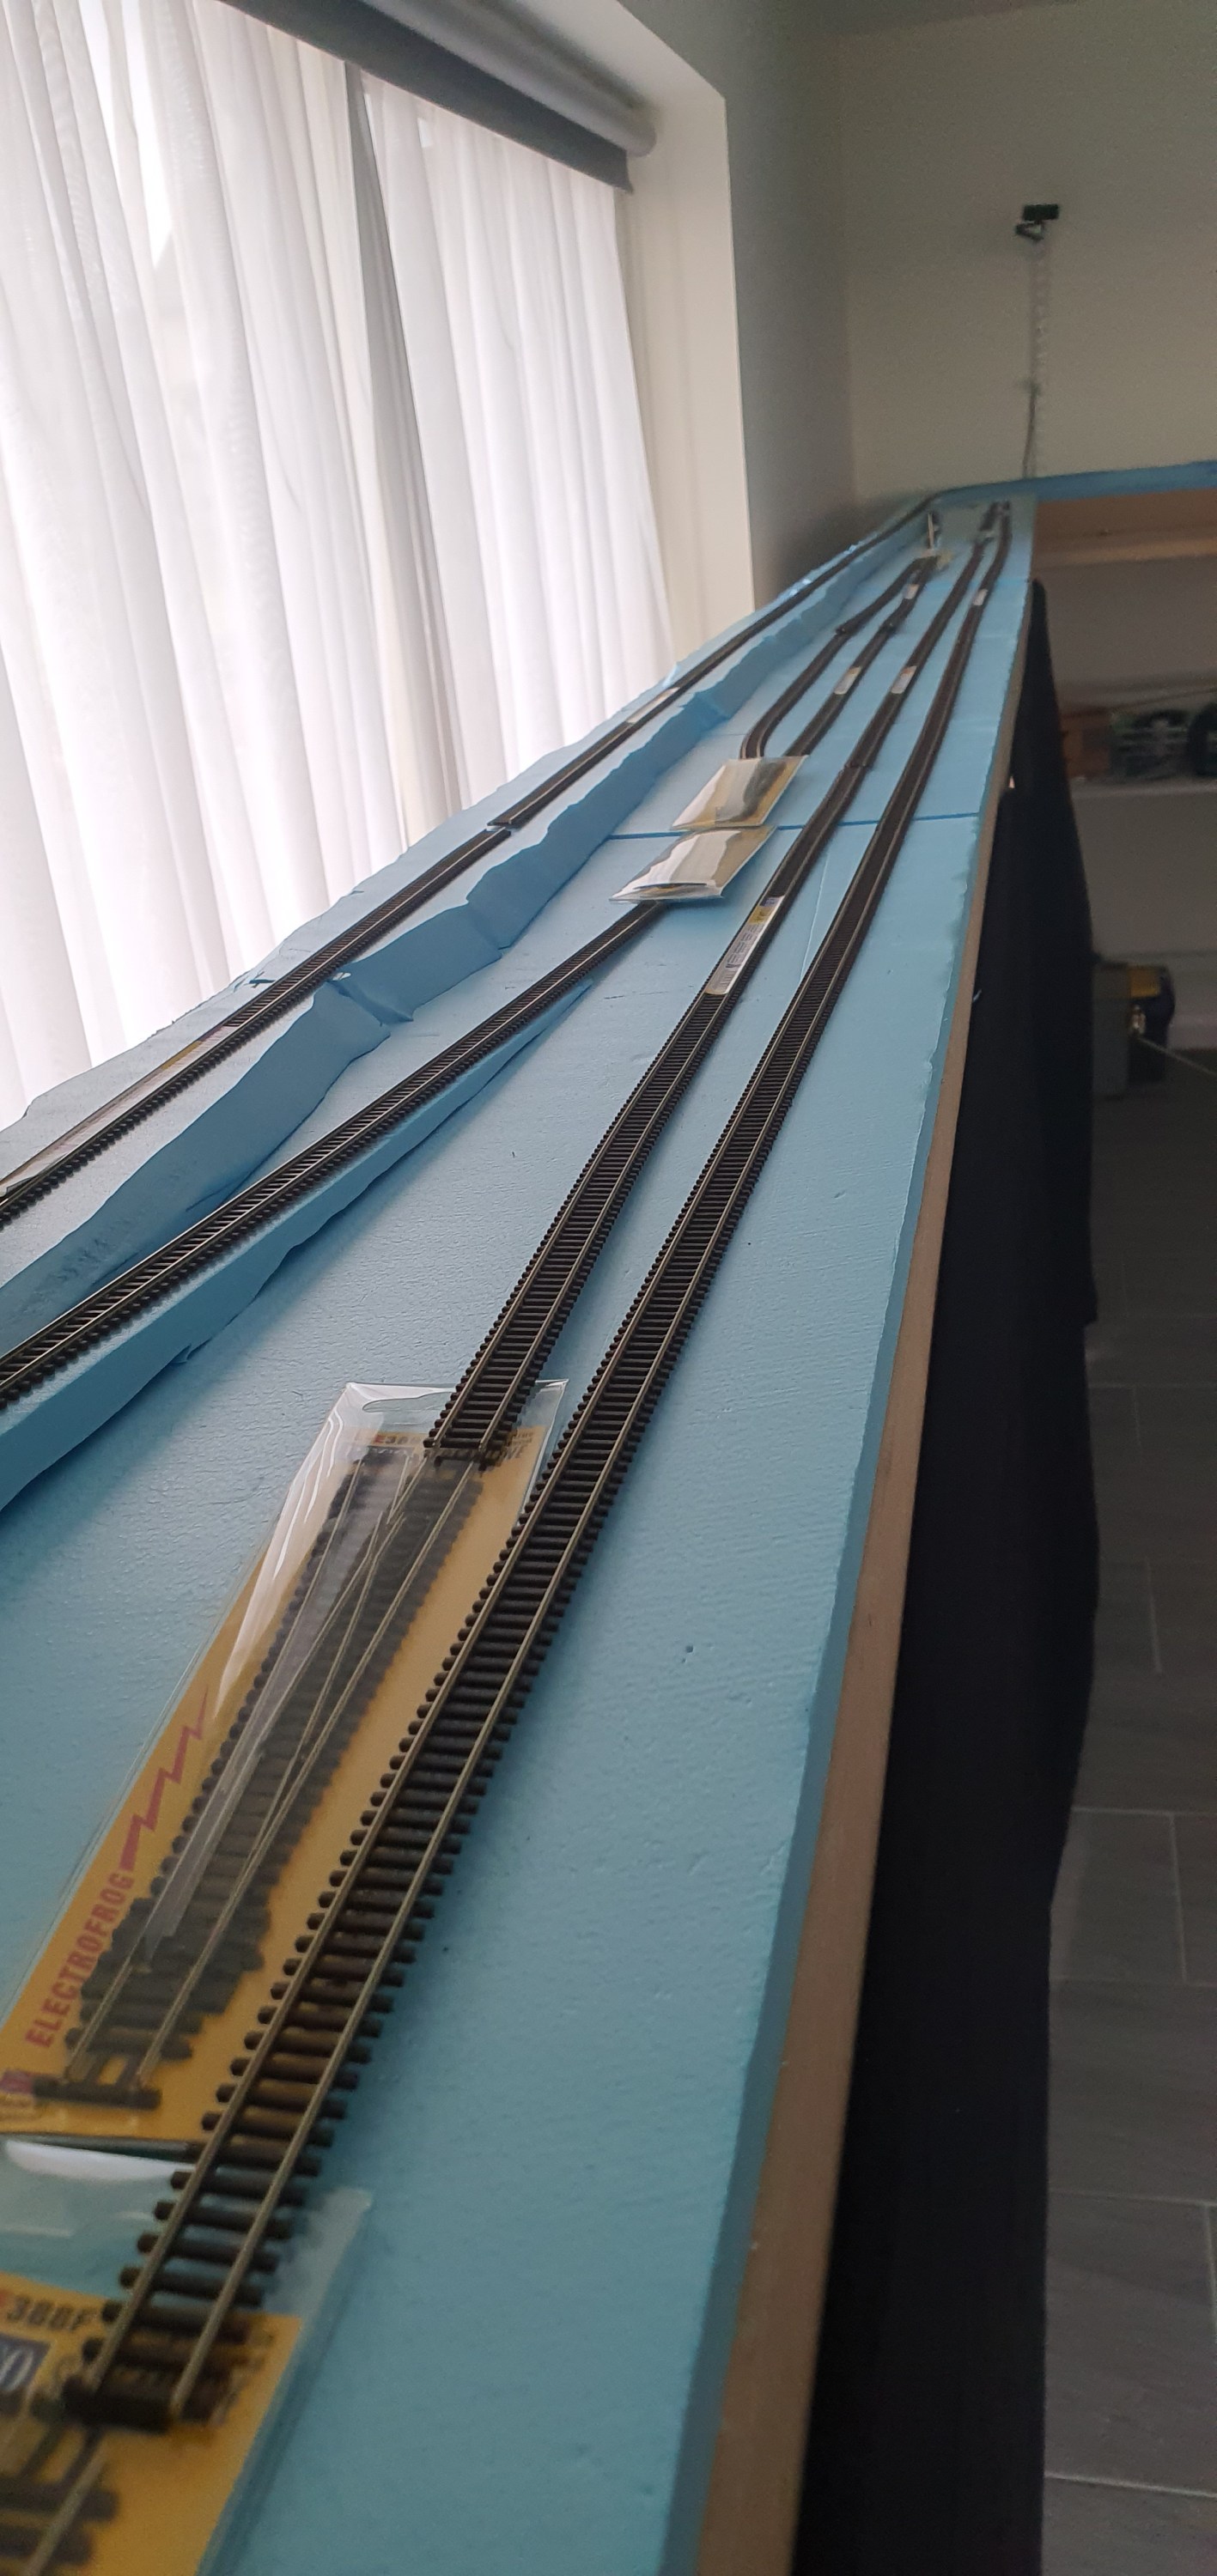
For the Waukesha sub I am using Woodland Scenics foam roadbed. Really becuse 1) I am not spiking so its not an issue that there is little resistance and 2) in my opinion this stuff deadens sound much better than cork.

I started with the roadbed on the incline using a 24″ straight section of roadbed you get 30 in a box.

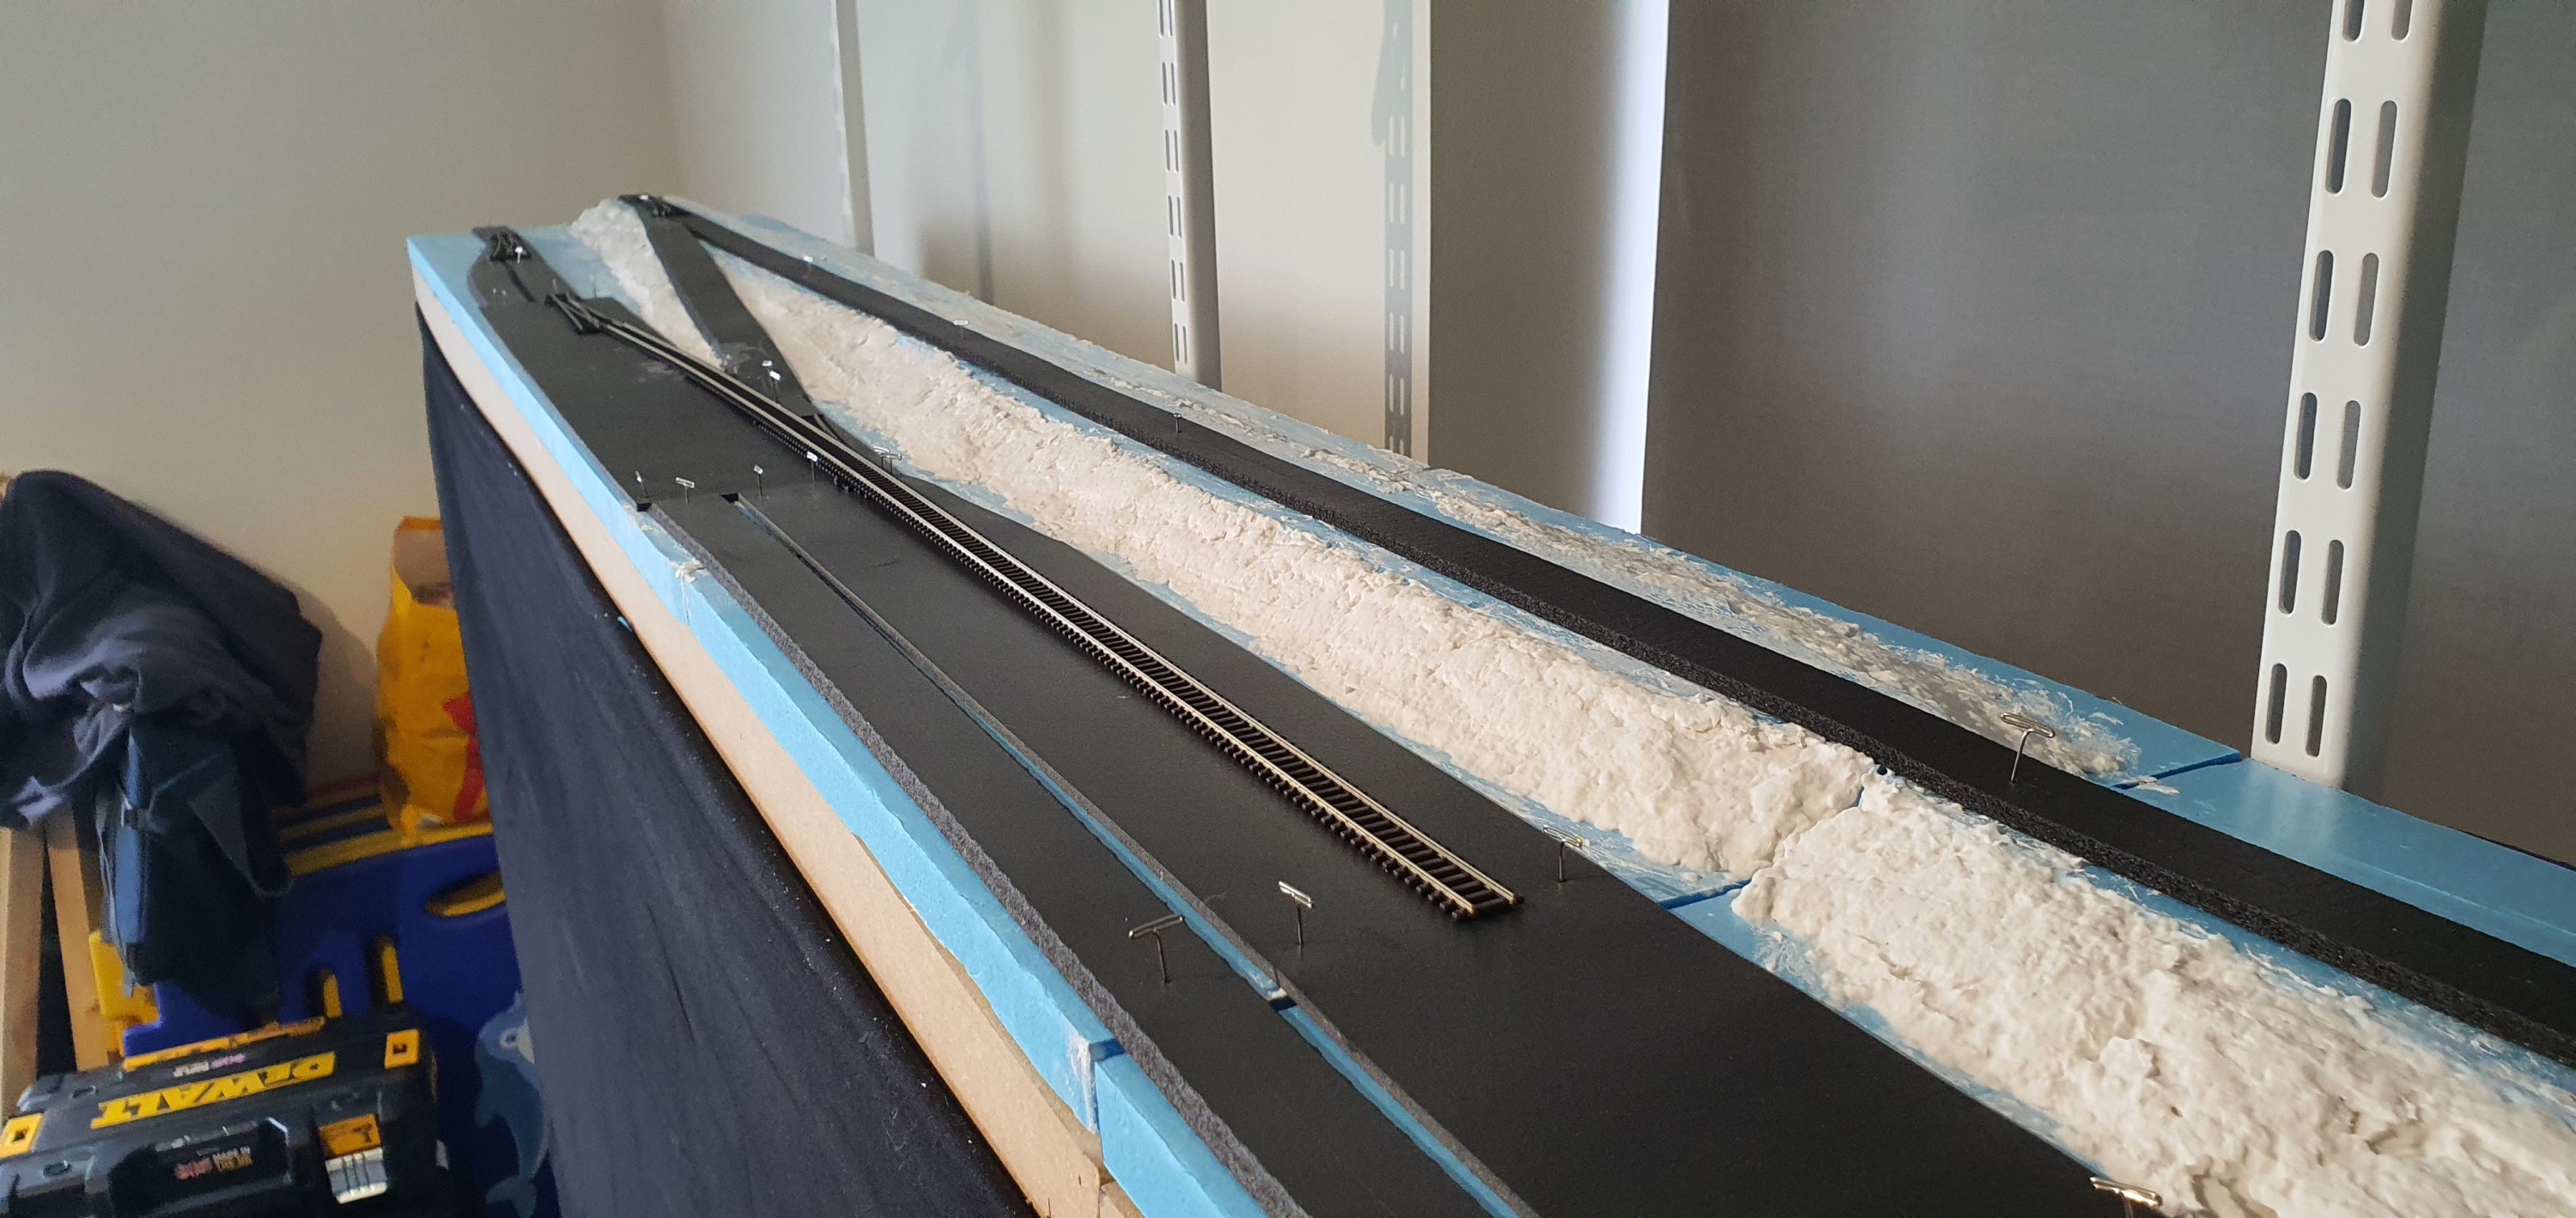
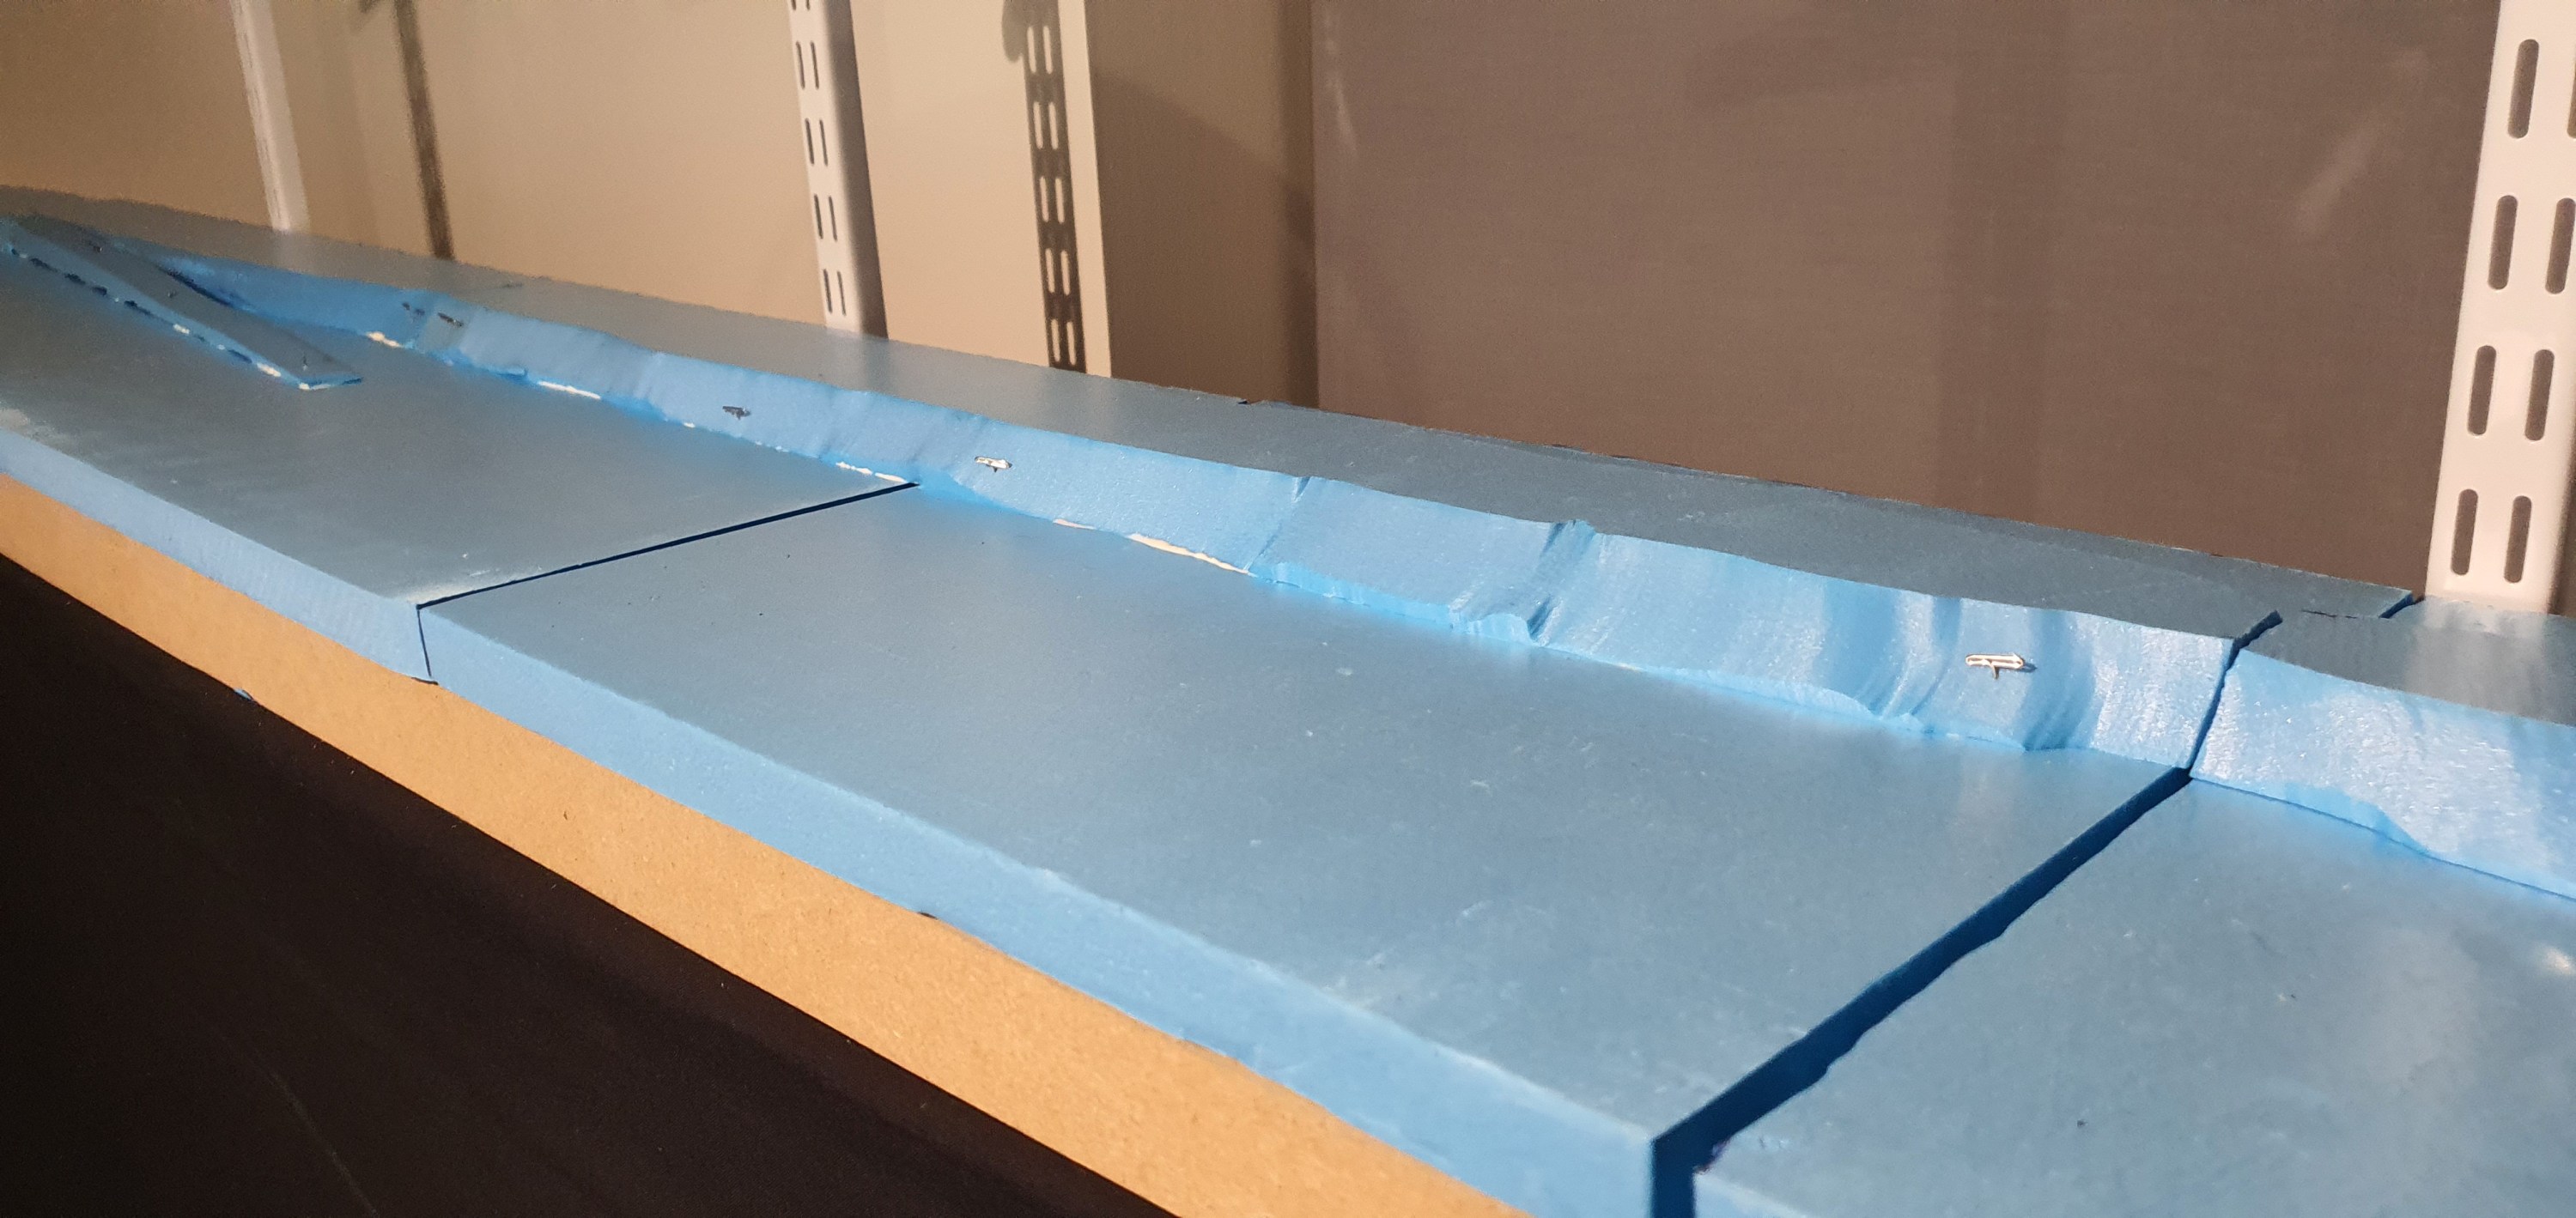
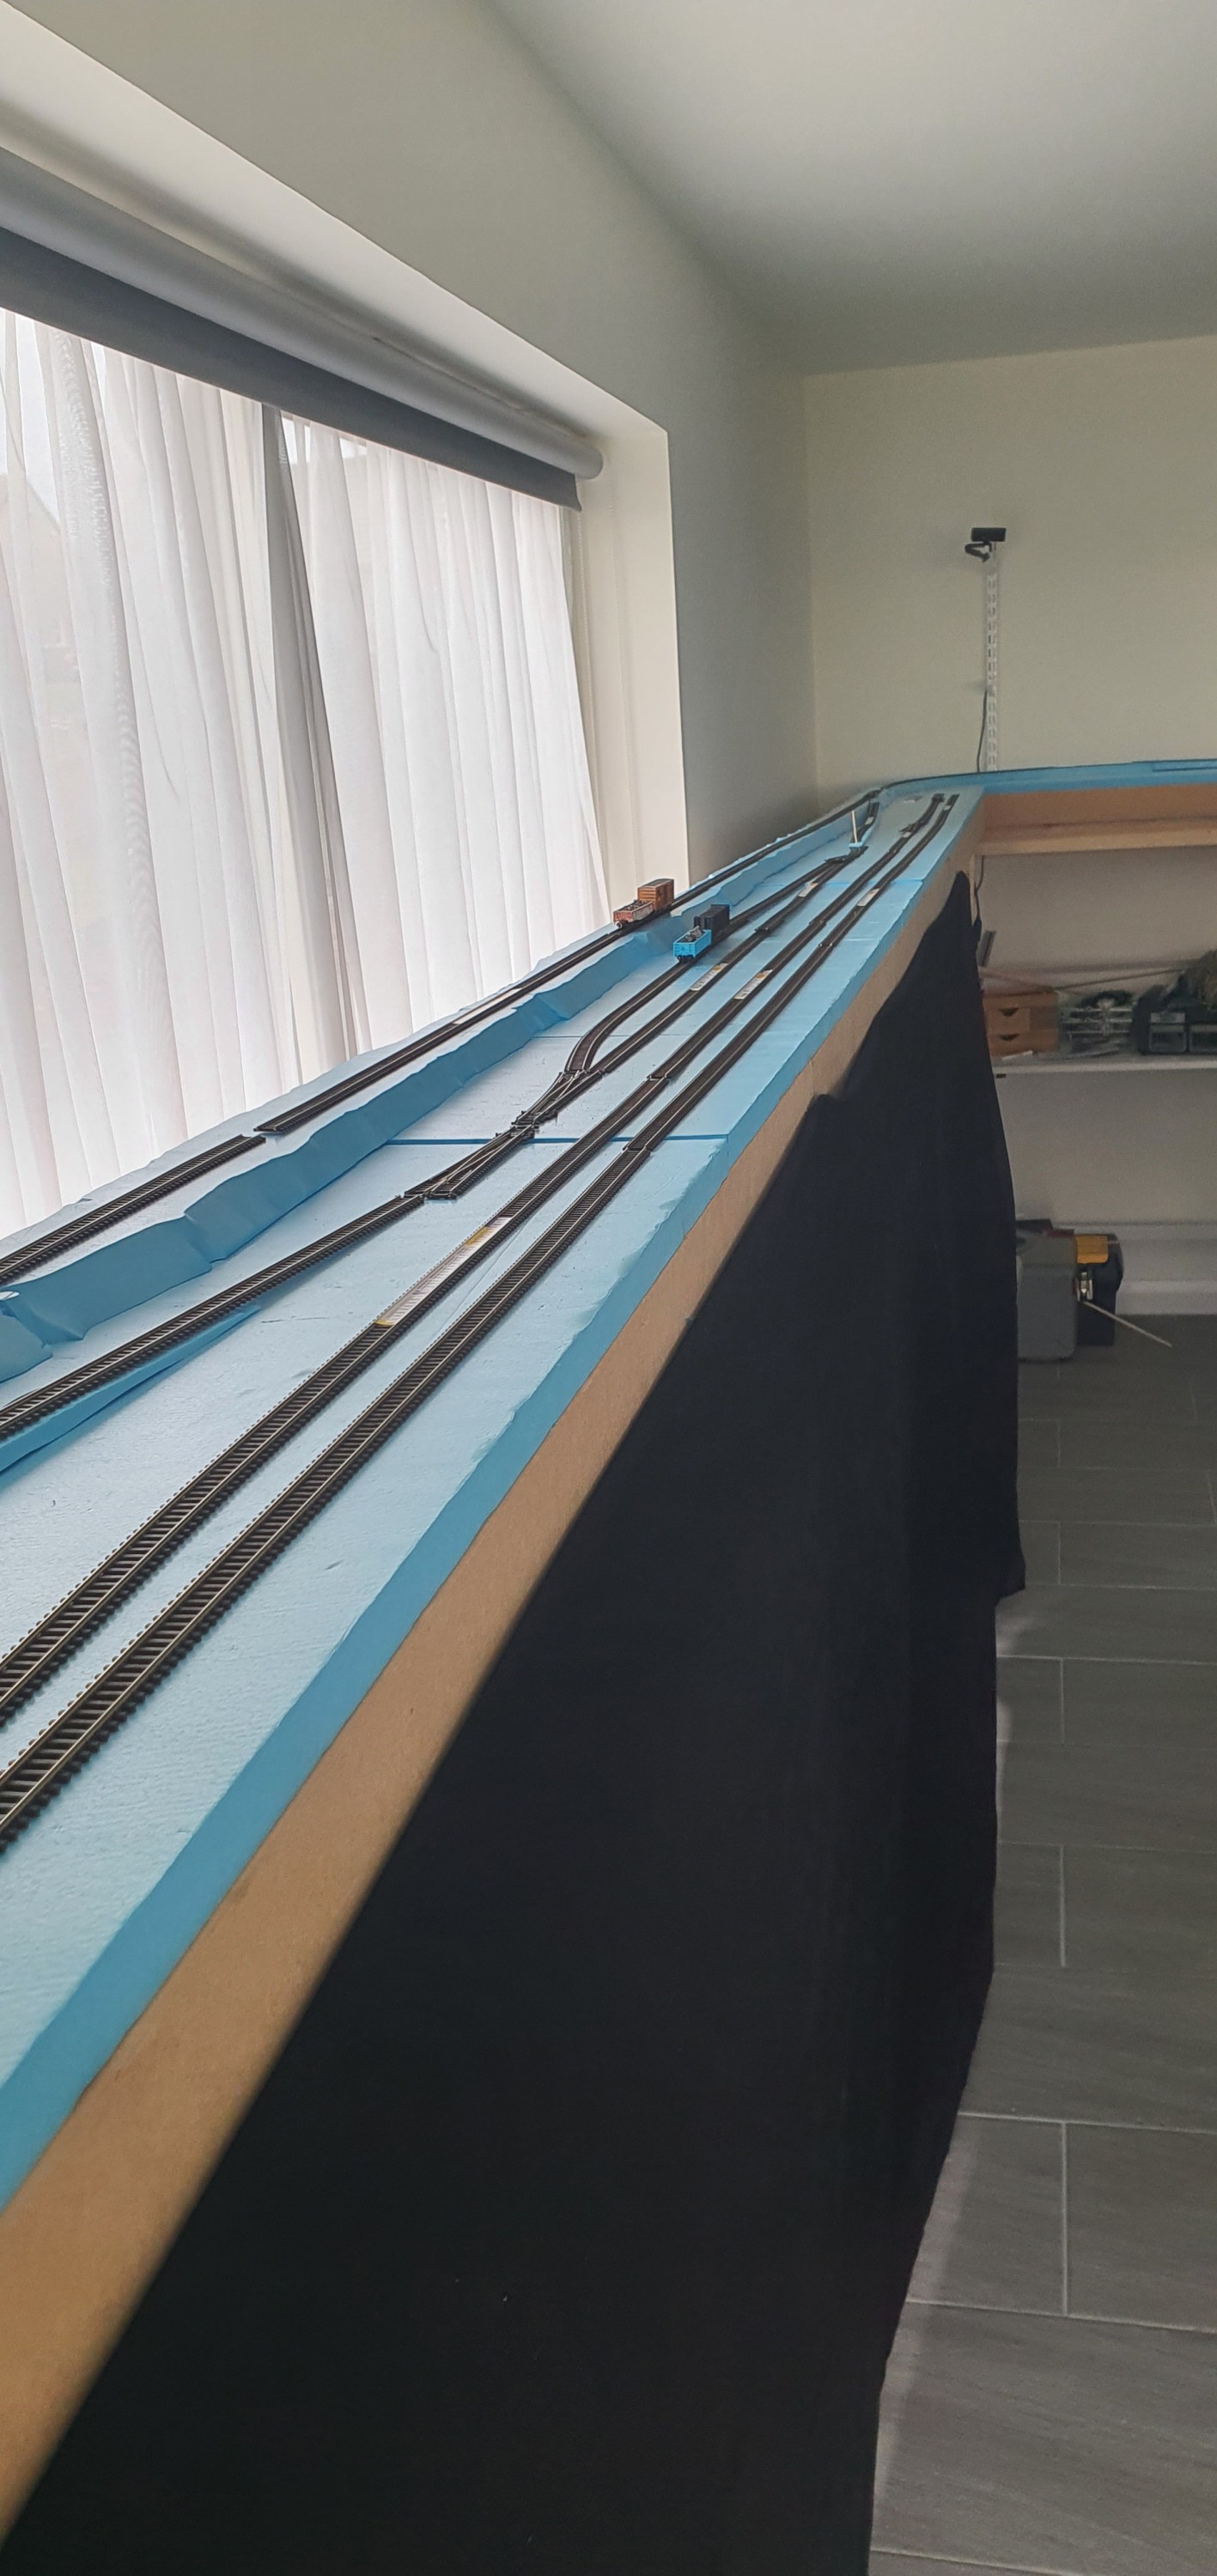
The WSOR roadbed, thats the bit thats at the rear is cut from a continuous 24′ roll of roadbed which is pefect for long straights such as this. The ackerville yard area is made up of flat sheets of roadbed and some straigh profile sections for the main approaching the yard and the siding which was added when the yard was built in 2001.

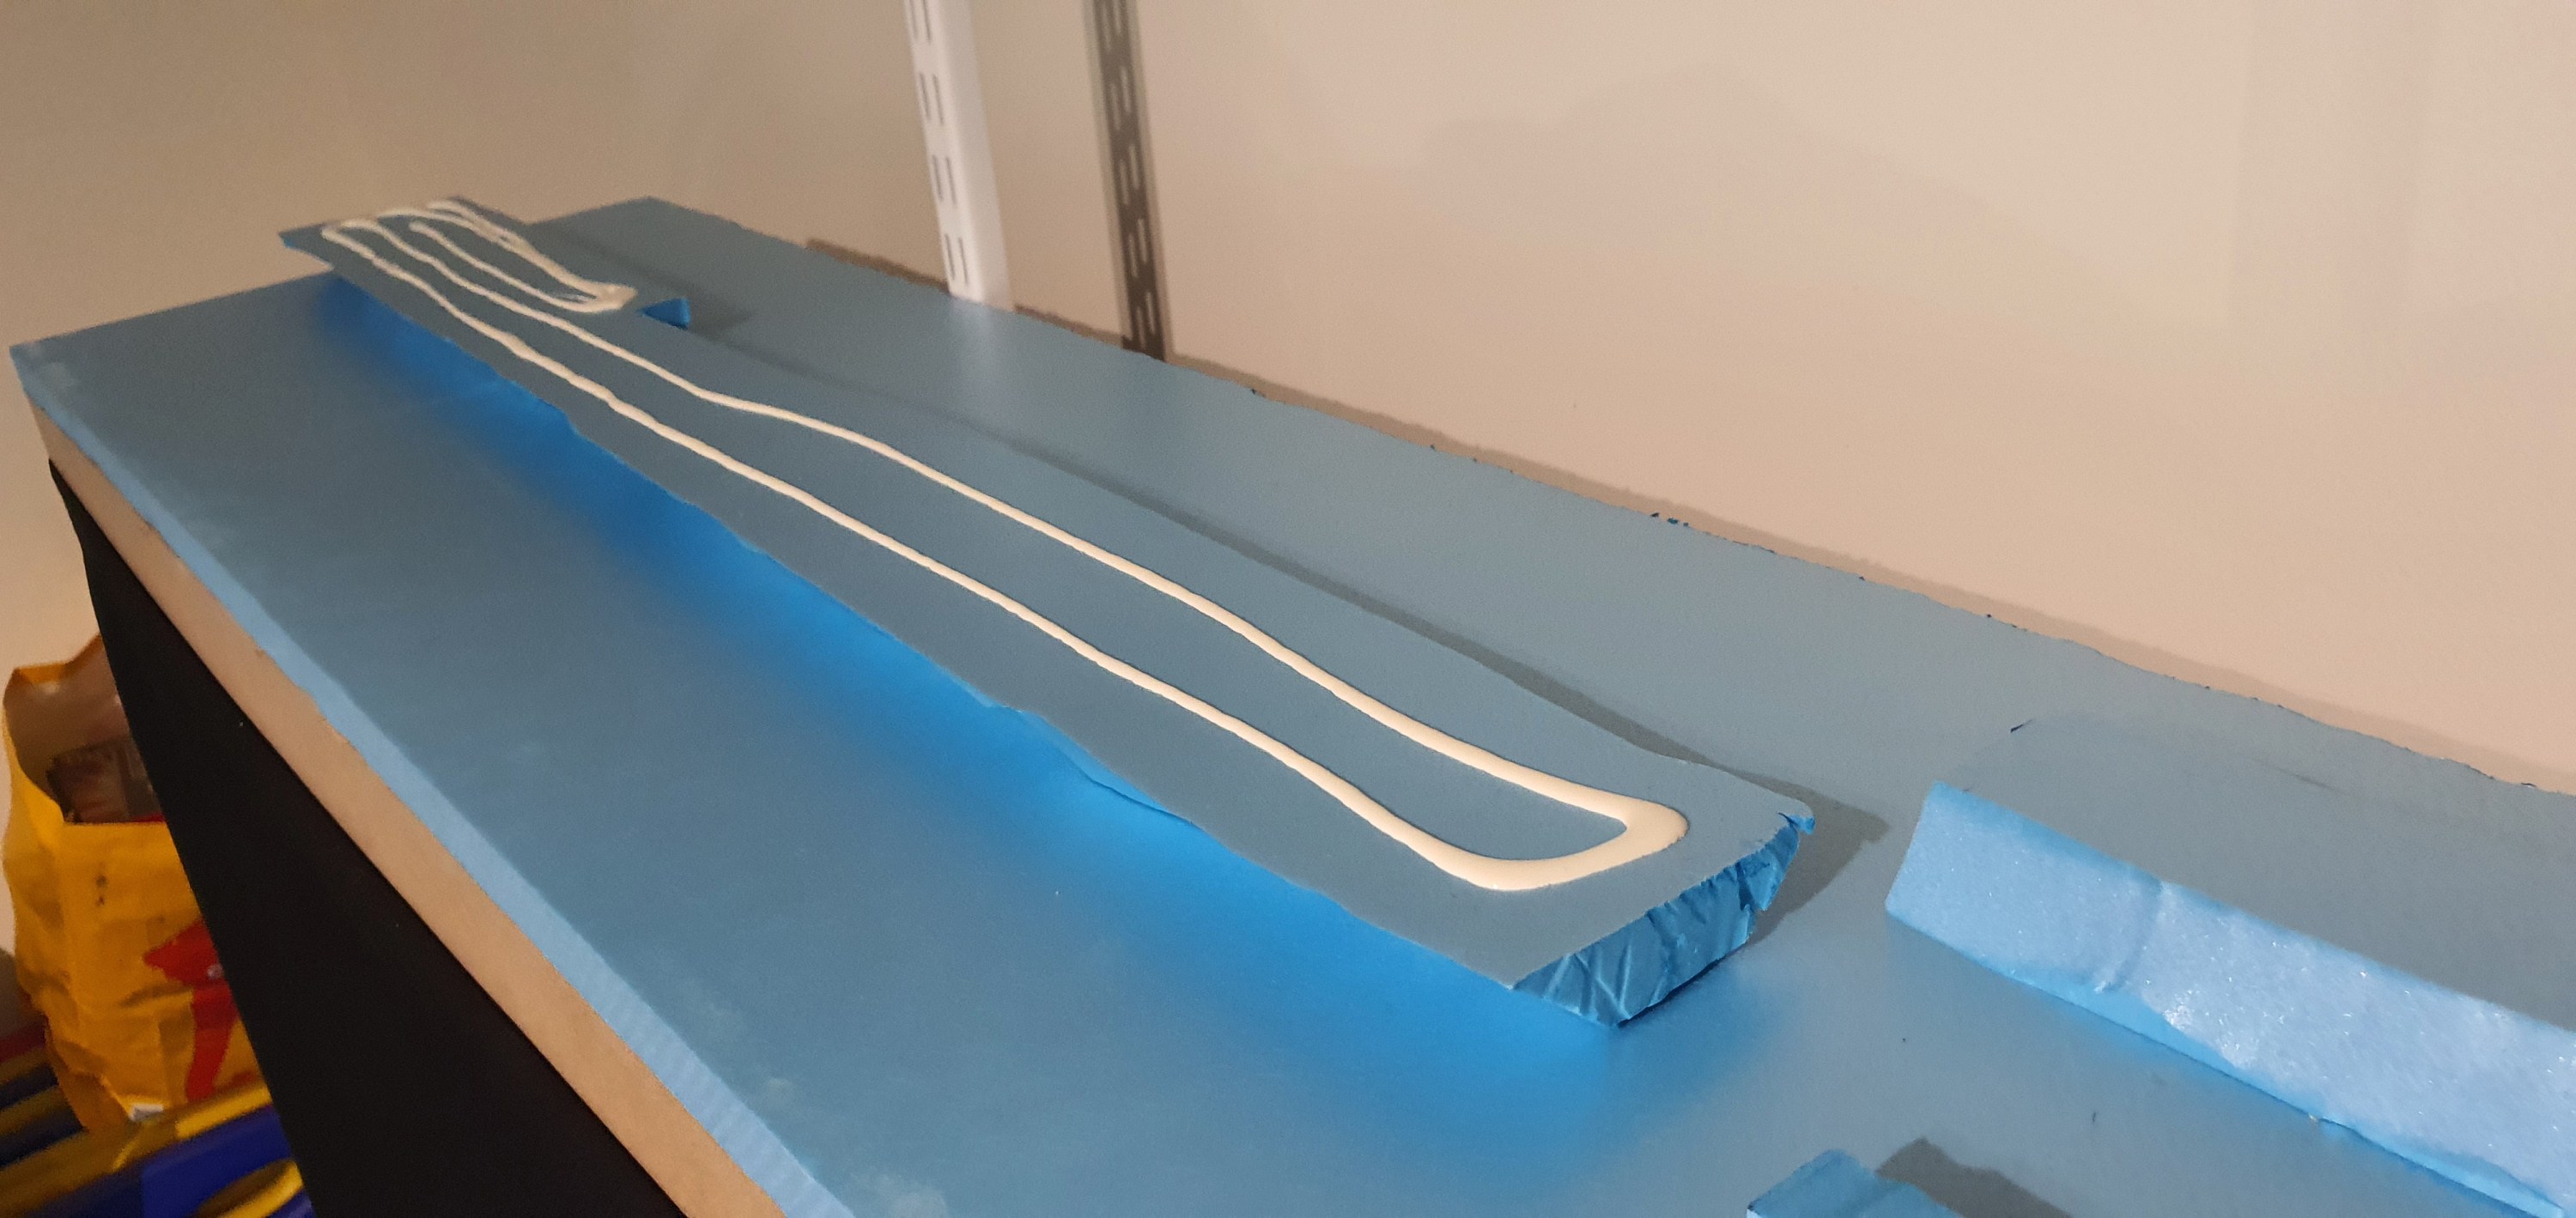
Once all cut to shape the sub roadbed was glued in place with PVA and held with Tpins while the glue dried.

Waukesha Sub Division – Ackerville module 1 – Sculptamold application

You’ll have about 45mins working time with sculptamold but as we go through the process you want to get it on the layout and then after leaving it for 20mins come back and smooth the surface with a wet finger. Otherwise your scenery will look like dried cottage cheese rather than a sub base that is mud or clay.

I just popped it on the layout with my hand as you can see its not really smooth at this point but that doesn’t matter. Also because nothing is secured to the base I was able to easily spin the foam sheet around to work on the otherside.

Here is the backside before applying the sculptamold

Before we finish this we need to check that the roadbed will fit, but thats for tomorrow.

Waukesha Sub Division – Ackerville module 1 – Sculptamold

Following on from yesterdays post were we fitted the foam its time to add the next layer which will smooth the land forms. You know making the whole thing look less foamy and more erm Wisconsin. Anyway lets start with a prototype picture.

Ackerville, Wisconsin
the first module contains all the turnouts seen in this shot

The prototype photo from above makes all this look flat but we know its not. the track on the left being higher than that on the right.

Sculptamold is messy so gloves on, even Annabel wanted to join in.

So here we go, as usual I was catching up with the Aussie NMRAx team whilst doing this and Annabel wanted to lend a hand. Unfortunatley they don’t make toddler sized gloves so we had to make do with a daddy sized one.

Mixing the sculptamold is pretty simple its about a 1:1 mix of compound and water. You want to add more of one or the other until you have a mixture thats the consistency of cottage cheese.

something a bit like that will do.

You have to mix it for about 3/4 minutes to make sure the water is absorbed into all the dry compound. Tomorrow we’ll start getting this onto the layout.

Waukesha Sub Division- Ackerville Scenery Base

Yes I am still waiting for a saw to finsh the benchwork but after spending the afternoon staring at the layout, just like Rob Clark says I had a spark of inspiration. Yes! it hurt I had to have a lie down afterwards.

Anyway back to the model, Basically I decided i can start on the scenery without the MDF sub bases being in and slip those in at a later date. The foam for ackerville is already cut so the first part of this is going to be gluing down the foam to prepare the base for sculptamold. That messy job will come tomorrow but now lets get this going.

We all need to start somewhere and this is the North end of Ackerville this embankment will continue along the length of this aisle. The embankment will carry the WSOR above the Ackerville yard so it continues along the whole length so getting it square here matters. There is nothing scary or even smart here so long as we use a foam safe glue. I use gorilla wood glue, its a very tacky PVA that wont melt the foam it also doesn’t expand so is perfect for this.

I got a nice bead of glue under the foam blocks and smoothed it flat before placing it on the foam base.

The gorilla glue is really quite tacky and would hold the foam in place. However, I used some 20mm T-pins just to hold this in place while the glue dries.

A few more pics of the foam, hopefully tomorrow we’ll have some sculptamold covering all this and we can move to the getting the roadbed down.

Starting on Electronics – the DCC BUS part 1

we have had quite a few deliveries this week, unfortuantley the weather has delayed the cargo boat so I am still waiting for the tools needed to cut the rest of the benchwork items. Thats not going to stop some progress though so a quick hour of work saw Ackerville tidyed up and the track, subroad bed and foam used to plan the scnery for that area was all tidyed away.

I really don’t like these connections I think i’ll end up repalceing them with screw terminals
Ackerville DCC bus with girder frame that allows me to suspend the modules over some work areas

That exposed the module frame which allowed me to install the DCC Bus wire. I am using some seriously overkill wire here at 2.5mm but its got to carry alot along the DCC Bus so its not the area to skimp on. The Bus will be connected to the electrical boards we prepared earlier using T-tap connections so all I needed to fit is a bus along each module. I am focusing on getting the first part of the layout finished so that means about 29 feet of layout needs to be worked on to a finished state first. Anyway enough explaining here is a wee timelapse for you I know how much you enjoy them.

There wil be a follow up to this when we move onto the yard area of the lower deck (the bit still with loads of stuff on it. There is lots going on this weekend so who knows what will be posted tomorrow. Stay Tuned.

Gordy

Layout Update: More backscene supports & a timelapse

Well our long awaited deliveries have arrived at last! I want to get the ackerville scene finished first so the next few posts are likely to focus on that unless I am awaiting more materials. As you can see I had some help at least with holding things.

Tonight i decided to add 9 supports for the backscene behind what will be the ackerville module. I even had my little helper Annabel watching me. Now I know you don’t want to be bored with a repeated post about fitting these things so here is your favourite thing a little timelapse.

Train’N’Camp with the Piedmont Division of the NMRA

On Saturday me and my little helper Annabel helped live stream an education program from the NMRA Piedmont Division. Aimed at beginners it covered every topic you need to know when starting out in model railroading.

Annabel listens to Walt Liles talk about the best way to lay perfect track.

If you are new to the hobby and want to learn about how to get started check out this live stream of the event by the NMRA. https://www.youtube.com/watch?v=I4y5zWiVdXo skip to 29:35 as this is the recording of the whole unedited live stream.

Trying out Snow Wash

So in my pack of snow products was one called snow wash. This seemed pretty cool and a good place to start with snowy scenes i mean it snows on cars right. Ok down to it this is the wee bottle we are talking about. Now you can skip my chatter and go straight to the experts using it here https://www.youtube.com/watch?v=lk-BERp1RvA

So how did i use this stuff, well to be honest i gave it a good shake and then applied it to any surface that is flat where snow would fall on the car. So roof, end ribs, door guides and rain strip.

When first applied the wash looks like a white paint wash but the snow particles in the wash start to flow to the edges and into the recesses of the model as it dries. This was the first coat but I applied a second and then used a dry brush to move the settling material to the edges of the roof.

I then detailed the ends and even managed to get the effect of melted and re-frozen snow on an end rib.

A end
B end

So as you can see its a nice build up of frozen snow in the recesses fo the car to give that frozen effect. Fresh snow would blow off the car when moved but the frozen ice below the top snow layer is left in extreme temperatures and this is what I was going for.

Here you can see the snow collecting on the end grab irons/ladders and build up in the door runner.

I really reccomend this product if you are going for a winter scene. I did some more cars whilst I was working at the weekend so I’ll add more pictures of some other stuff in a post later in the week.

Oh looks like the postie is here so best be off, hopefully he has some materials for this weekens projects.

Snowy Materials

Finally we have some materials, first re-supply is from precision ice and snow. They make great snow/winter scenery products and this is there starter kit. It comes with some Krycell snow powder, a sieve, adhesive, snow wash and insta-snow.

I am going to give these product a try out and see what we scene we can create in the Ackerville section of the layout with them.

I am sure the snow wash will be really useful for weathering freight cars to complement the snowy scenes on the layout.

Find out more about these products here http://www.precisioniceandsnow.com/store/c1/Featured_Products.html