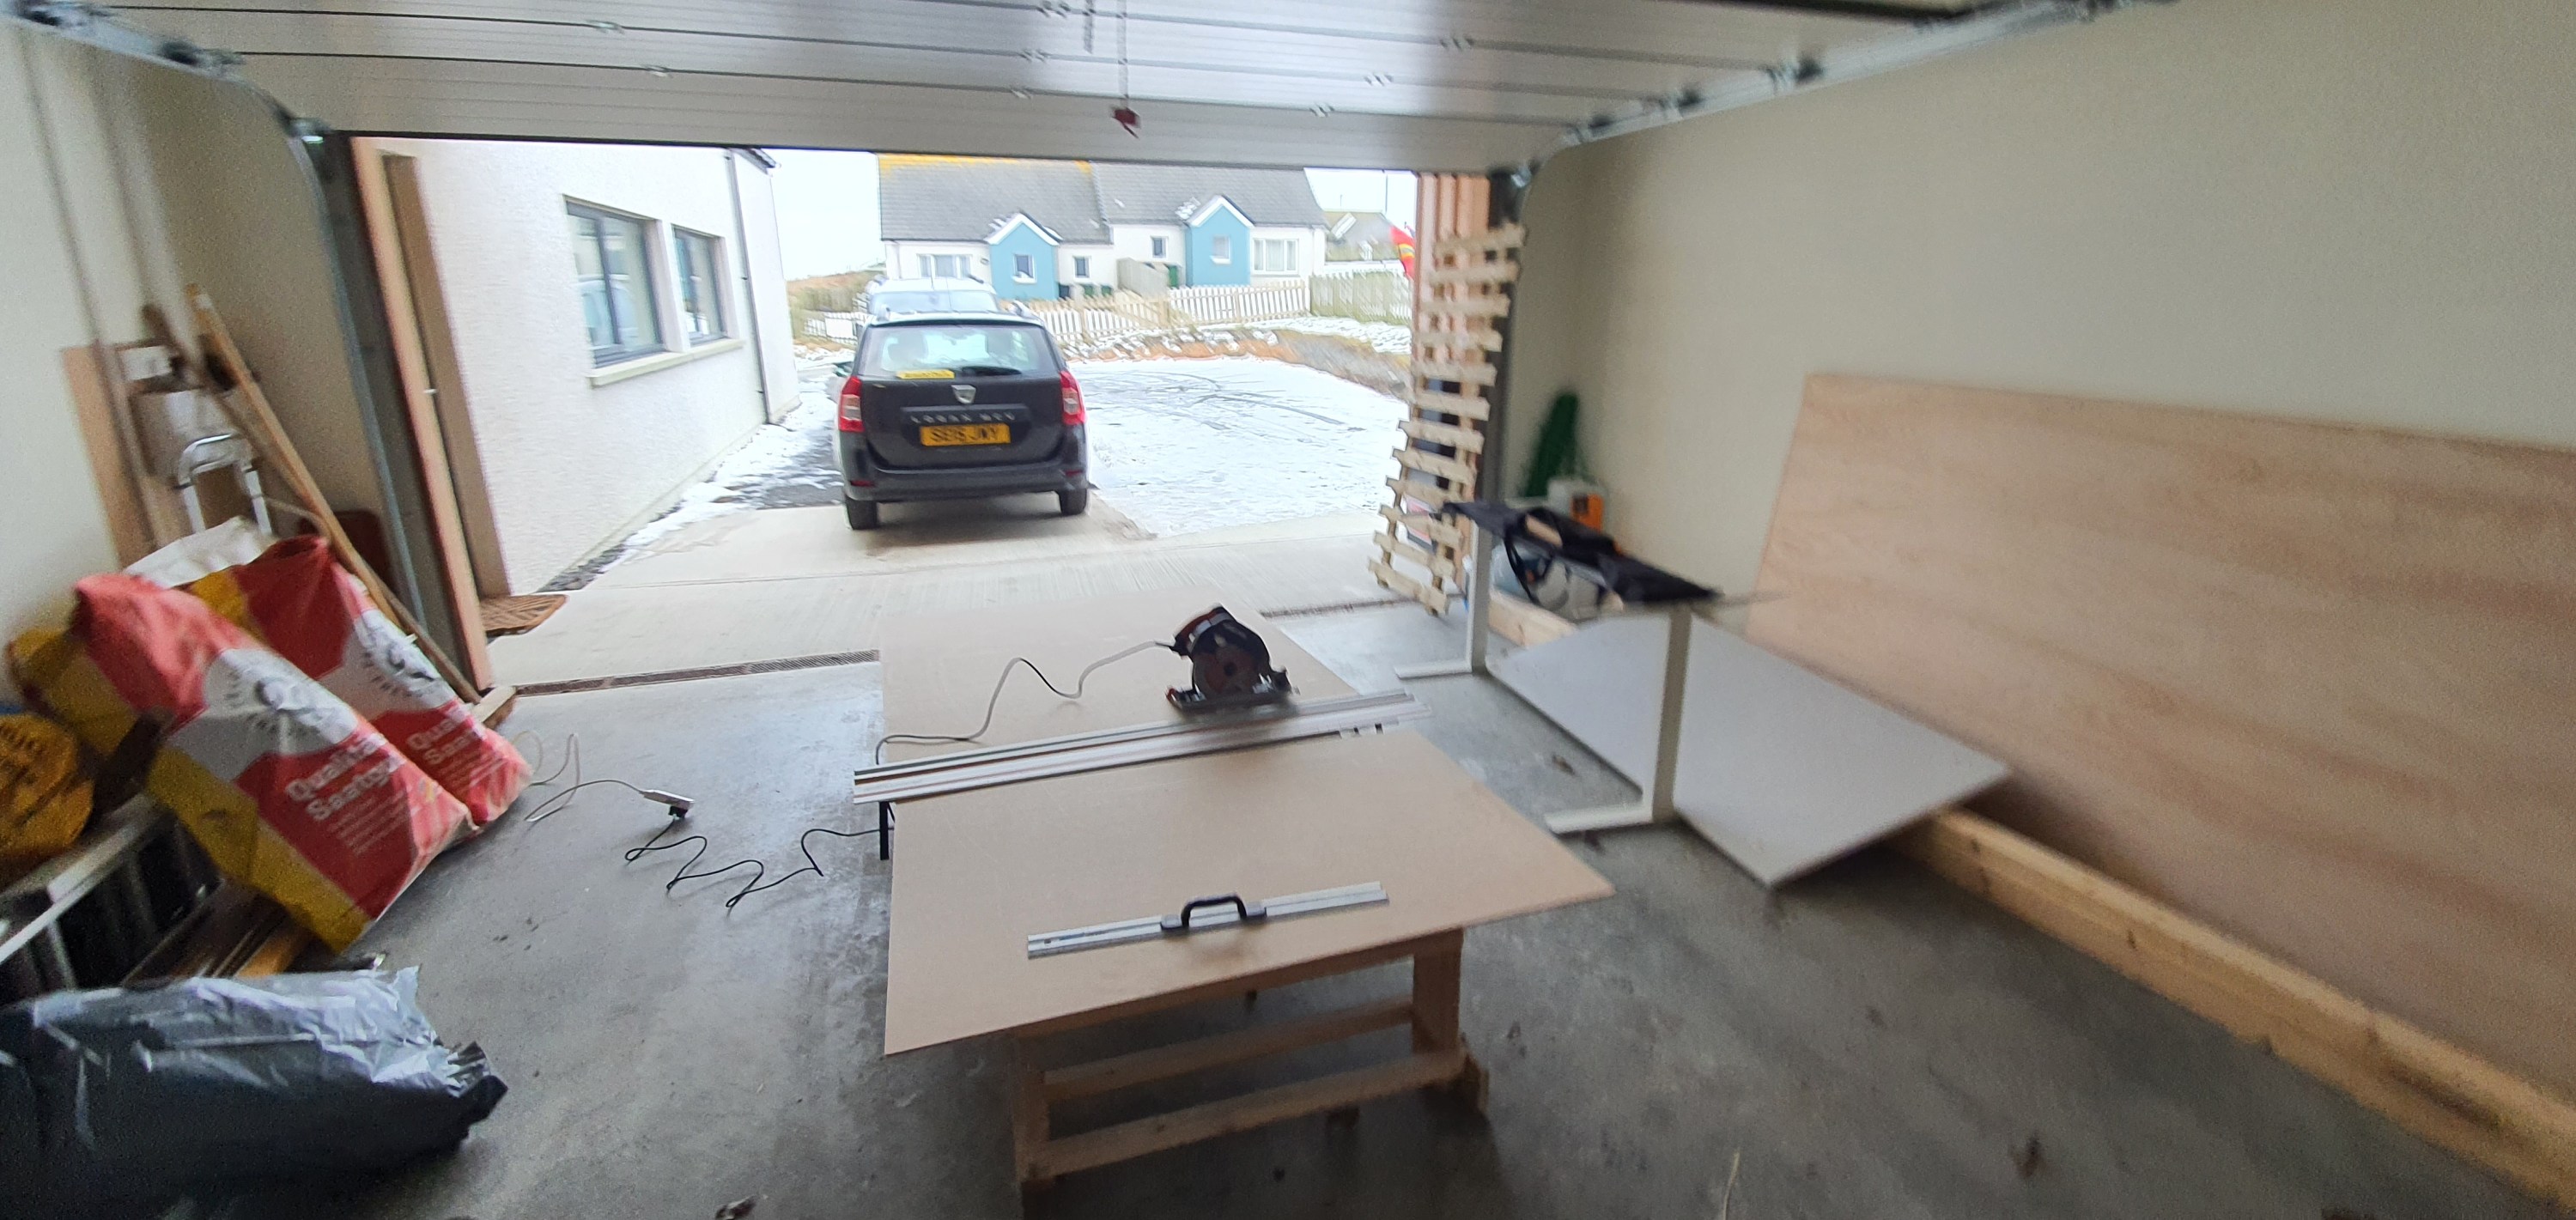
Its been a really busy day, on the go here from 8am-10pm in really terrible conditions for working in the garage. Anyway I thought you’d appreciate a few shots of what’s been happening and there will be posts explaining what’s going on next week.


Its been a really busy day, on the go here from 8am-10pm in really terrible conditions for working in the garage. Anyway I thought you’d appreciate a few shots of what’s been happening and there will be posts explaining what’s going on next week.
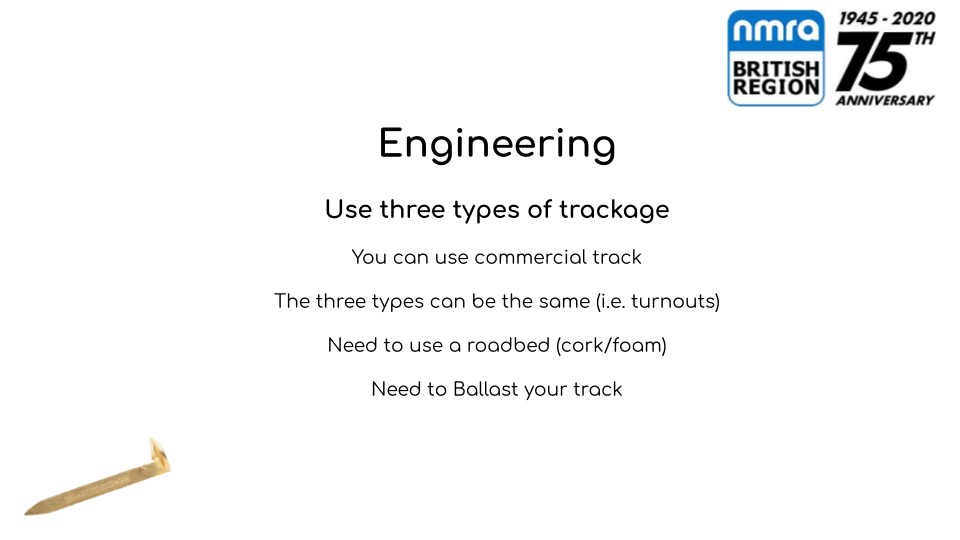
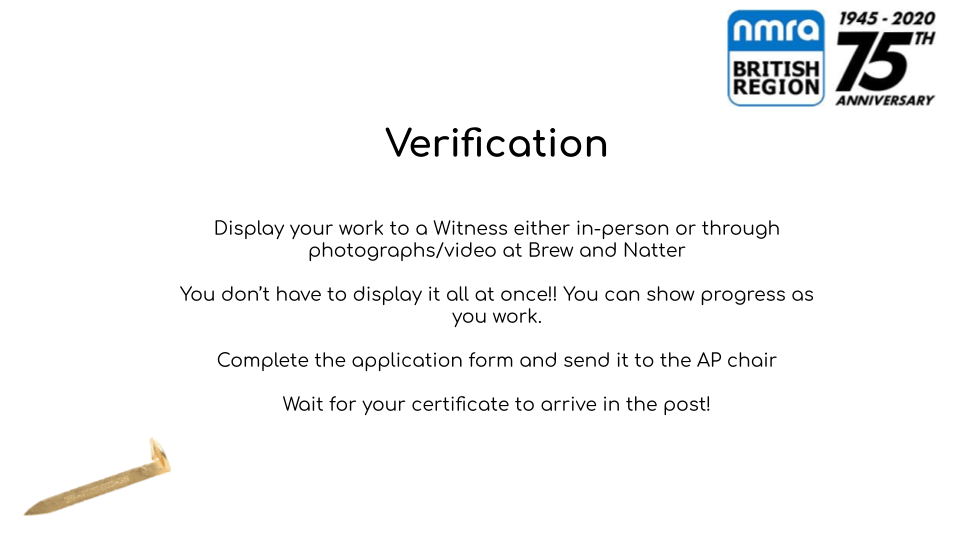
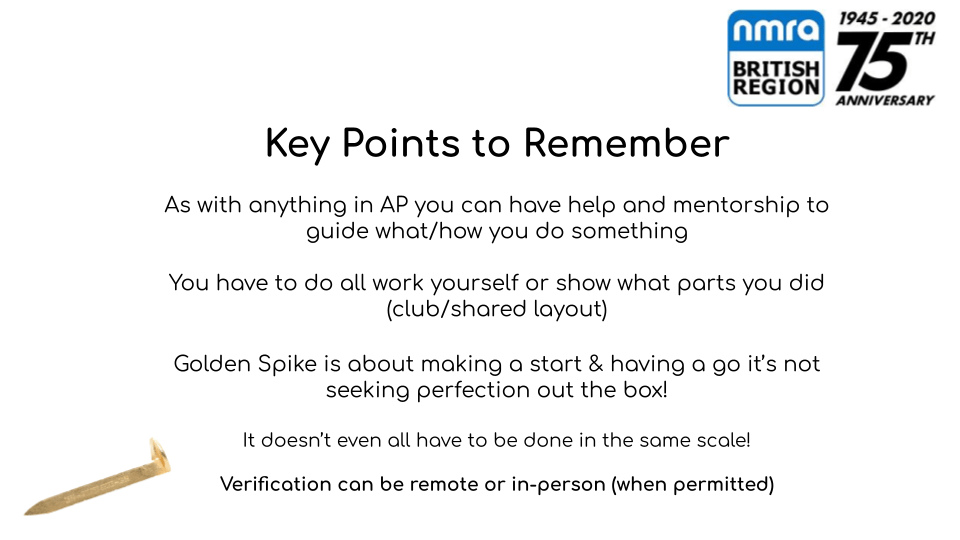
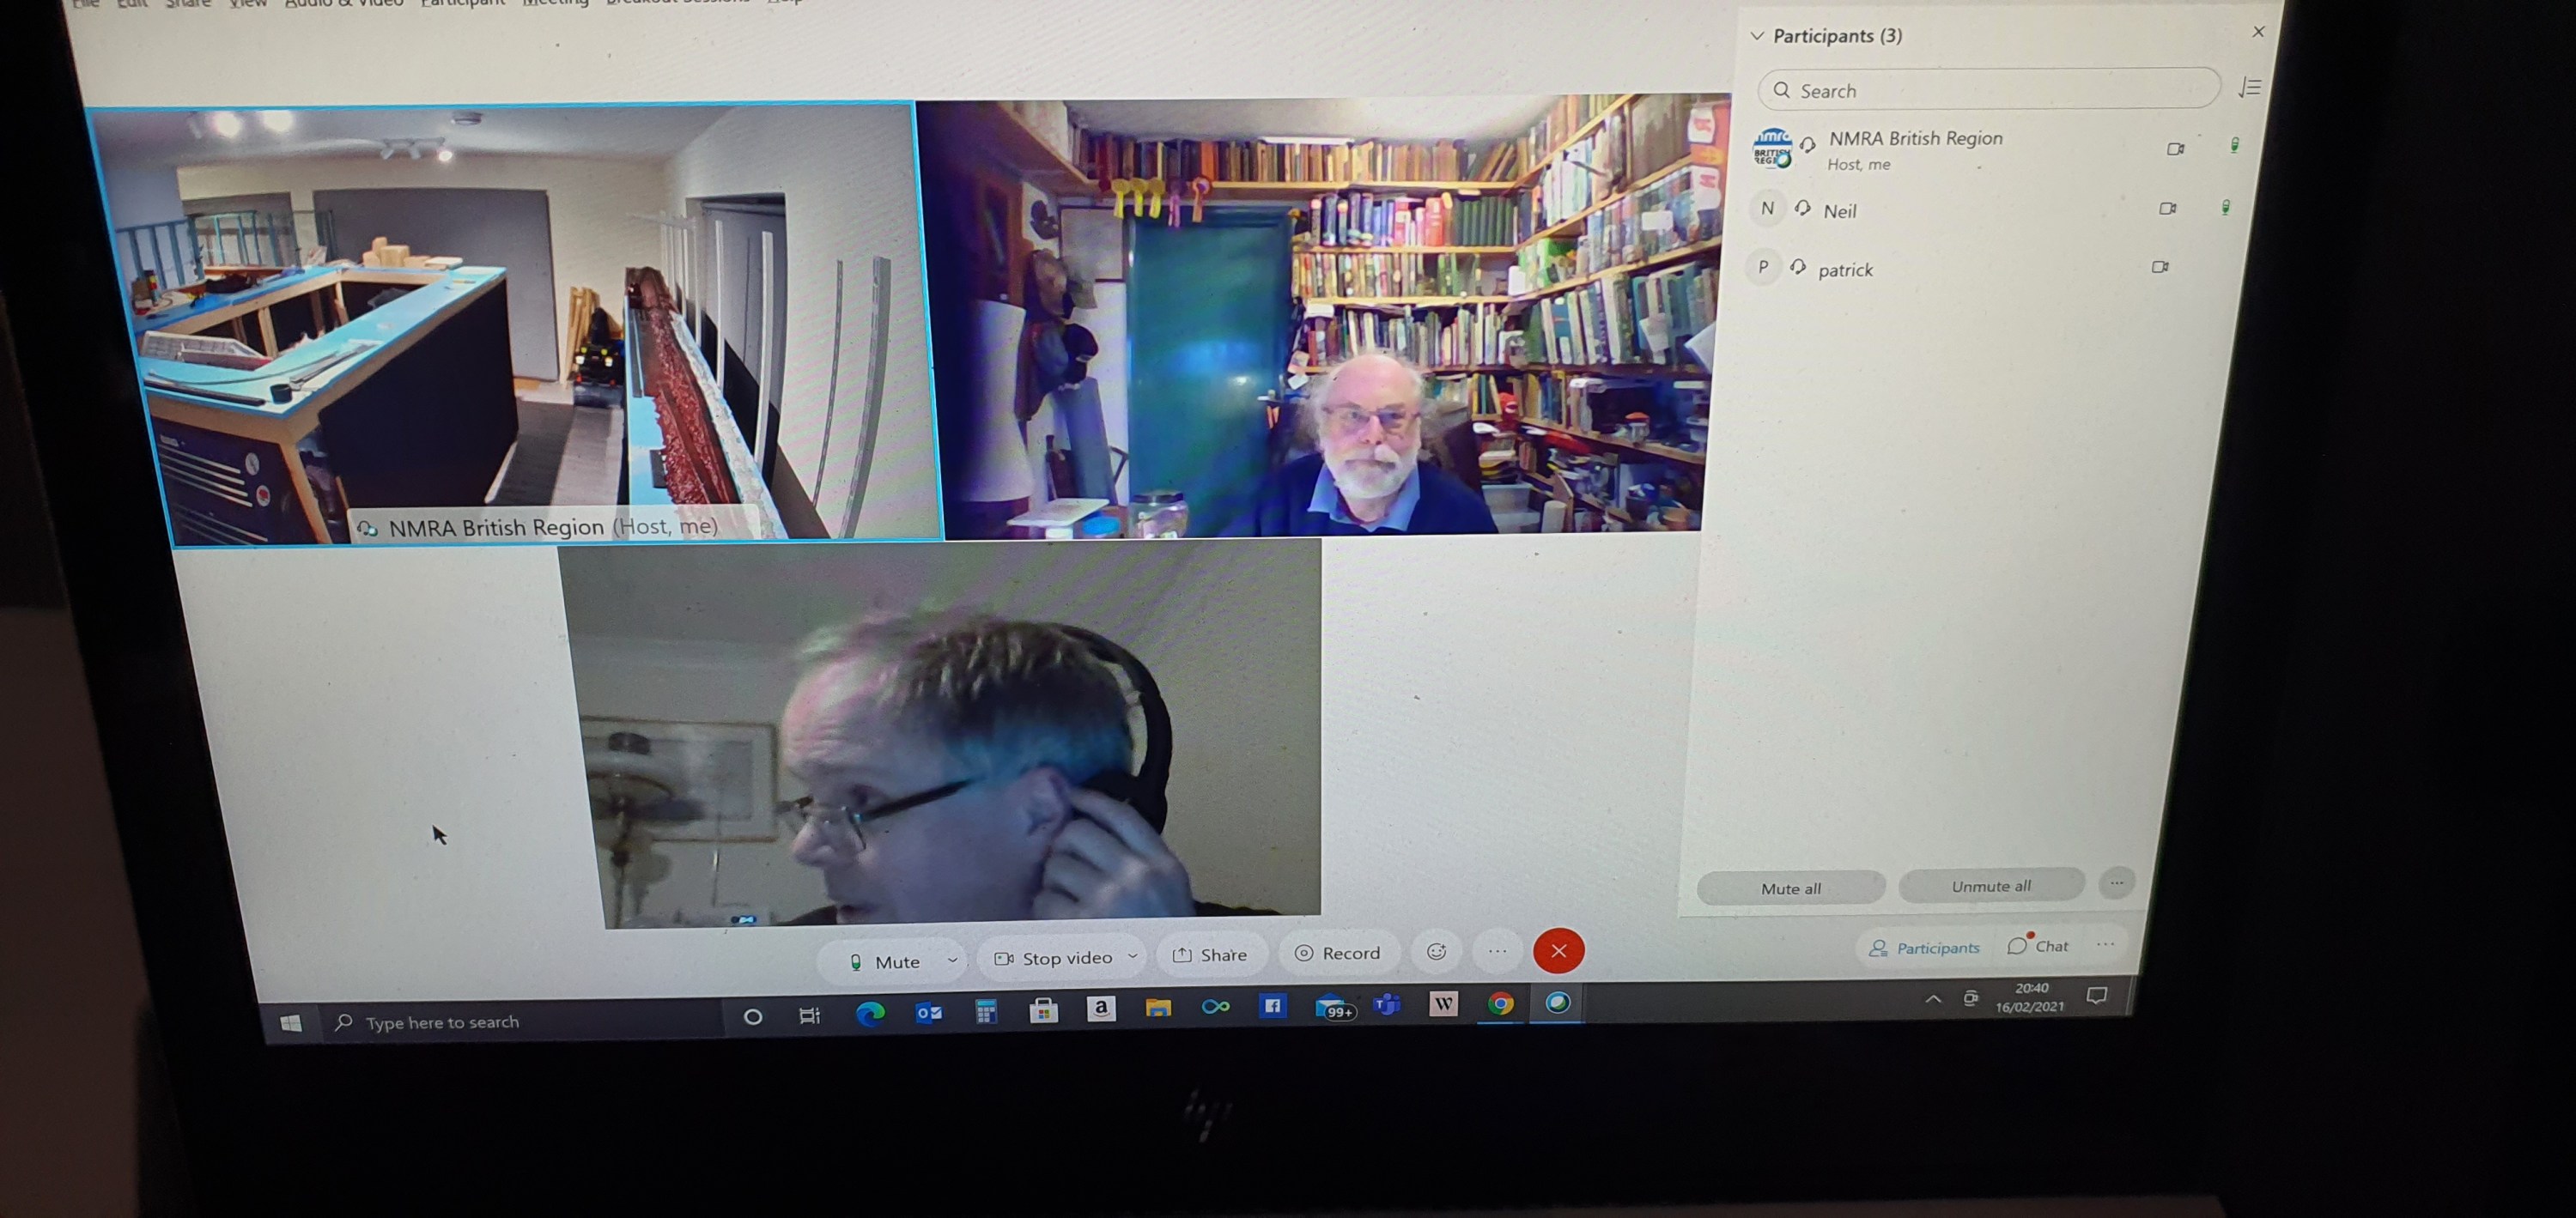
This weekend its the NMRA board of directors meeting, time in the train room is likely to be limited or well none existant, but I will do my best to get more track down for you guys. This morning though I presented to the NMRA British Region about the introduction to the NMRA Achievement Program known as the Golden Spike. The NMRA Achivement program is a set of 11 certificates covering a broad aspect of skills and techniques someone would use to build a model railroad. Upon obtaining 7 of these certificates across 4 sections you earn the title of Master Model Railroader. It usually takes multiple years of work to achieve the standard necessary for this award.
https://www.nmra.org/education/achievement-program
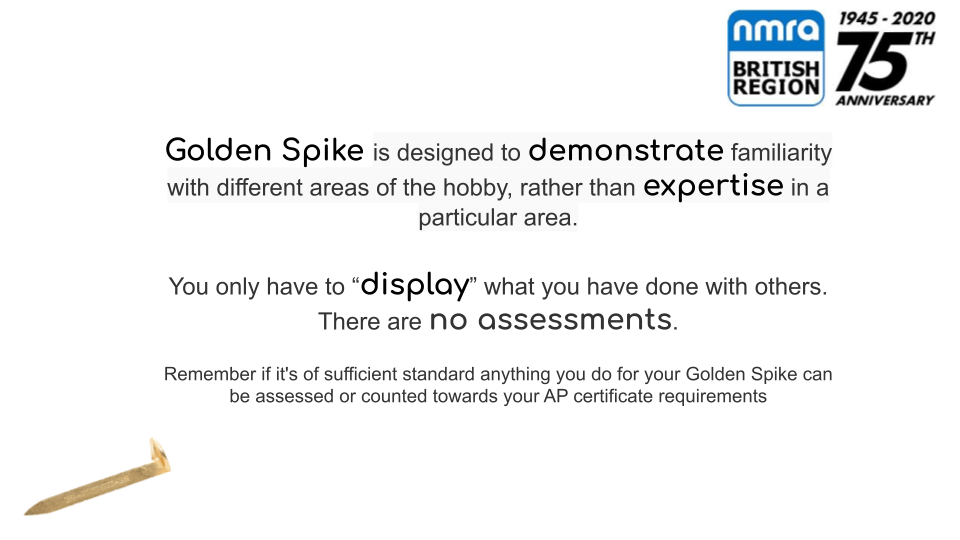
The Golden spike is an introduction to the program, its about doing the work rather than being an expert in it. If you complete the award you will get a certificate and are probably well on your way to completing one or two of the more in depth AP awards that exist. Below are the slides from my presentation and a PDF version at the bottom if anyone wishes to use this for reference or to present themselves. More information can be found on the NMRA website https://www.nmra.org/golden-spike-award


You can download a copy of the presentation here:
30mins a day pays off even if that’s at the end of a work day that started at 8am and finished at 11:15pm. Its all part of the fun of model railroading to go and wind down from the daily grind for 30 mins after work. Its not as healthy as a exercise but better than a pint down the pub, remember them?
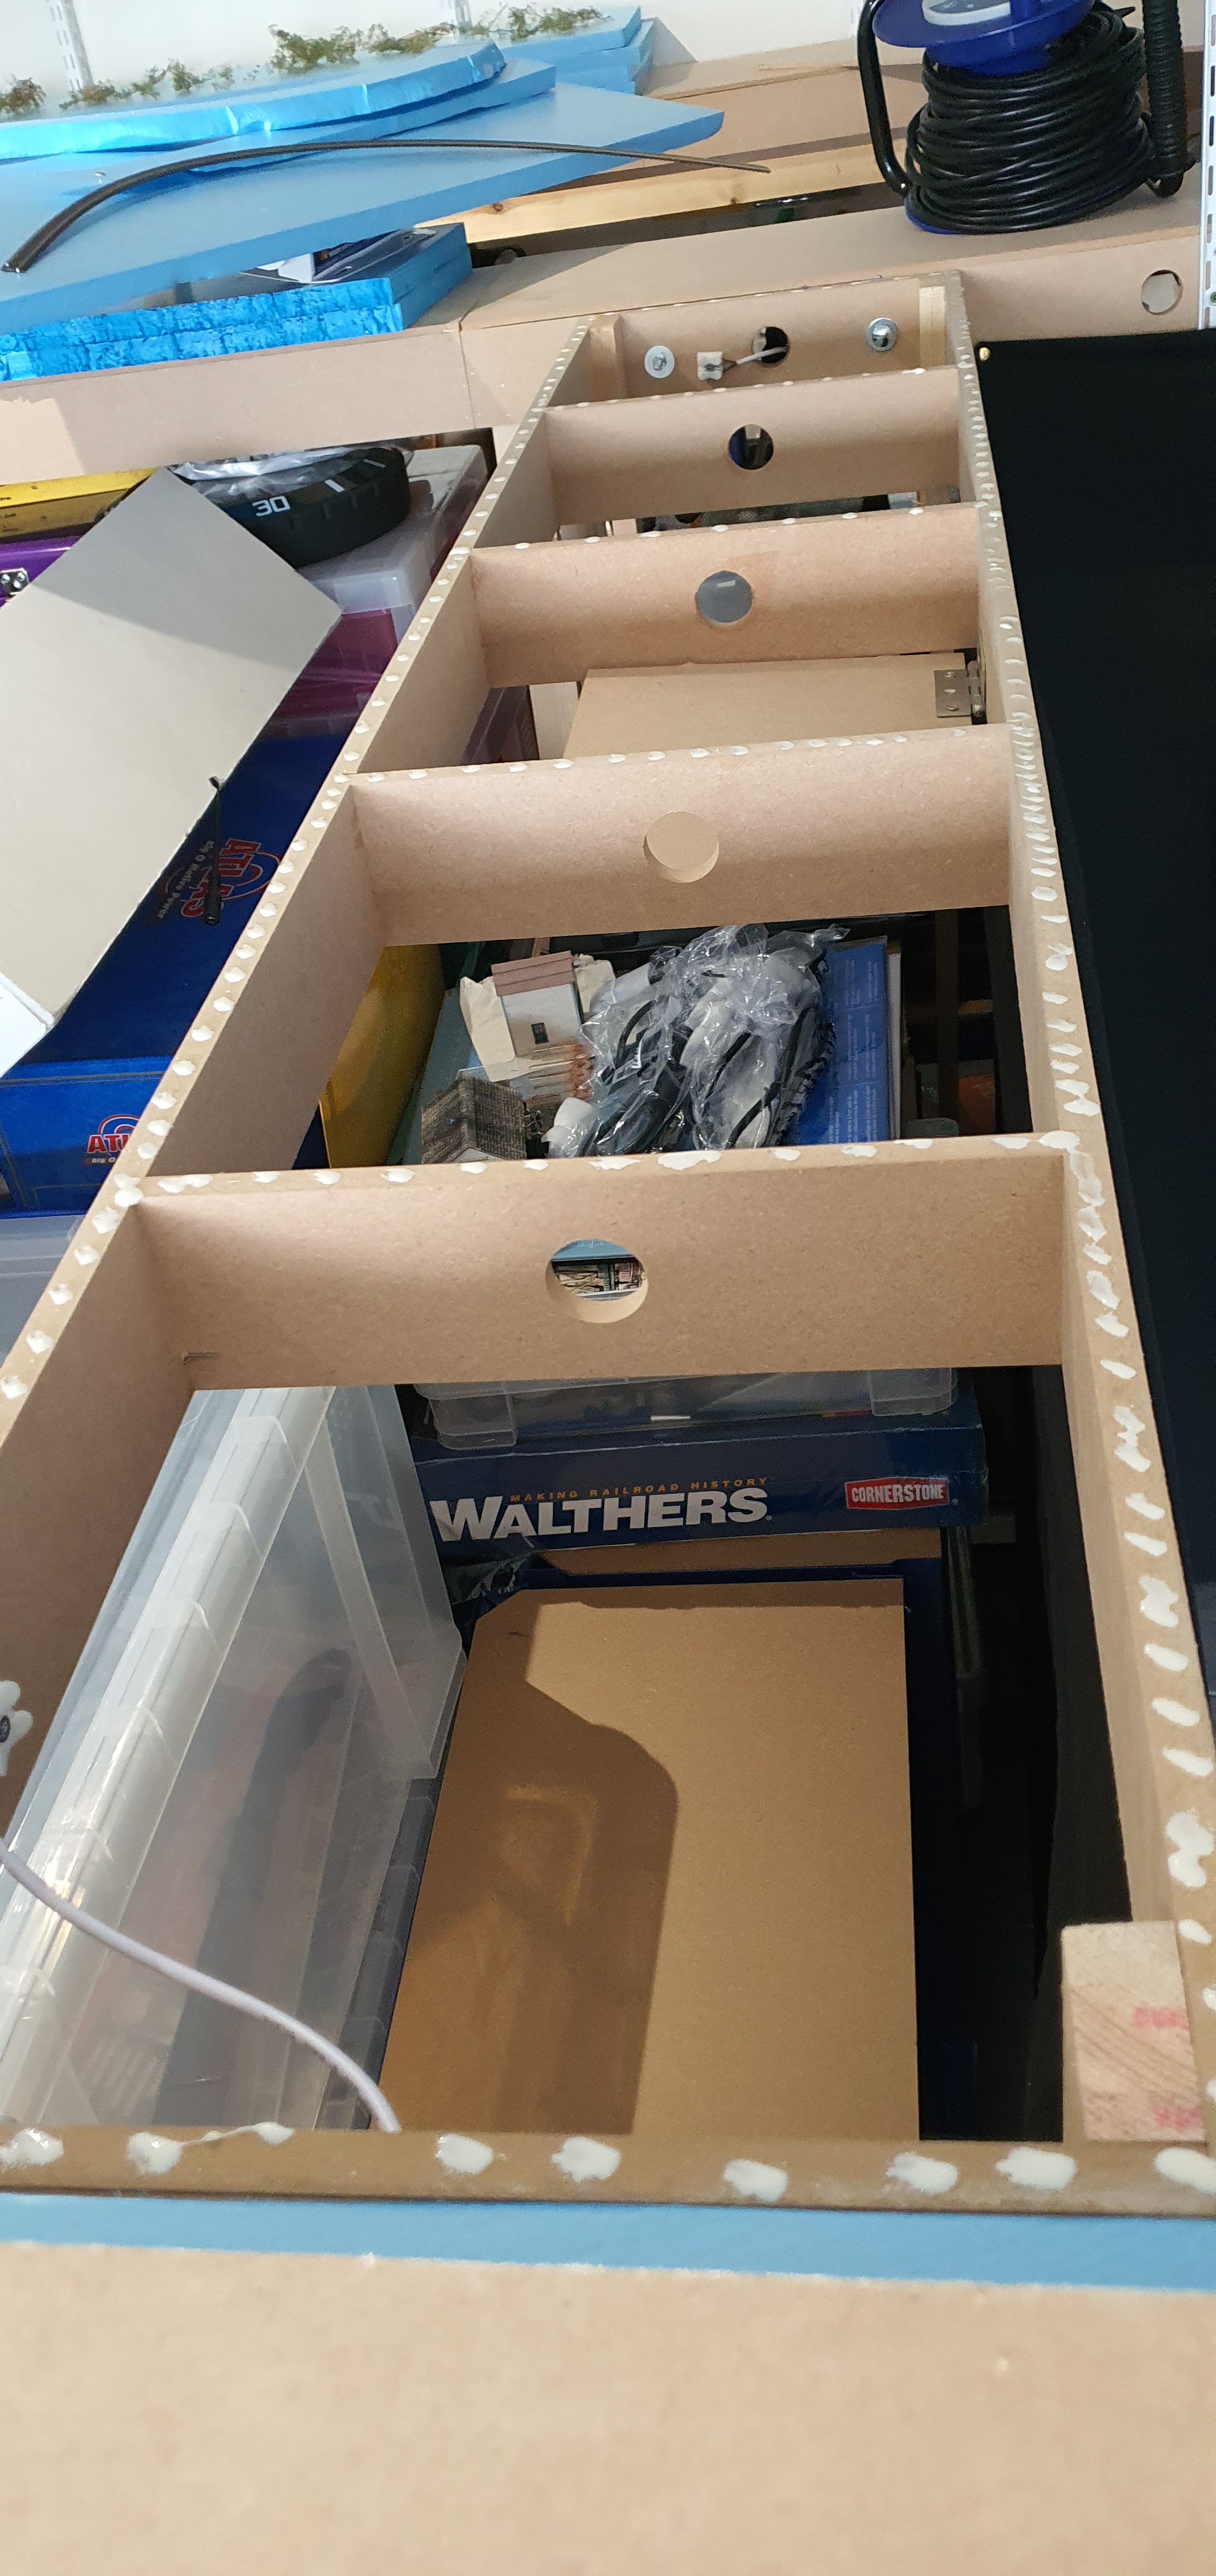
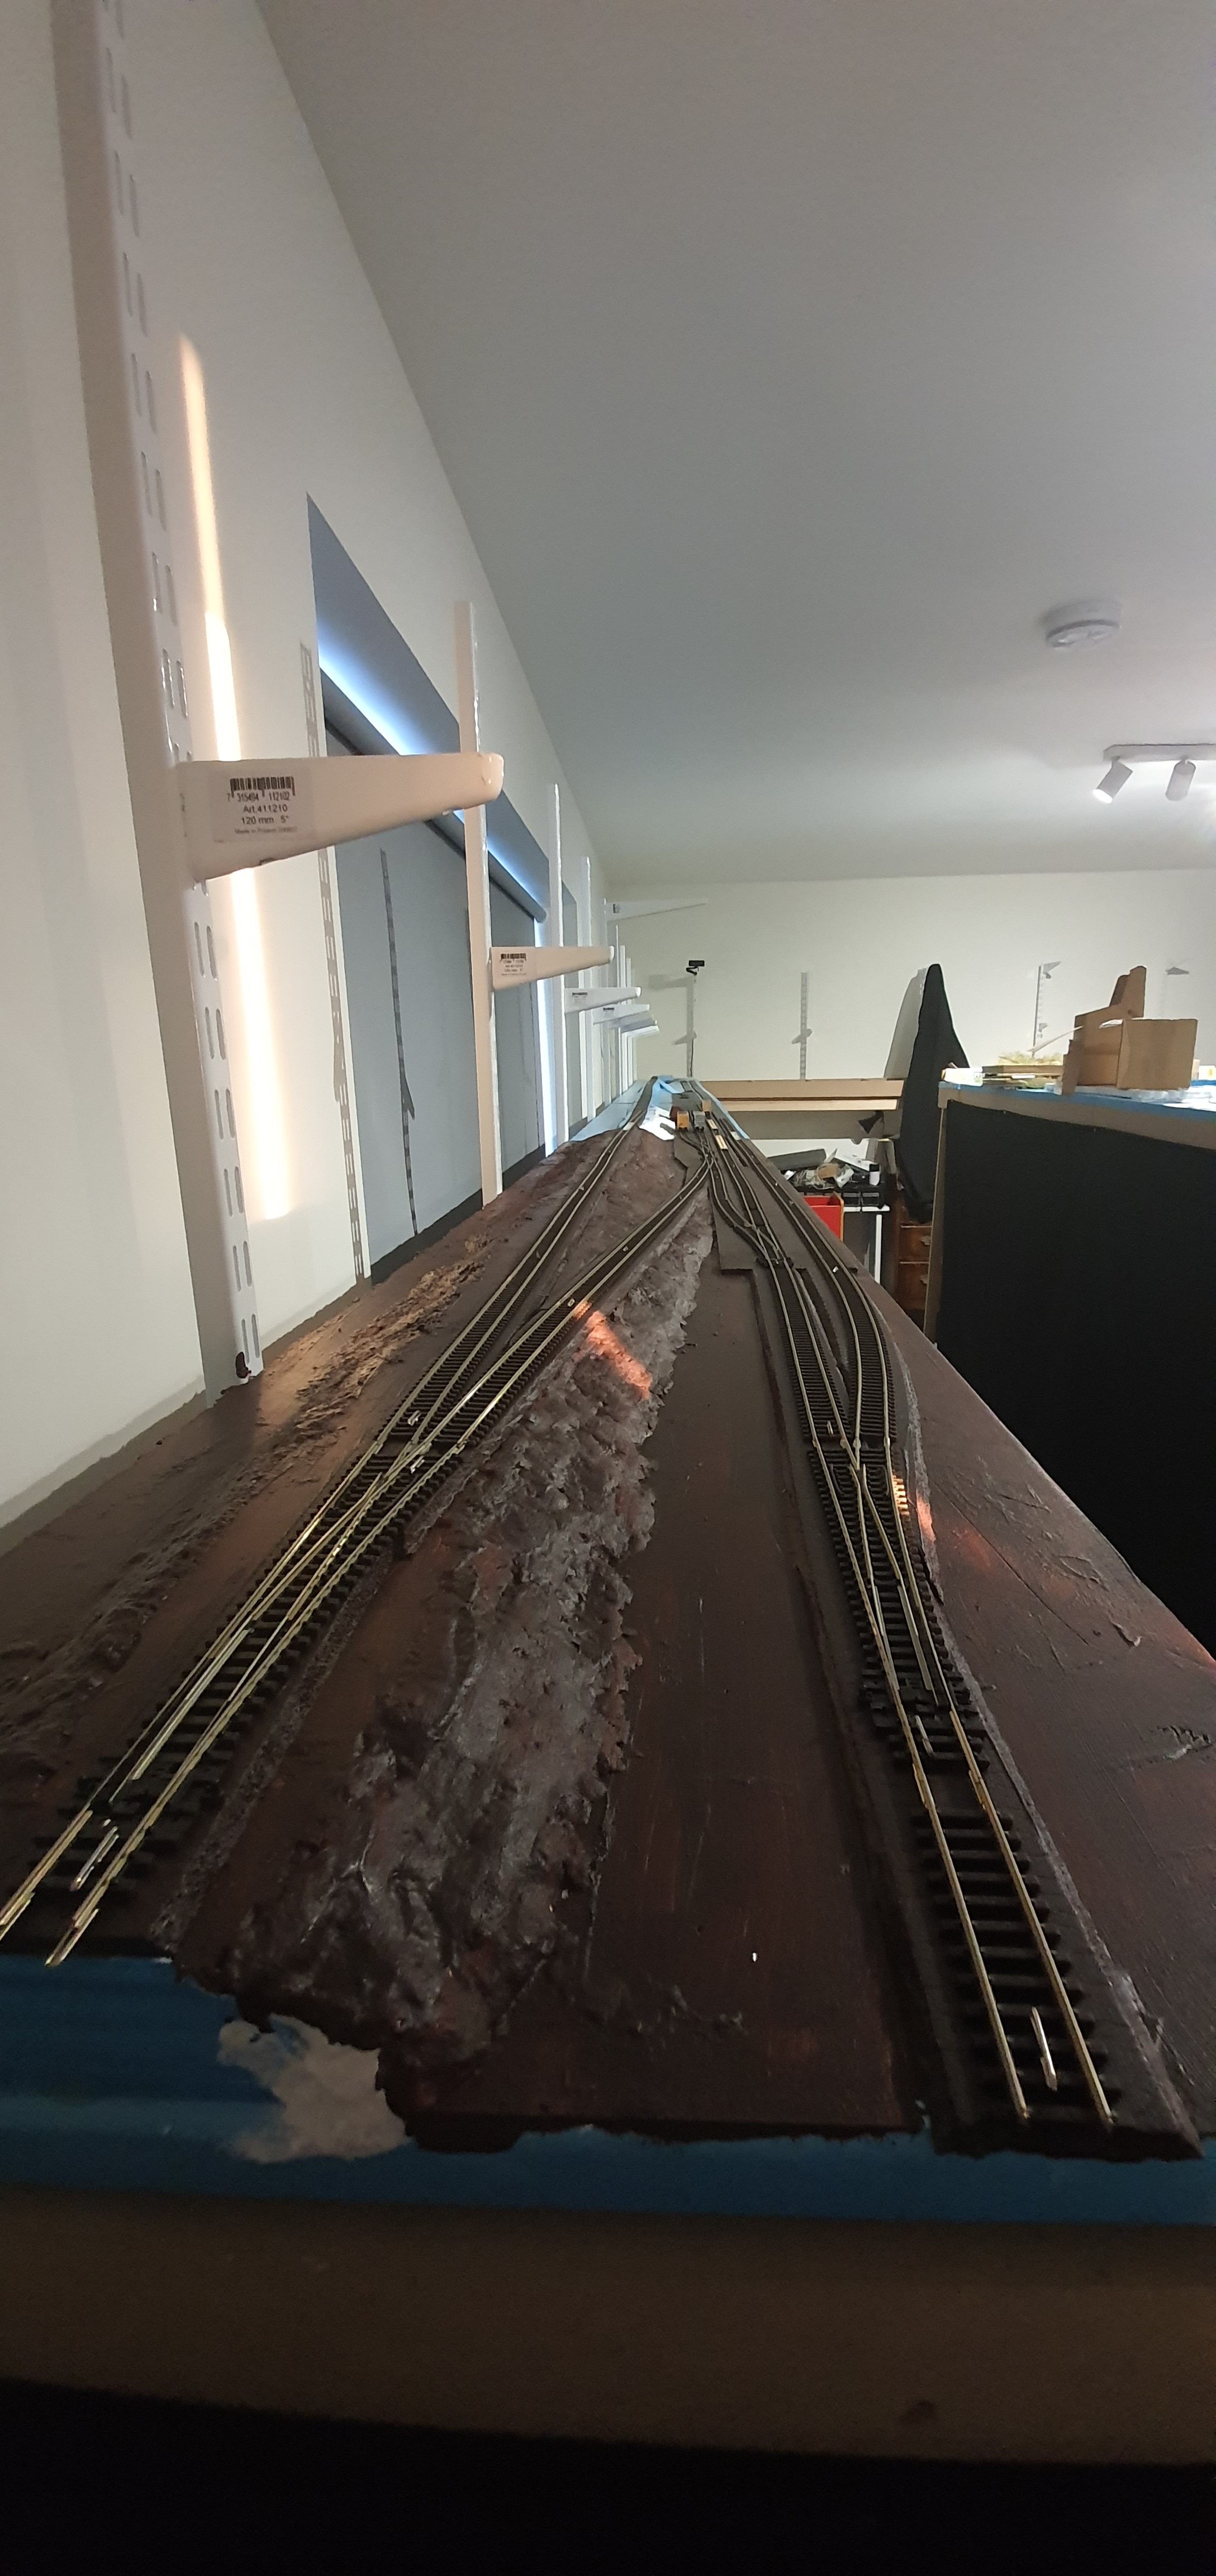
Anyway on to business, Ackerville is a large section of my layout about 17ft before it curves at the southern end. I need to get this first section finished for my scenery AP certificate so I am focusing on getting that to a completed state first, then moving onto the rest of the layout.

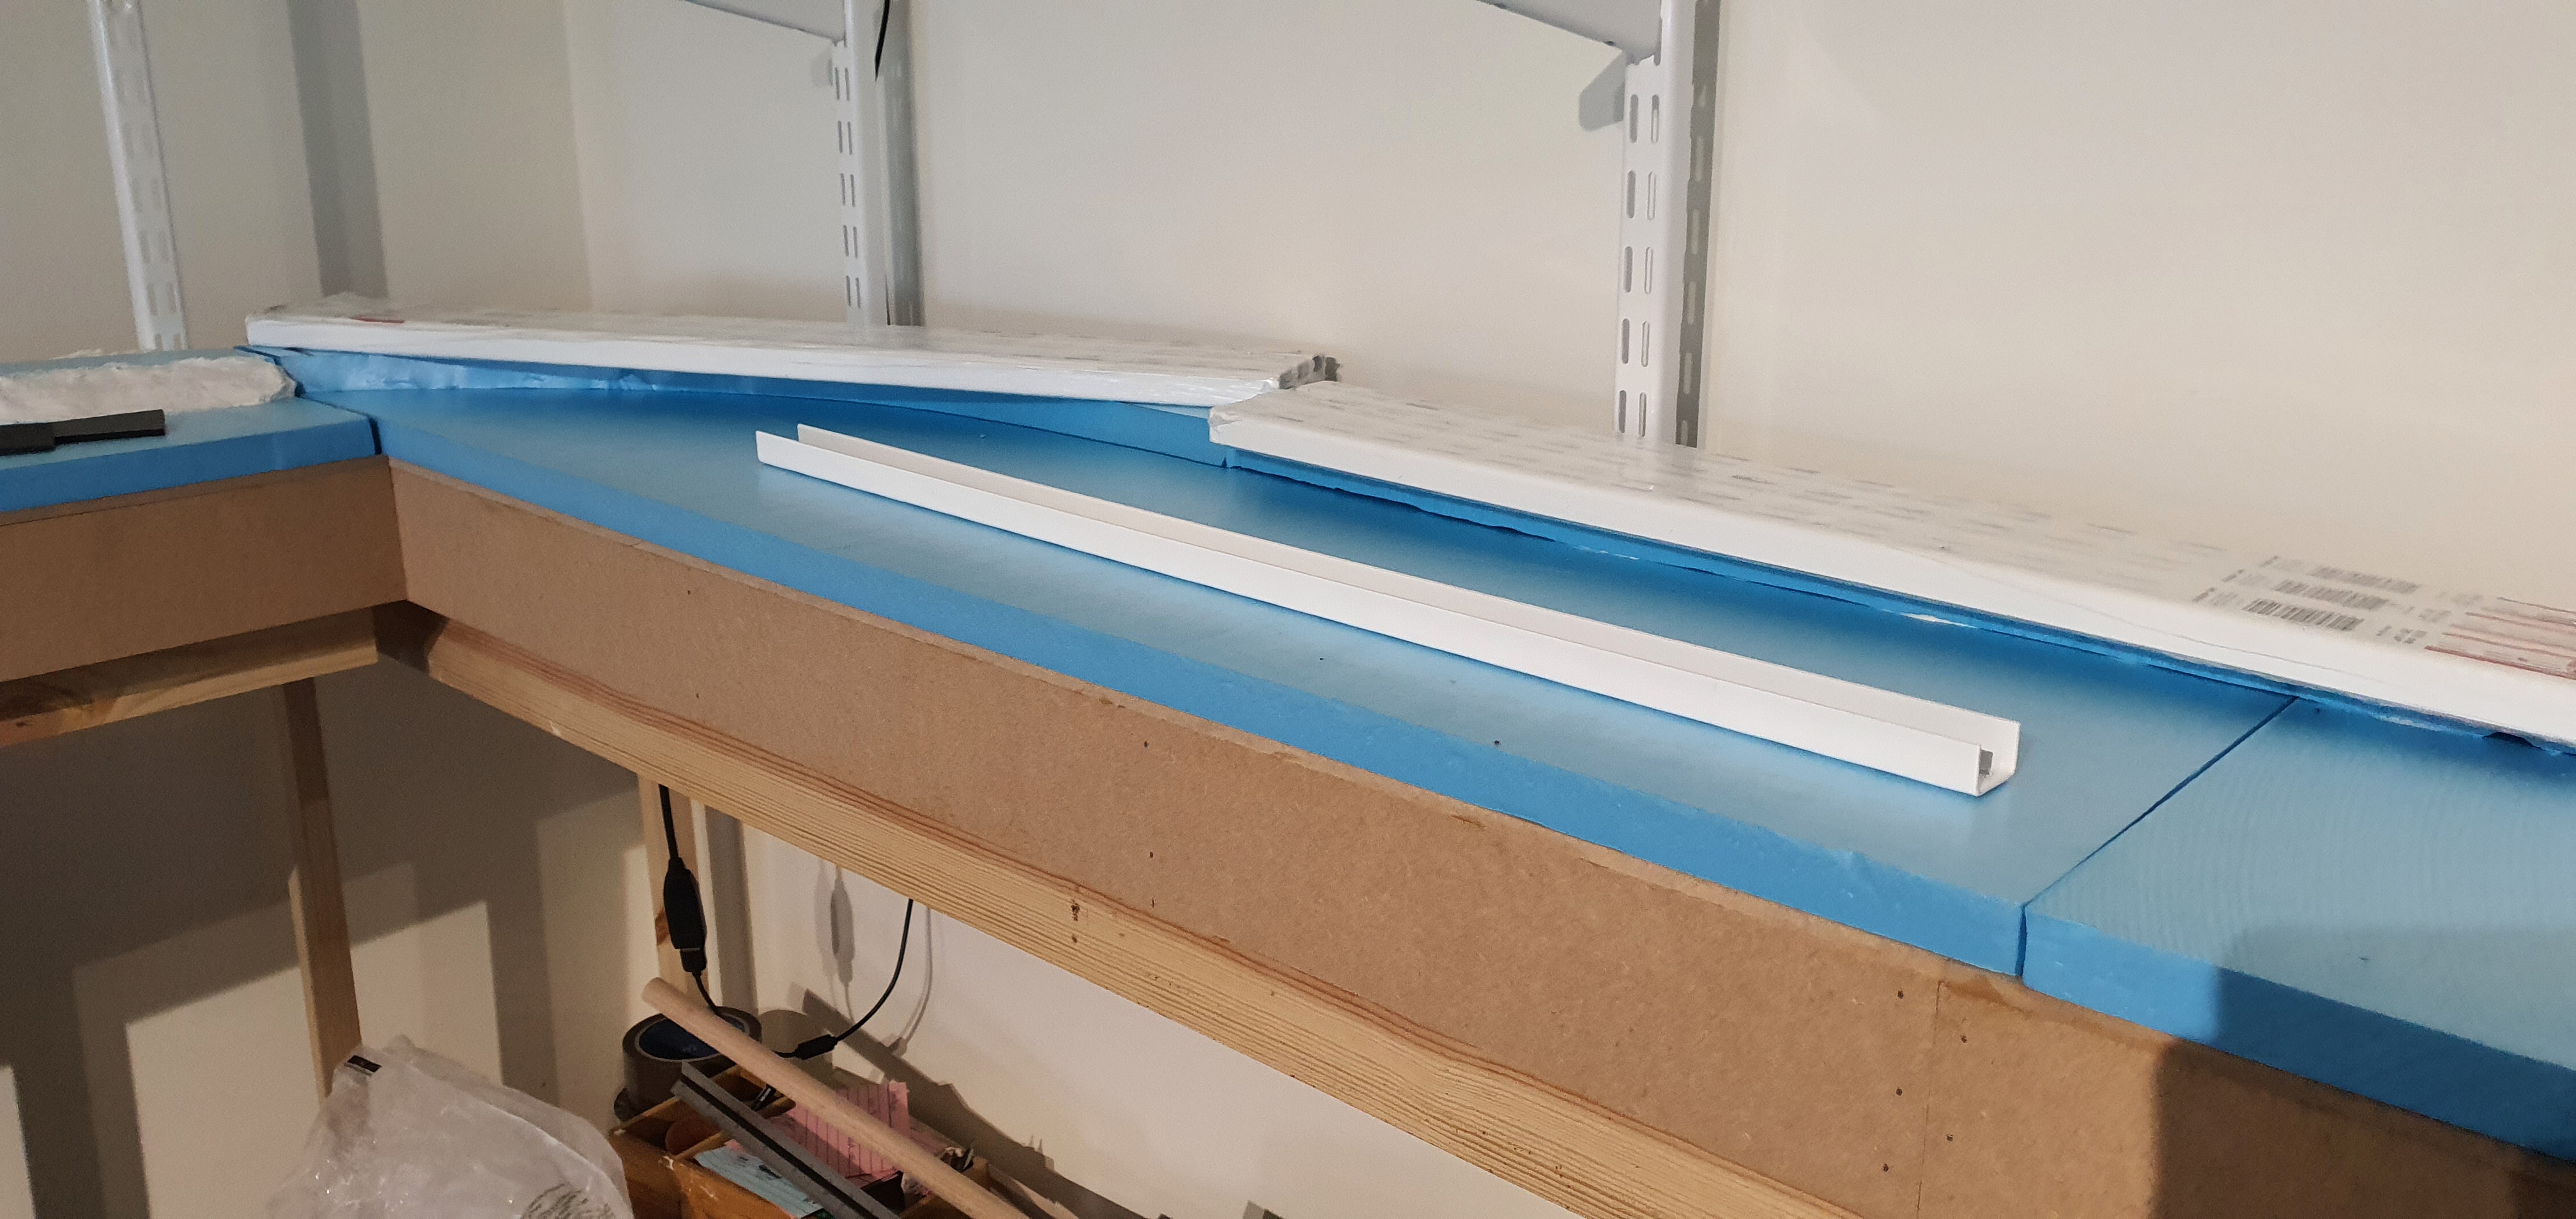
If you have been following the blog you’ll know alot has been done already but I left the roadbed at the Southern end while I worked out how to tackle the CN main line curve.

I want 18in radius curves as a minimum where I can get away with them. Modern stock and locomotives don’t look or perform well on anything less.

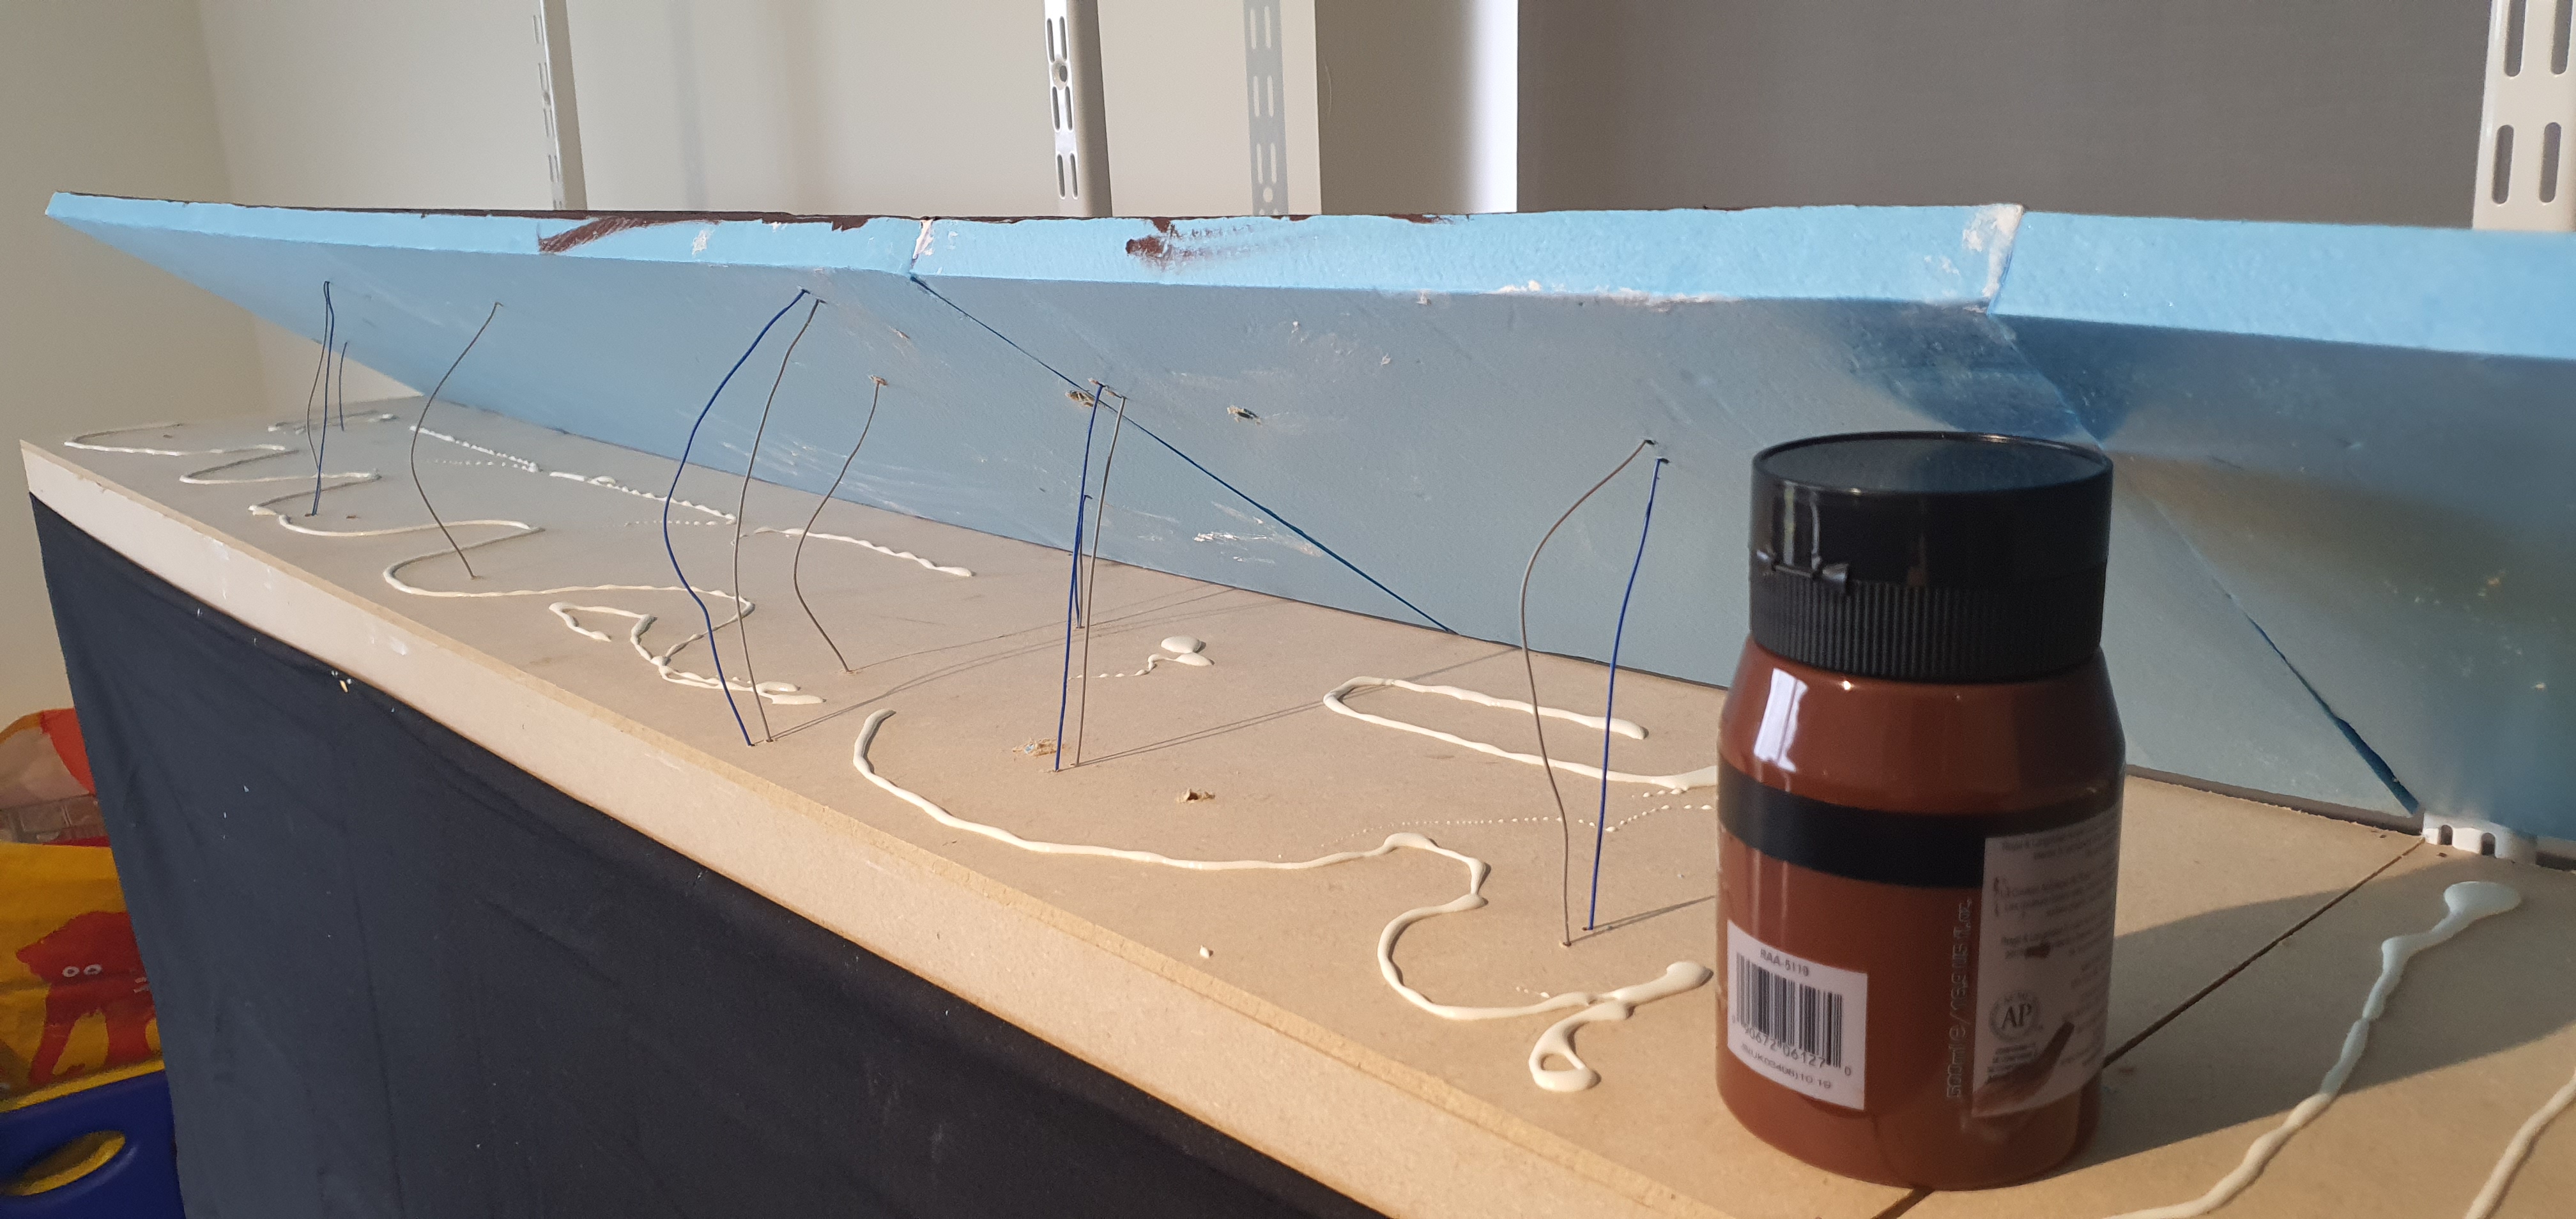
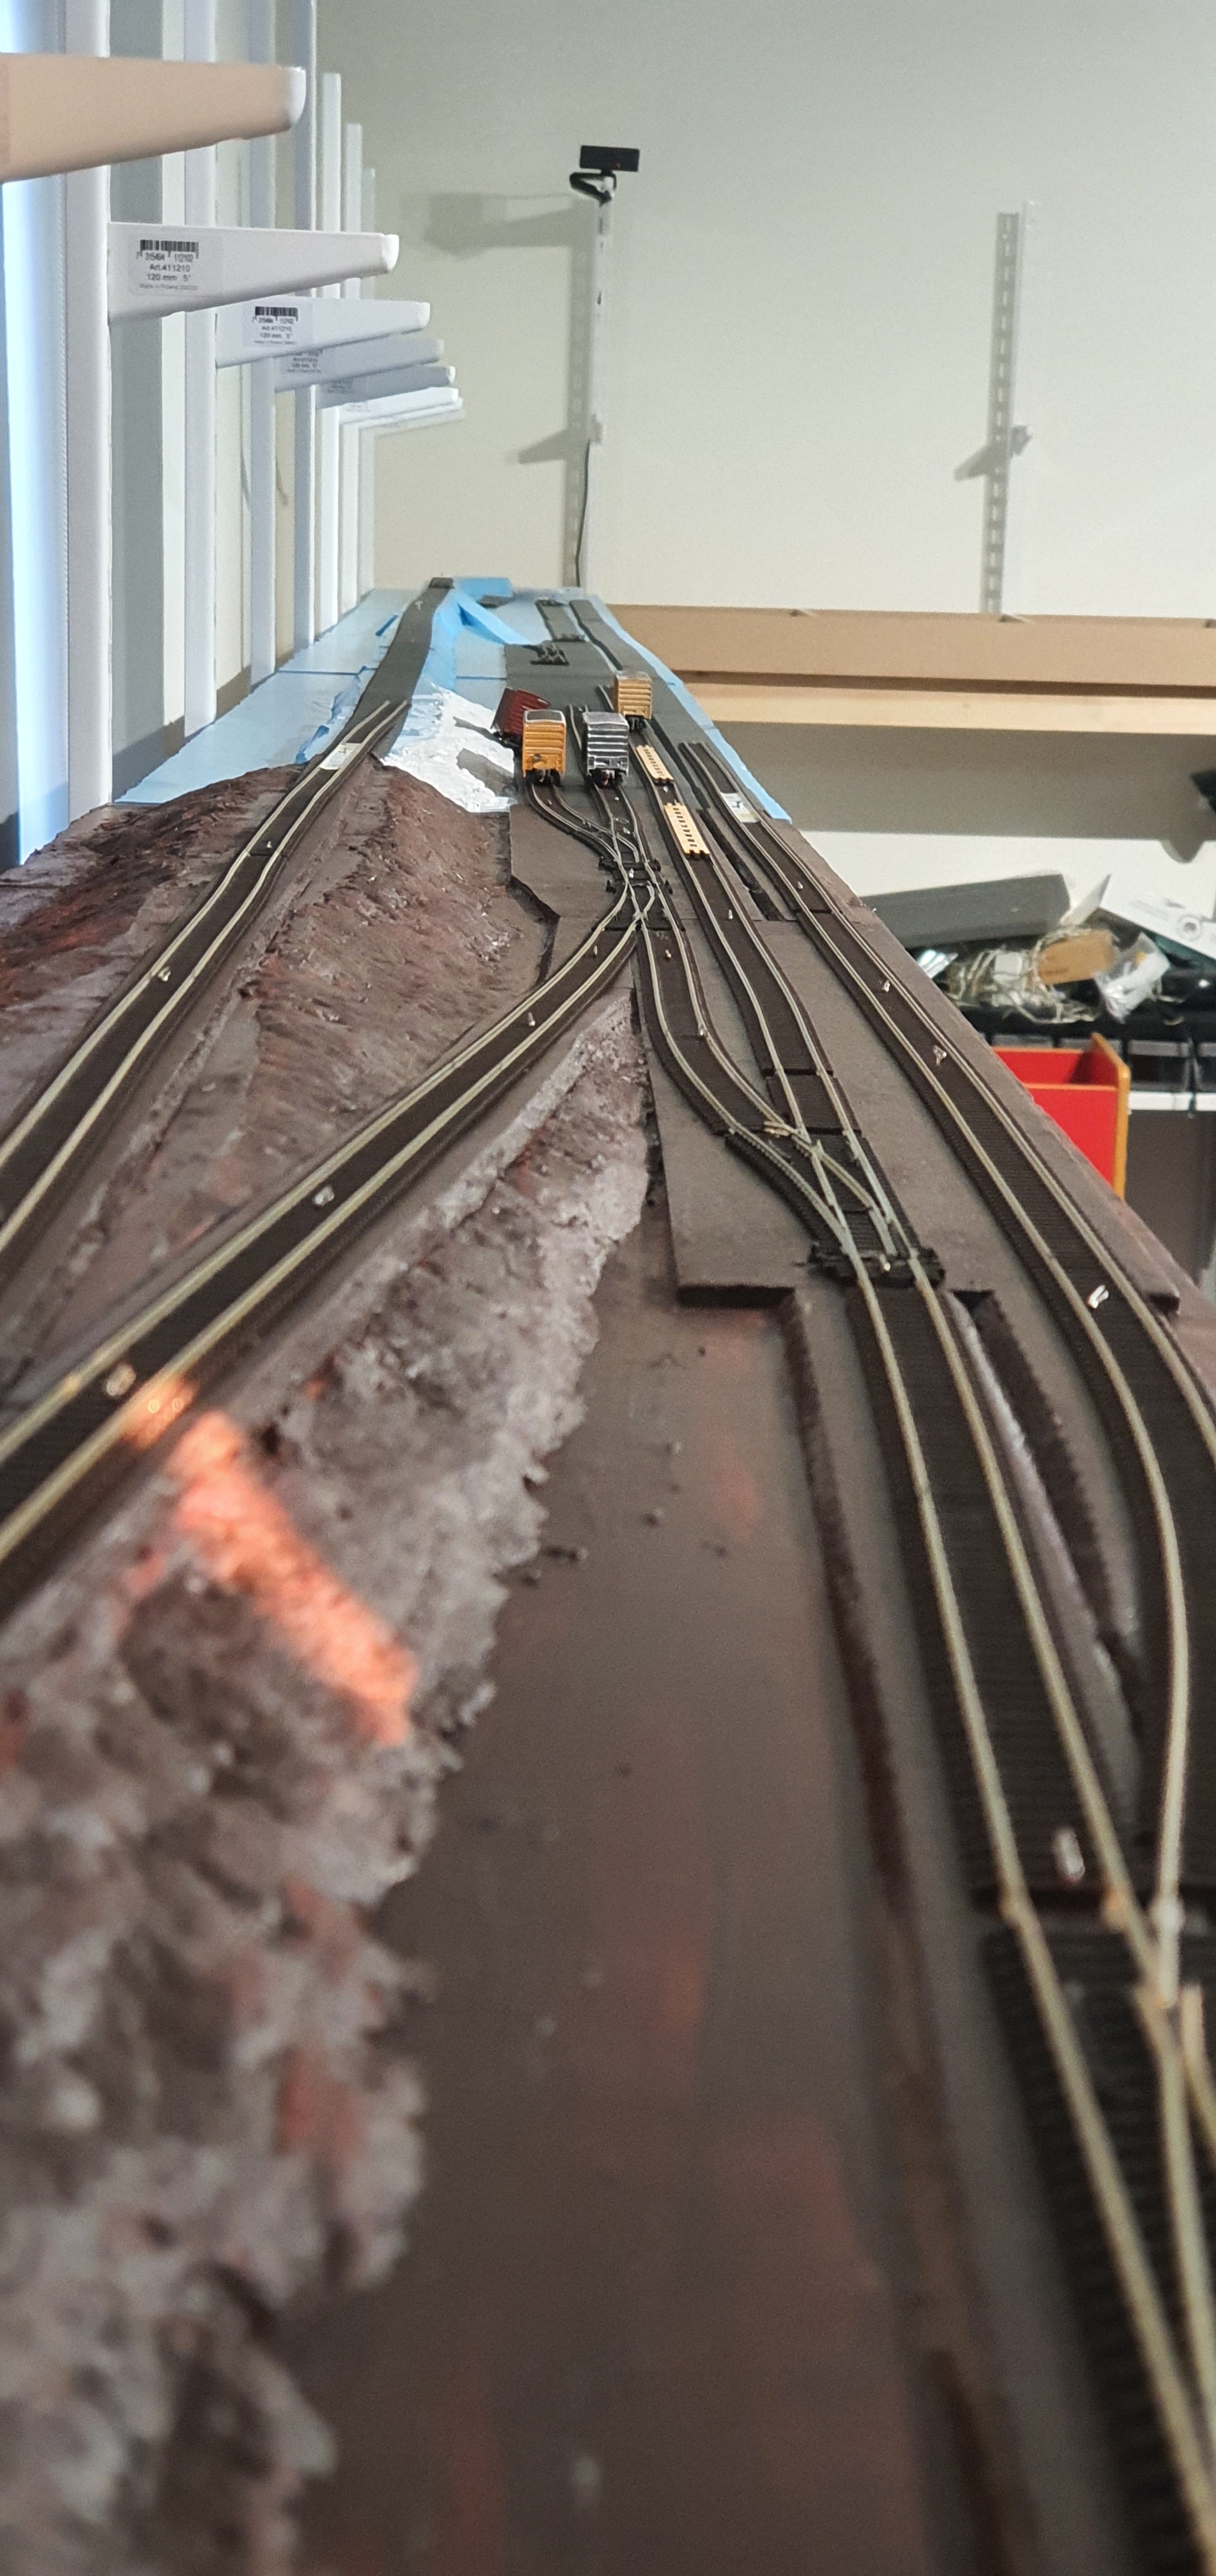
There is a turnout in this section so the mainline (left) roadbed went in first followed by the diverging (right) route.

This picture and unfortunately the glue went down before I realised I need to slew the roadbes towards the rear of the baseboard to get the curve in. Ah well lesson learnt.

The next thing was the corner. I am using woodland scenics roadbed which has a score line along it that you cut to bed round corners thats the next thing I did on two 24″ lengths for the lower corner.
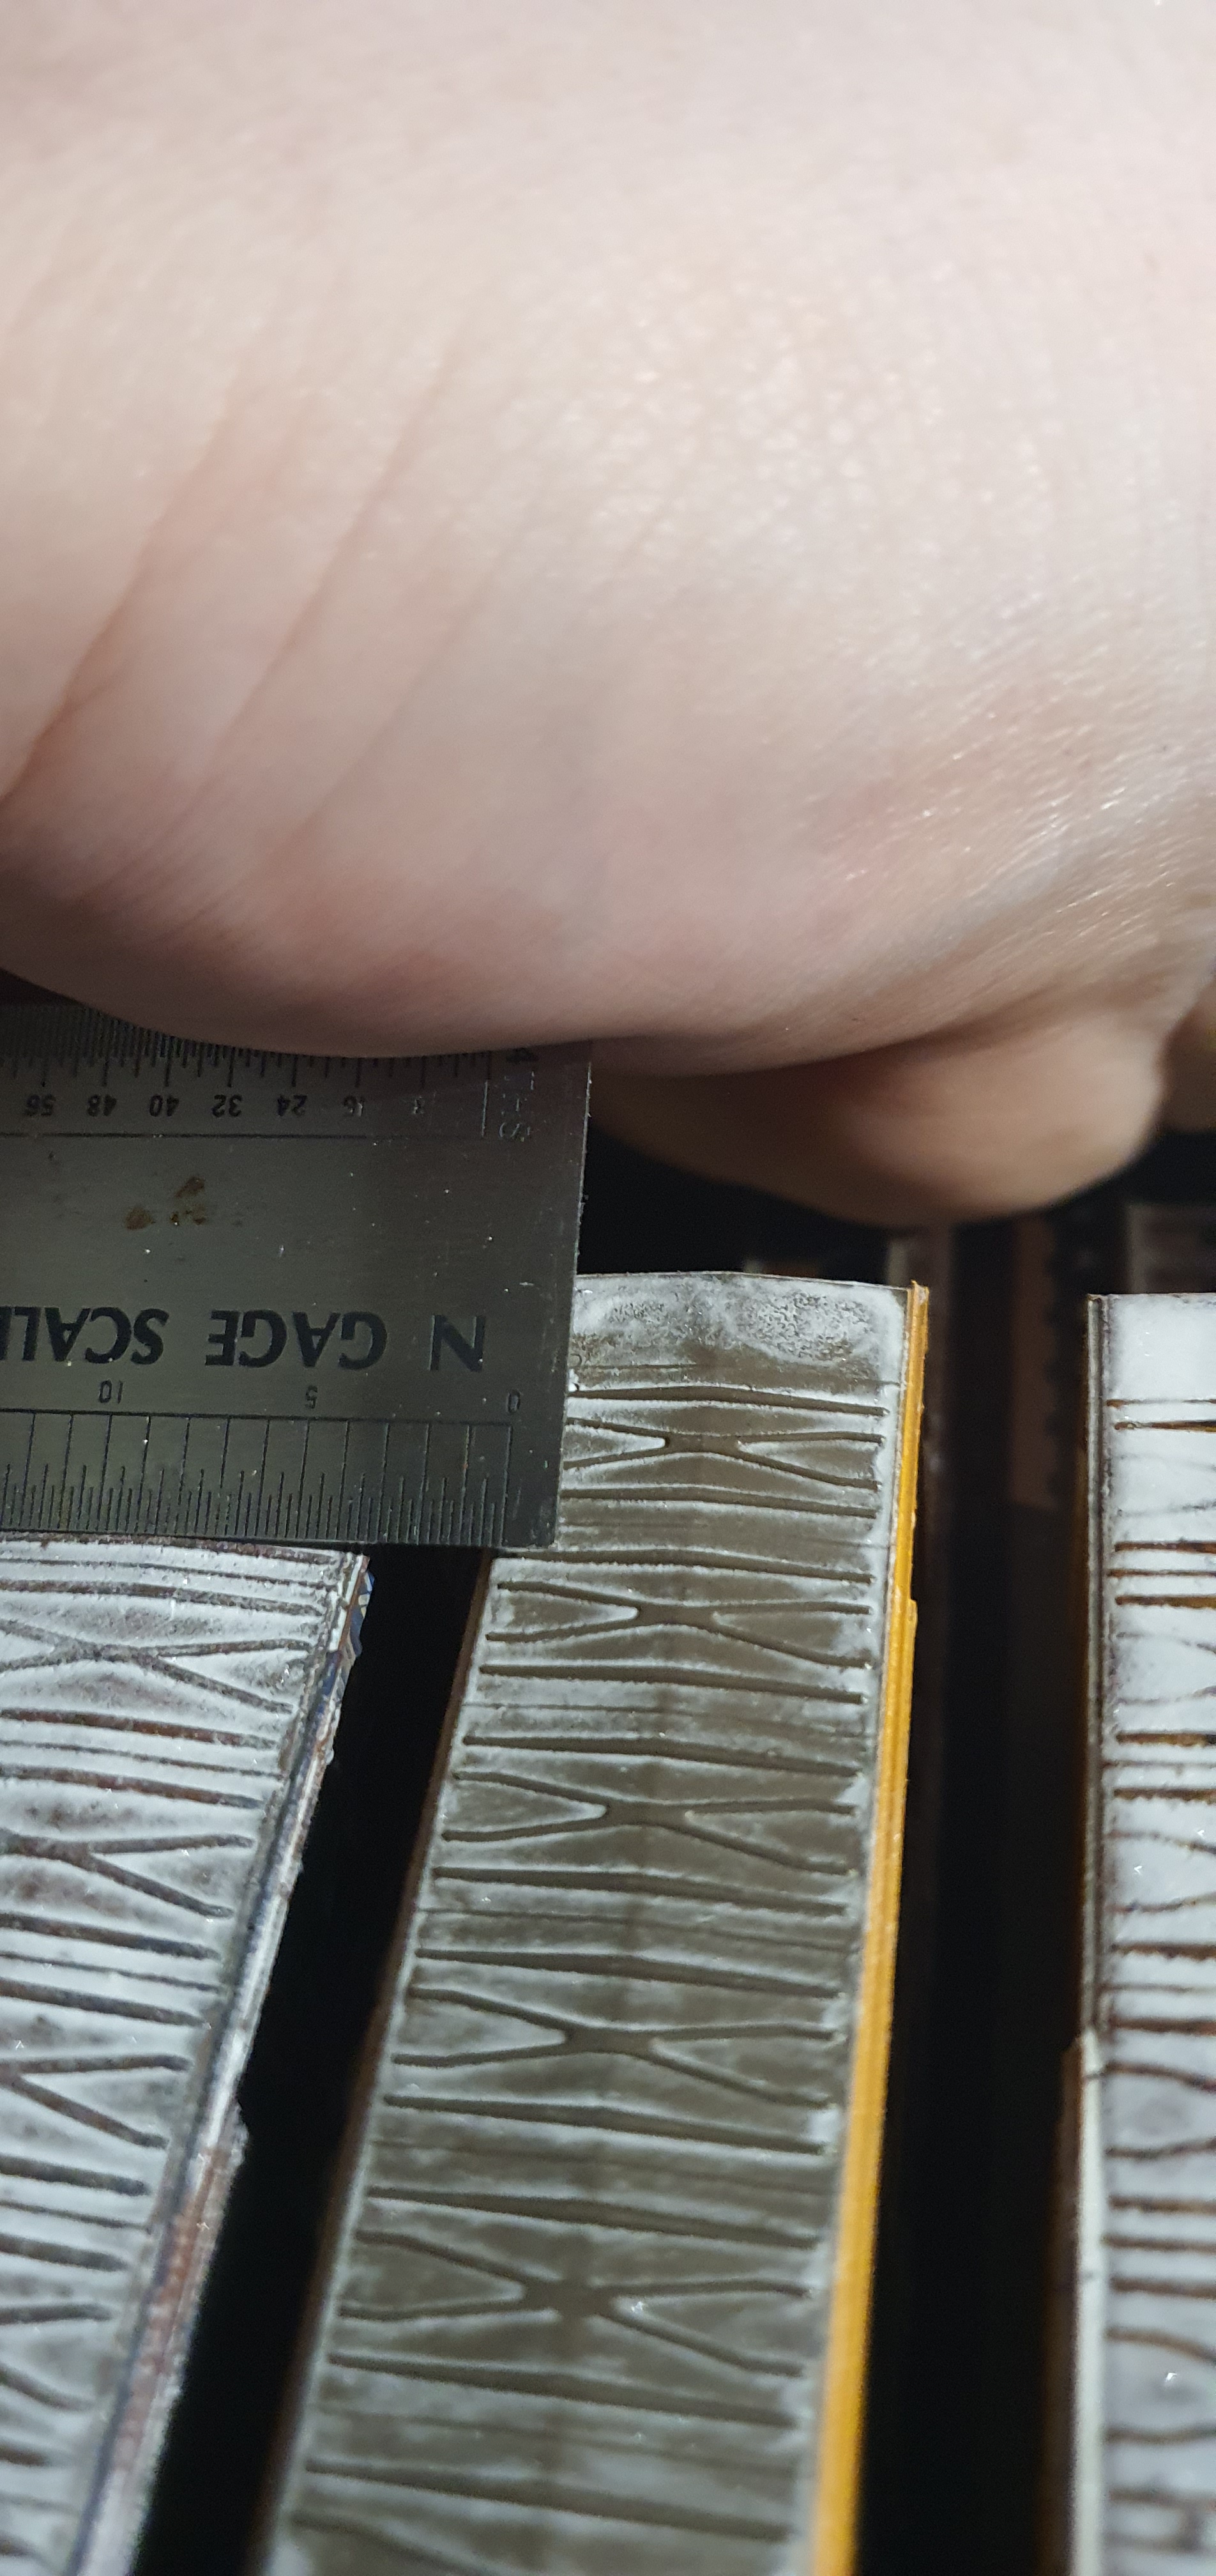
You can see the gap and double row of pins in these pictures in contrast to the upper curve which is slightly greater than 18″


18 inches is an OK radius but I am still going to super elevate the track on these corners it’d going to be tough to run longer stock through them otherwise.
Well its Friday, have a great weekend. I’ll be doing what I can to create more content for you but its the NMRA Winter Board meeting and that will take up alot of my time.
Gordy
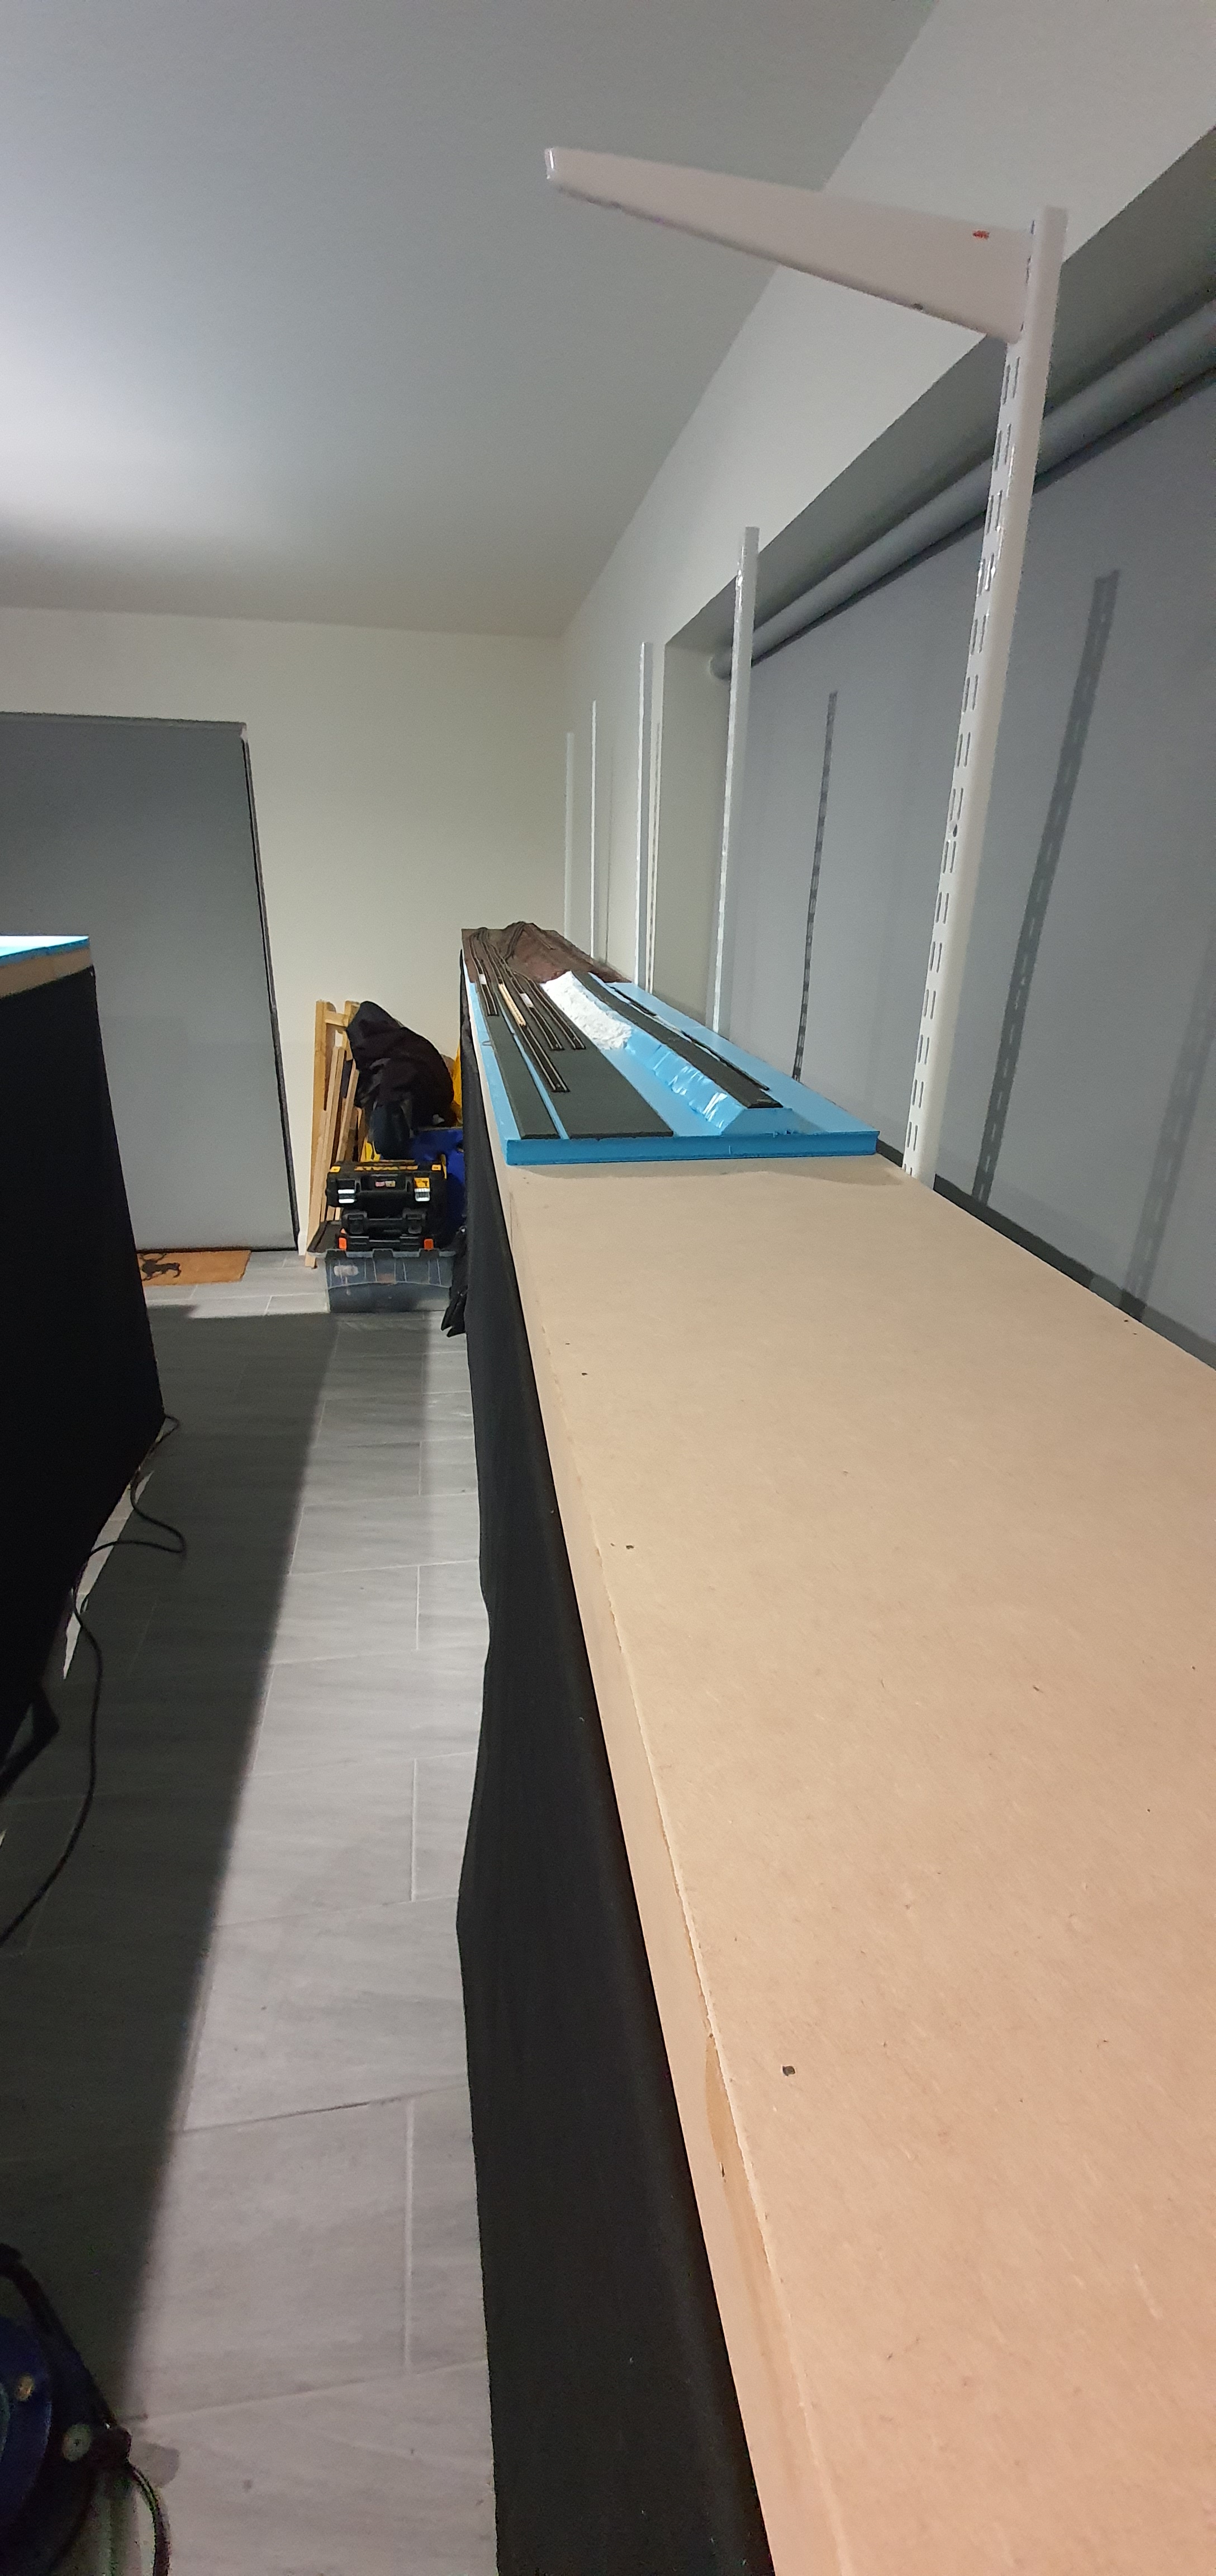
Well today not alot of modelling has been done, in fact none because I have spent my modelling time reparing and assembling a standing desk for work and my NMRA work.

Don’t worry the beer fridge survived and the home office layout. I might even squeze a few extra monitors to the right there.
I did manage to complete reading the NMRA BOD reports pack though tonight and thats the life of a Director that people don’t see. However, the best way to connect with model railroaders in 2020-2021 is of course Zoom and so onto the AML Patreon Wednesday Night Chat to catch up with modelers from around the globe.

This was early in the night but the conversation soon turned to Yellow snow!!!! Anyway if you haven’t listened to the AML Podcast you should check it out here: https://www.amodelerslife.com/
Tonight it was our Scotland div monthly meeting and so whilst chatting about AP, projects and Swedish locomotives painted funny colours I got the paint brush out and painted the rest of ackerville.
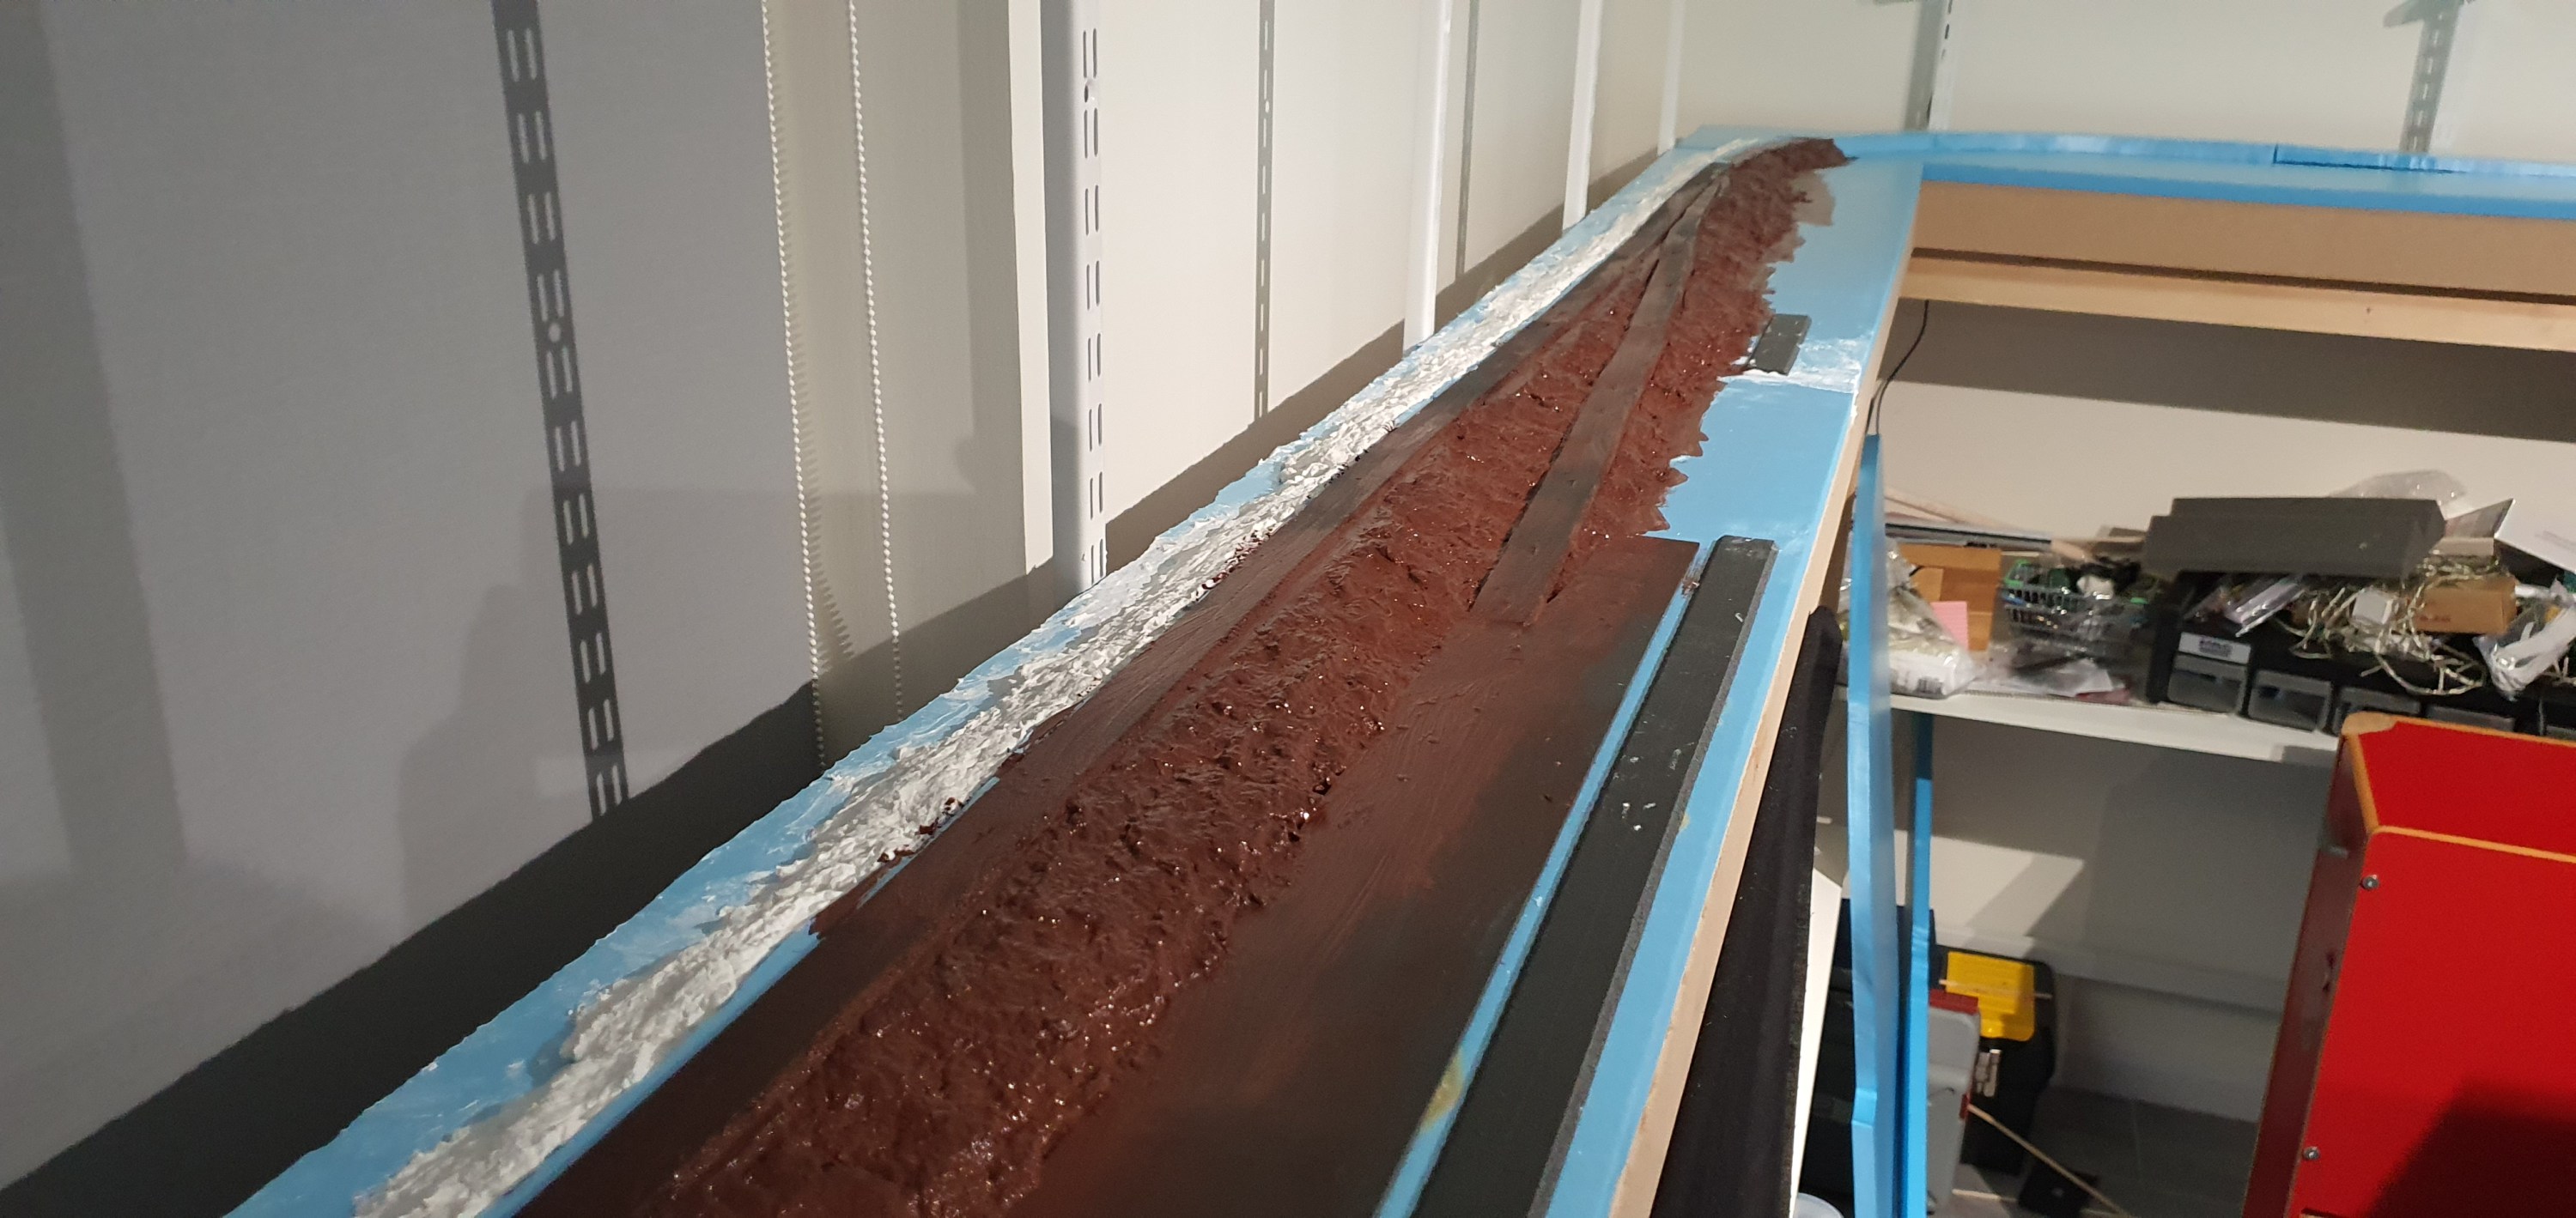
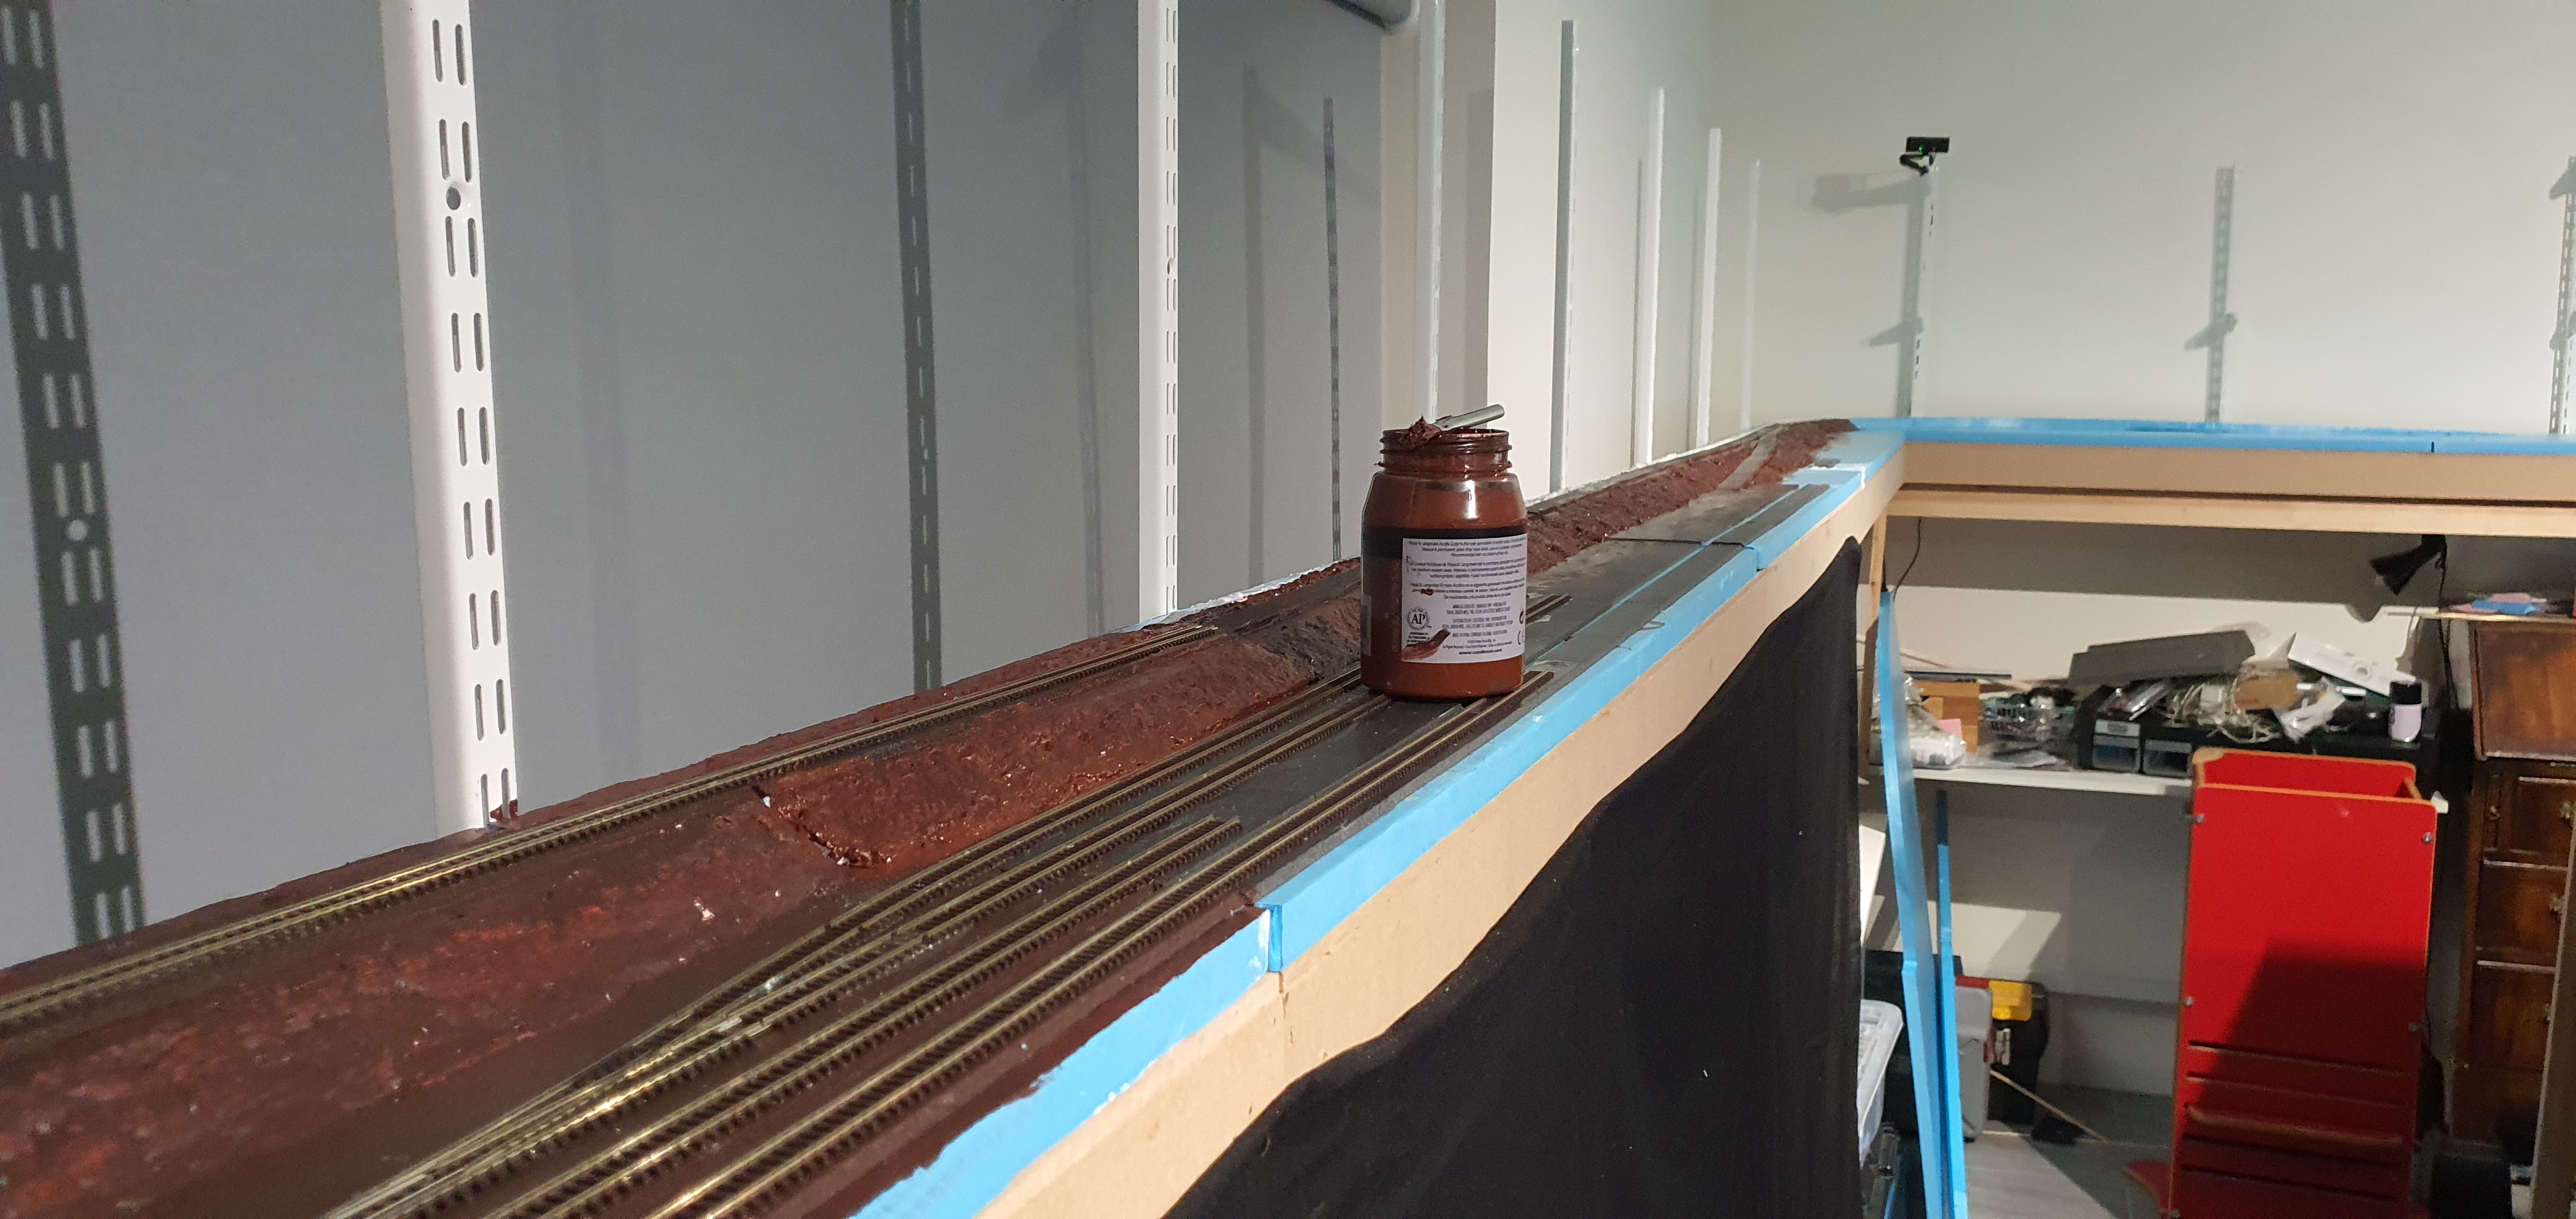
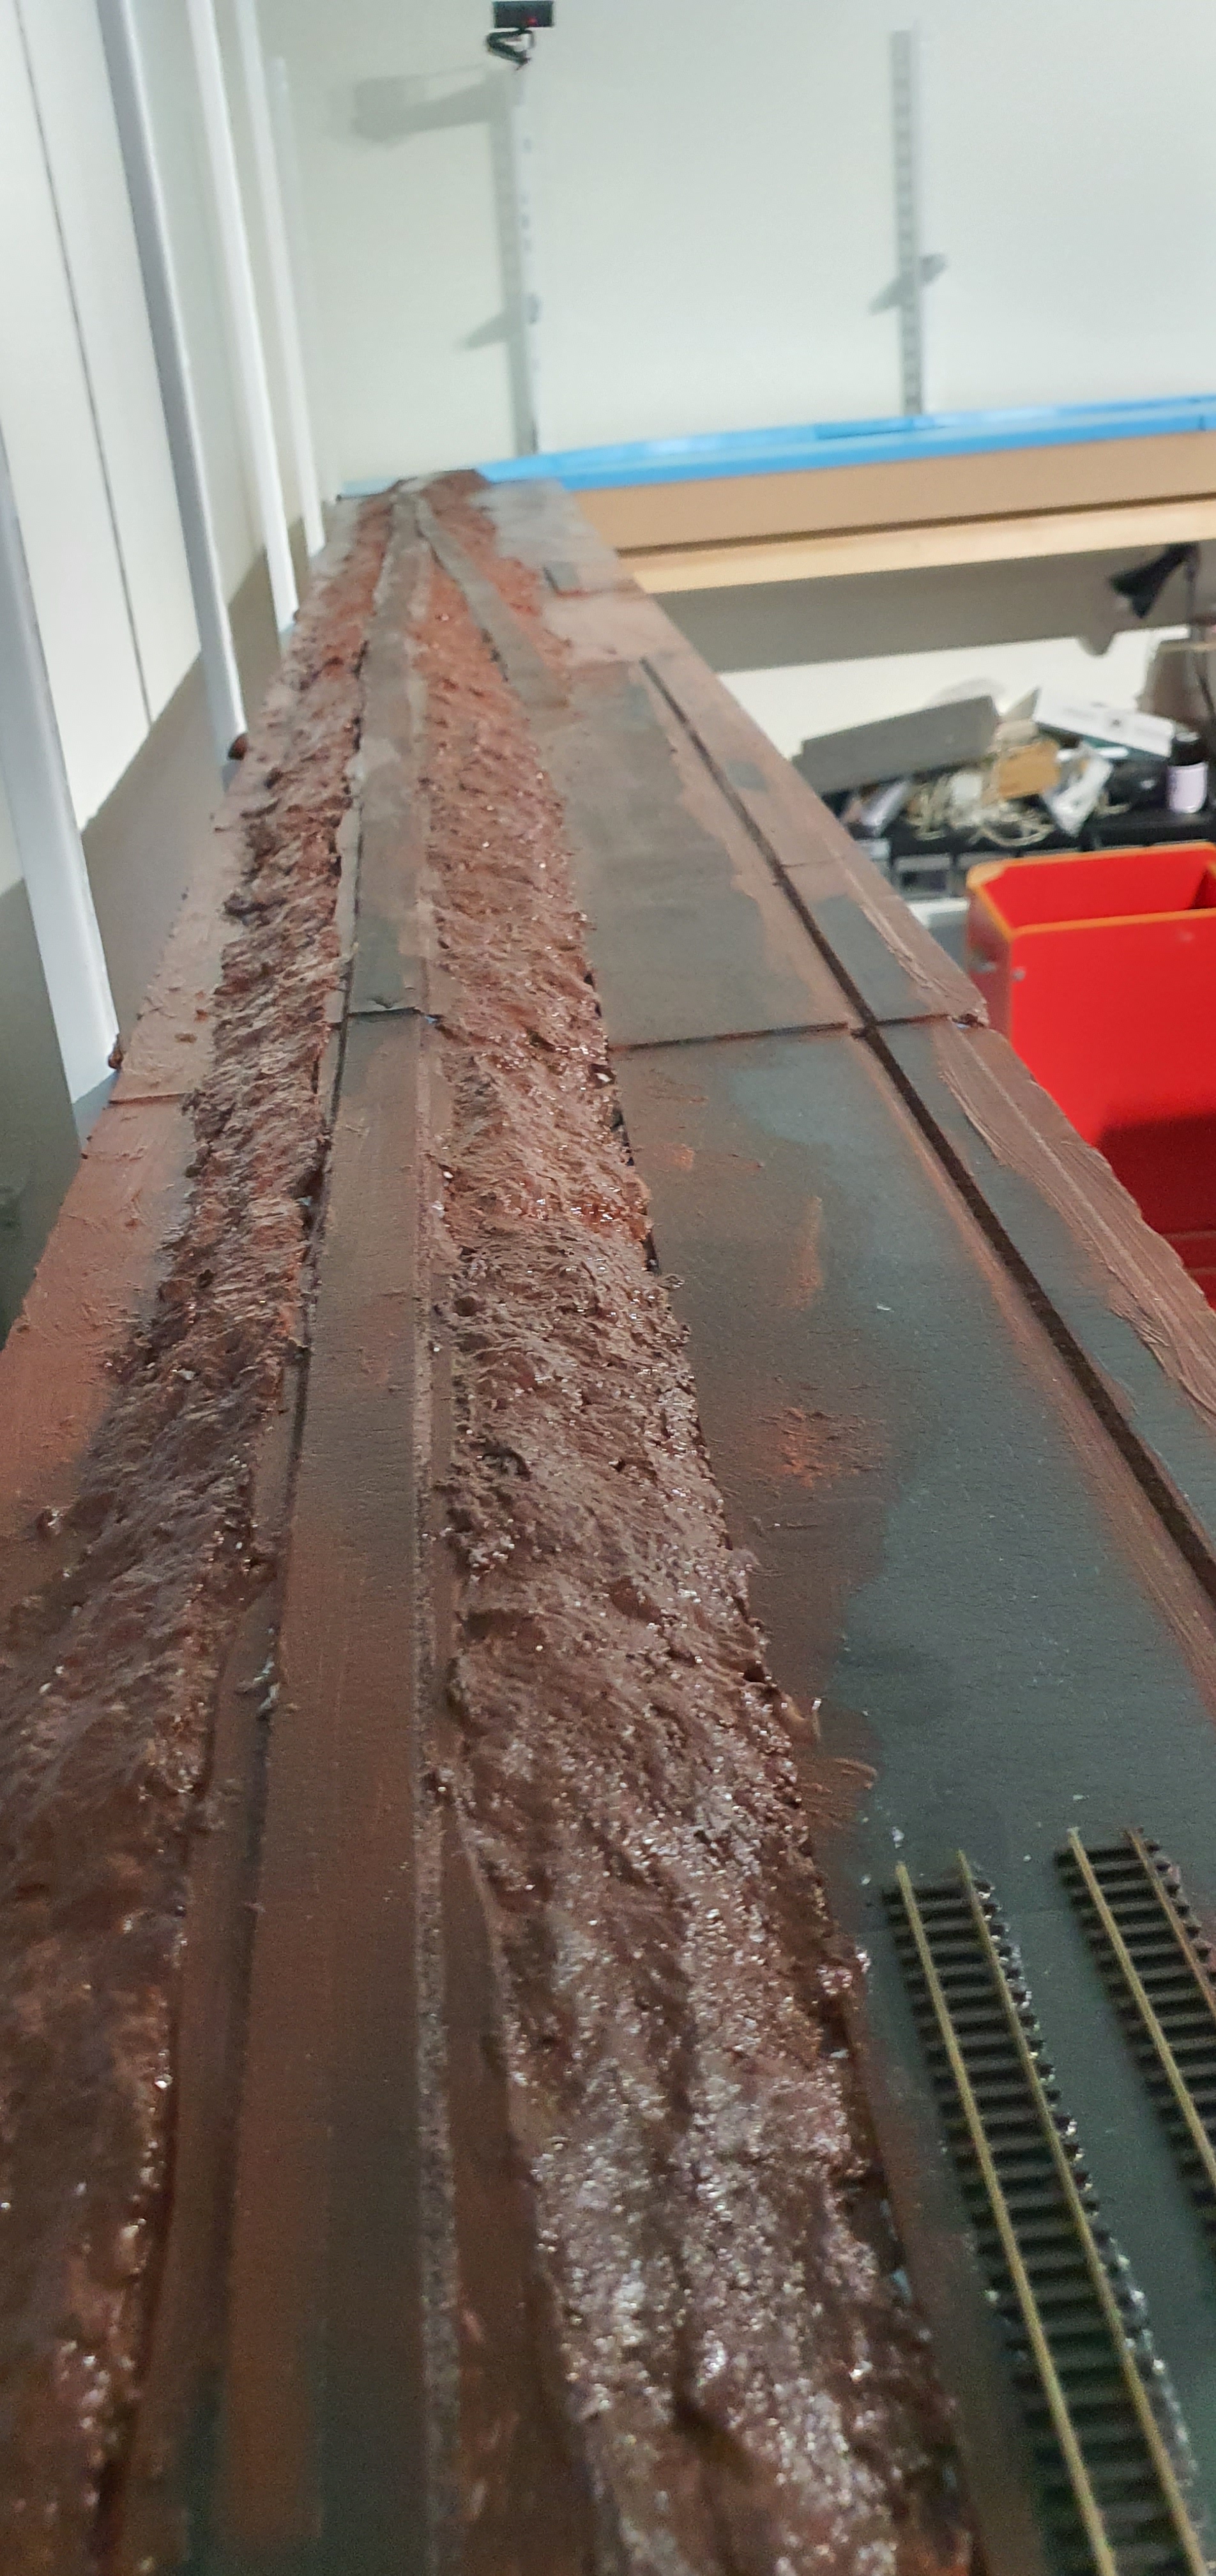
So its the usual trick here slap on plenty of burnt umber acrylic covering everything.

I also touched up the first area we did. Other activities today included submitted the SOQ for Association Official so that will be AP cert six and when this scenery is done I can apply for my MMR.
See what 30mins a day does 🙂 keep modelling we won’t be locked in the basement for ever!!
One of my pet peeves is people storing materials on their layout as they build it. Trust me one day you’ll either not finish a section of your layout or you’ll run out of space for the junk.
So today I received a very cheap and nasty tool cart from ebay. Its very rough intact I think I’ll need to file some of the welds on the handle or need a tetanus shot really soon. It’s all cool though as my scenery supplies for ackerville and airbrush and compressor are all on there now and off the layout/workbench.

In other news it’s still really really cold so that 45min drying sculptamold is yes you guessed it still not dry. Hopefully tomorrow I can get some dirty brown paint on there and we’ll have all of the ackerville area ready for the tracklaying to get finished.
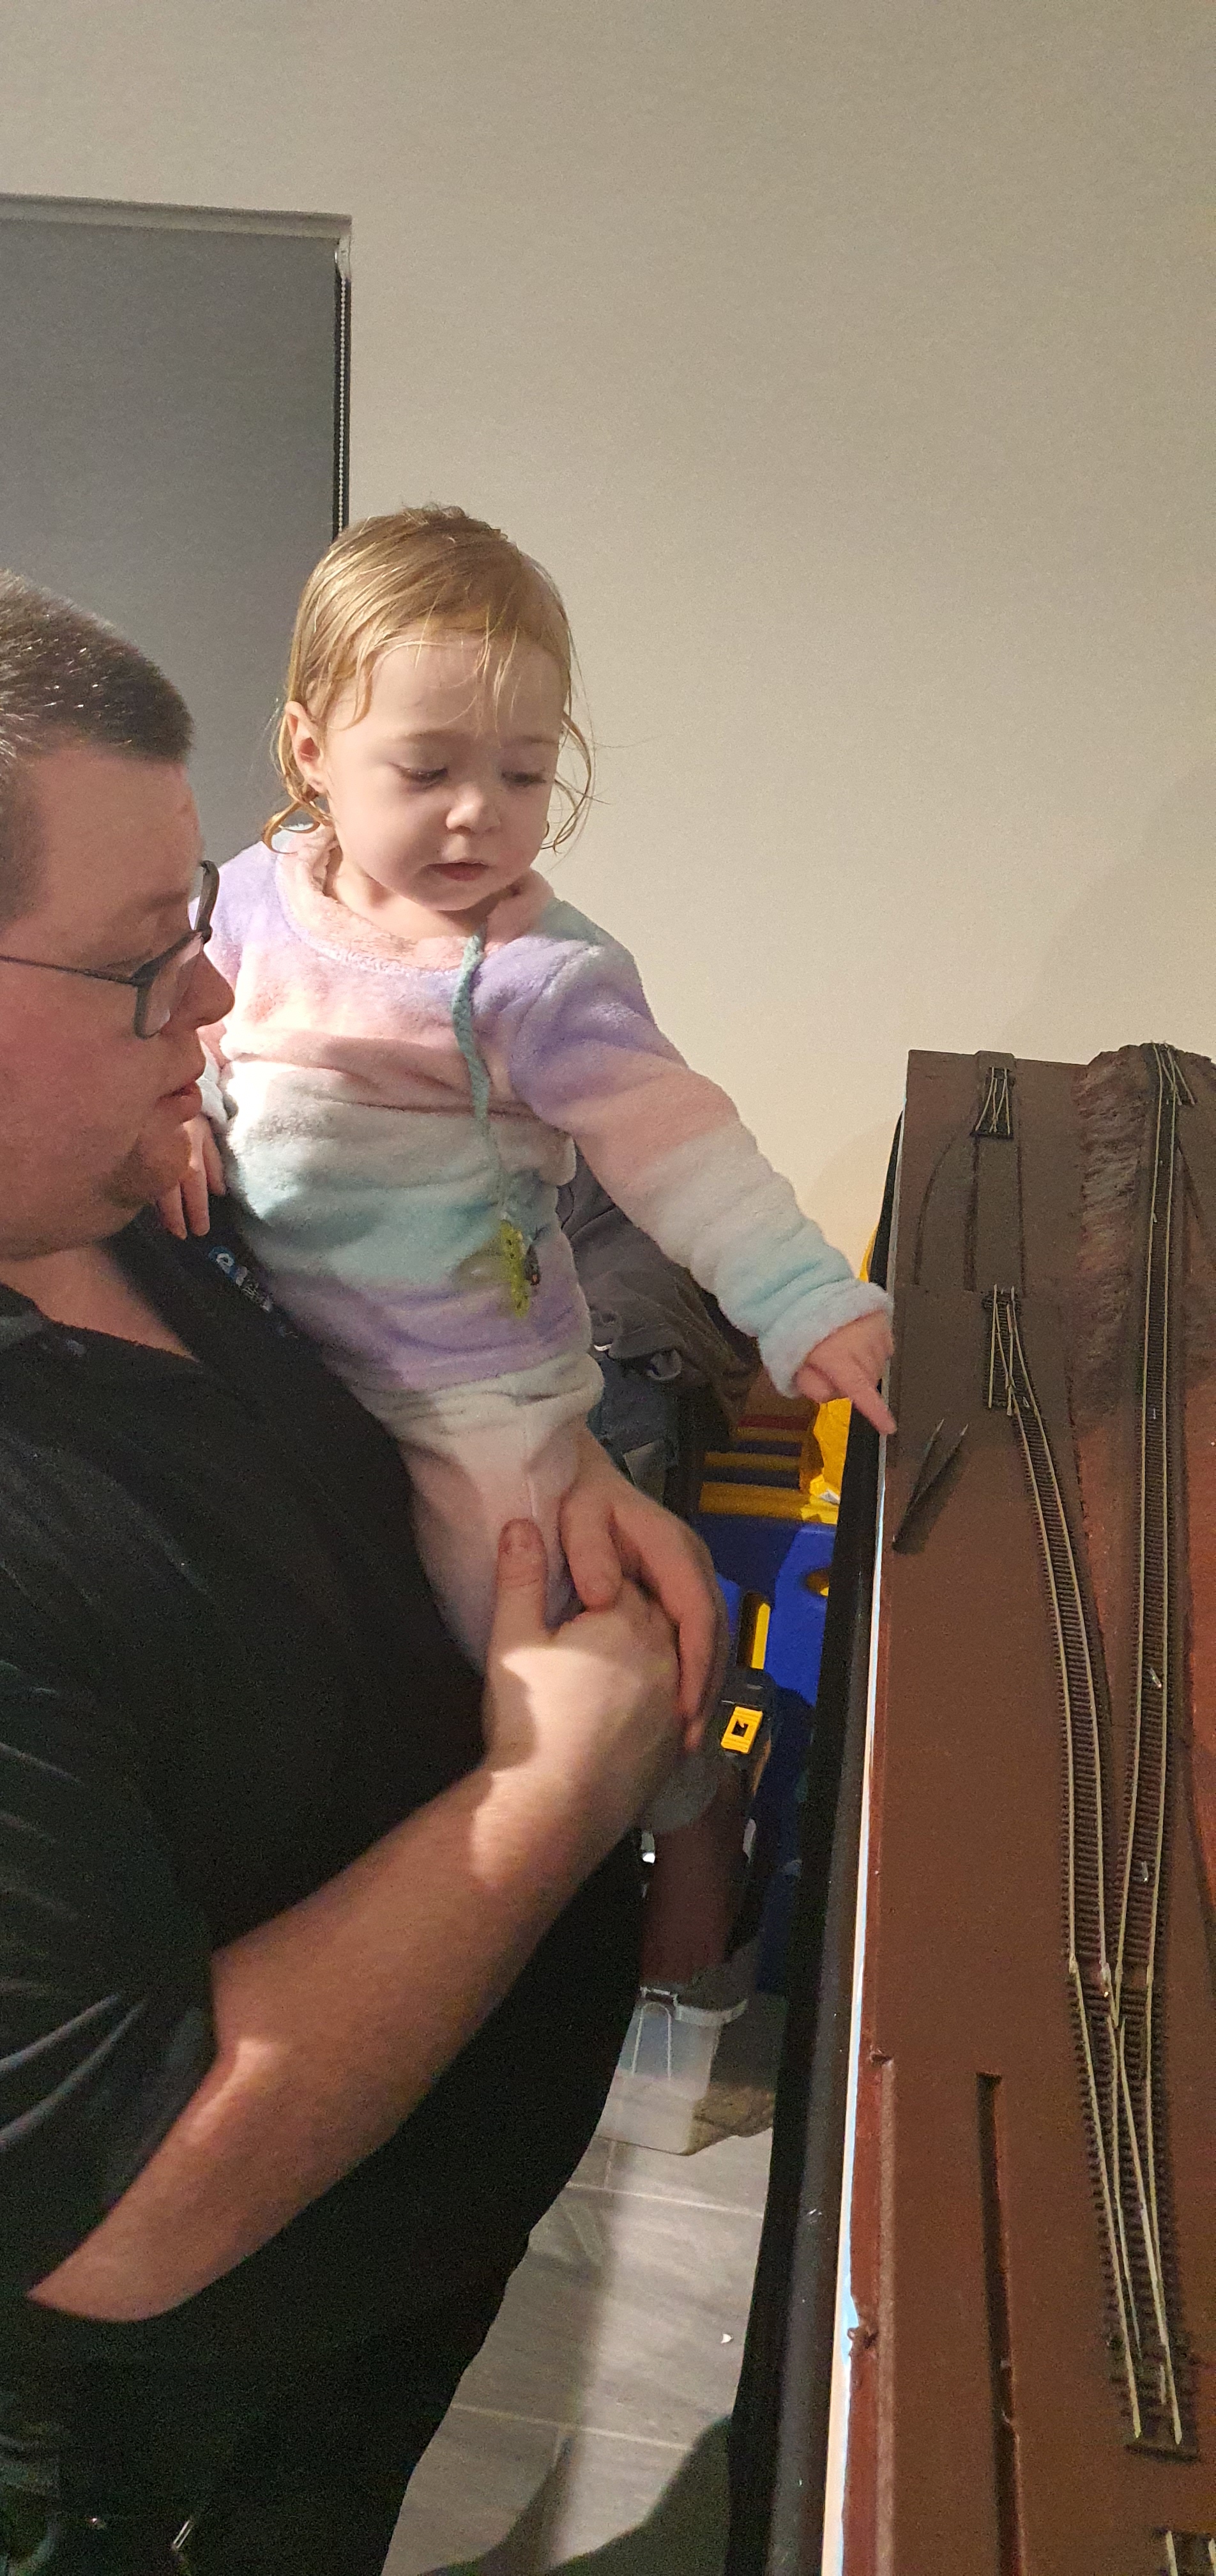
Keep working on your layout folks 30mins a day goes a really long way!!! Now where to hide this cart from Annabel 🤔
Another busy day on the Waukesha Sub, it’s baltic outside so no fasica cutting was going on in the garage. Instead it was all about glueing down foam, track and lots of sculptamold. Here’s a few shots from today.


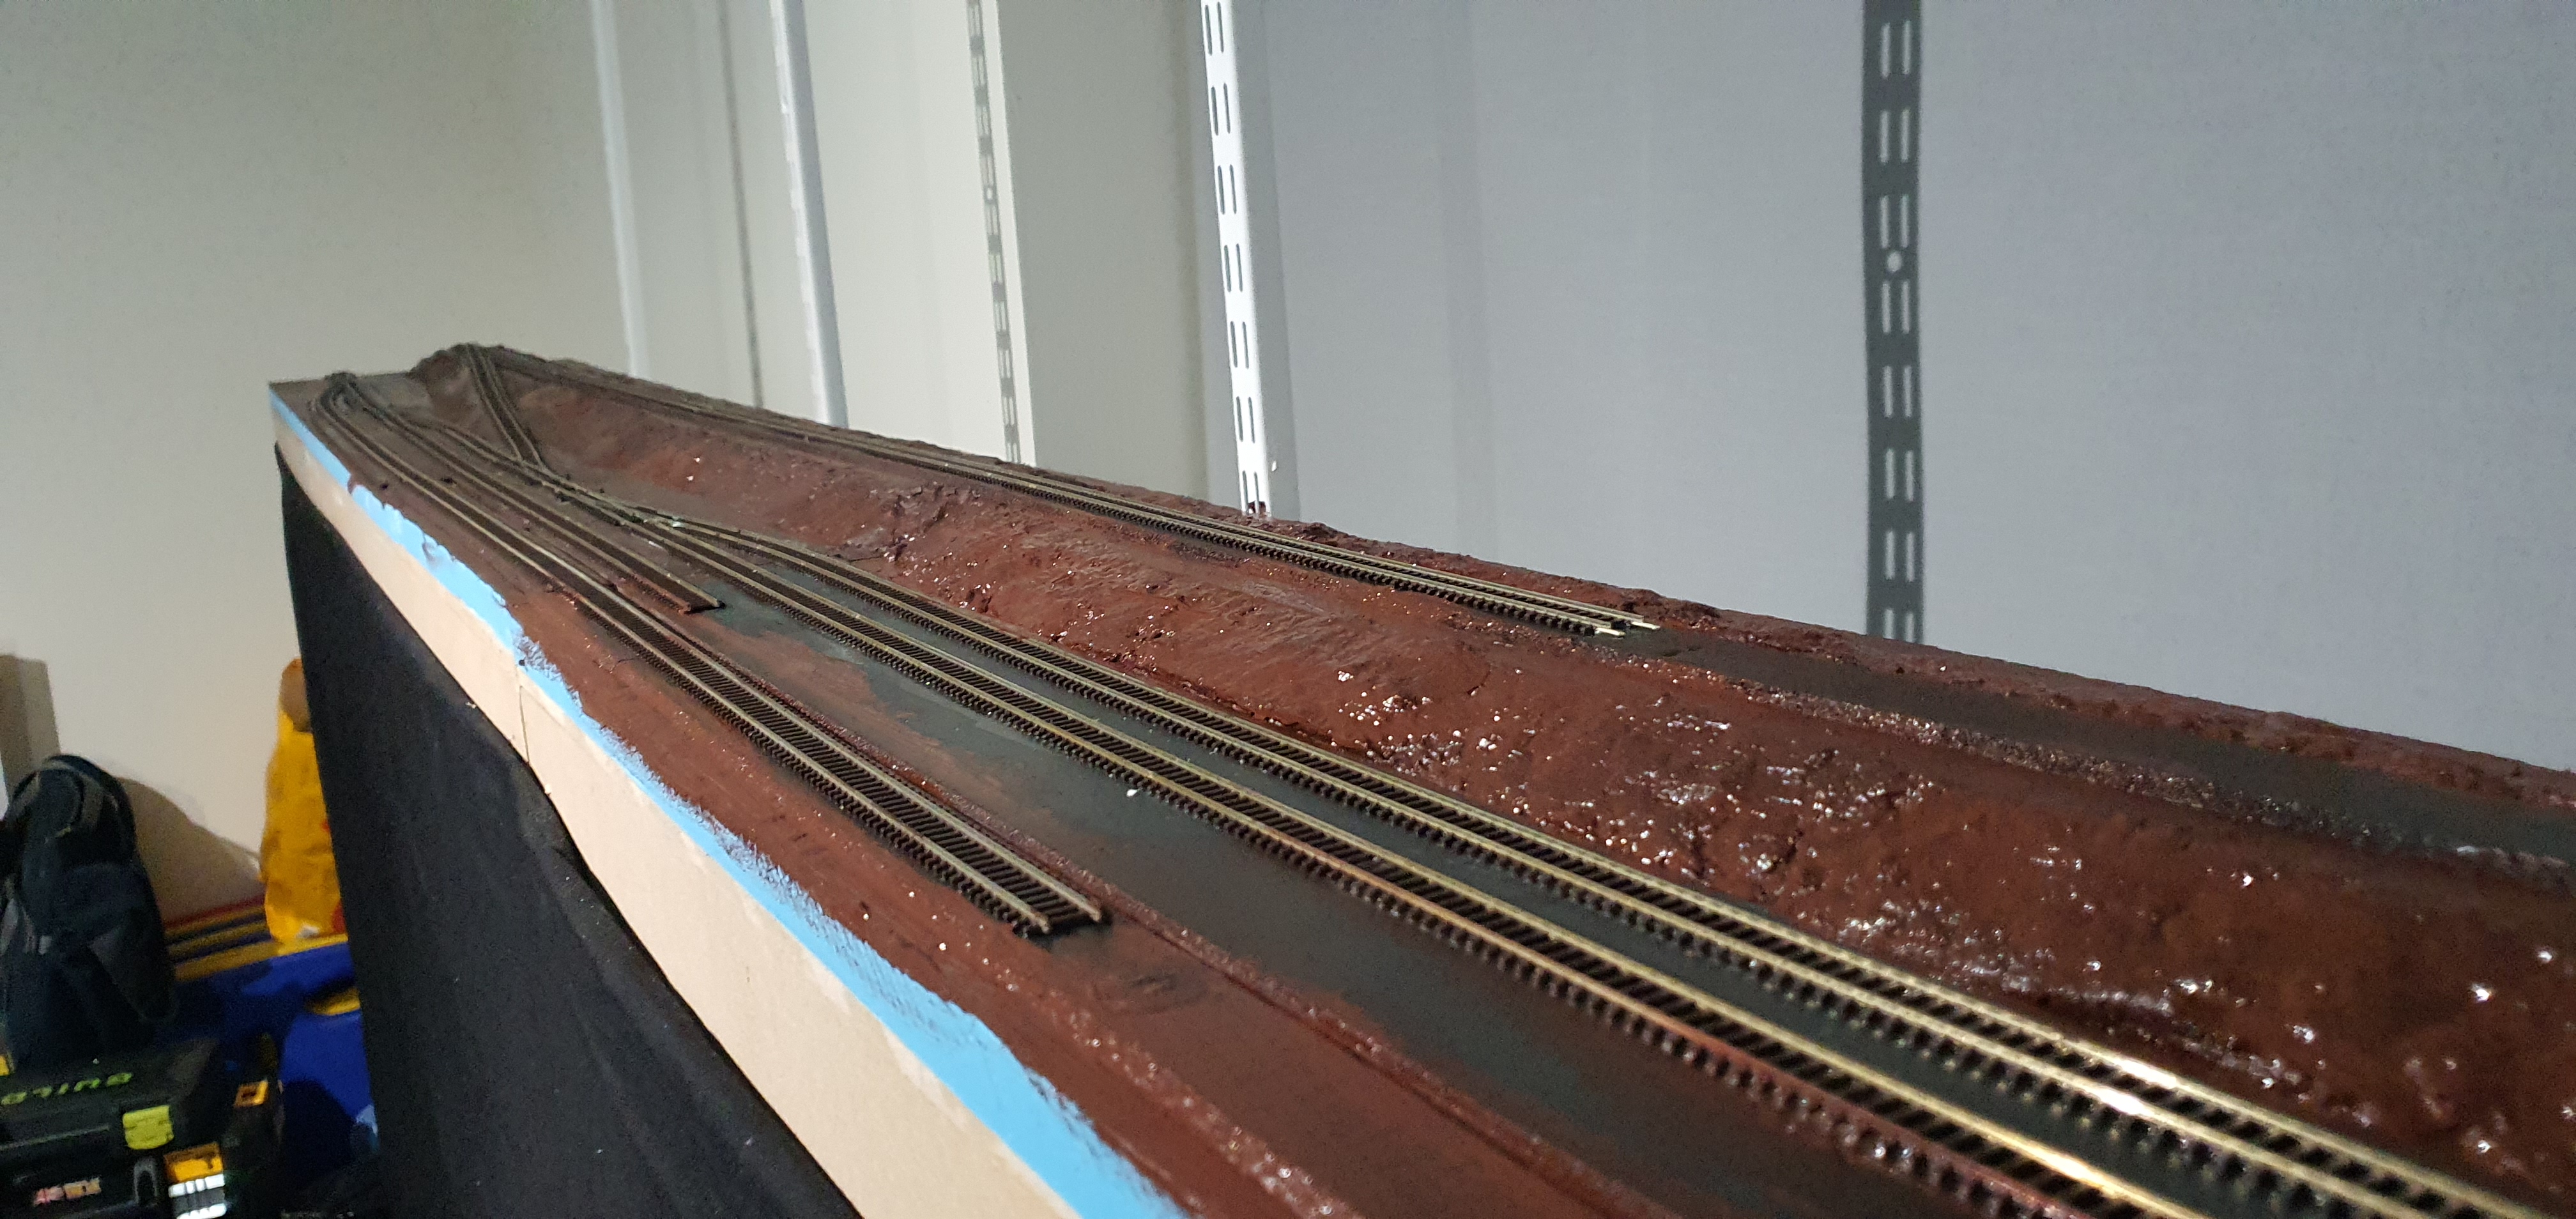
Well still no saw 🤬 so maybe I can get some track down. This is a three stage process to be honest. We’ll get the track cut to length and fitted. Then we’ll solder feeders and finally glue it to the roadbed. Then it’s electrical stuff for us to get on with.
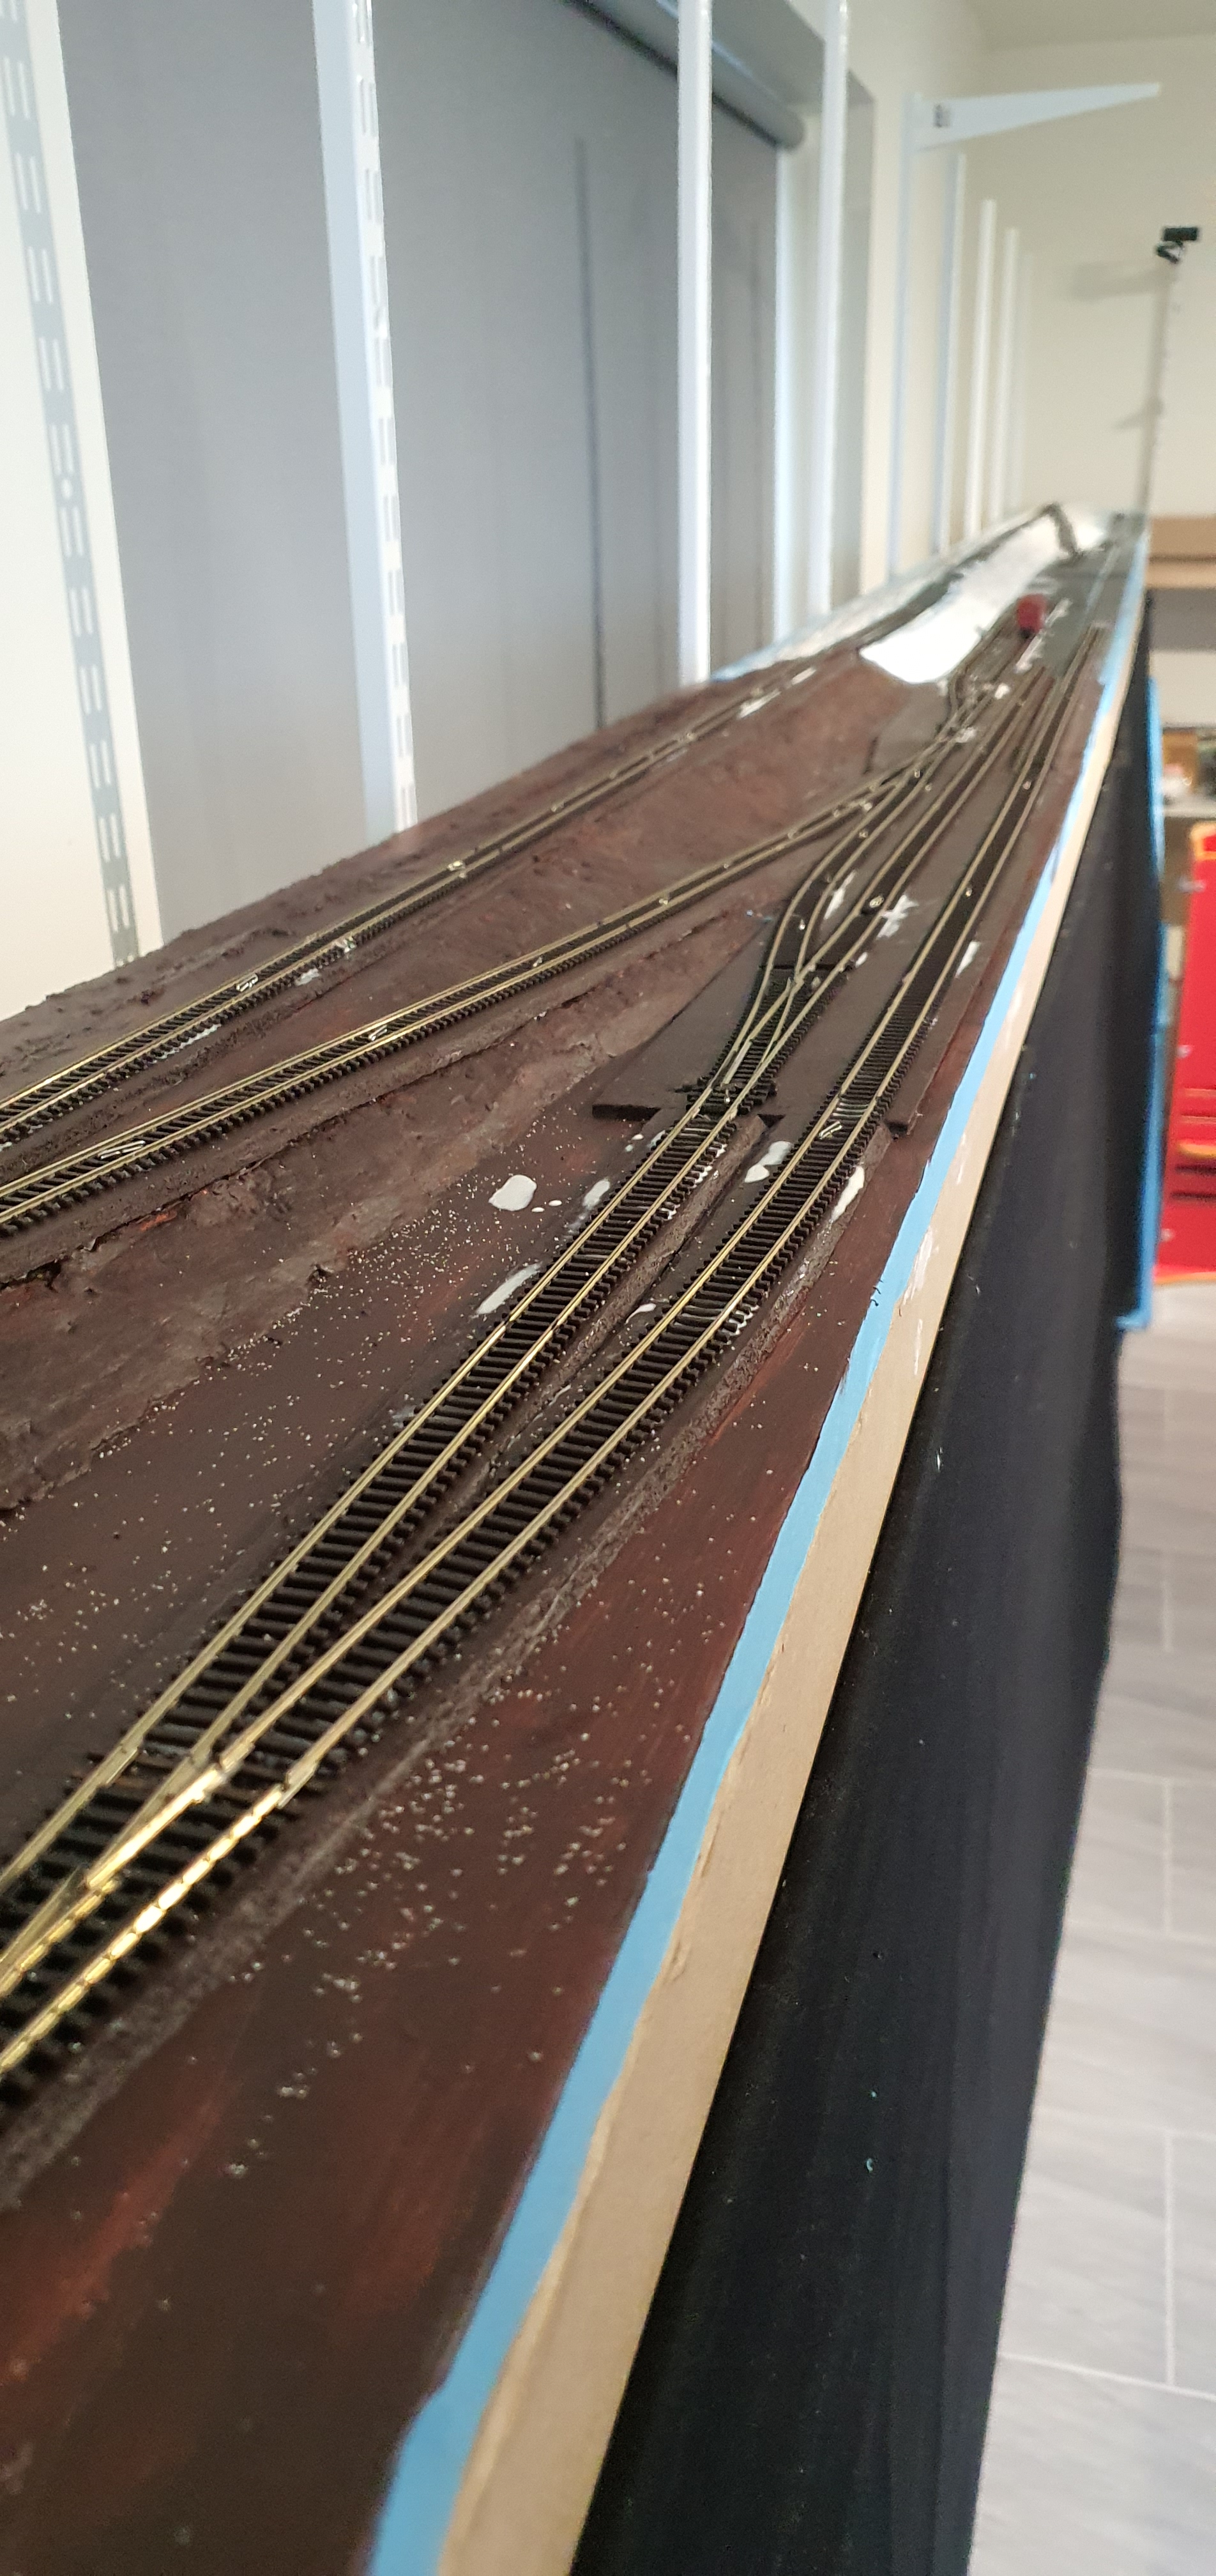
I always start by putting my turnouts in place. Then I hold them in place with t-pins and measure each piece of flex that will go between them.

On peco turnouts you need to remove these spare ties/sleepers. You will put them back later when the track is glued down.
Here you can see the first sections of track starting to go down. I used a tracksetta radius to create curves in the flex and straight section to straighten the flex as its always got kinks in it when you lay it.
The cut flex is held with t-pins

Then its on to checking clearances to make sure nothing is too close together.
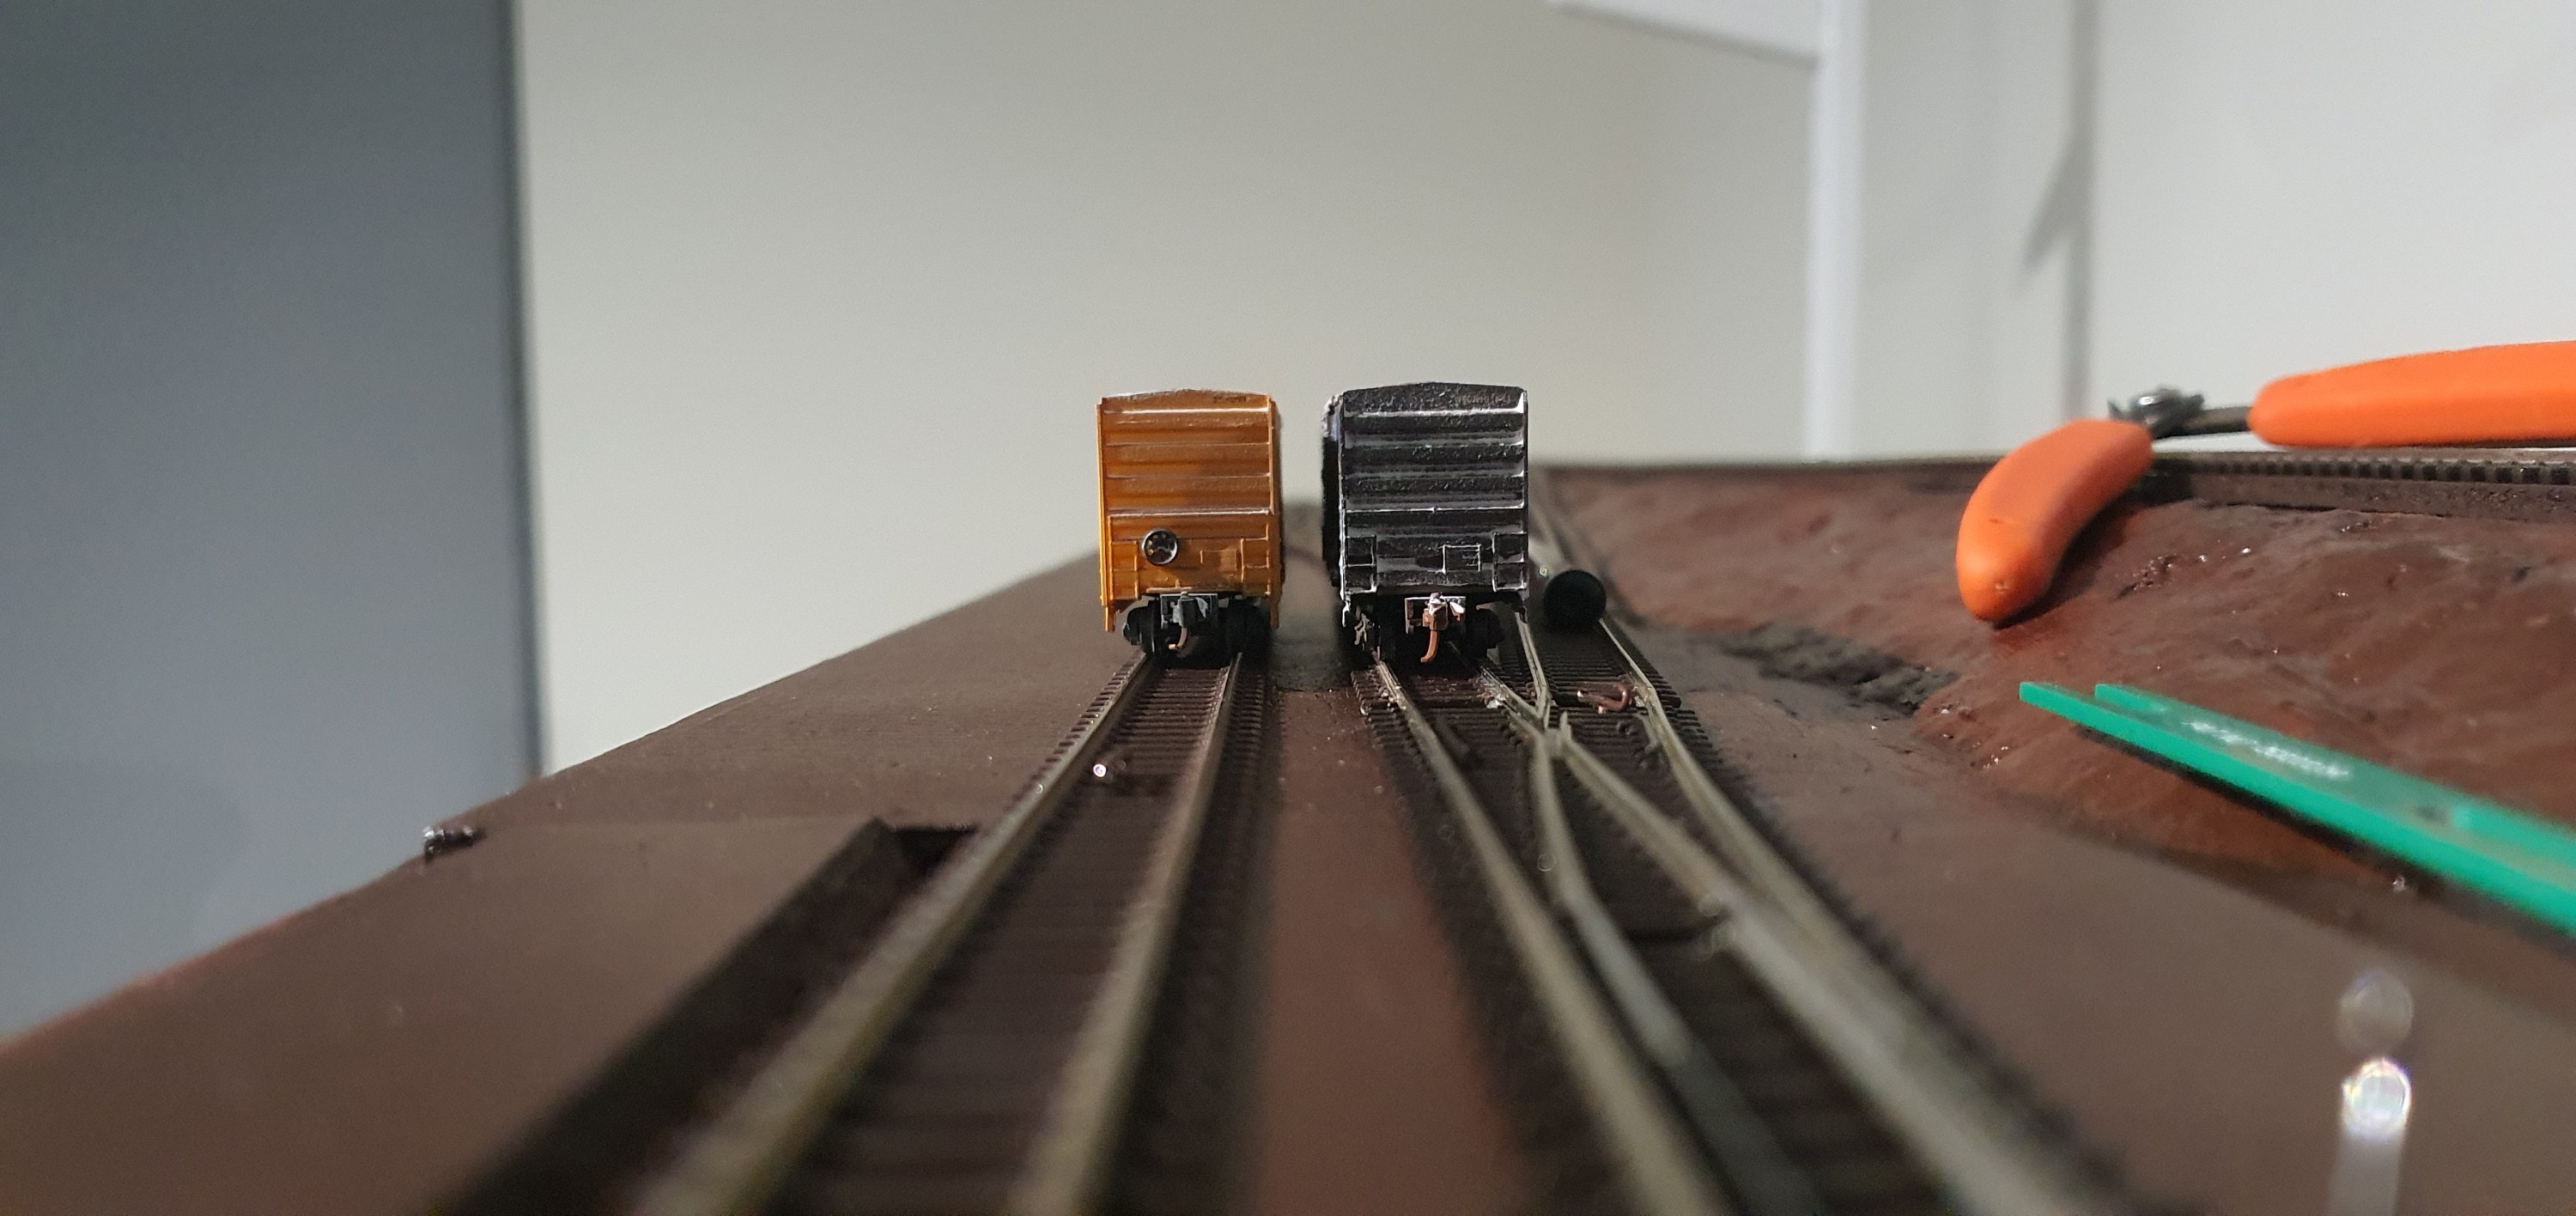
Things get jiggled about until we have something that looks like our track plan with no unsightly gaps.


Right now time to get feeders in and make some holes for the turnout control wires.
Call back tomorrow to see more progress. Gordy
Yesterday we got as far as adding the sculptamold and turning blue foam into lanscape. We even managed to get the subroad bed down. Great Eh! well yeah but it still looks like blue foam and dry plaster so we need to do something about it.
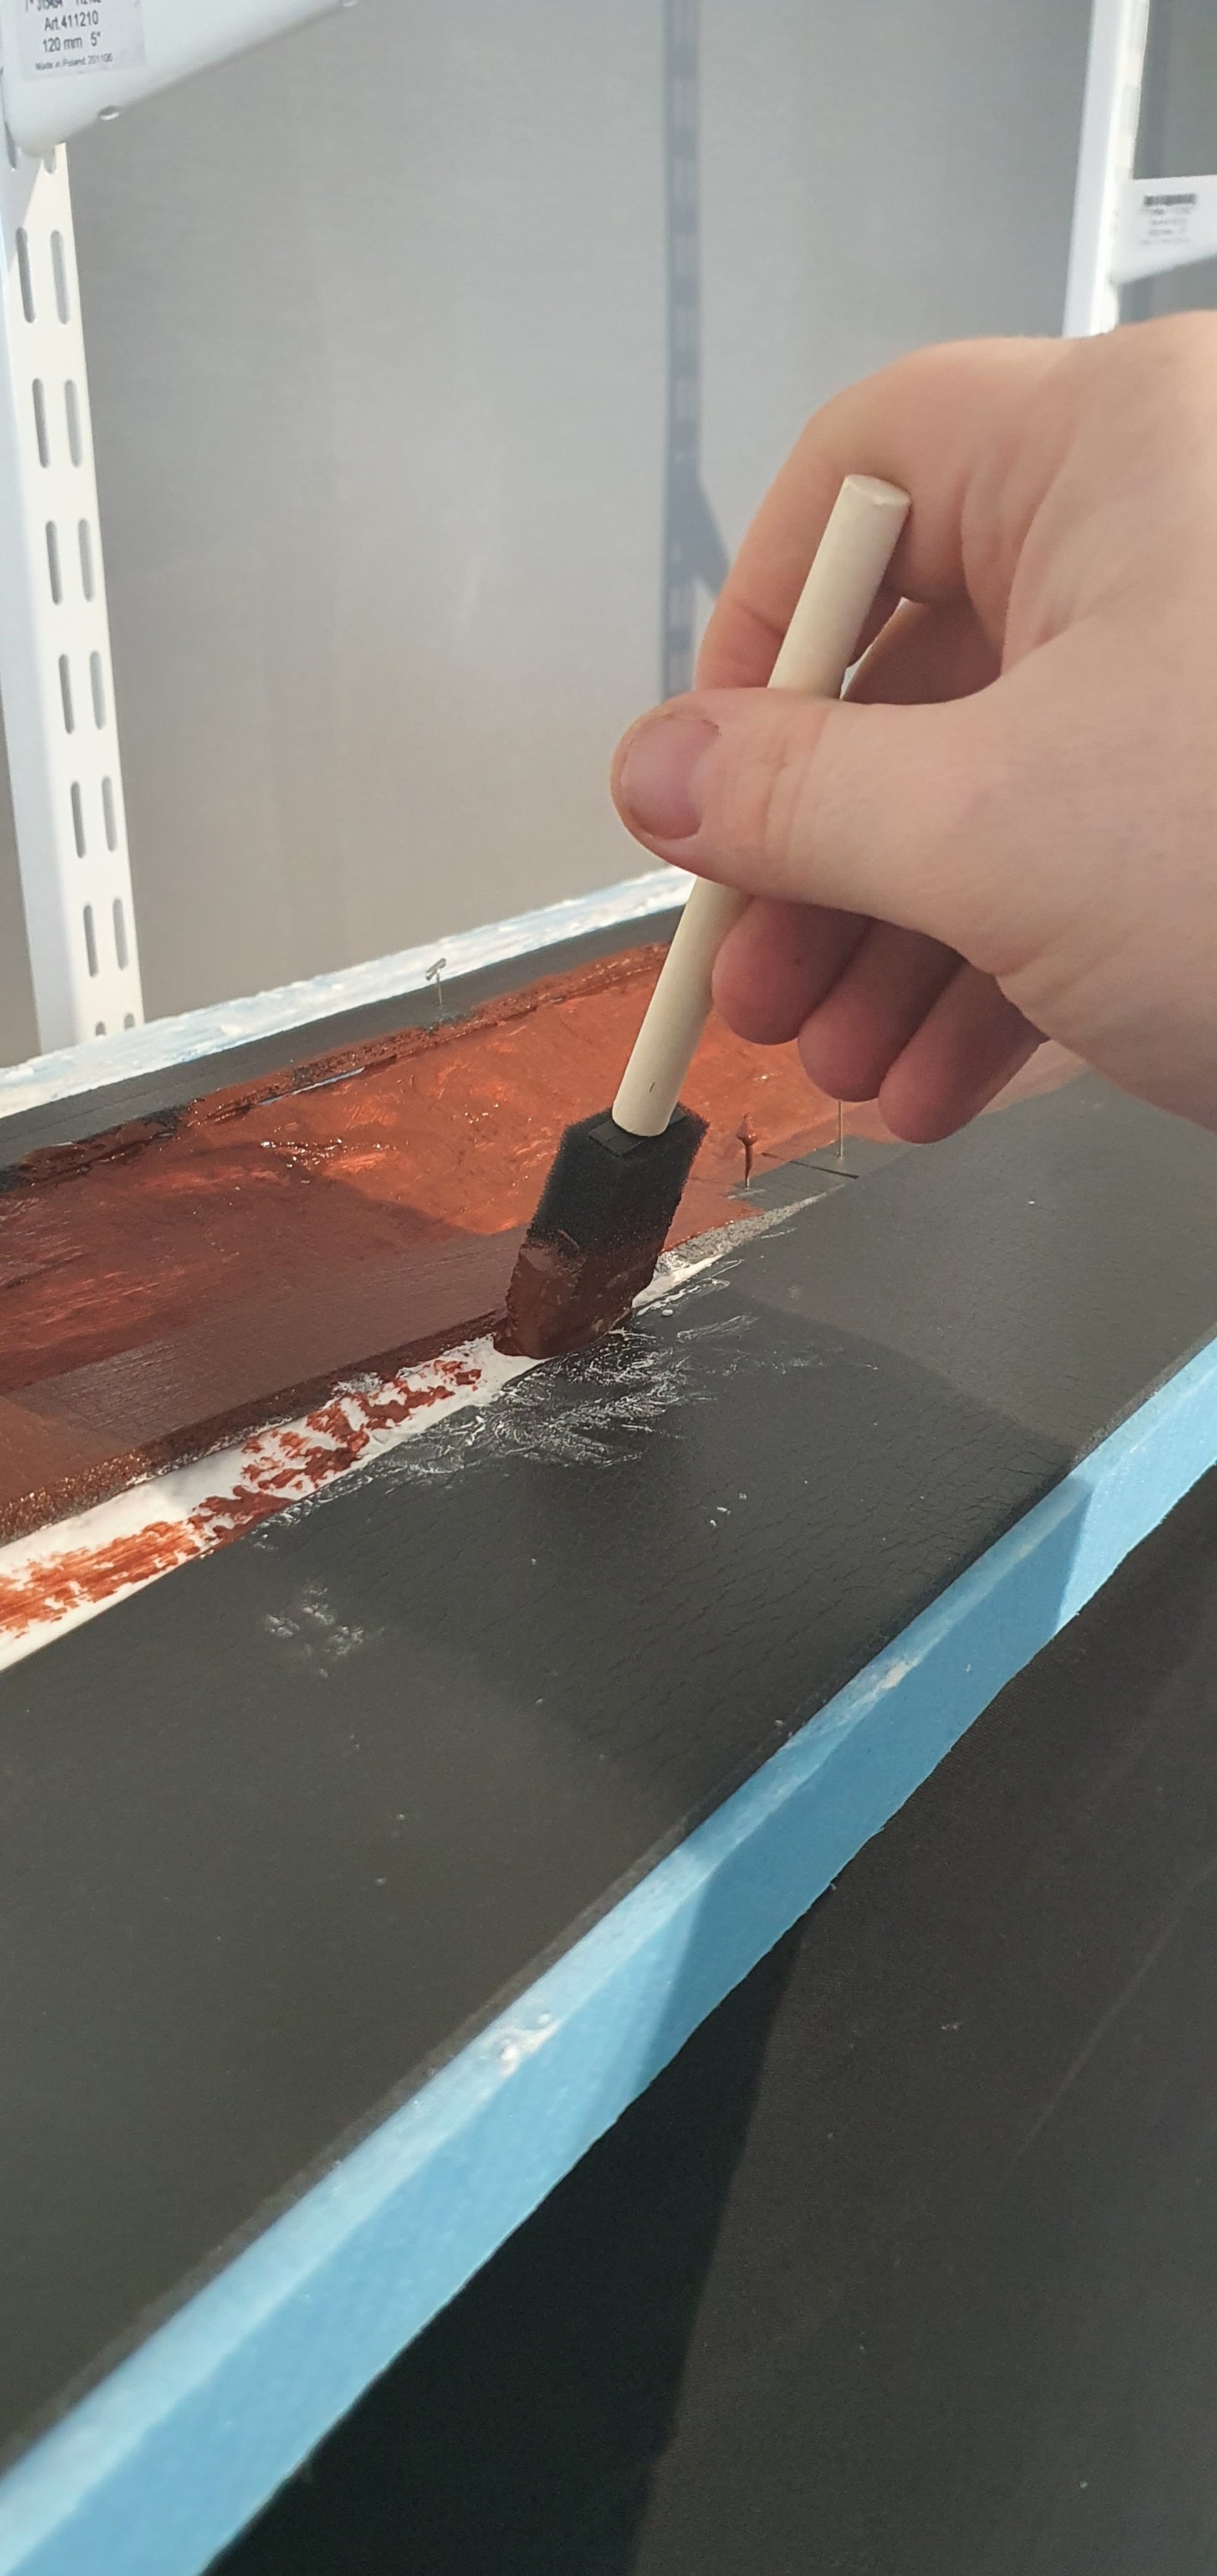
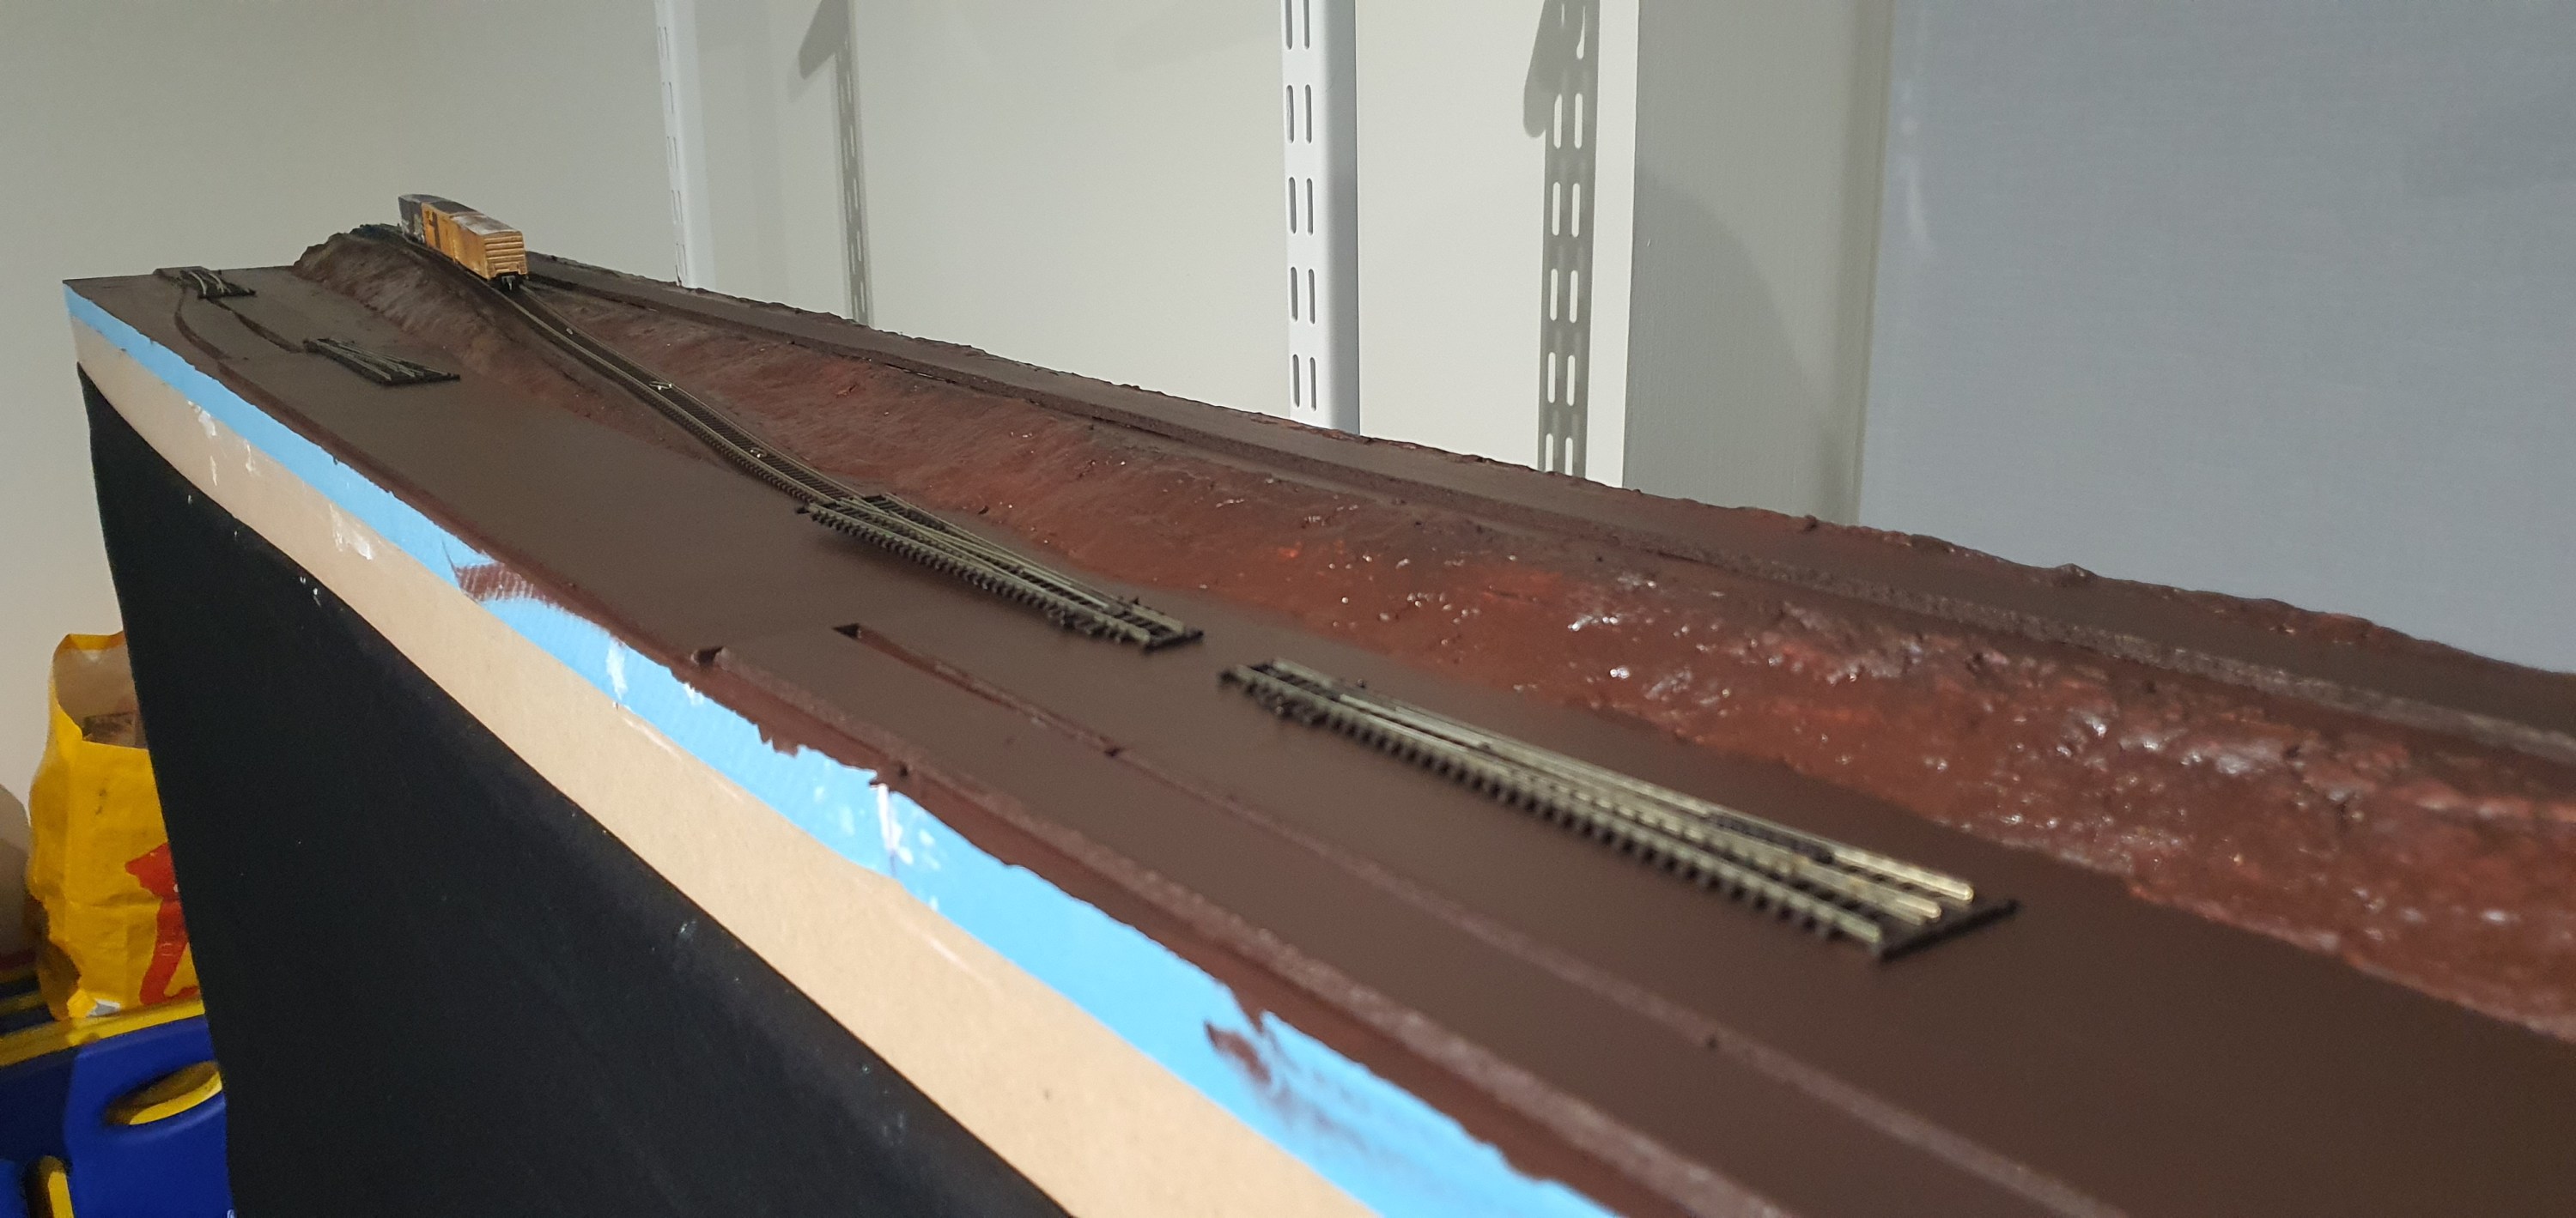
No matter what scenery you do above the base everything needs to be painted an earth colour first. And I mean everything. This is really important because you don’t want to see blue if some scenery material becomes dislodged. My scene will be snow so thats all thats really going over this base layer except some places where the snow has melted to reveal the ballast.
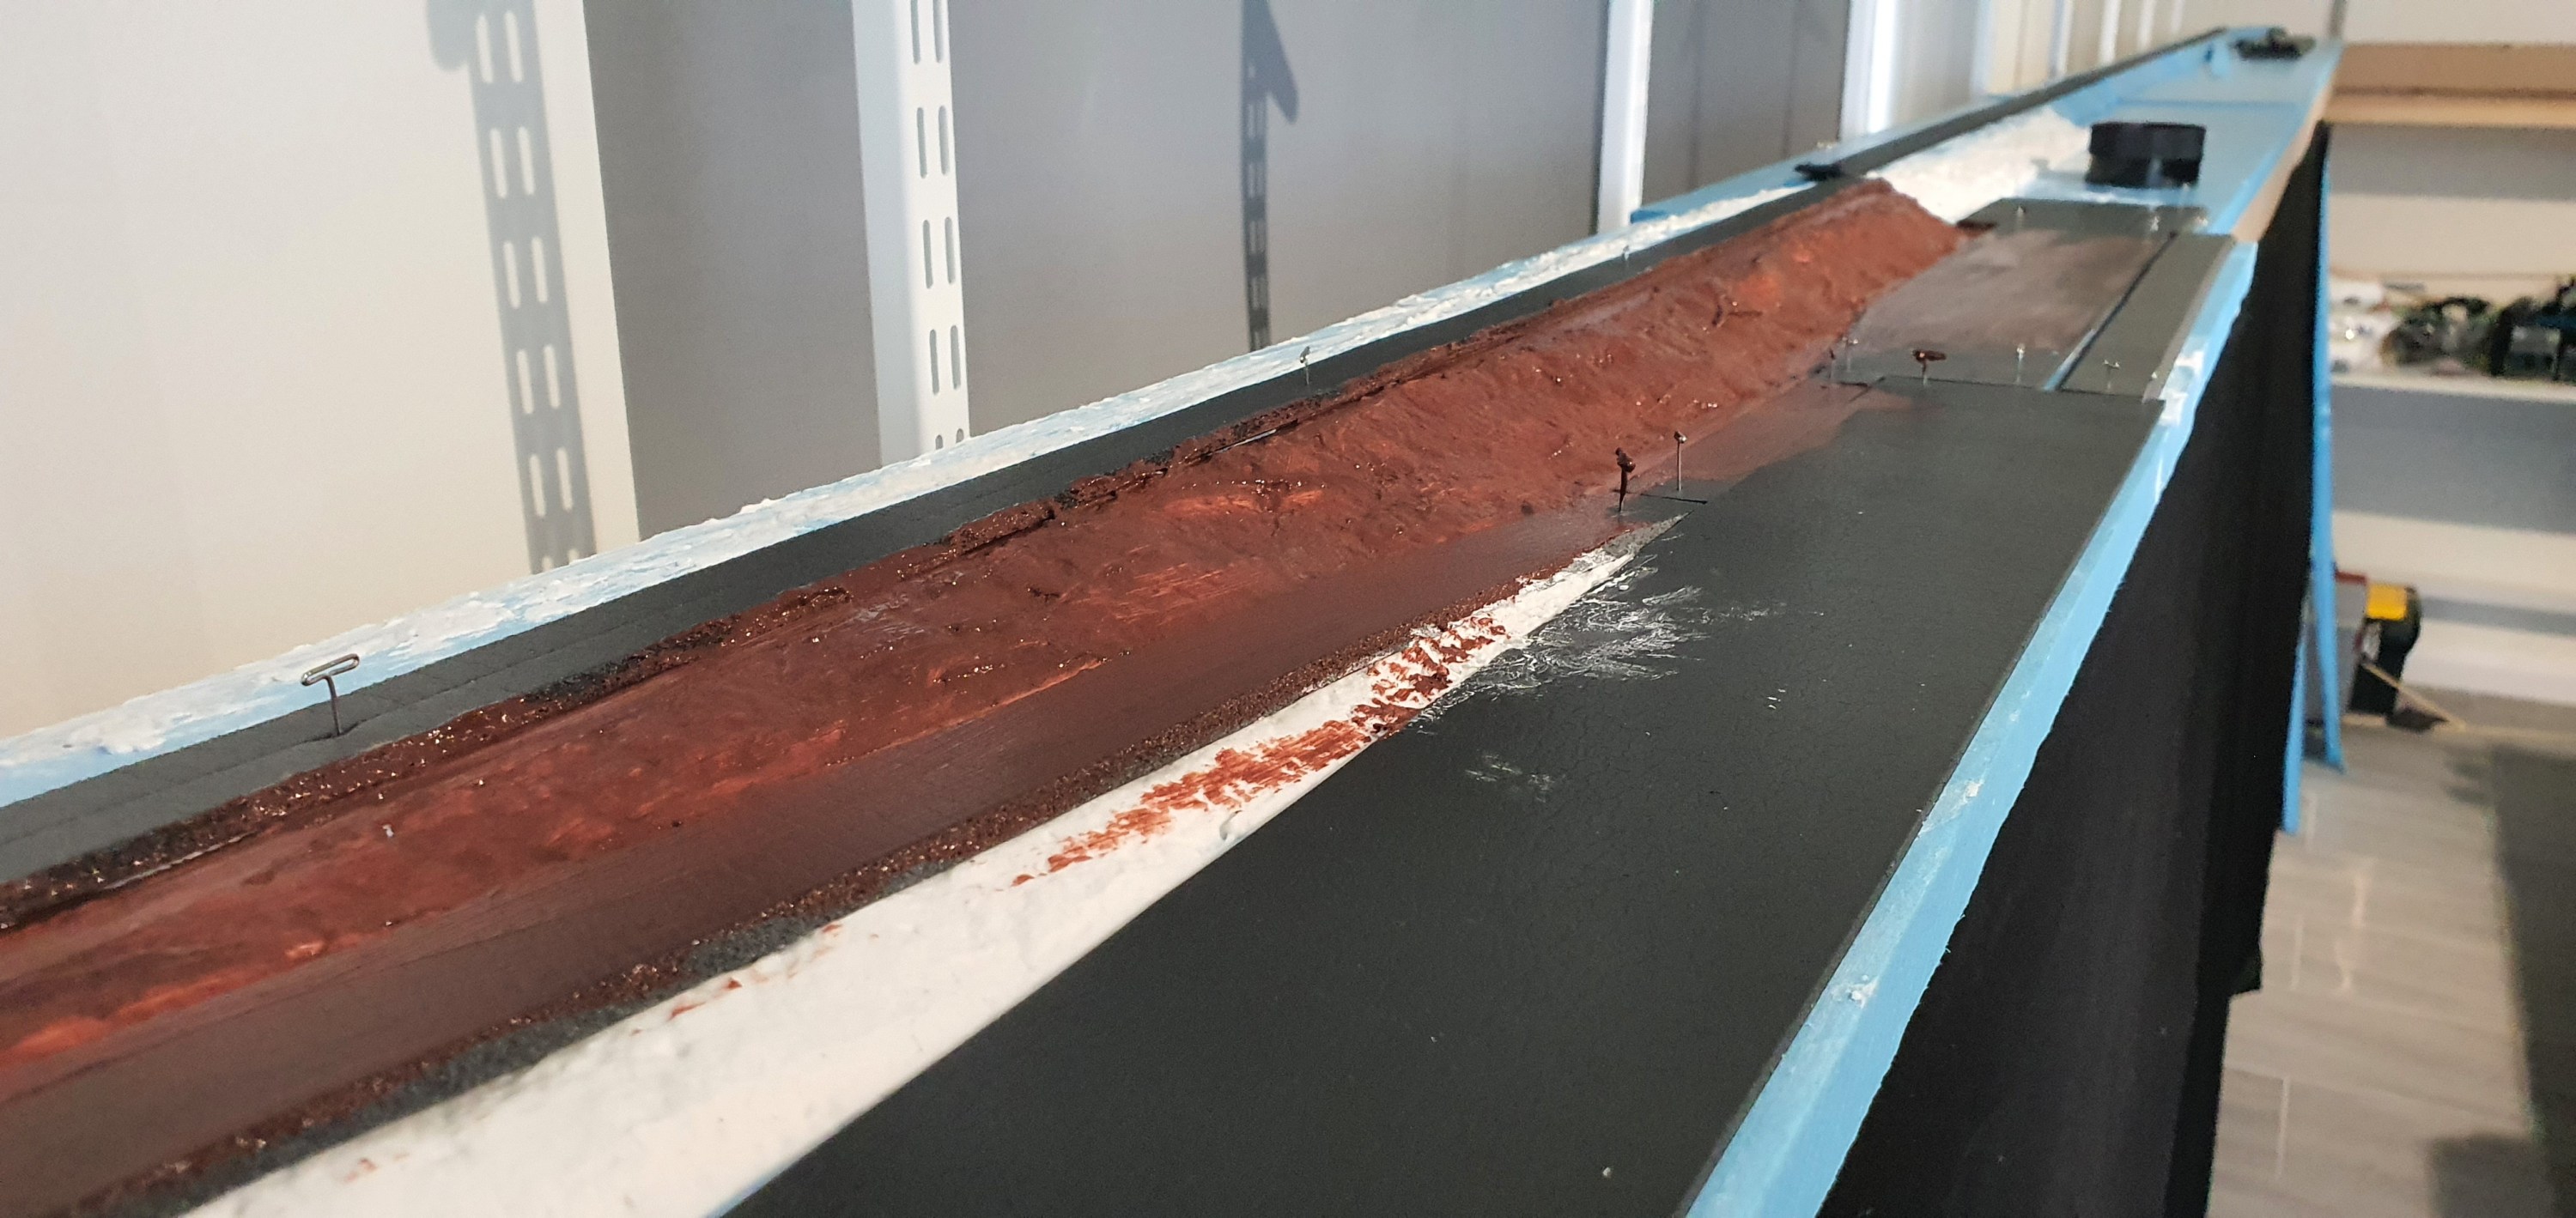
Everything here is getting a few coats of burnt umber acrylic paint. Its just some stuff from an art store nothing fancy and slapped on with a foam brush. I had to stipple it into a few stubborn places where the brush missed.

I can still turn the module round so doing the rear side was a breeze. I am actually really glad I decided to do this before fixing everything down.
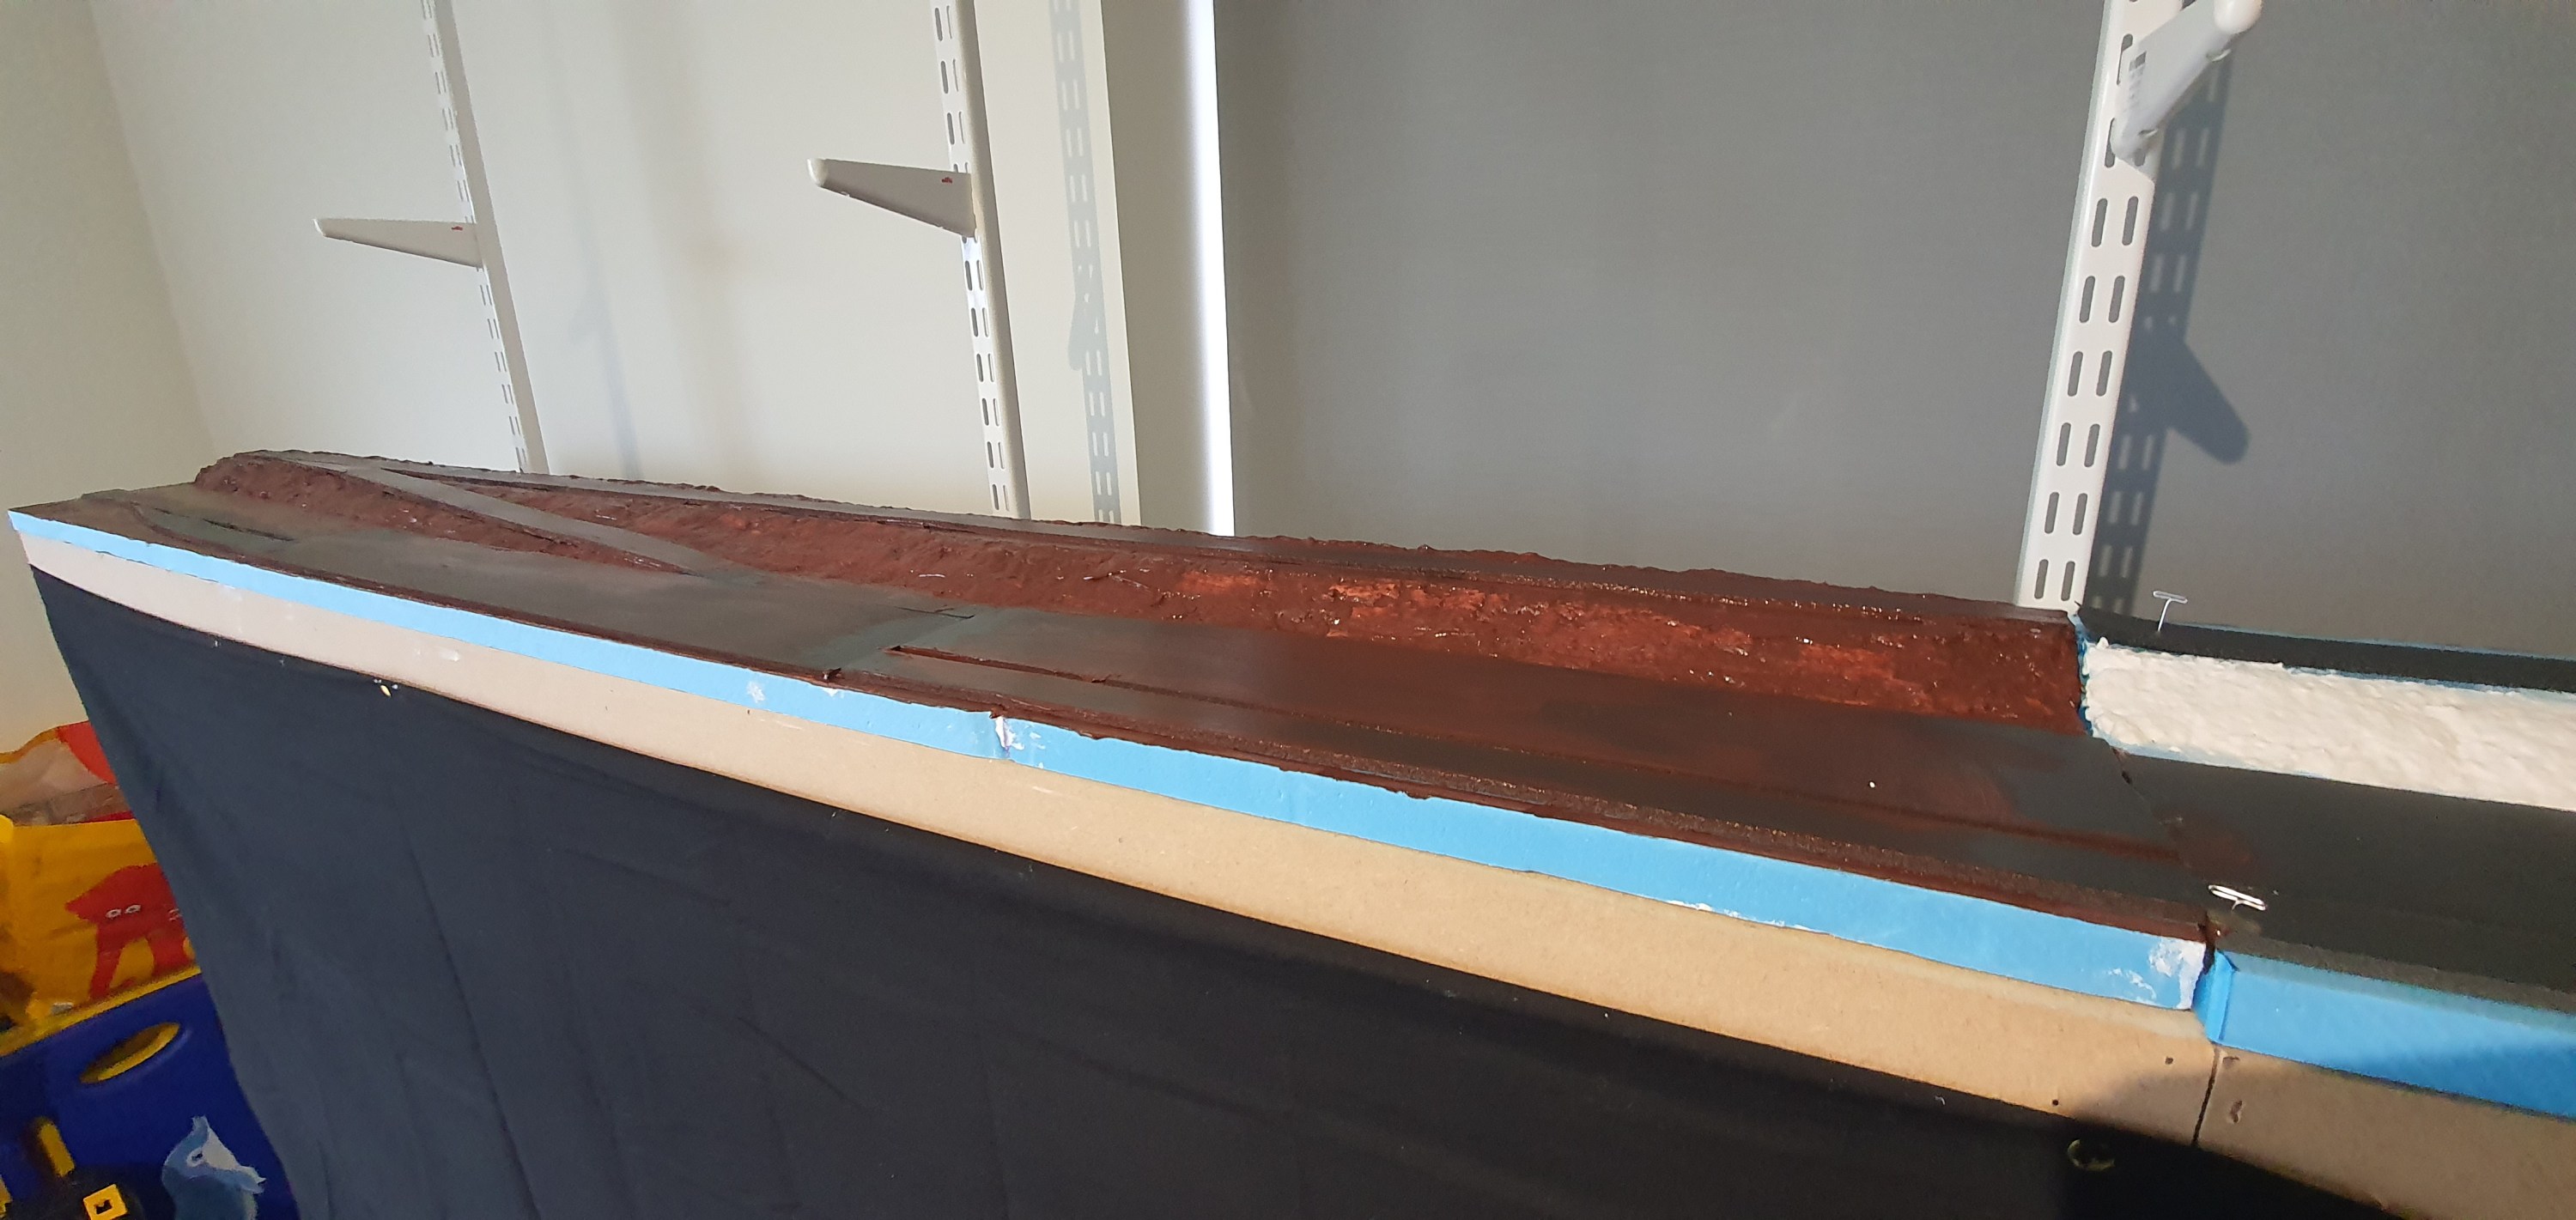
Back around the correct way again. You can see I have even started on the next module so I didn’t waste any sculptamold that was already mixed.

Ah so whats next well track I guess thats scary! but best get to it everthing needs to be down before I can apply the snow & get the trees in place.
Till tomorrow!
Gordy
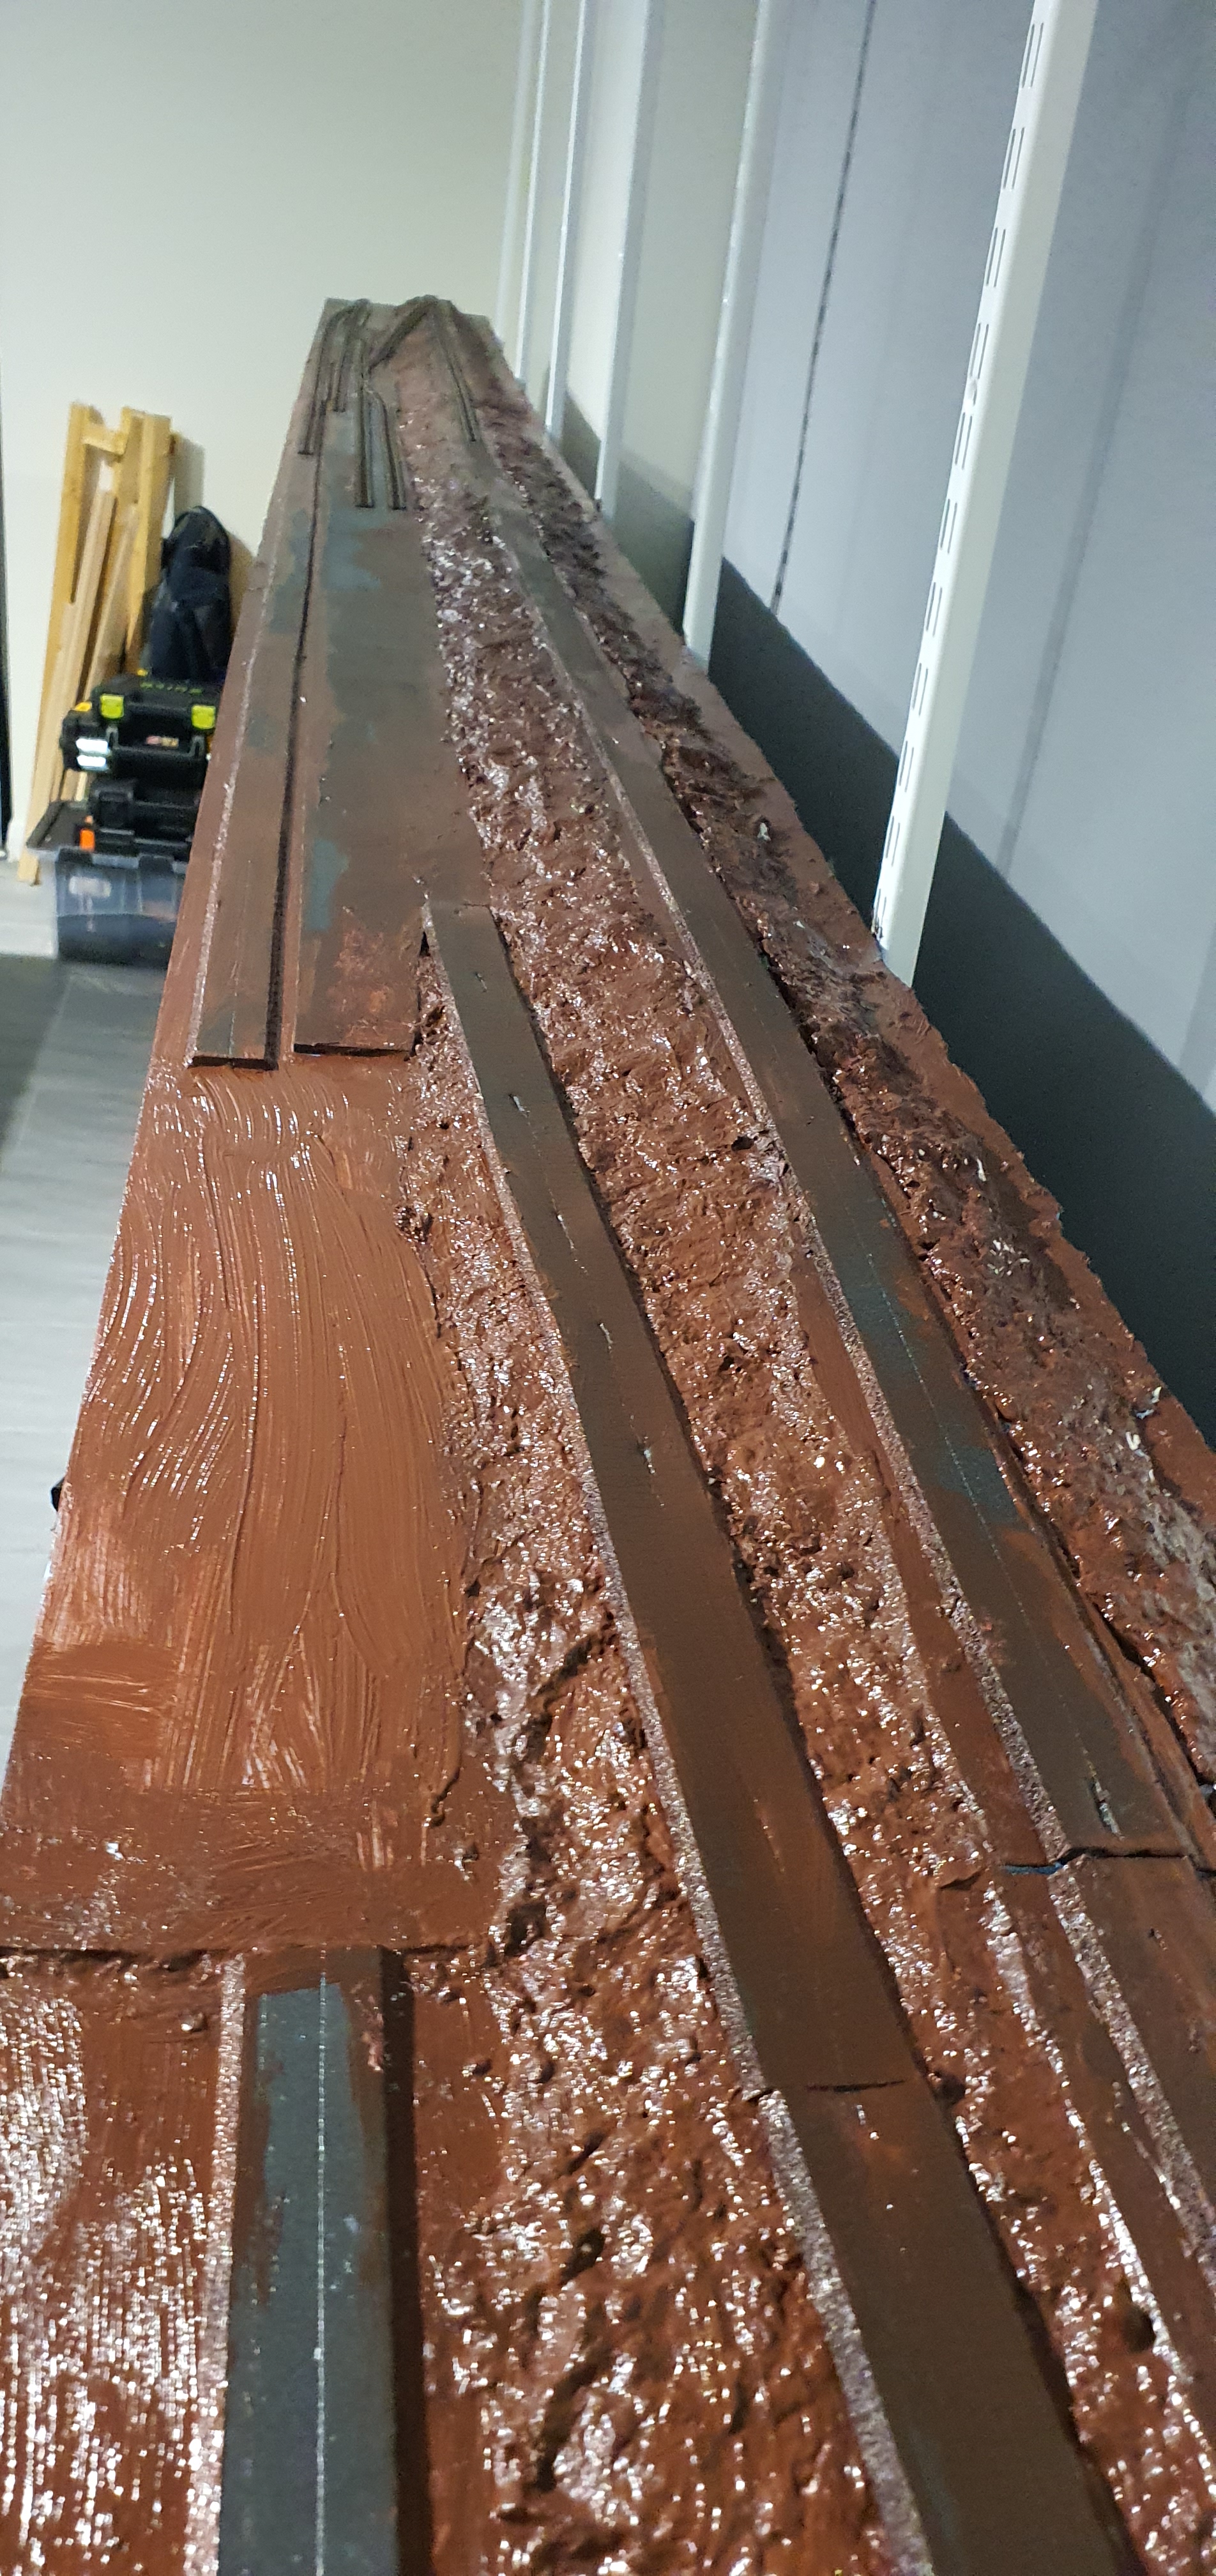
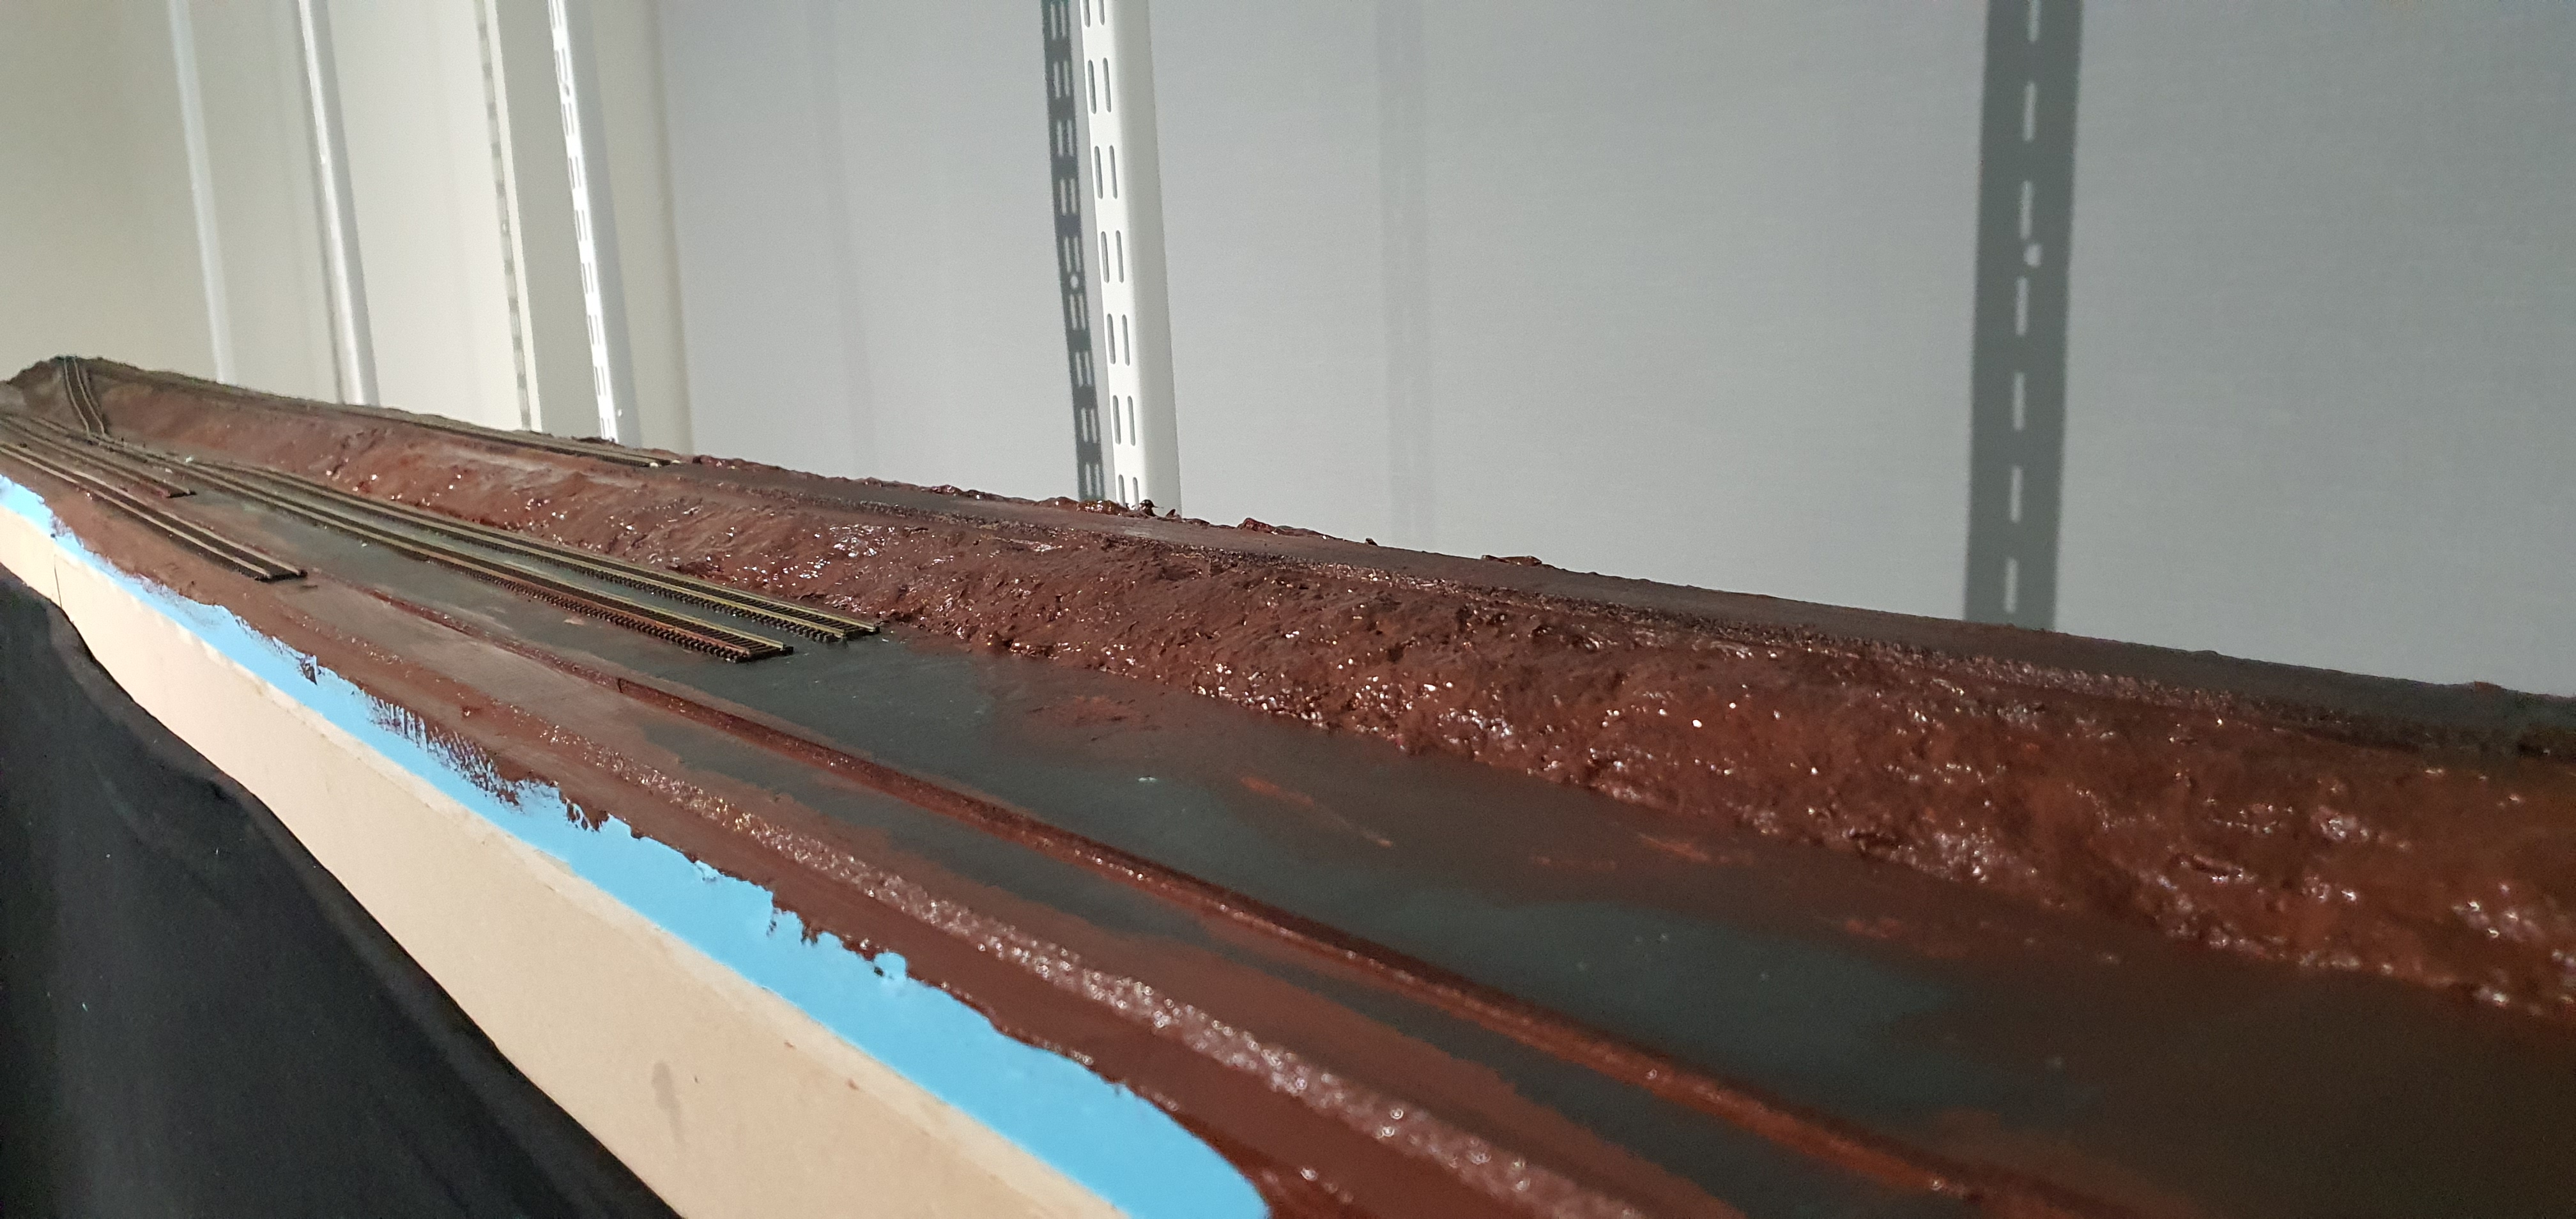
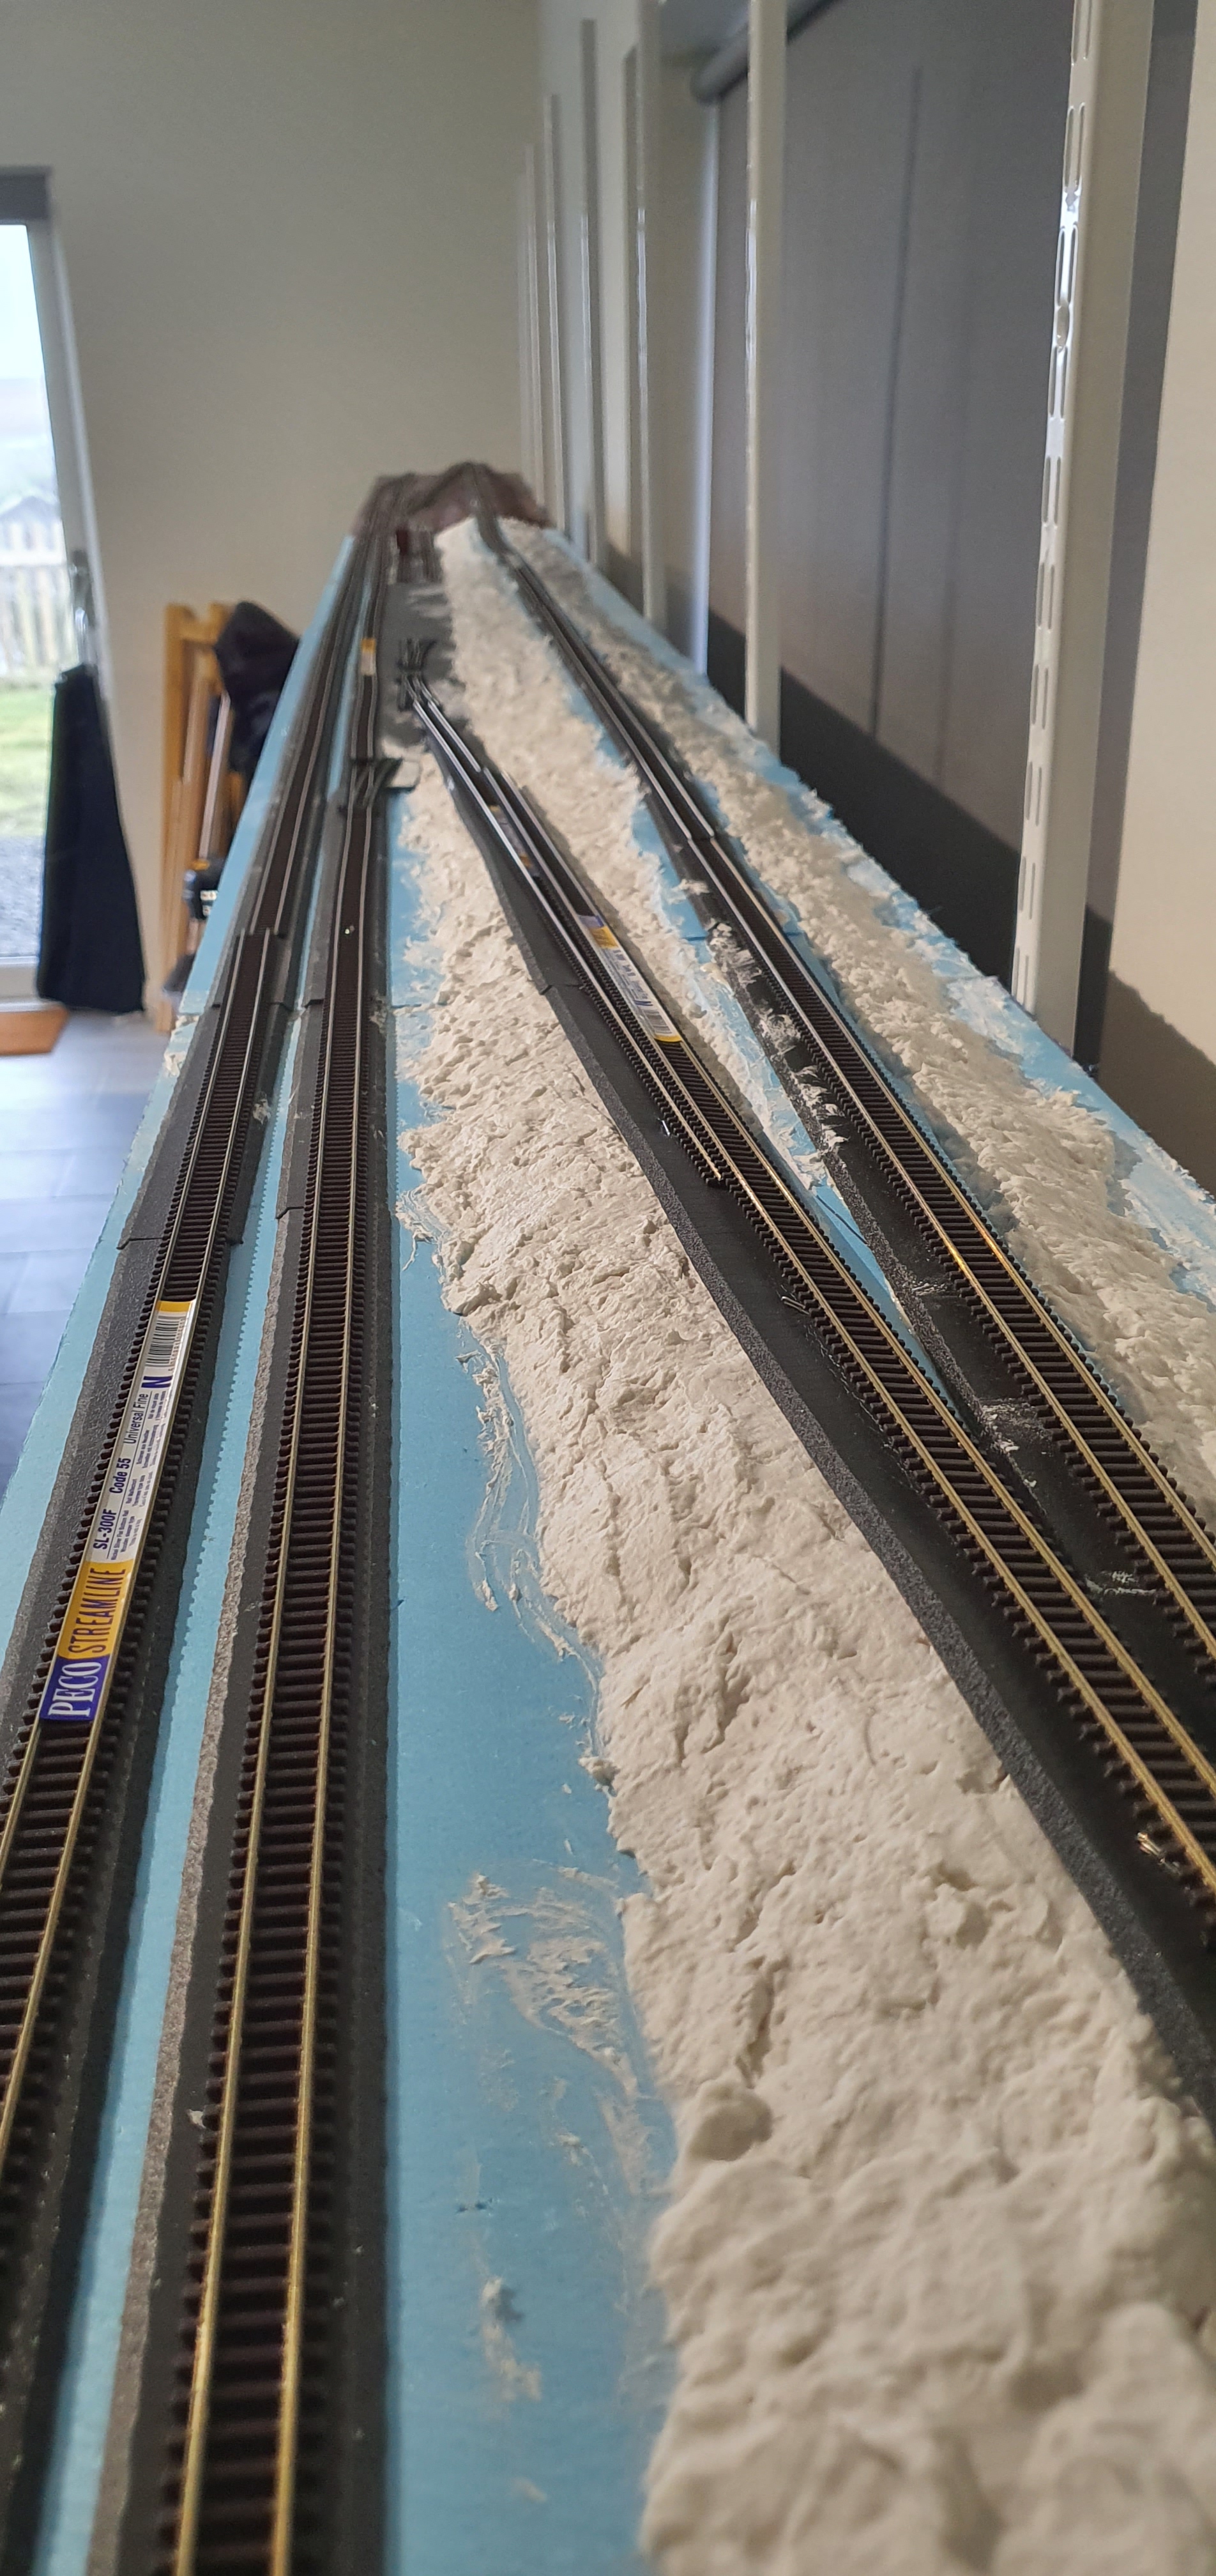
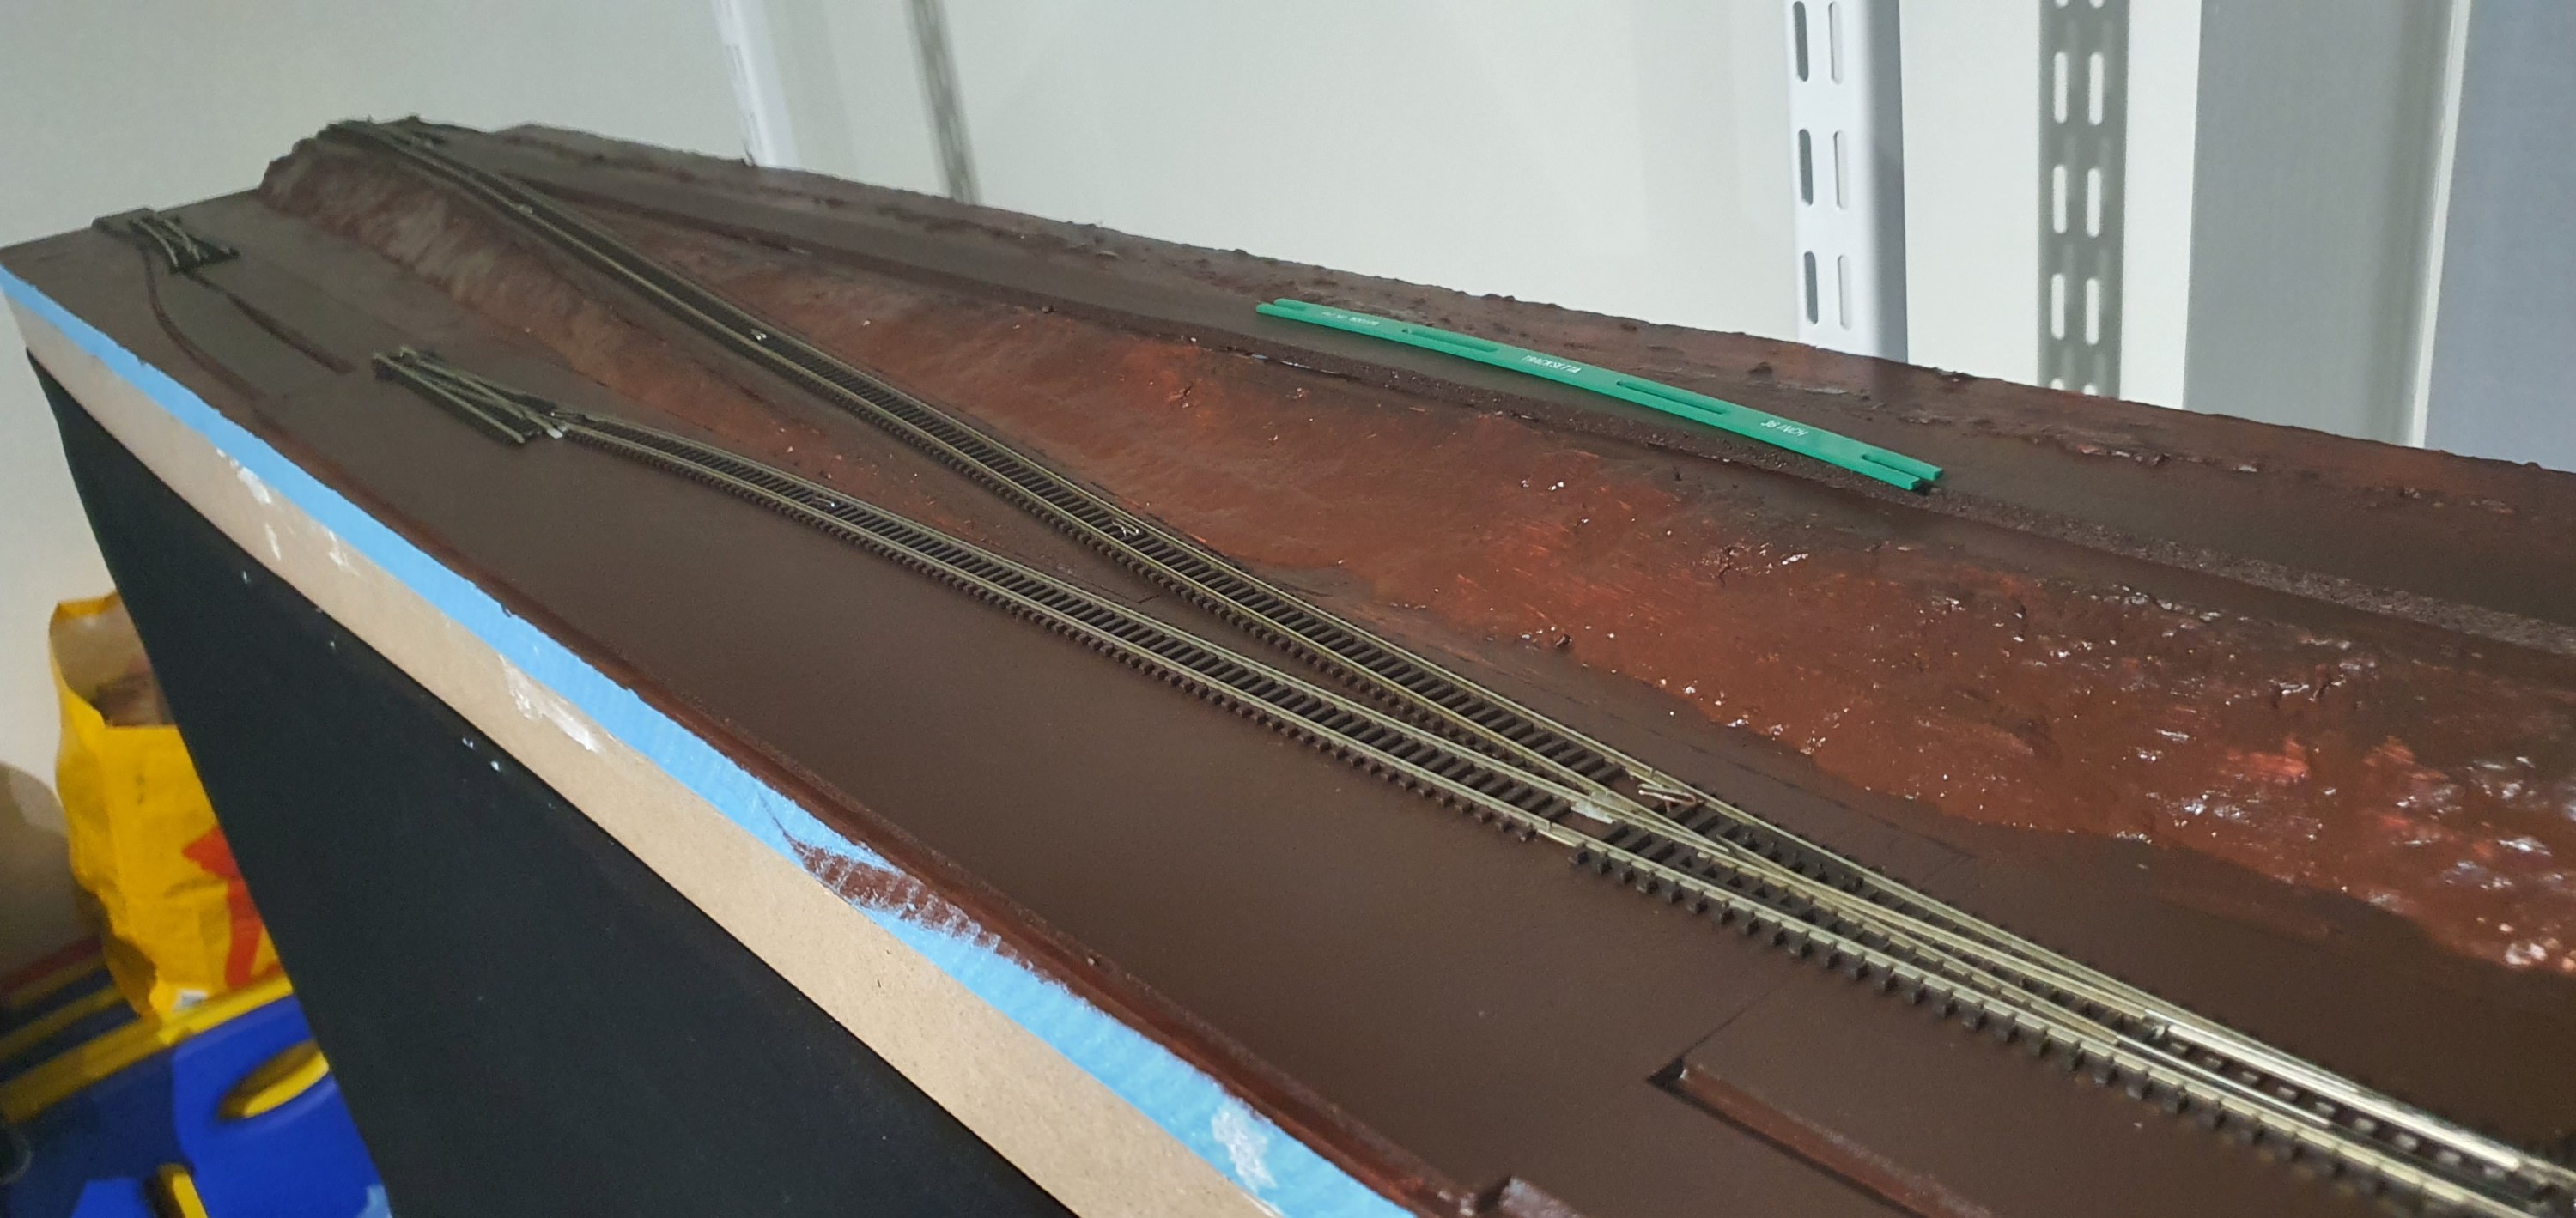
Adding the roadbed gave enough time for the sculptamold to start to set so before it does that we want to smooth it out.
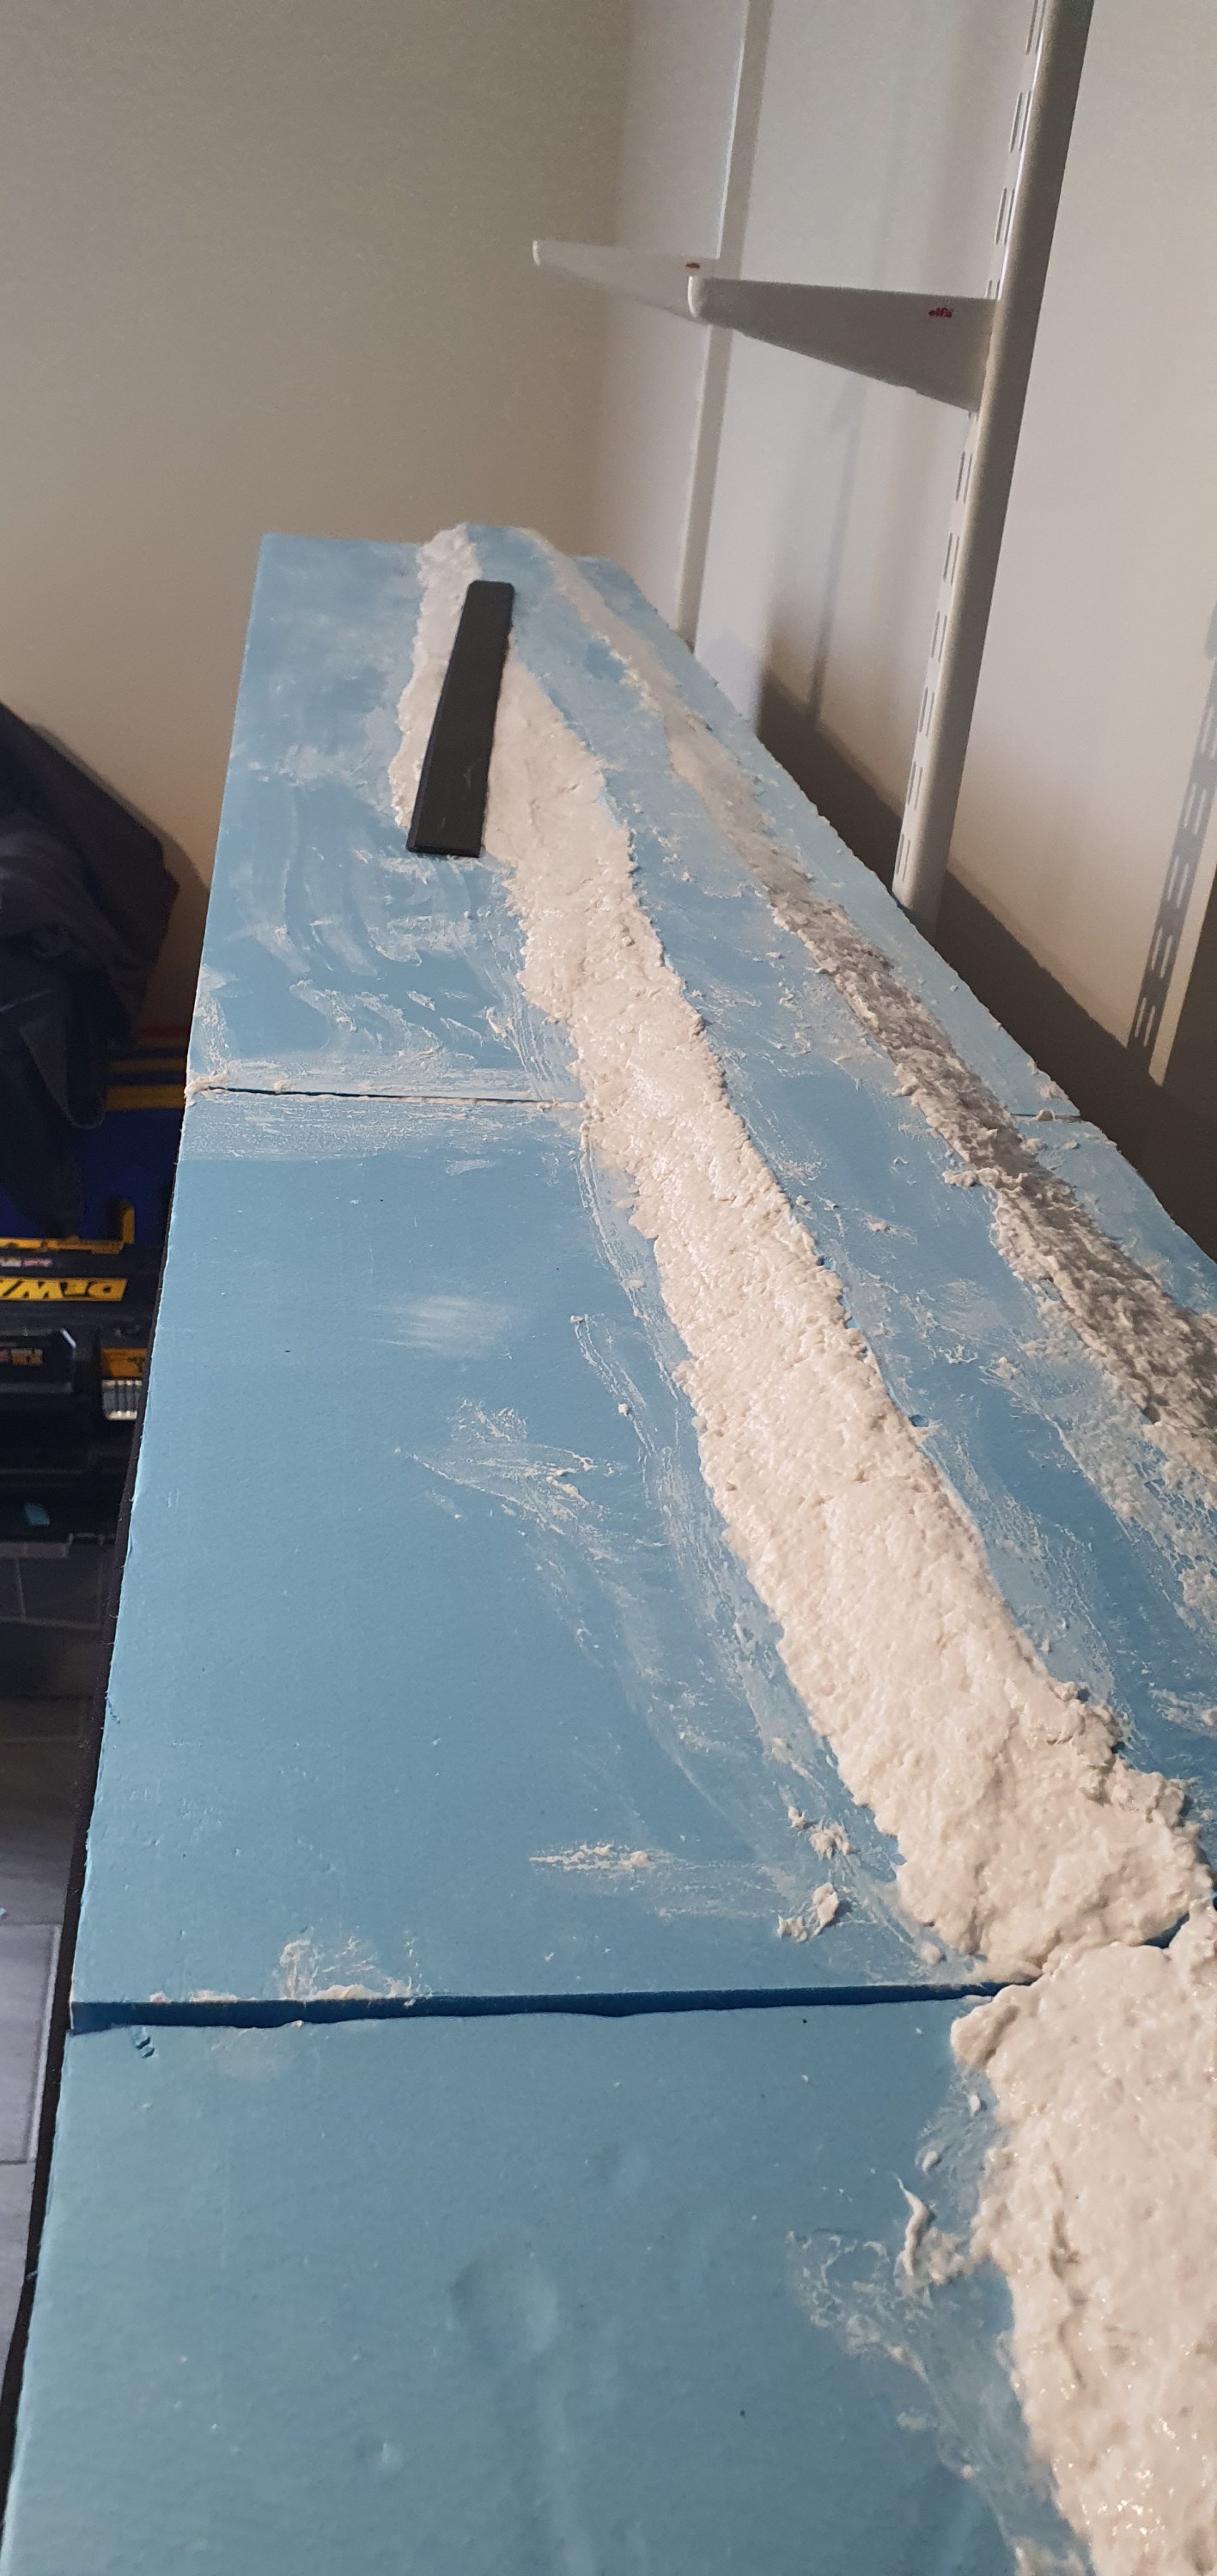
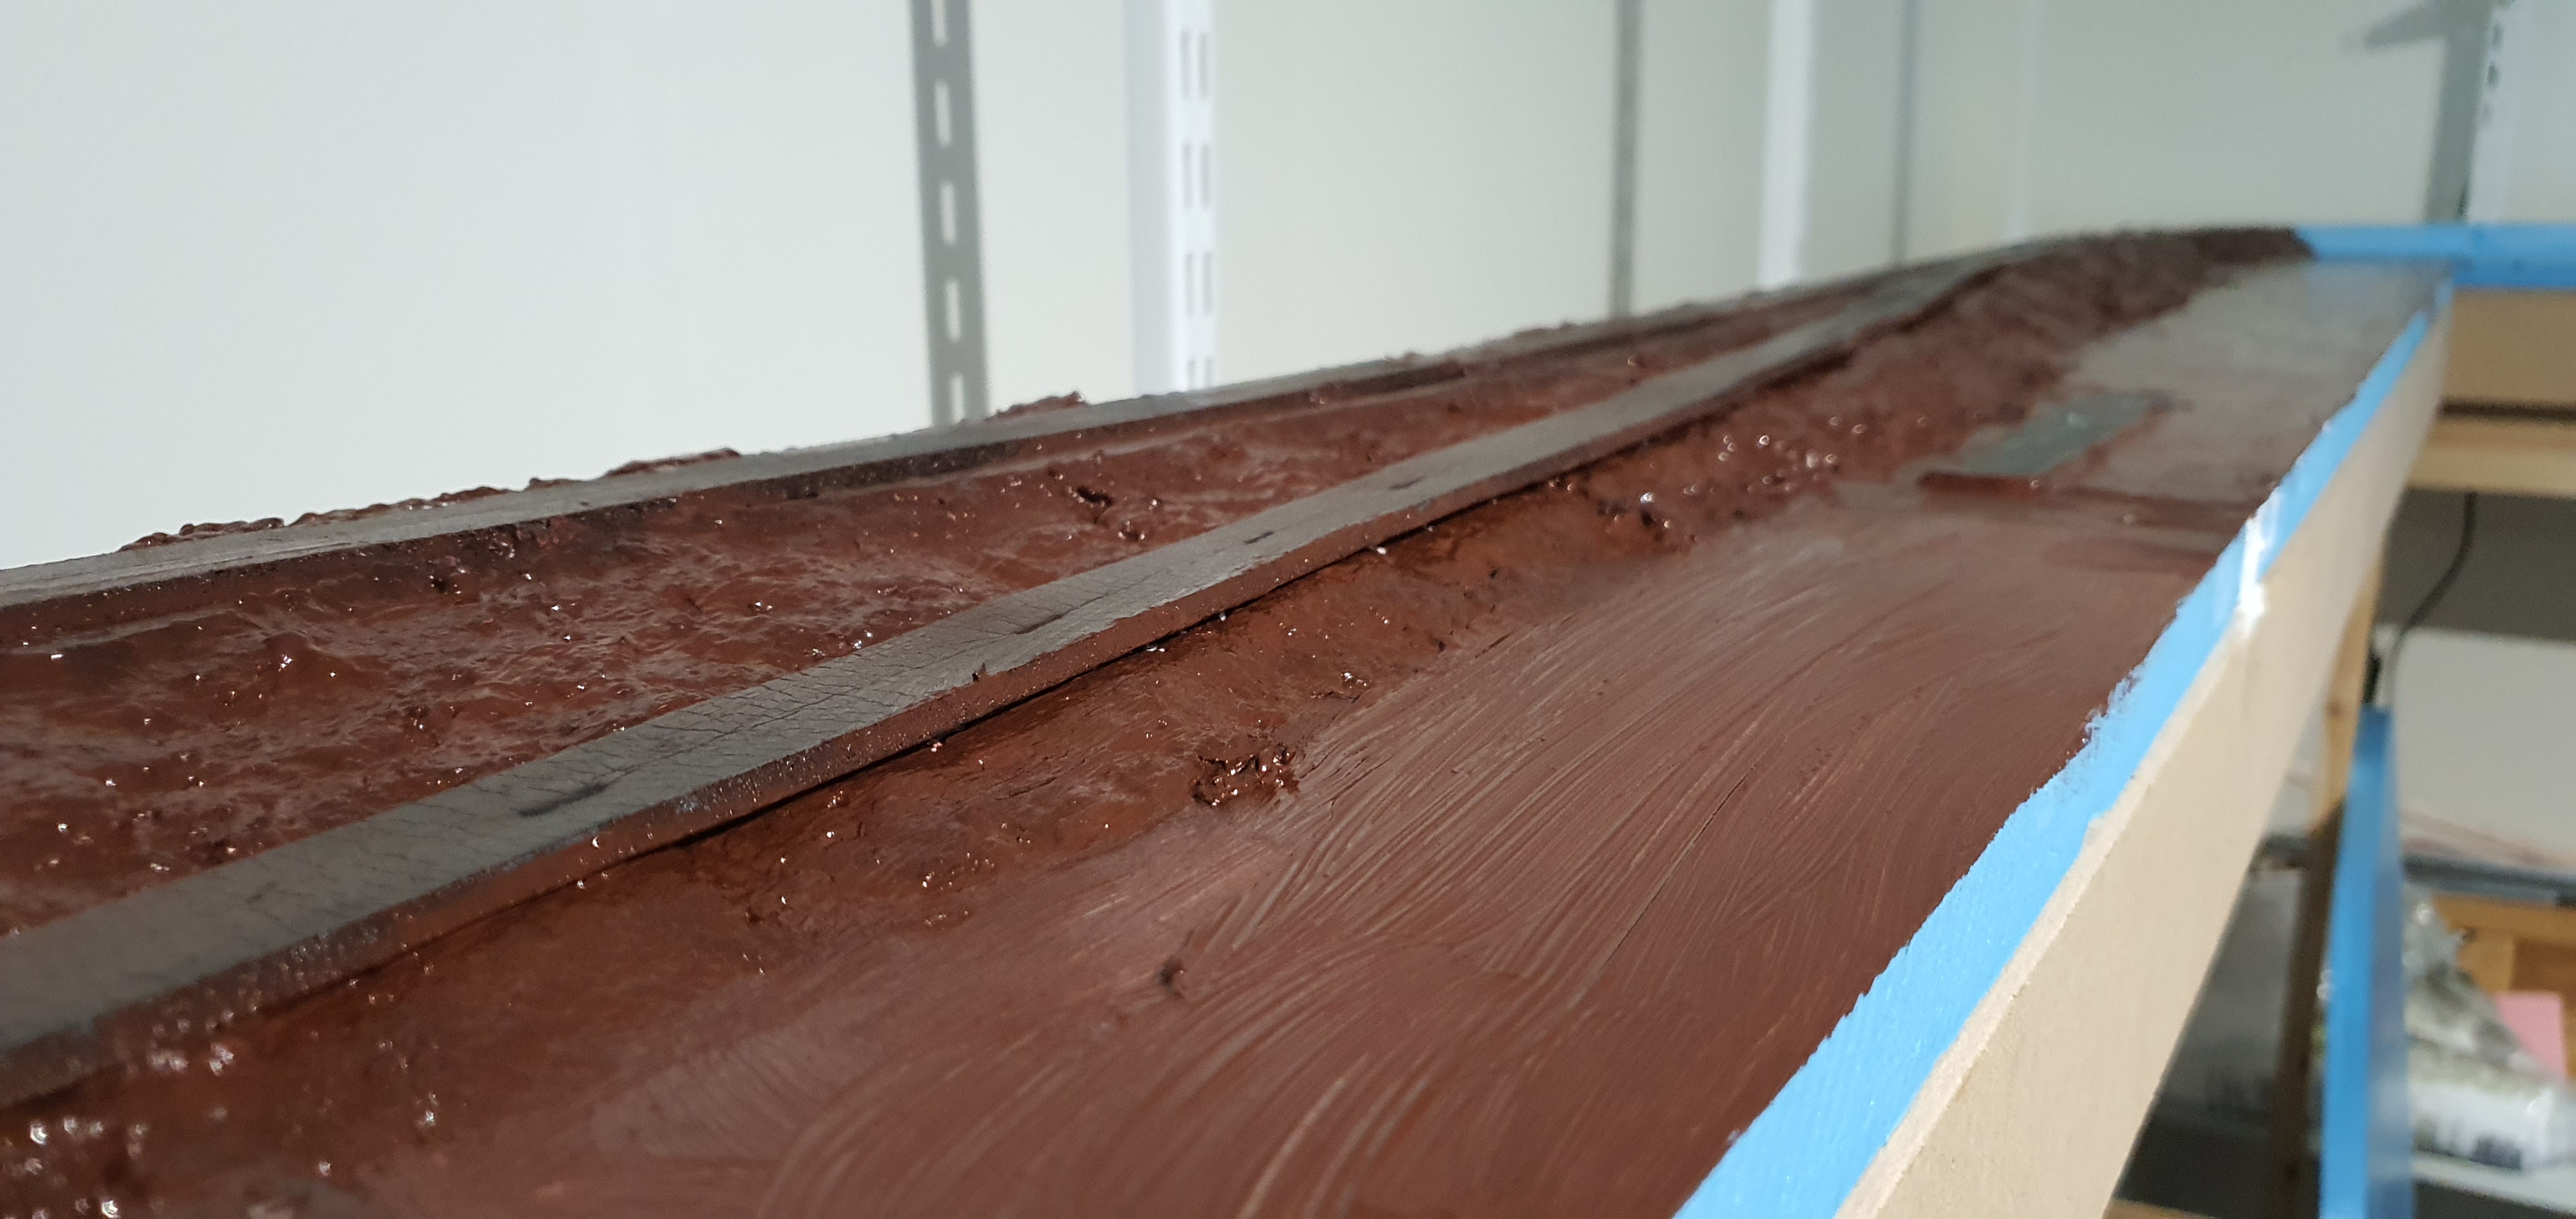
Its a really simple process just using a wet finger drawn along the length of the compund until its smooth and even.
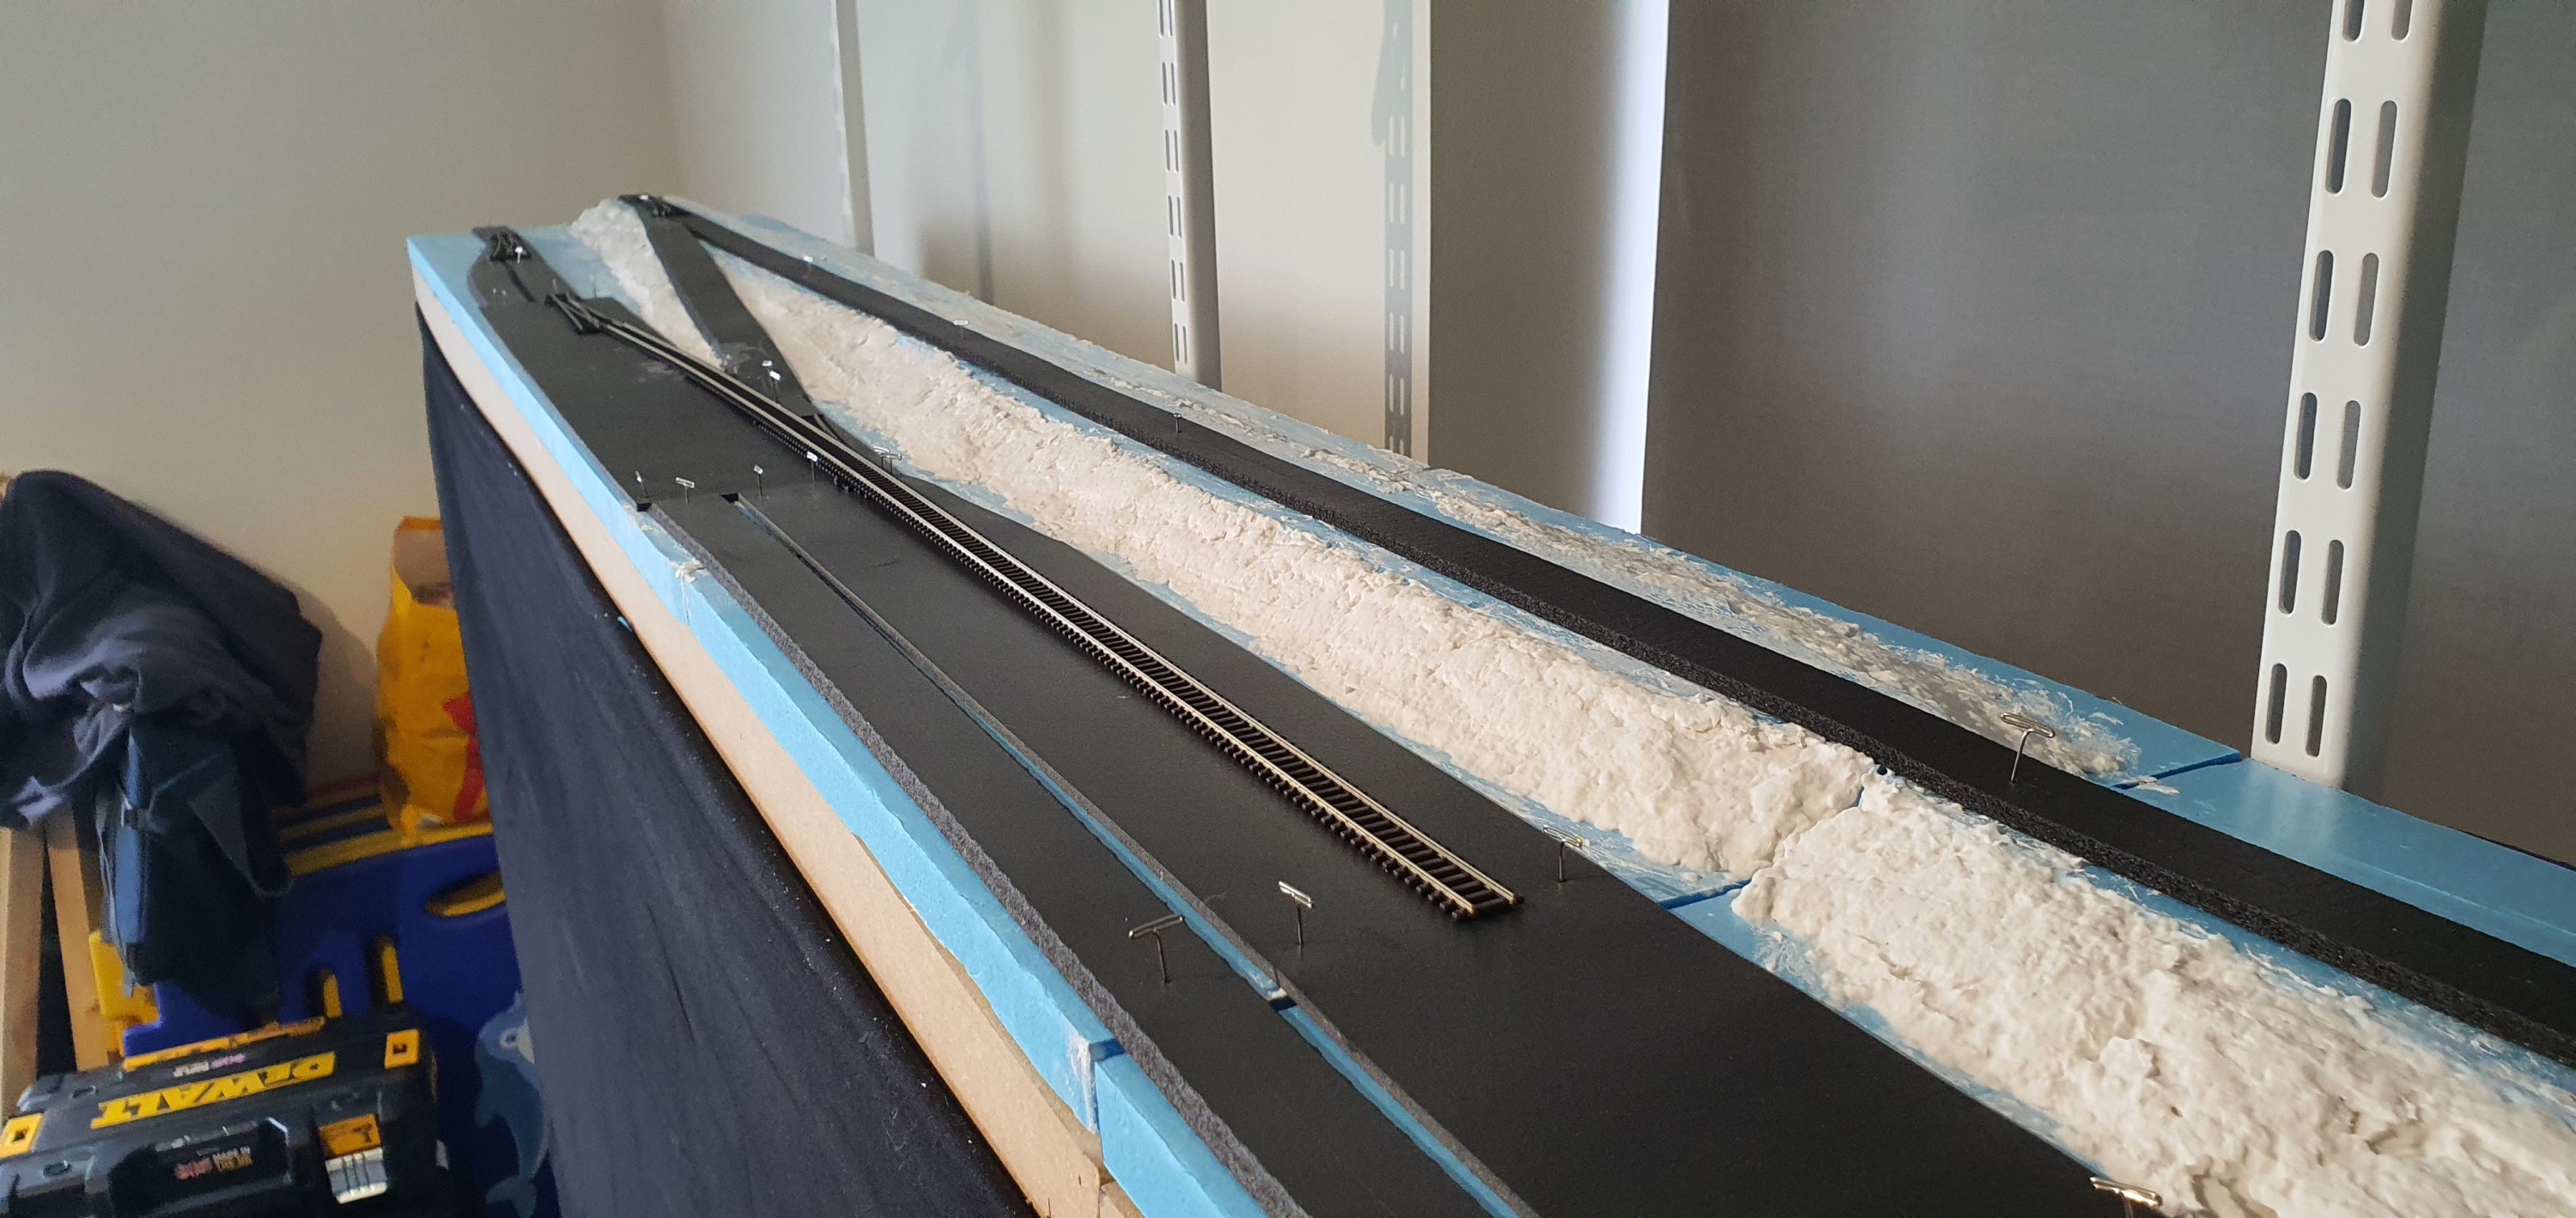
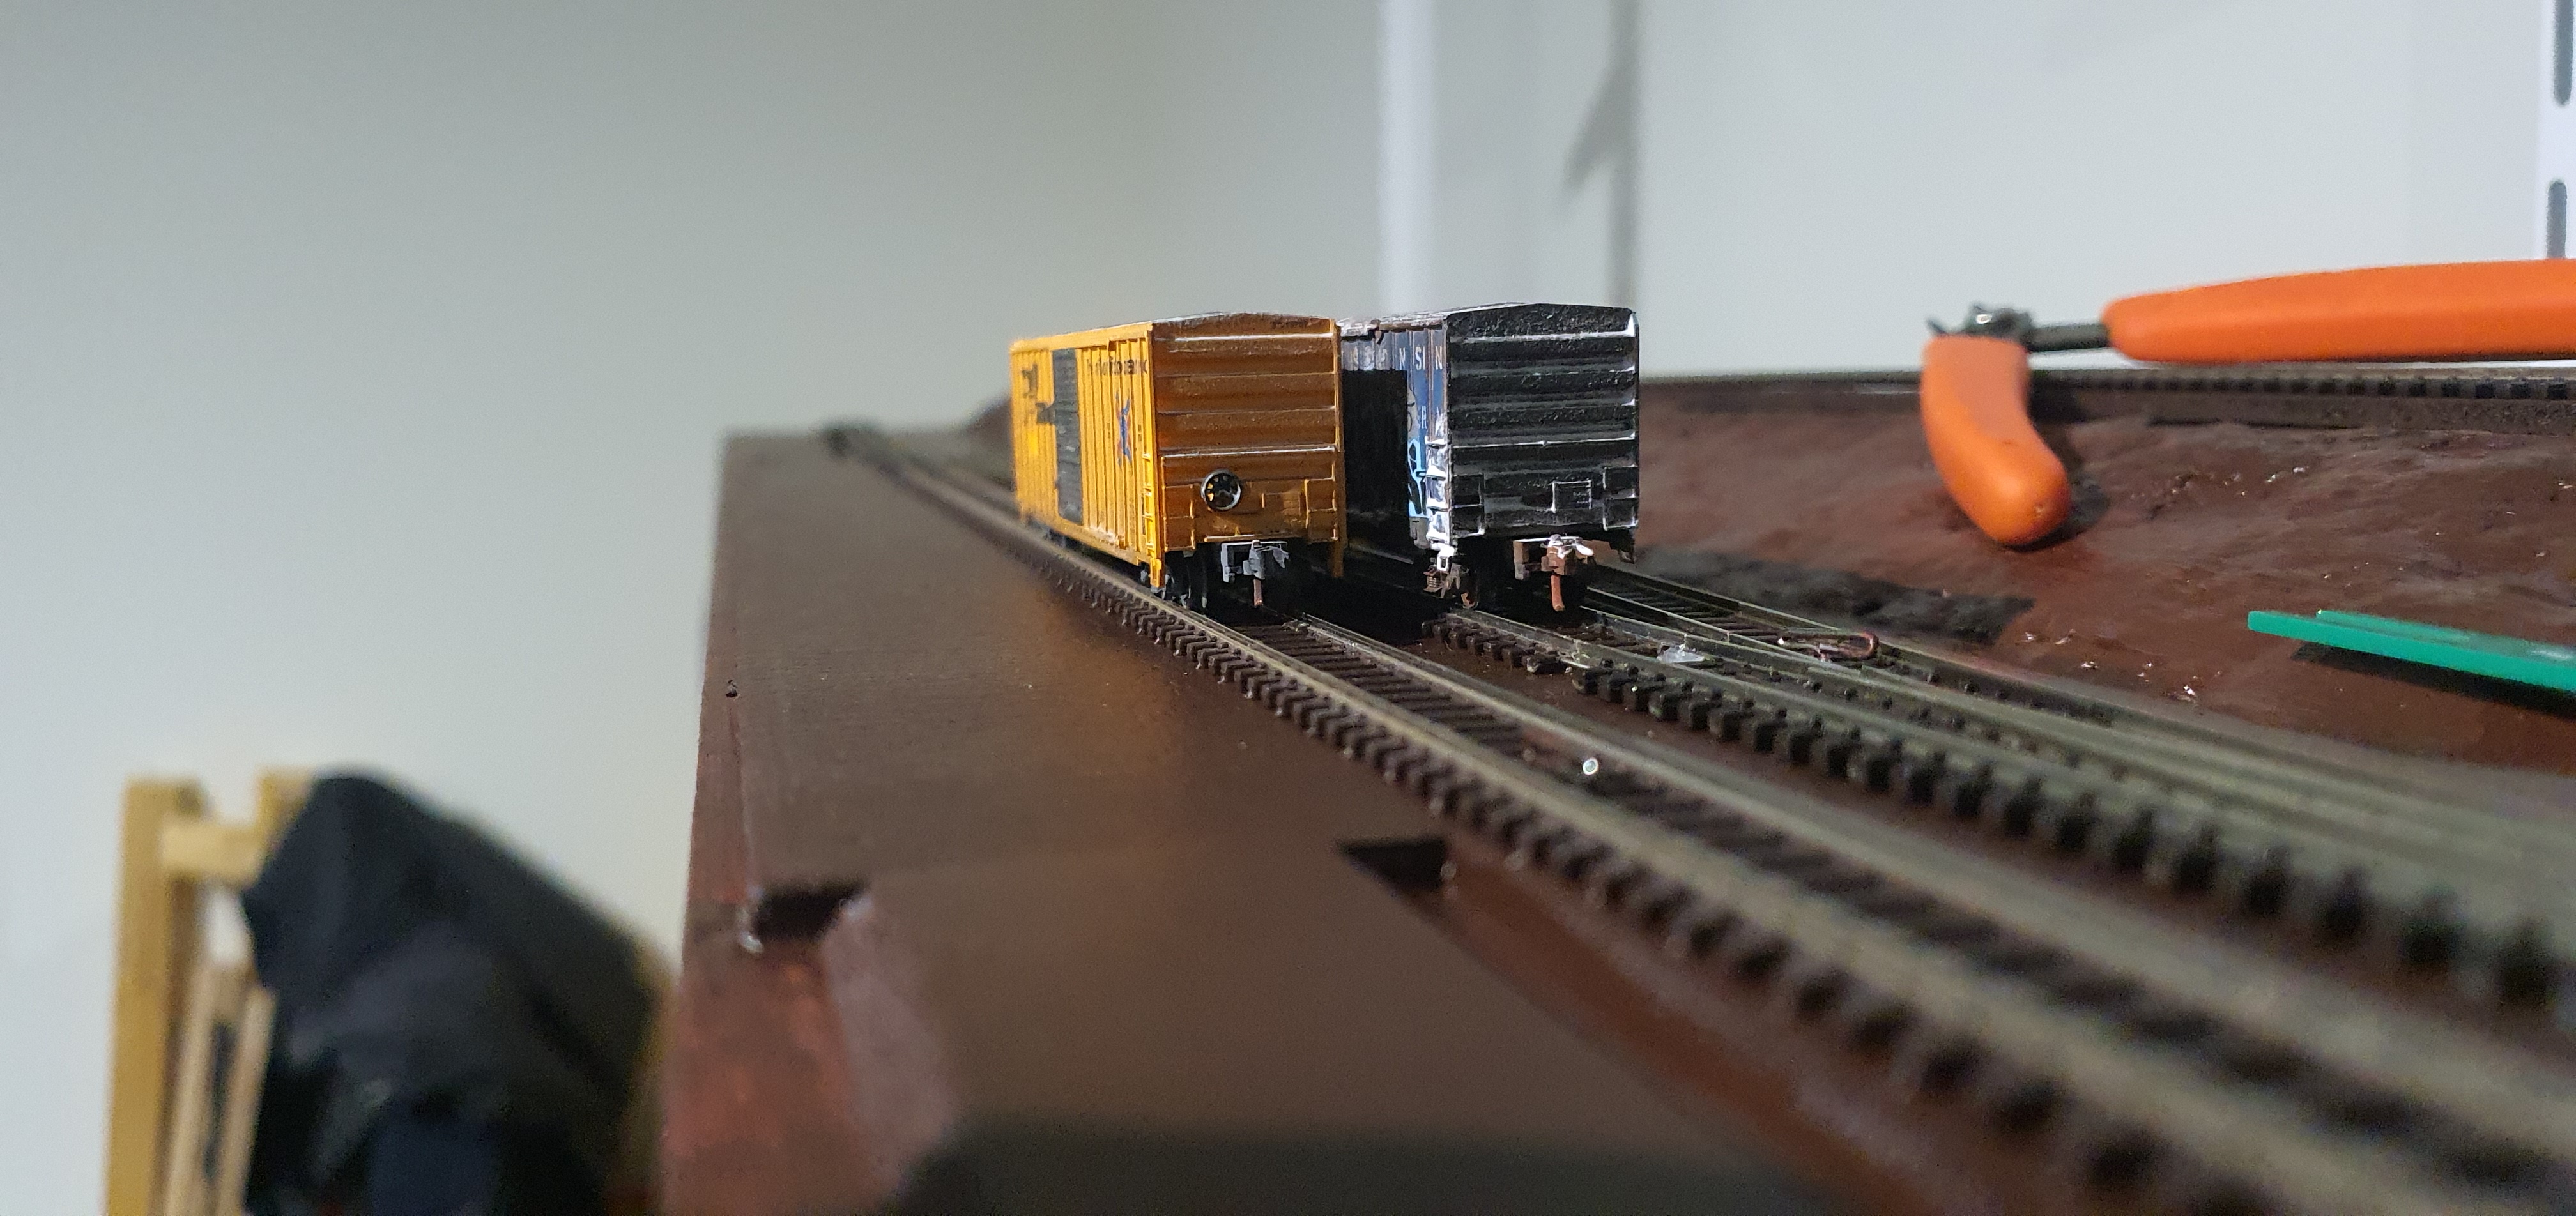
Here we go all smooth and roadbed down with more wood glue (PVA). I am not sure if I am really happy with the edge of track being so close to the edge of the layout. In trying to make more space for trees before the background I have probably put my rolling stock at risk of running down a wee drop before returning to kit form. I think that some padding is going to be required behind the fascia to allow me to prevent this, but atleast the mistake is spotted now before something goes for a nose dive.
Come back tomorrow as I did get a wee bit further with this before calling it quits for the weekend.
