Building a Helix

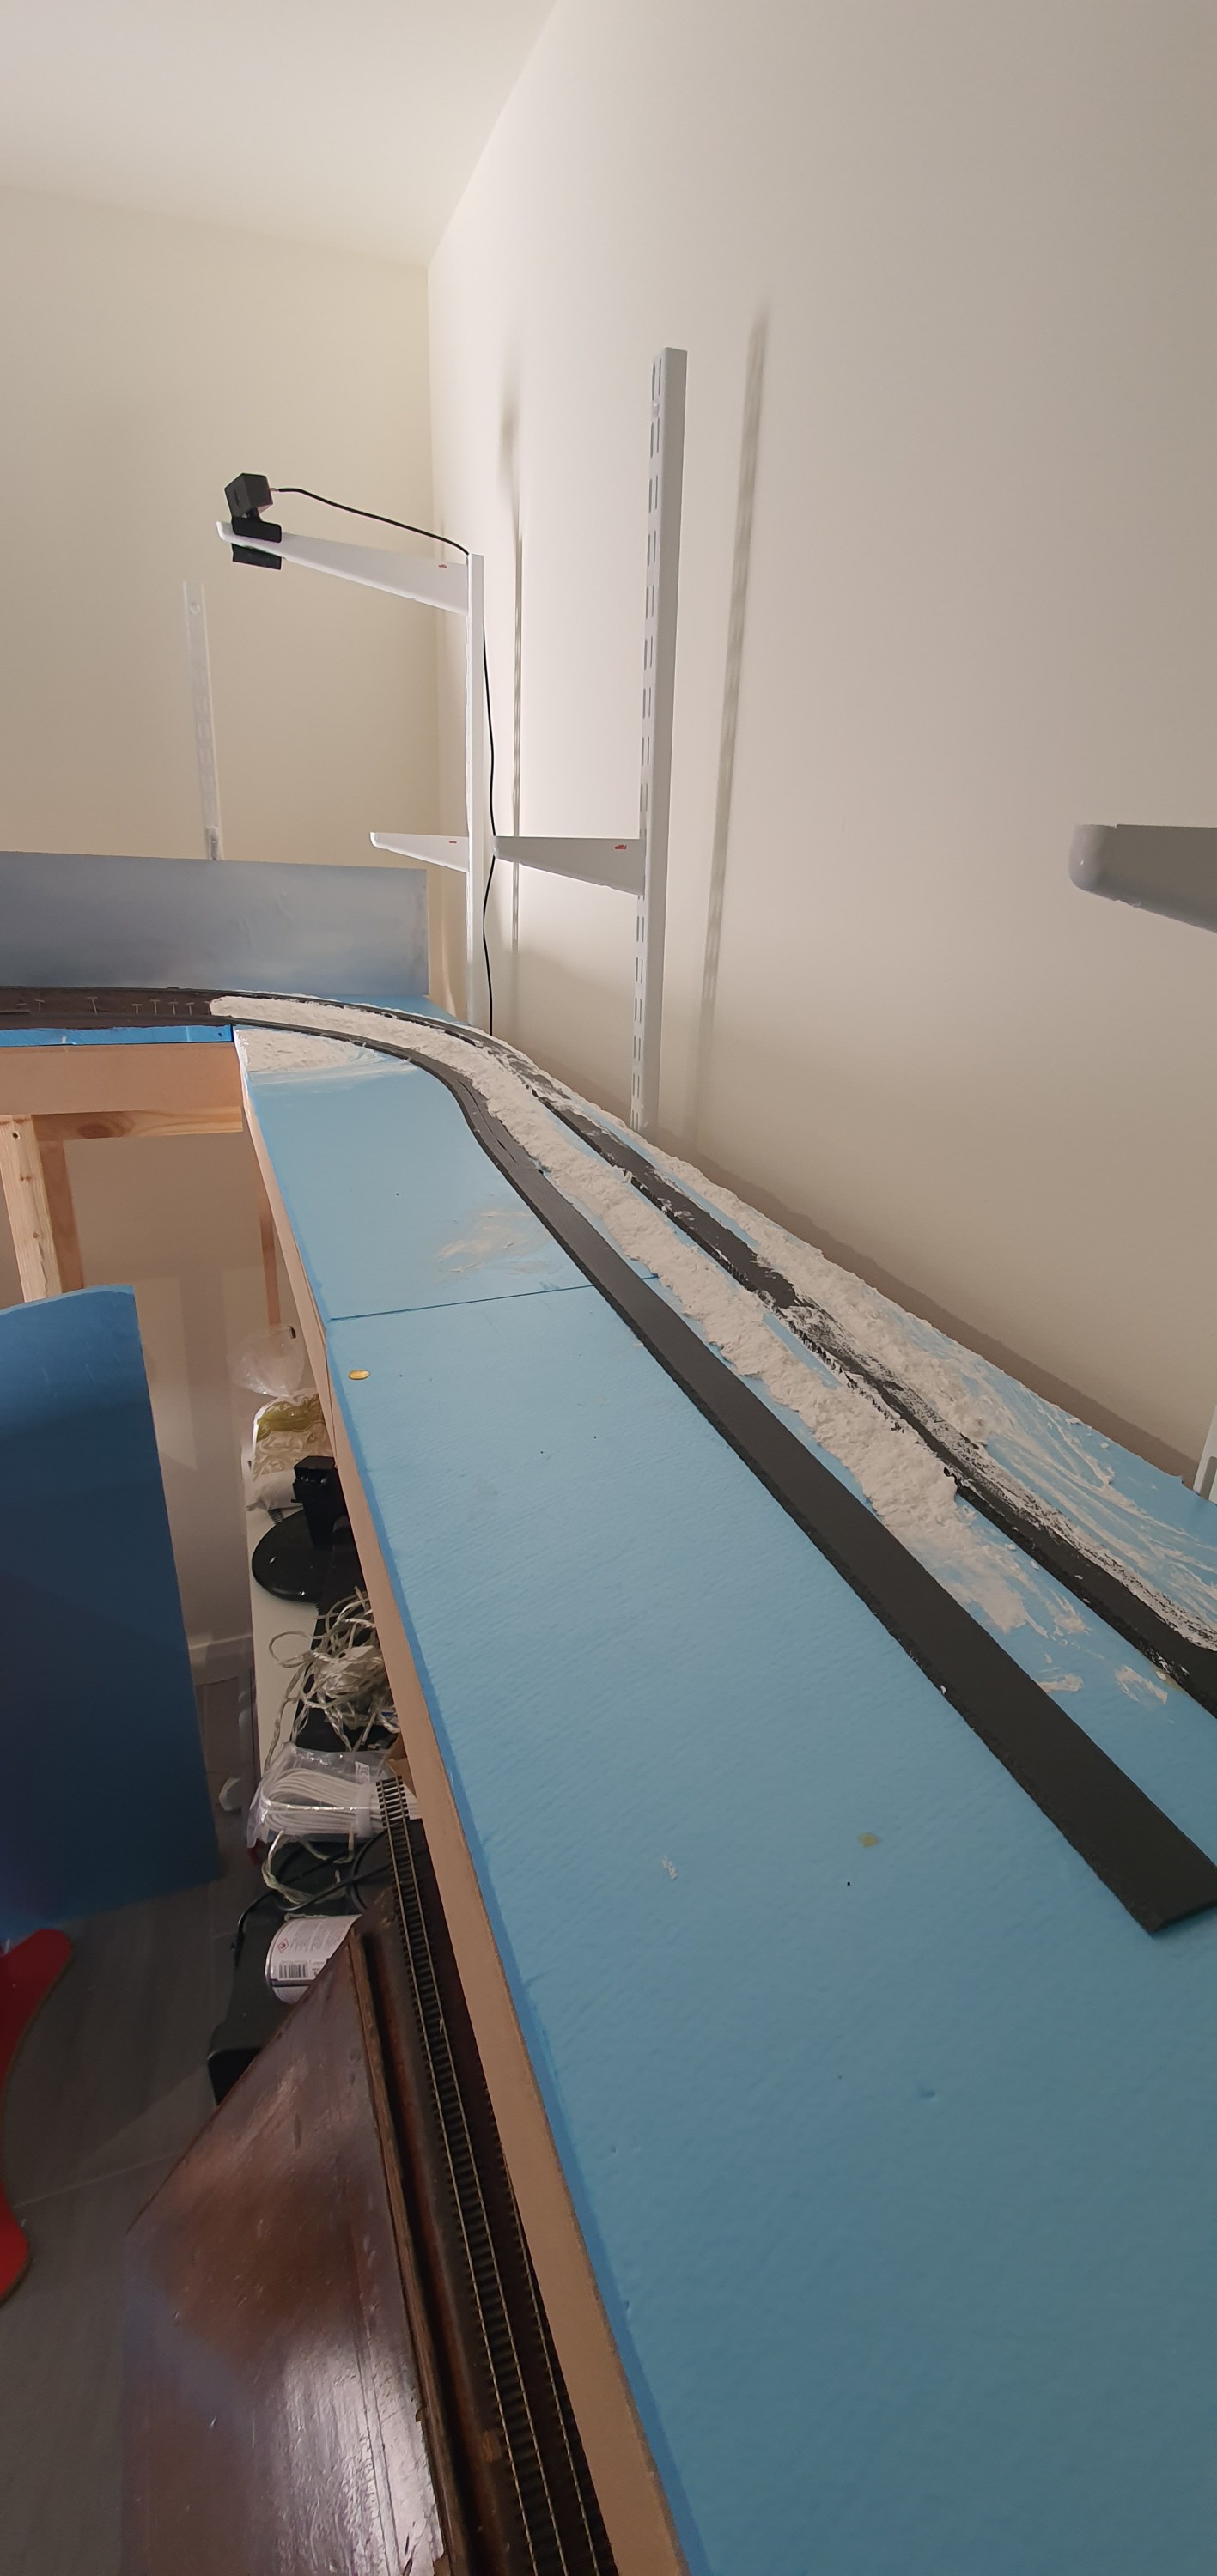
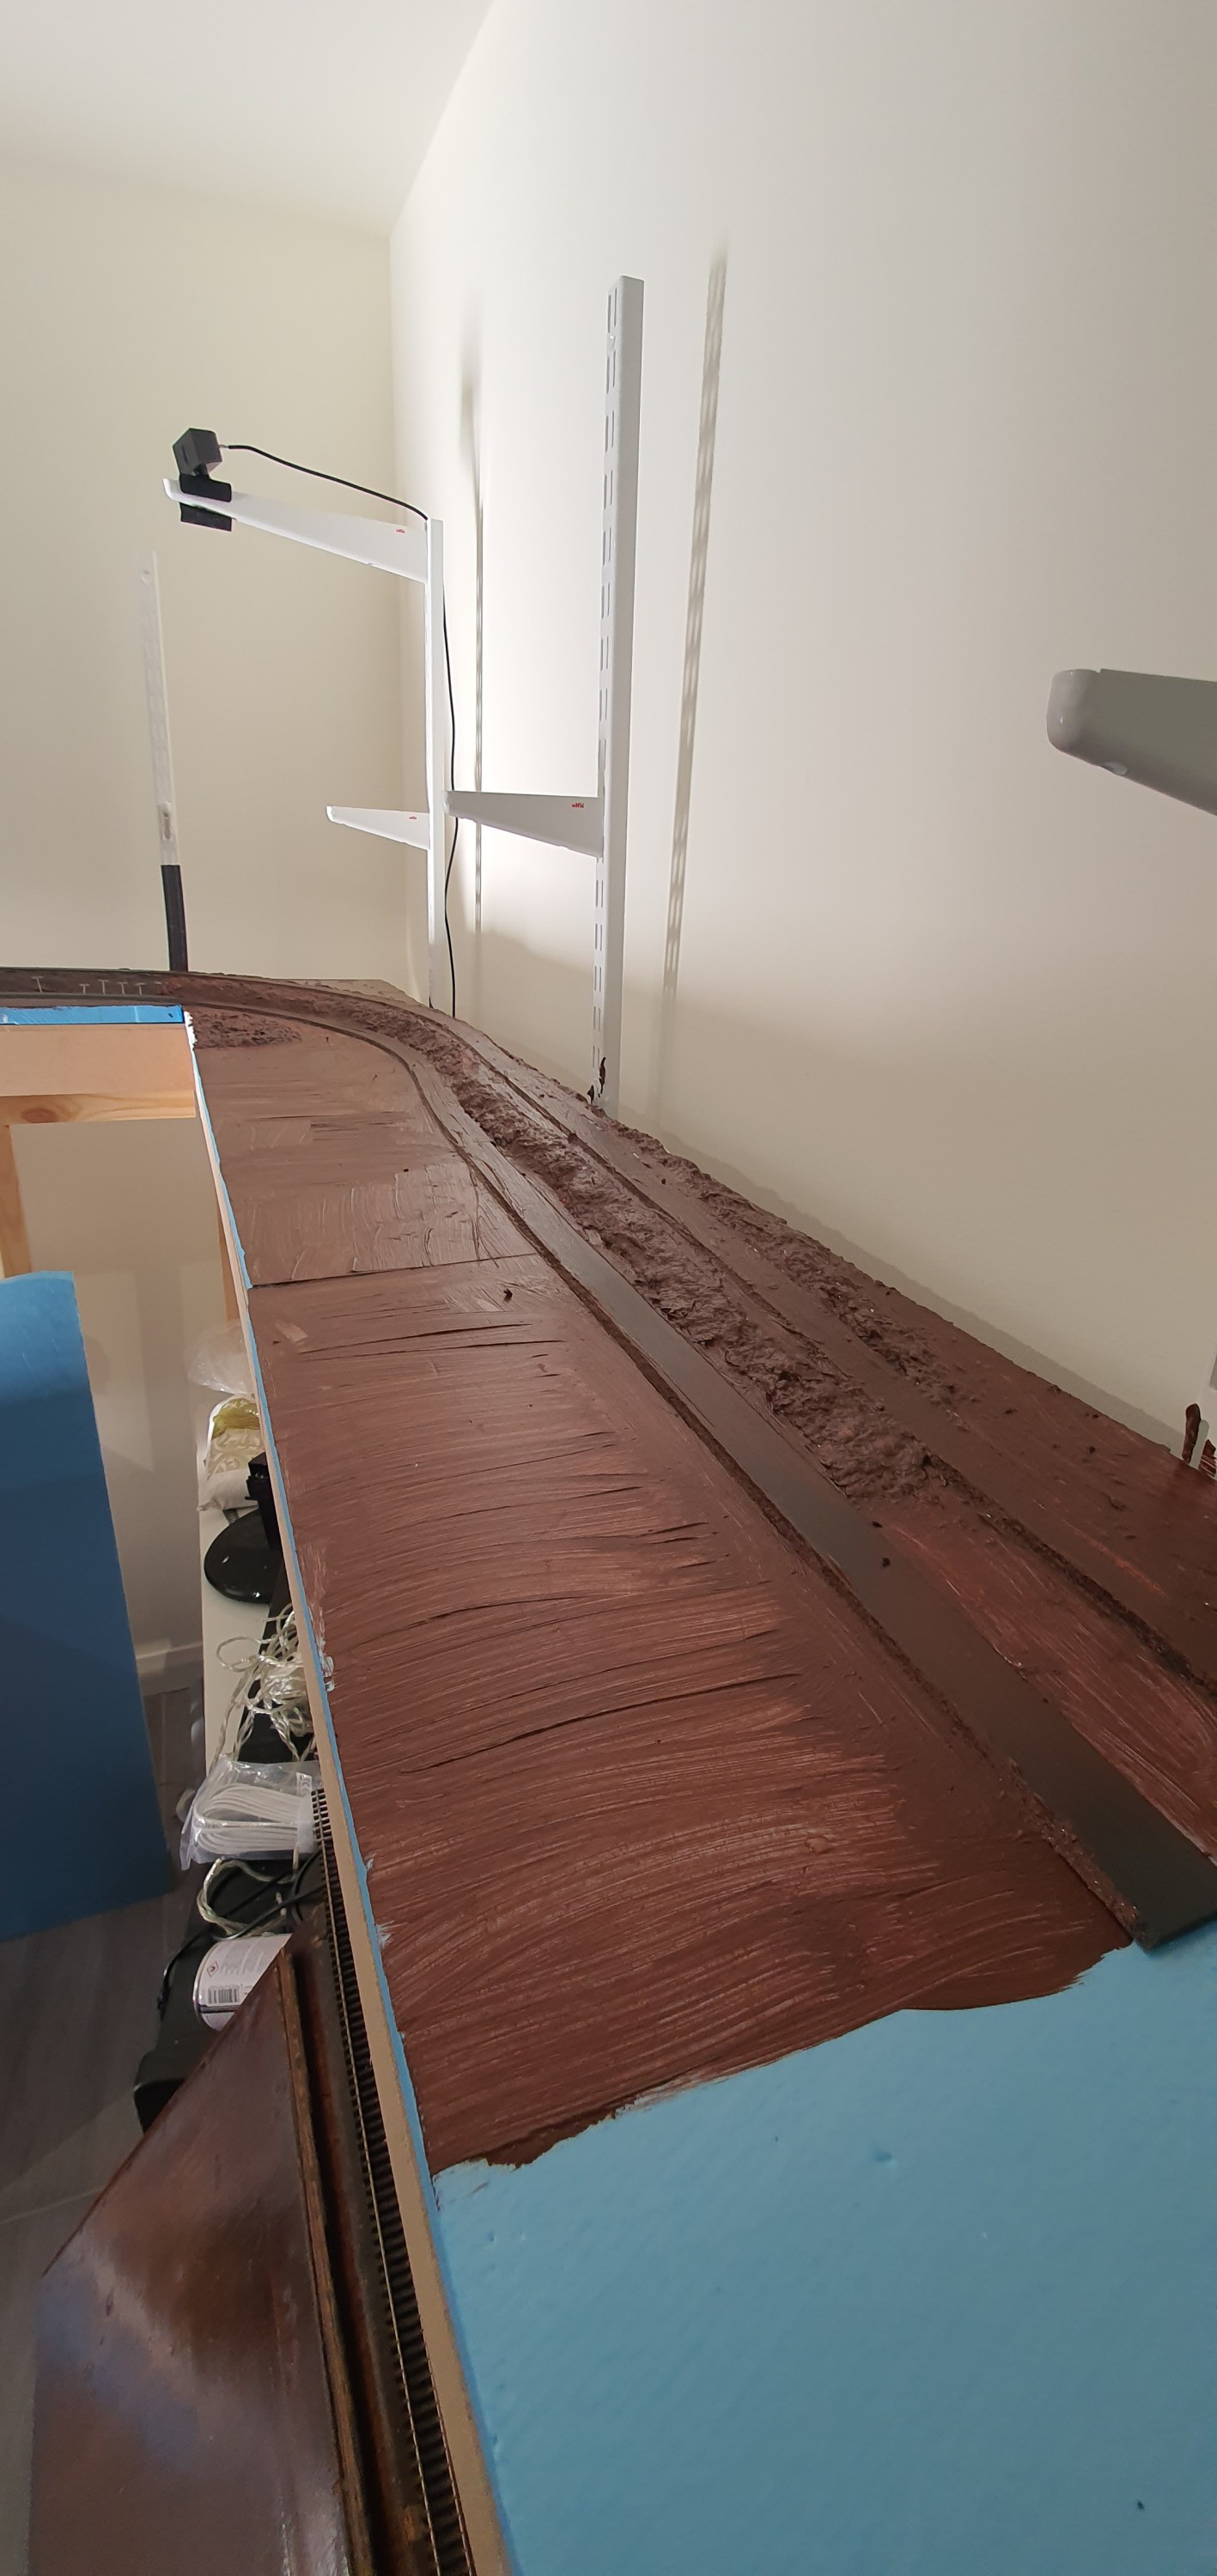
For those who have been following the blog, you’ll know that the layout is in two parts and most focus at the moment has been on the Waukesha Sub however thats just because I am focussing on completeing my scenery AP and I was waiting to order a helix from https://www.gleiswendelshop.de/ .

This post will just cover how I constructed my helix which is number 2 on the layout and there will be 4 in total. If you want the short story on this and prefer videos I suggest looking at this video by my friend Peter Borcherds building exactly the same helix.

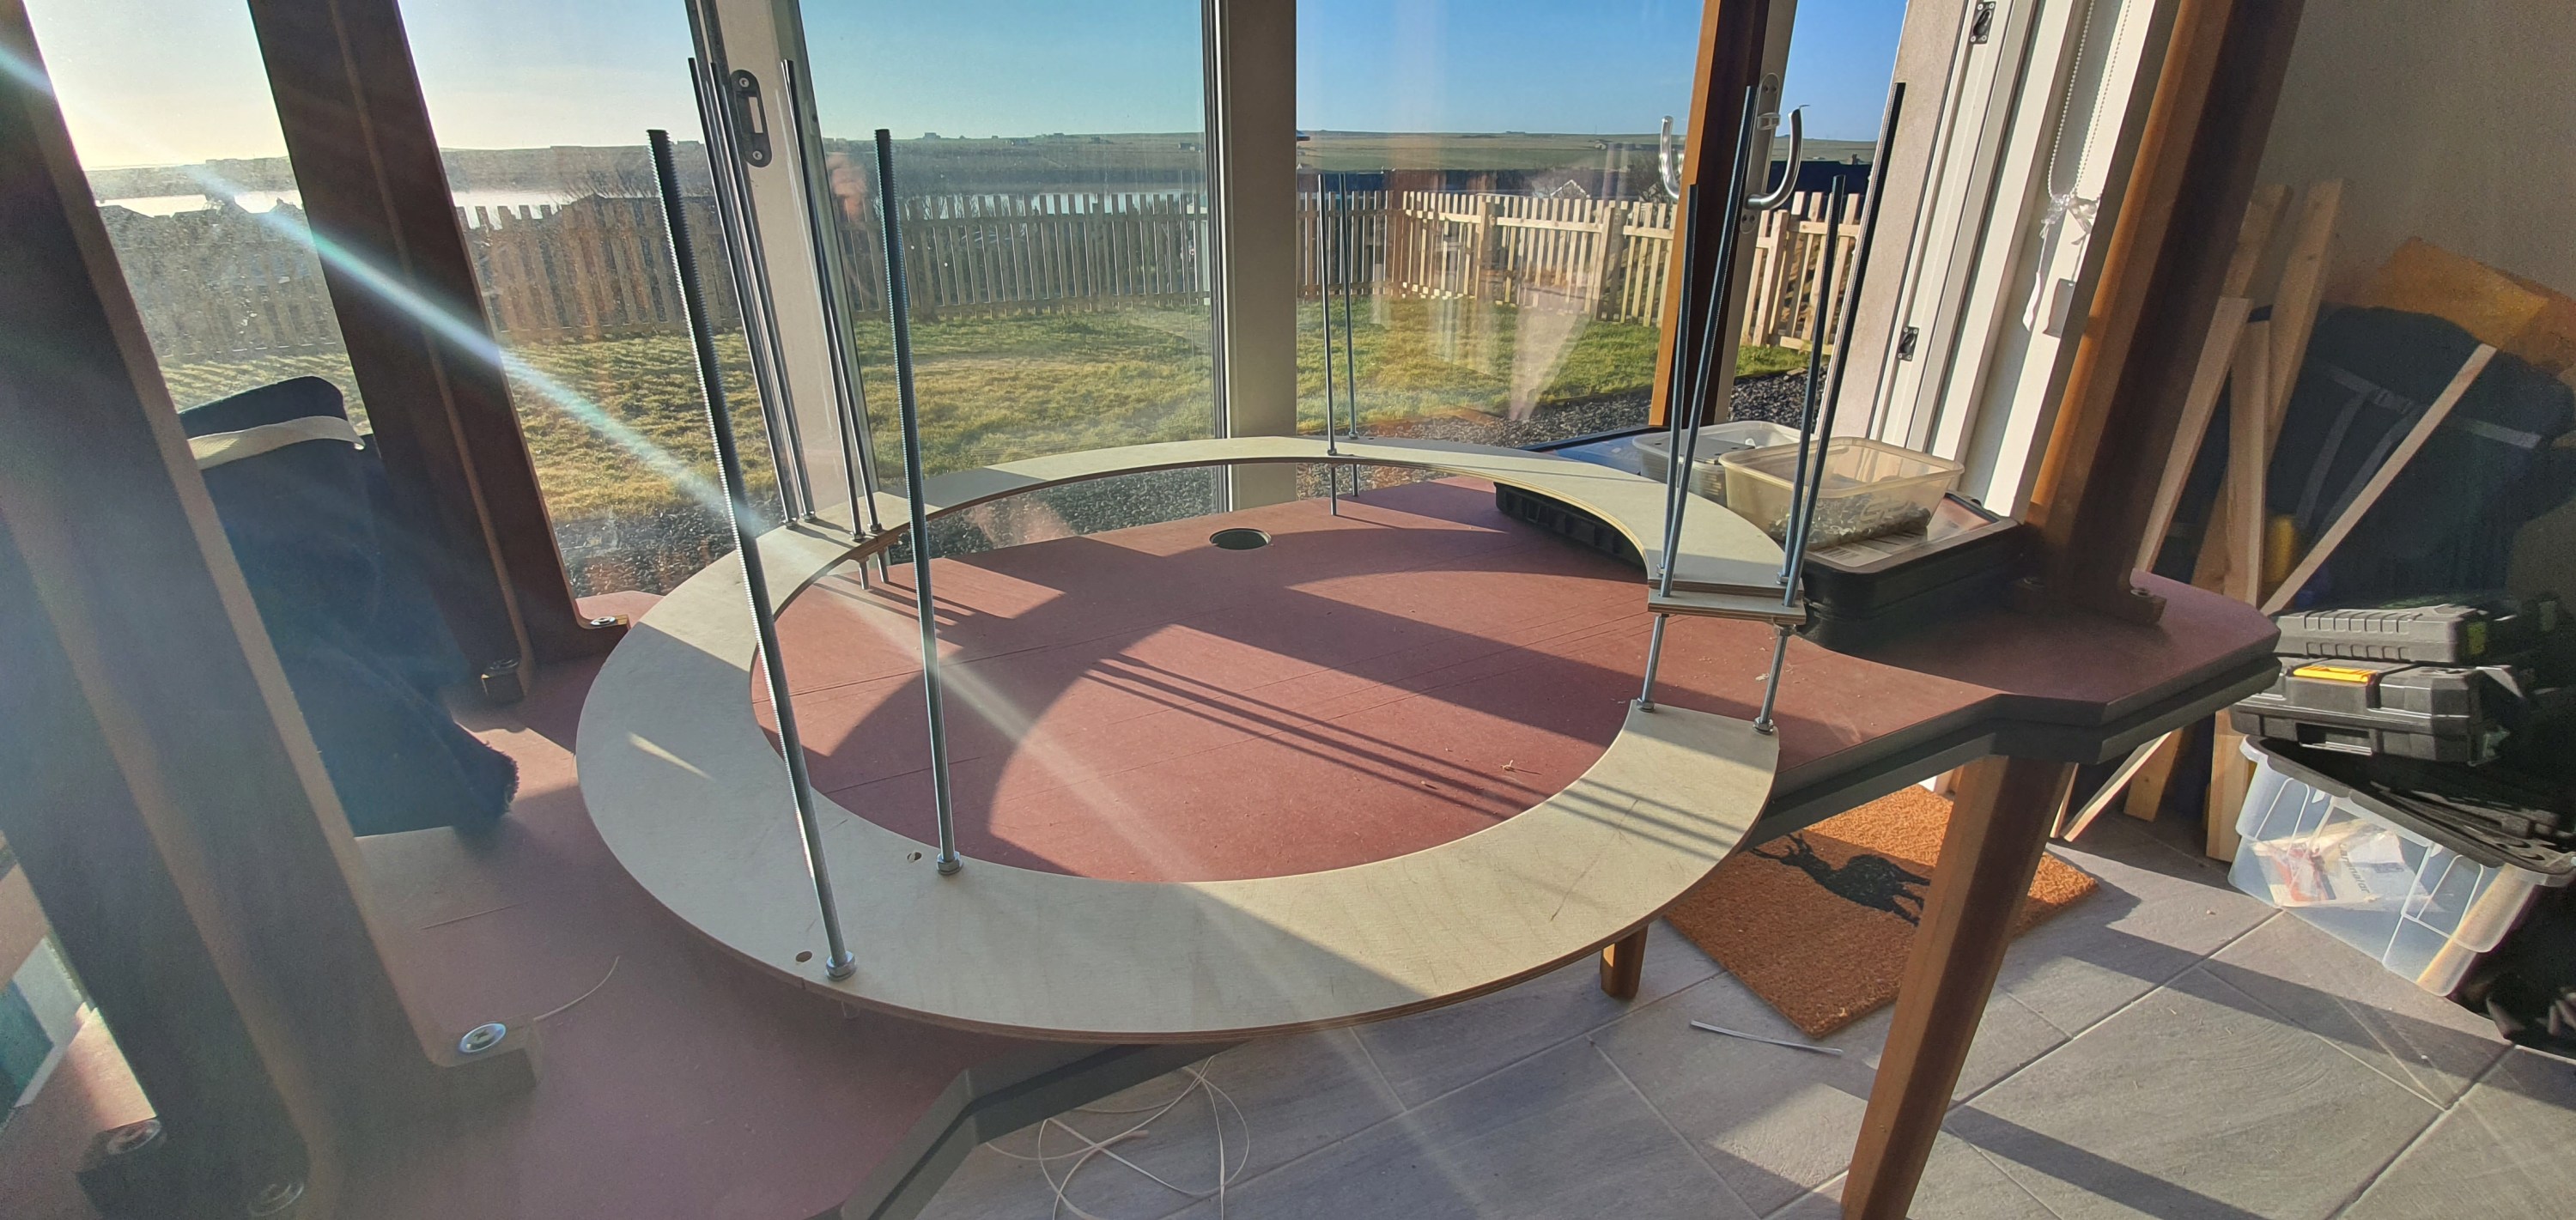
For my helix i went for a 3.5 turn helix and each turn climbs 7cm (2.75″) which is steep it is a climb of 3.1% but this part of the layout has short trains with 4 axle units that should handle this no problem.

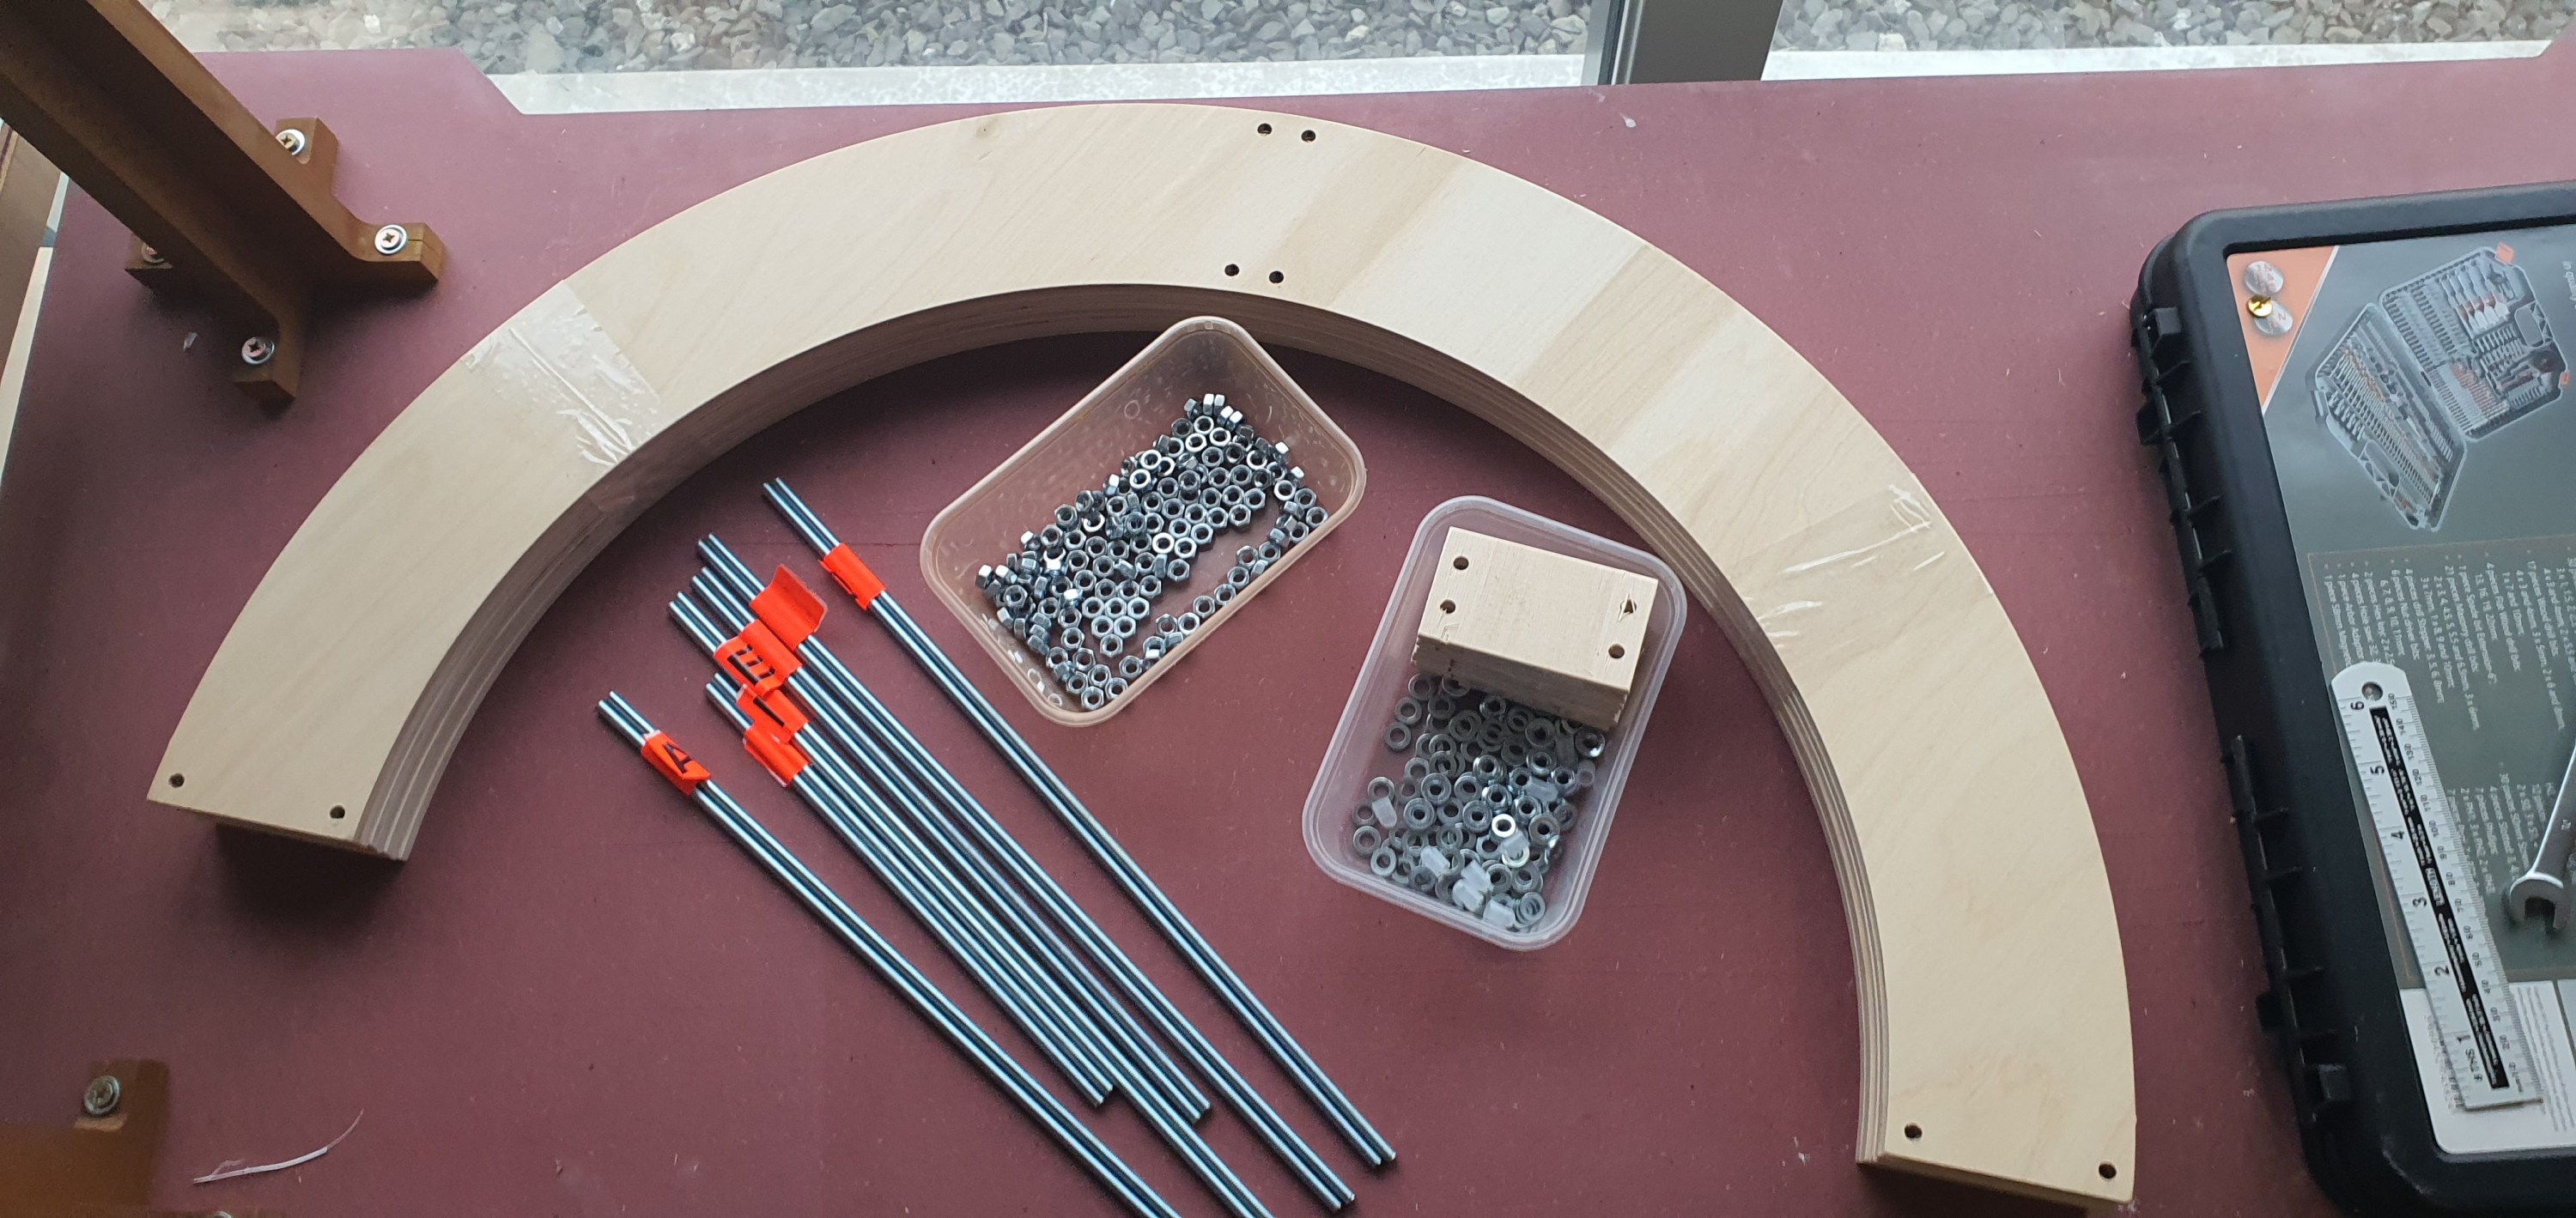
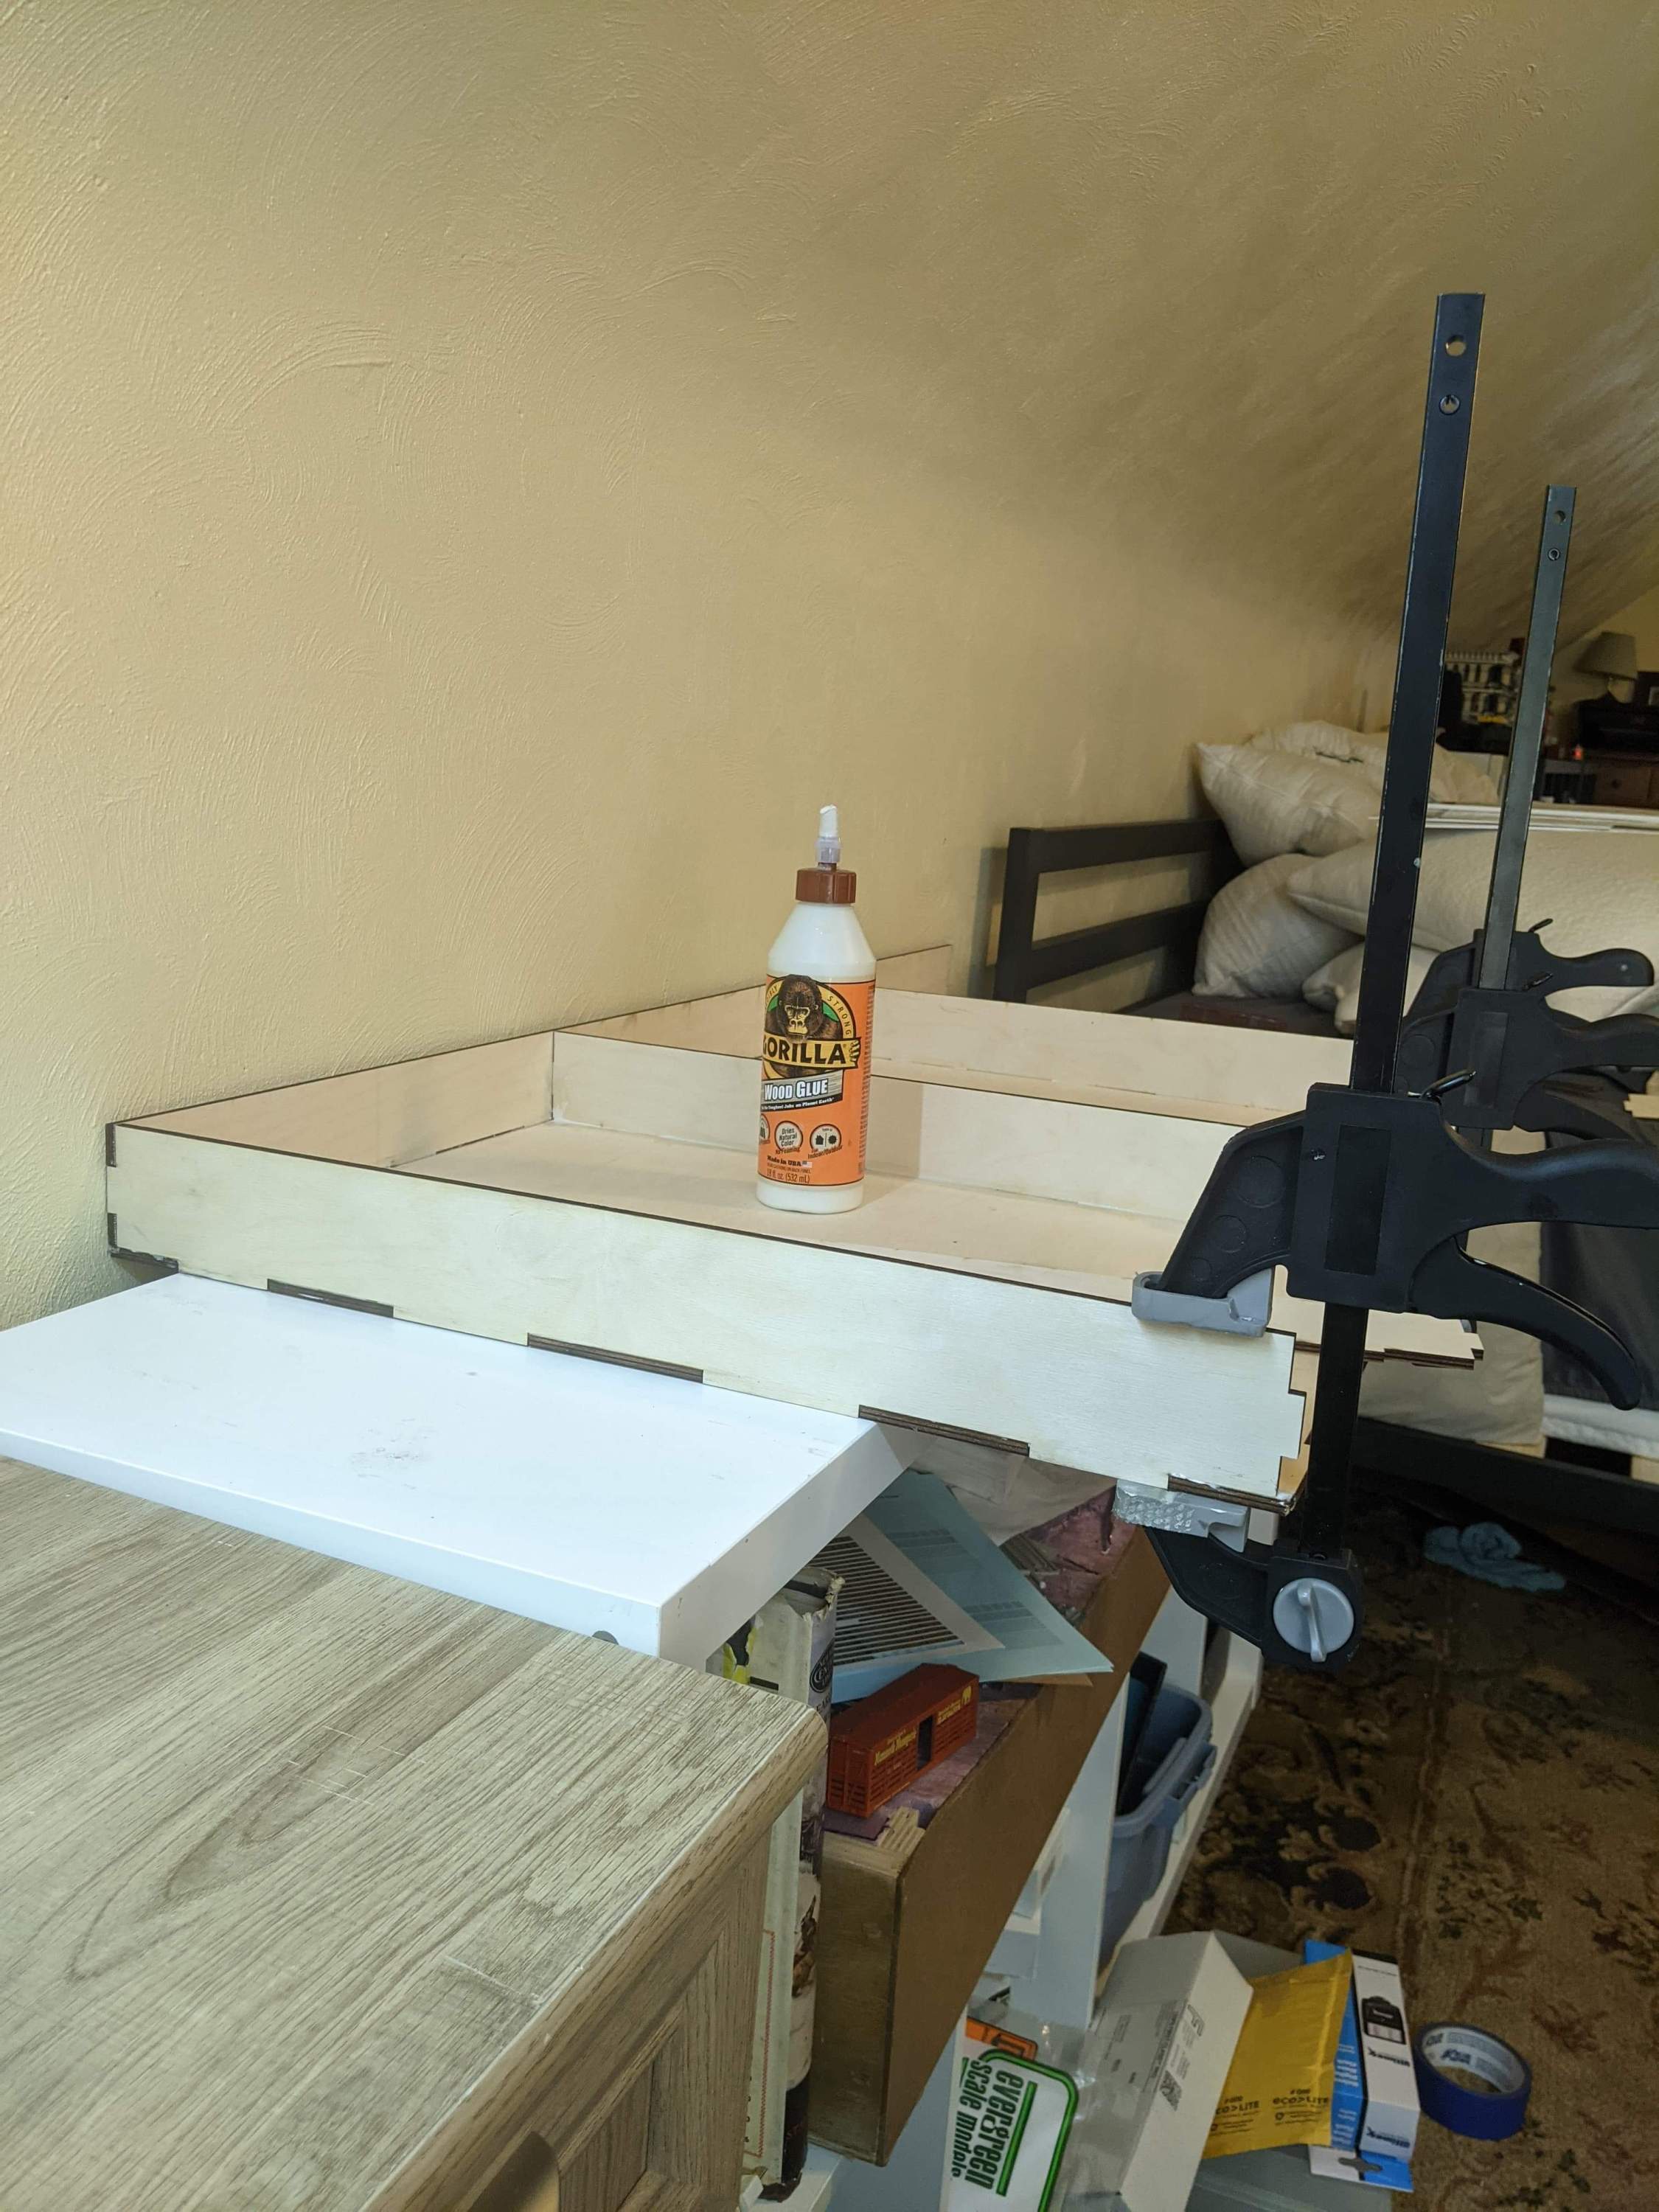
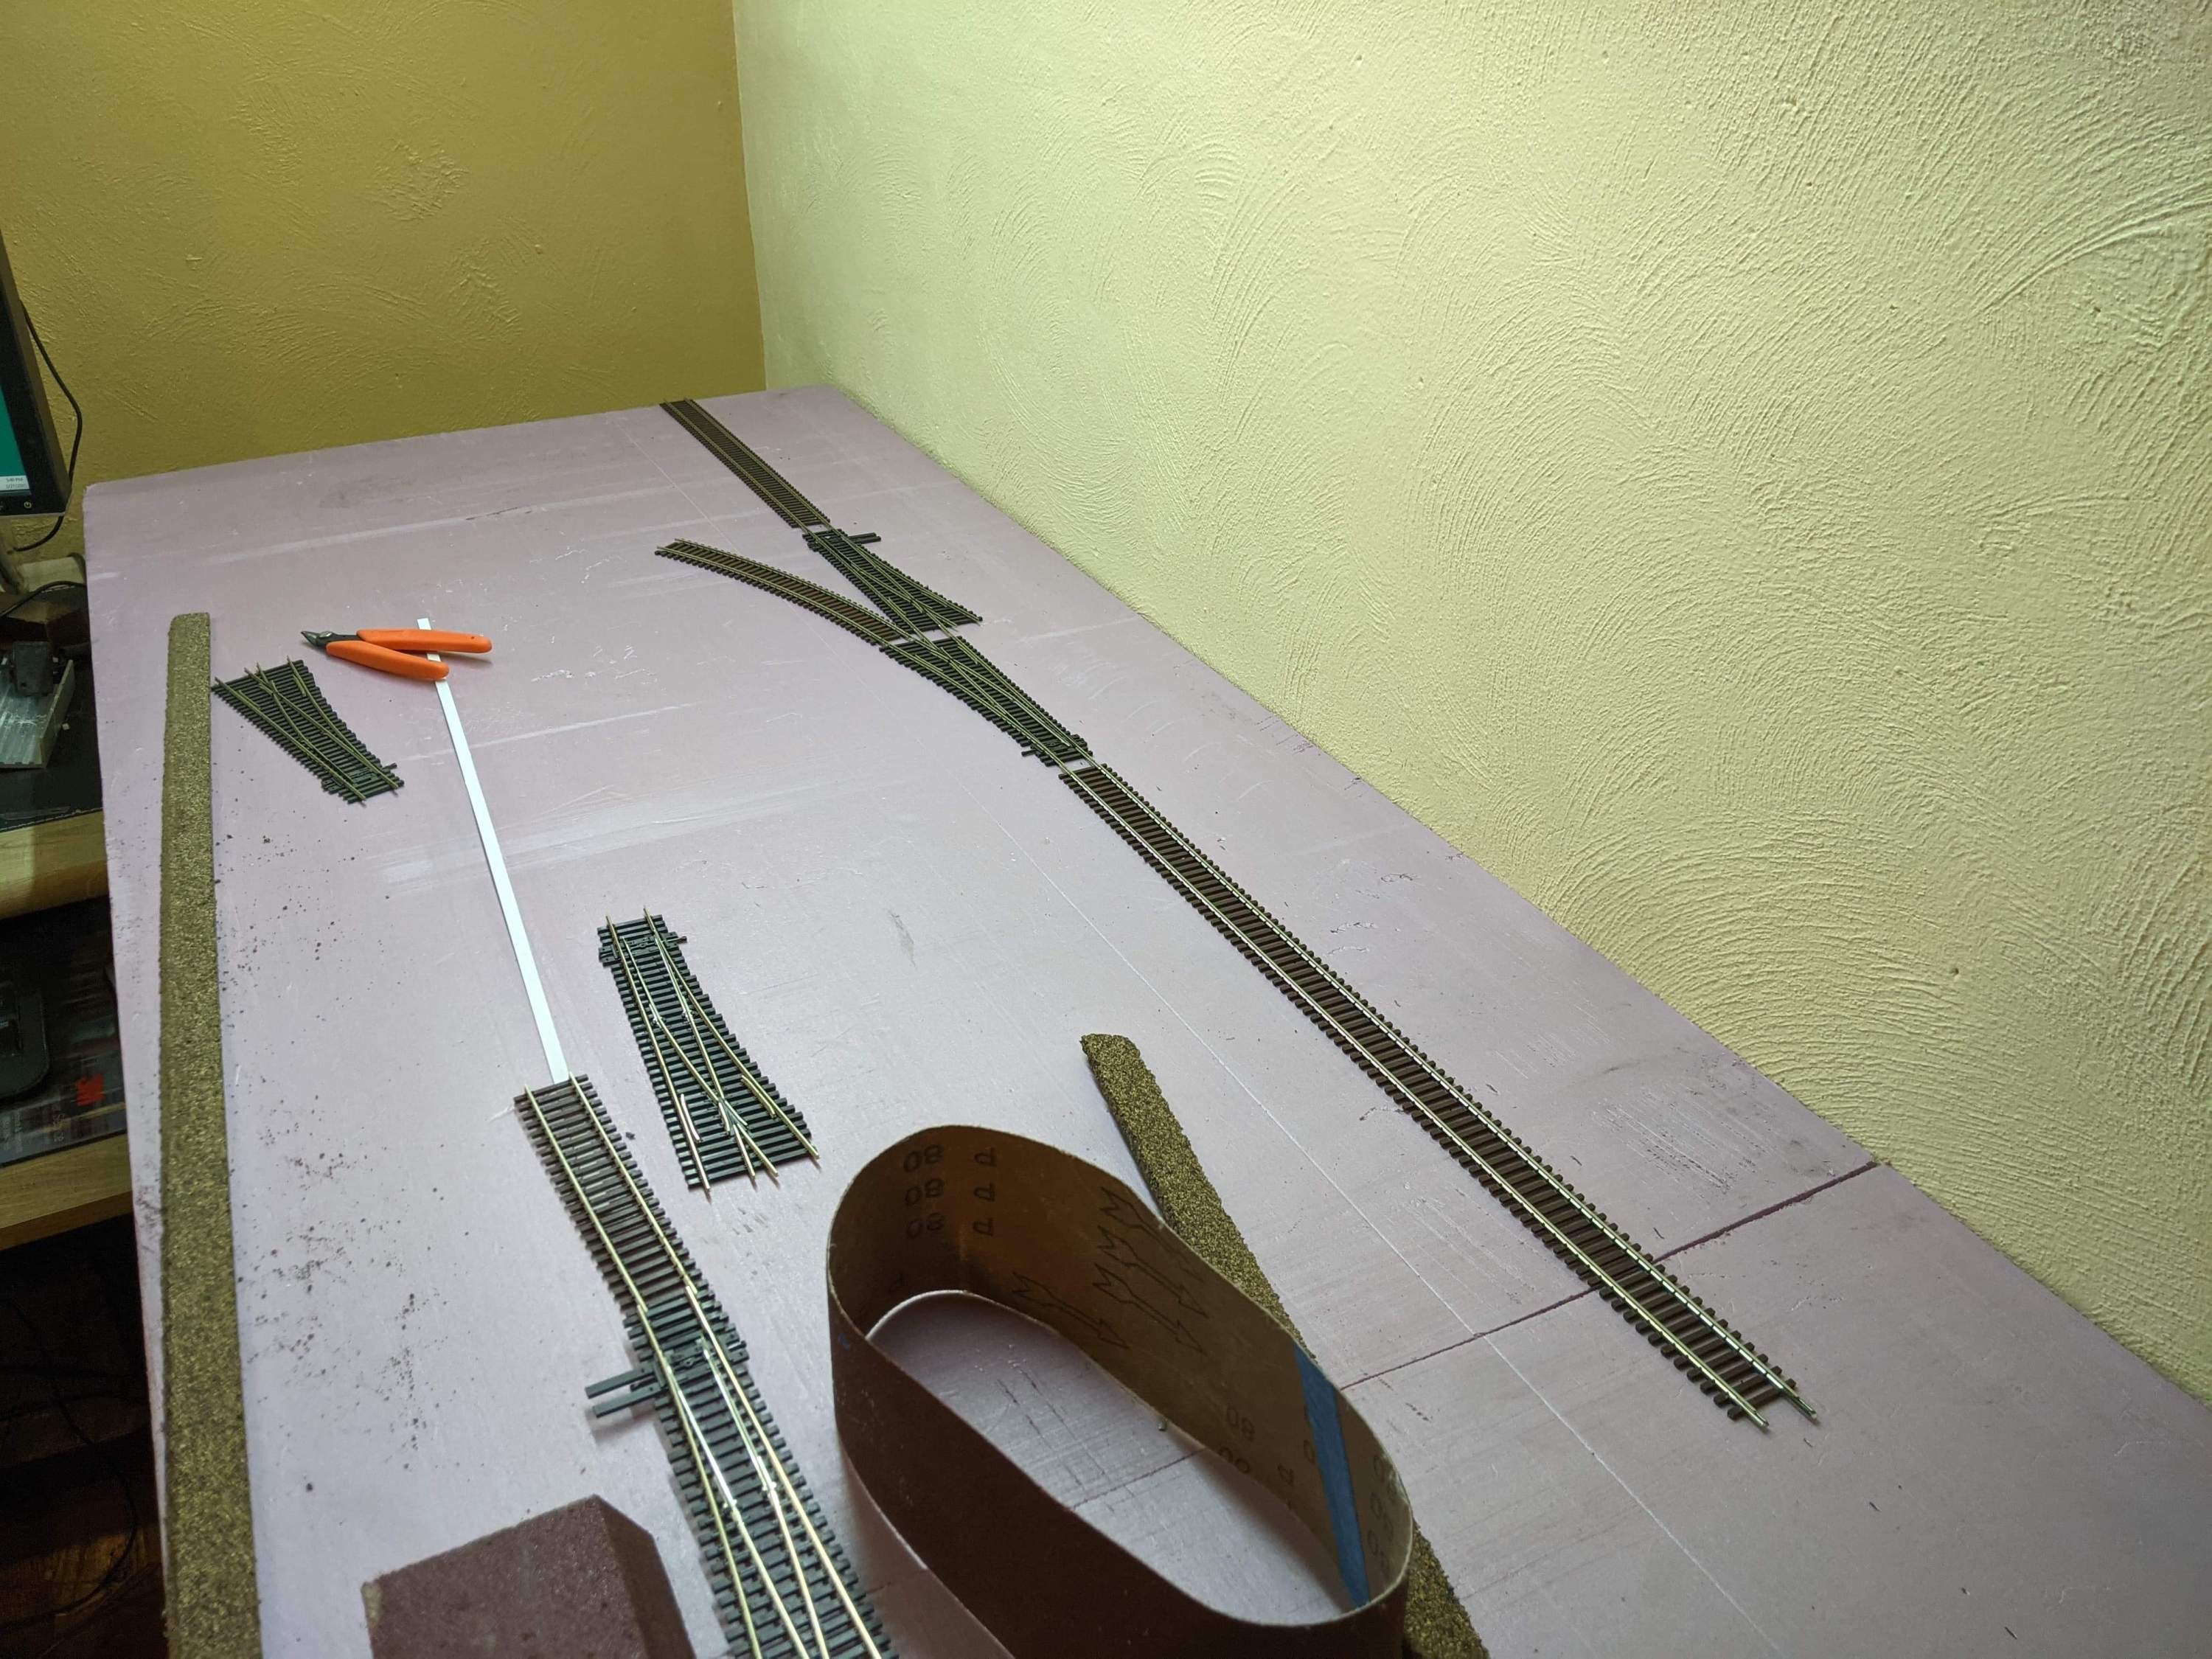
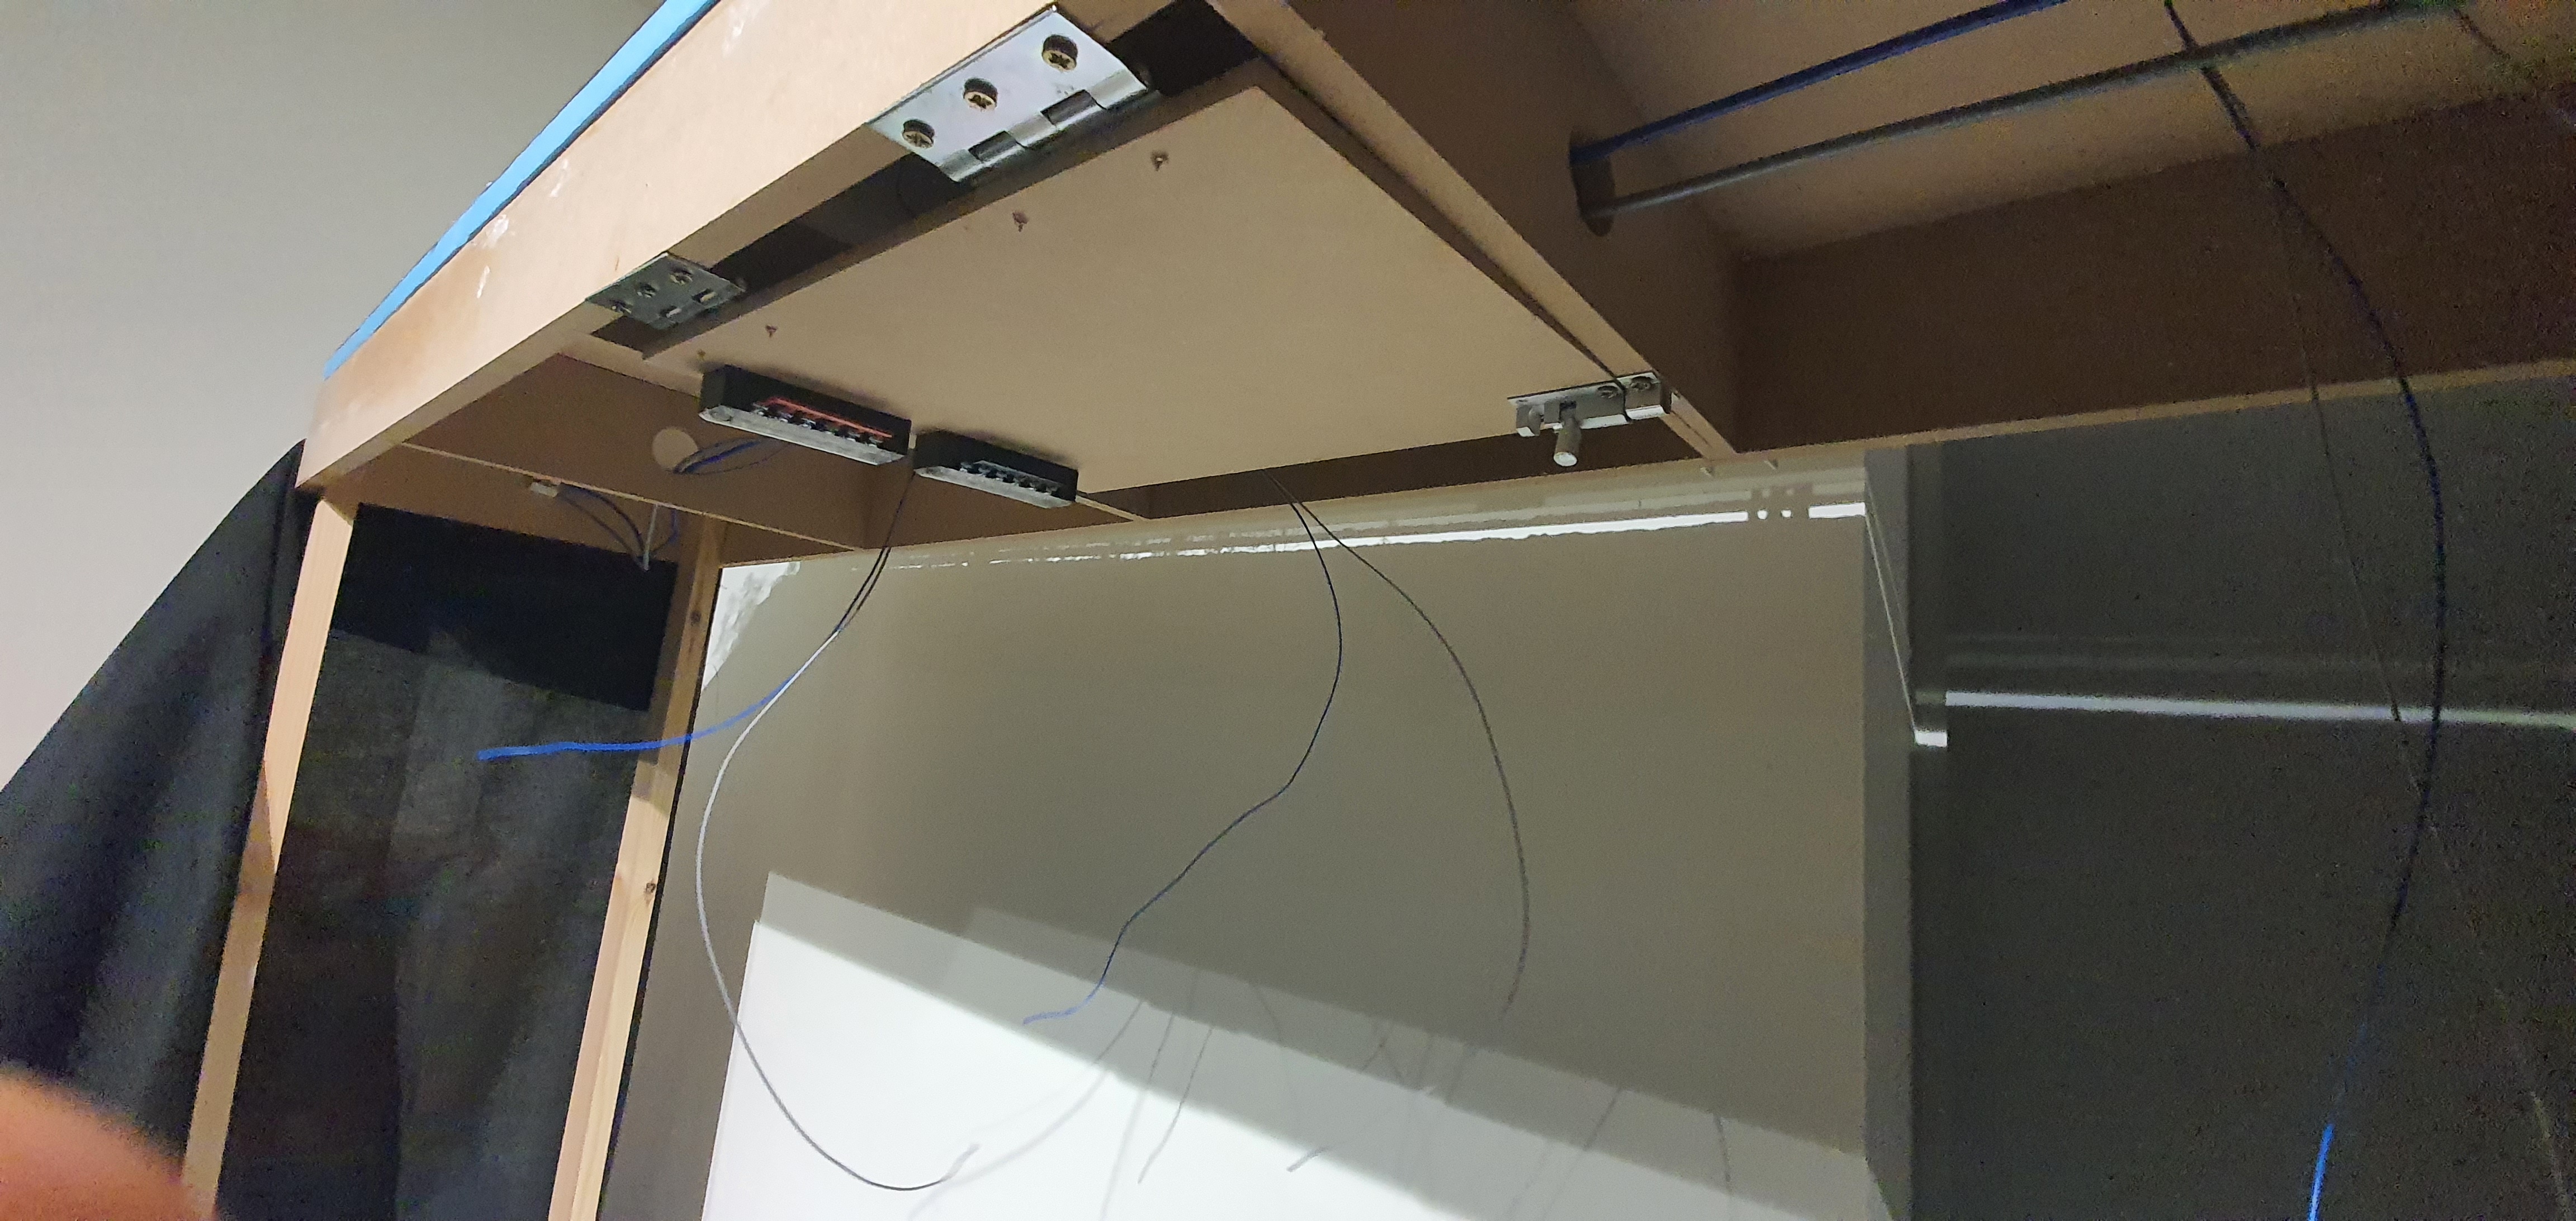
So how to get it done. well in the box you get threaded bar a ton of nuts & washers and the cut half circles of cut ply for the Helix. With any helix the most important part is the first level becase once you have that level nailed its just the same seperation between each deck.

deck one done

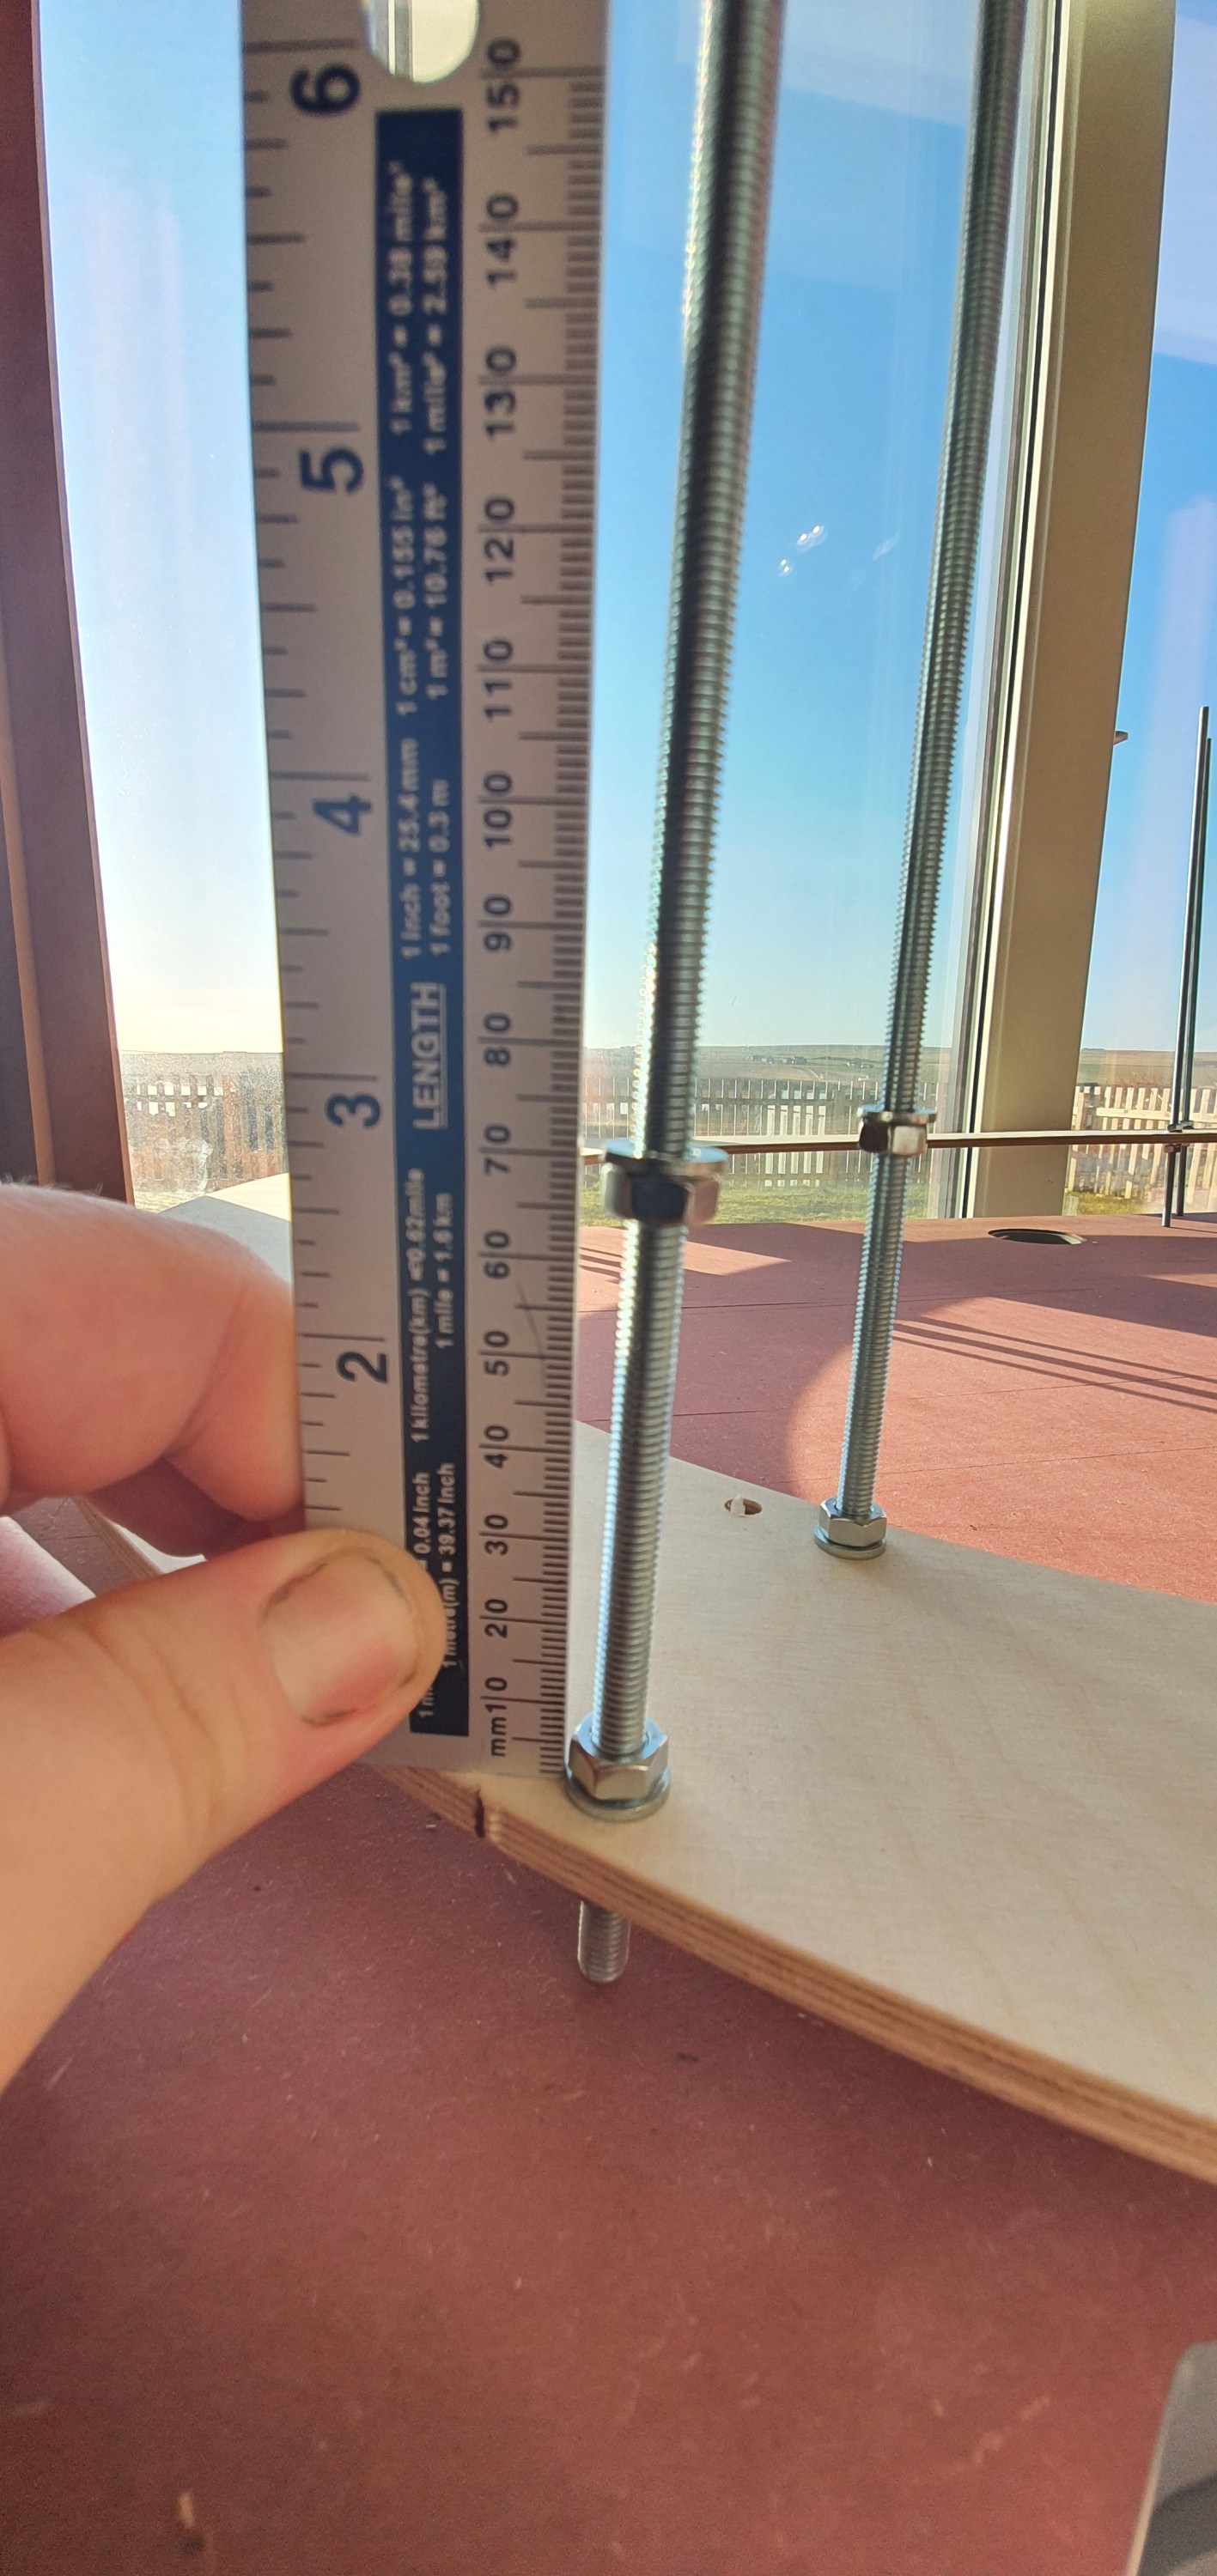
So the measurements for mine were rod 2 (2.25cm), rod 3/4 (3.4cm), rod 5 (5.75cm and the back to rod 1 (7cm). All these measurements are from the the end of the rod except the second set of nuts on rod 1 which is from the top of the helix deck. You measure to the underside of the helix deck.

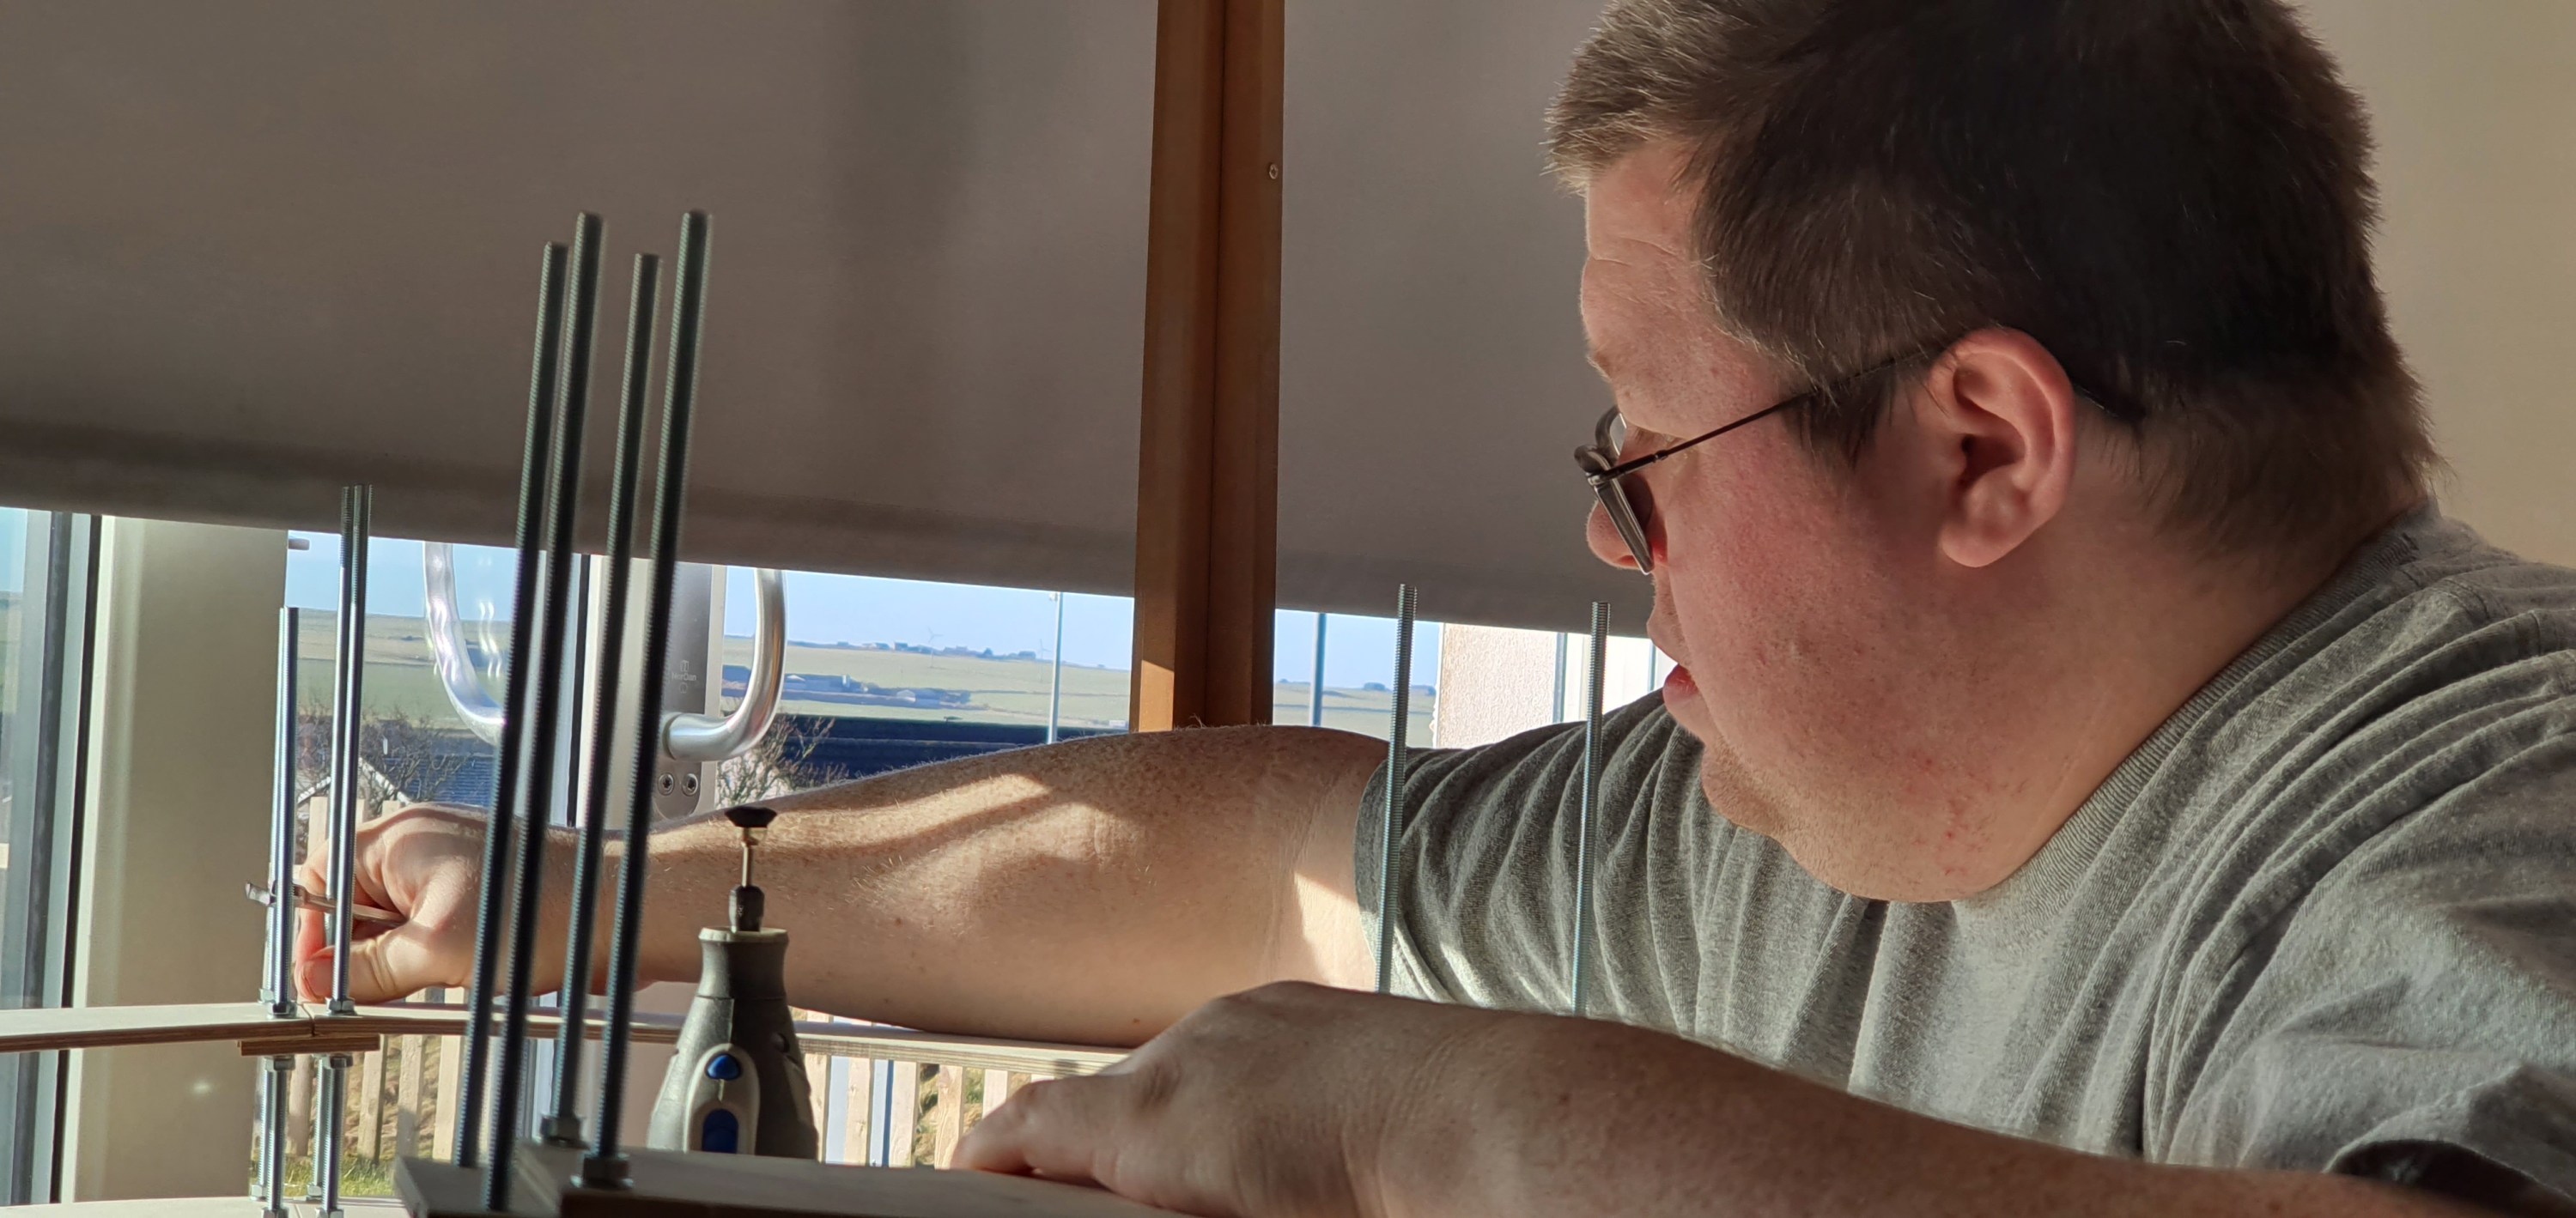
ok and to save time use a dremel with a brush bit to move the nuts down the rod and tighten them with a spanner.

run down with the dremel

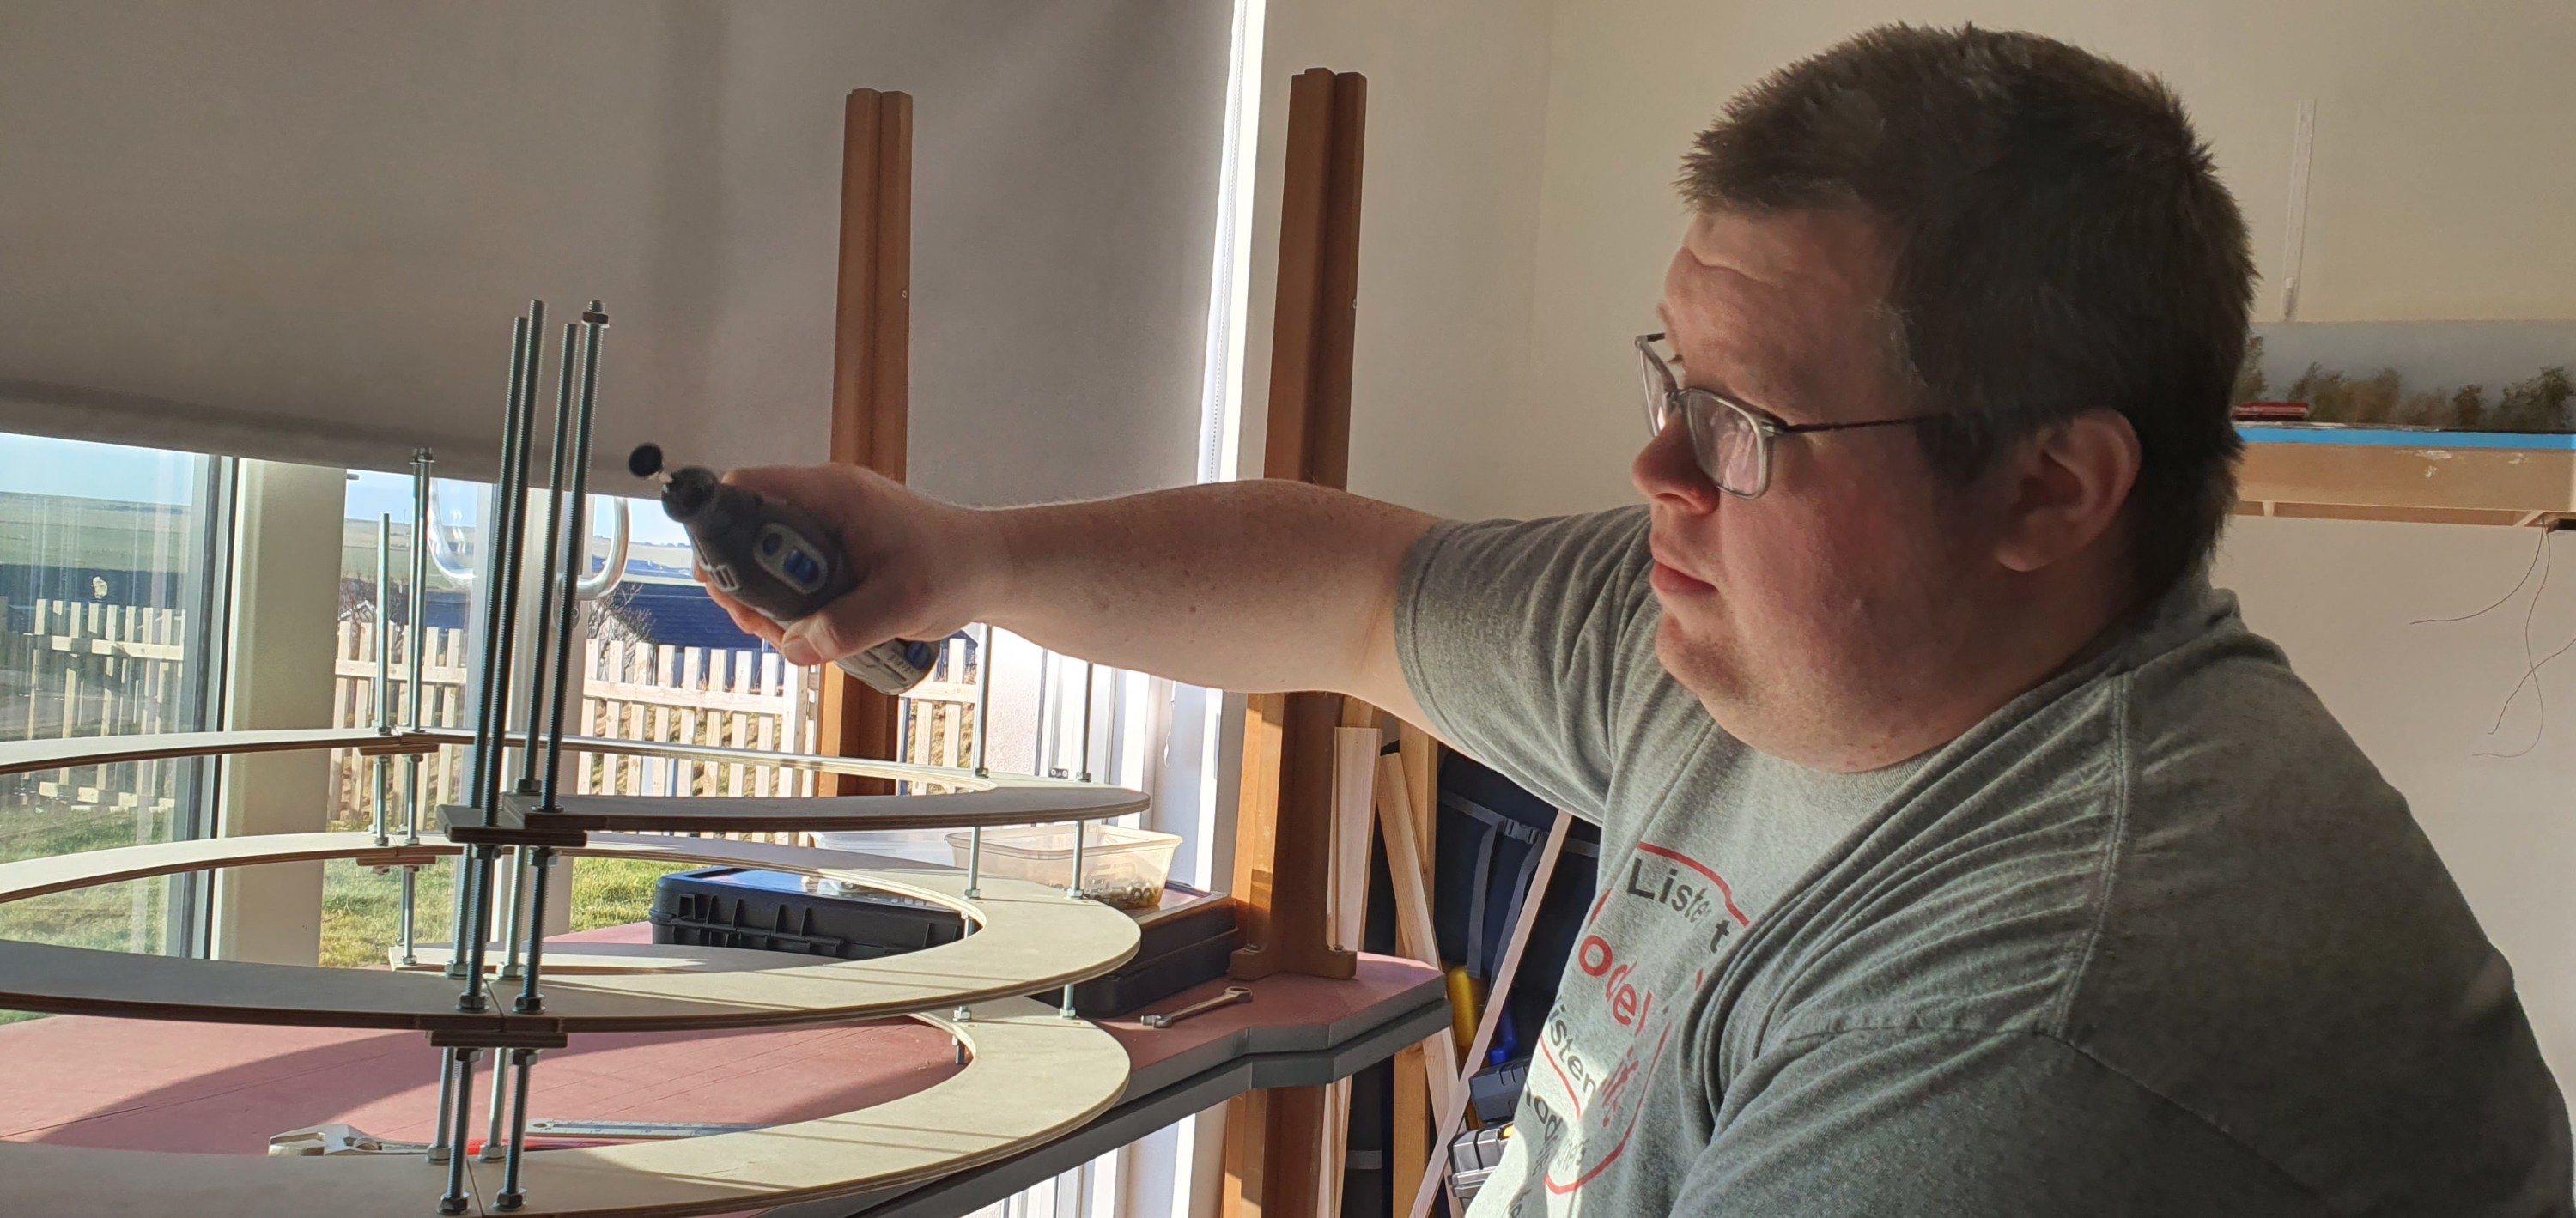
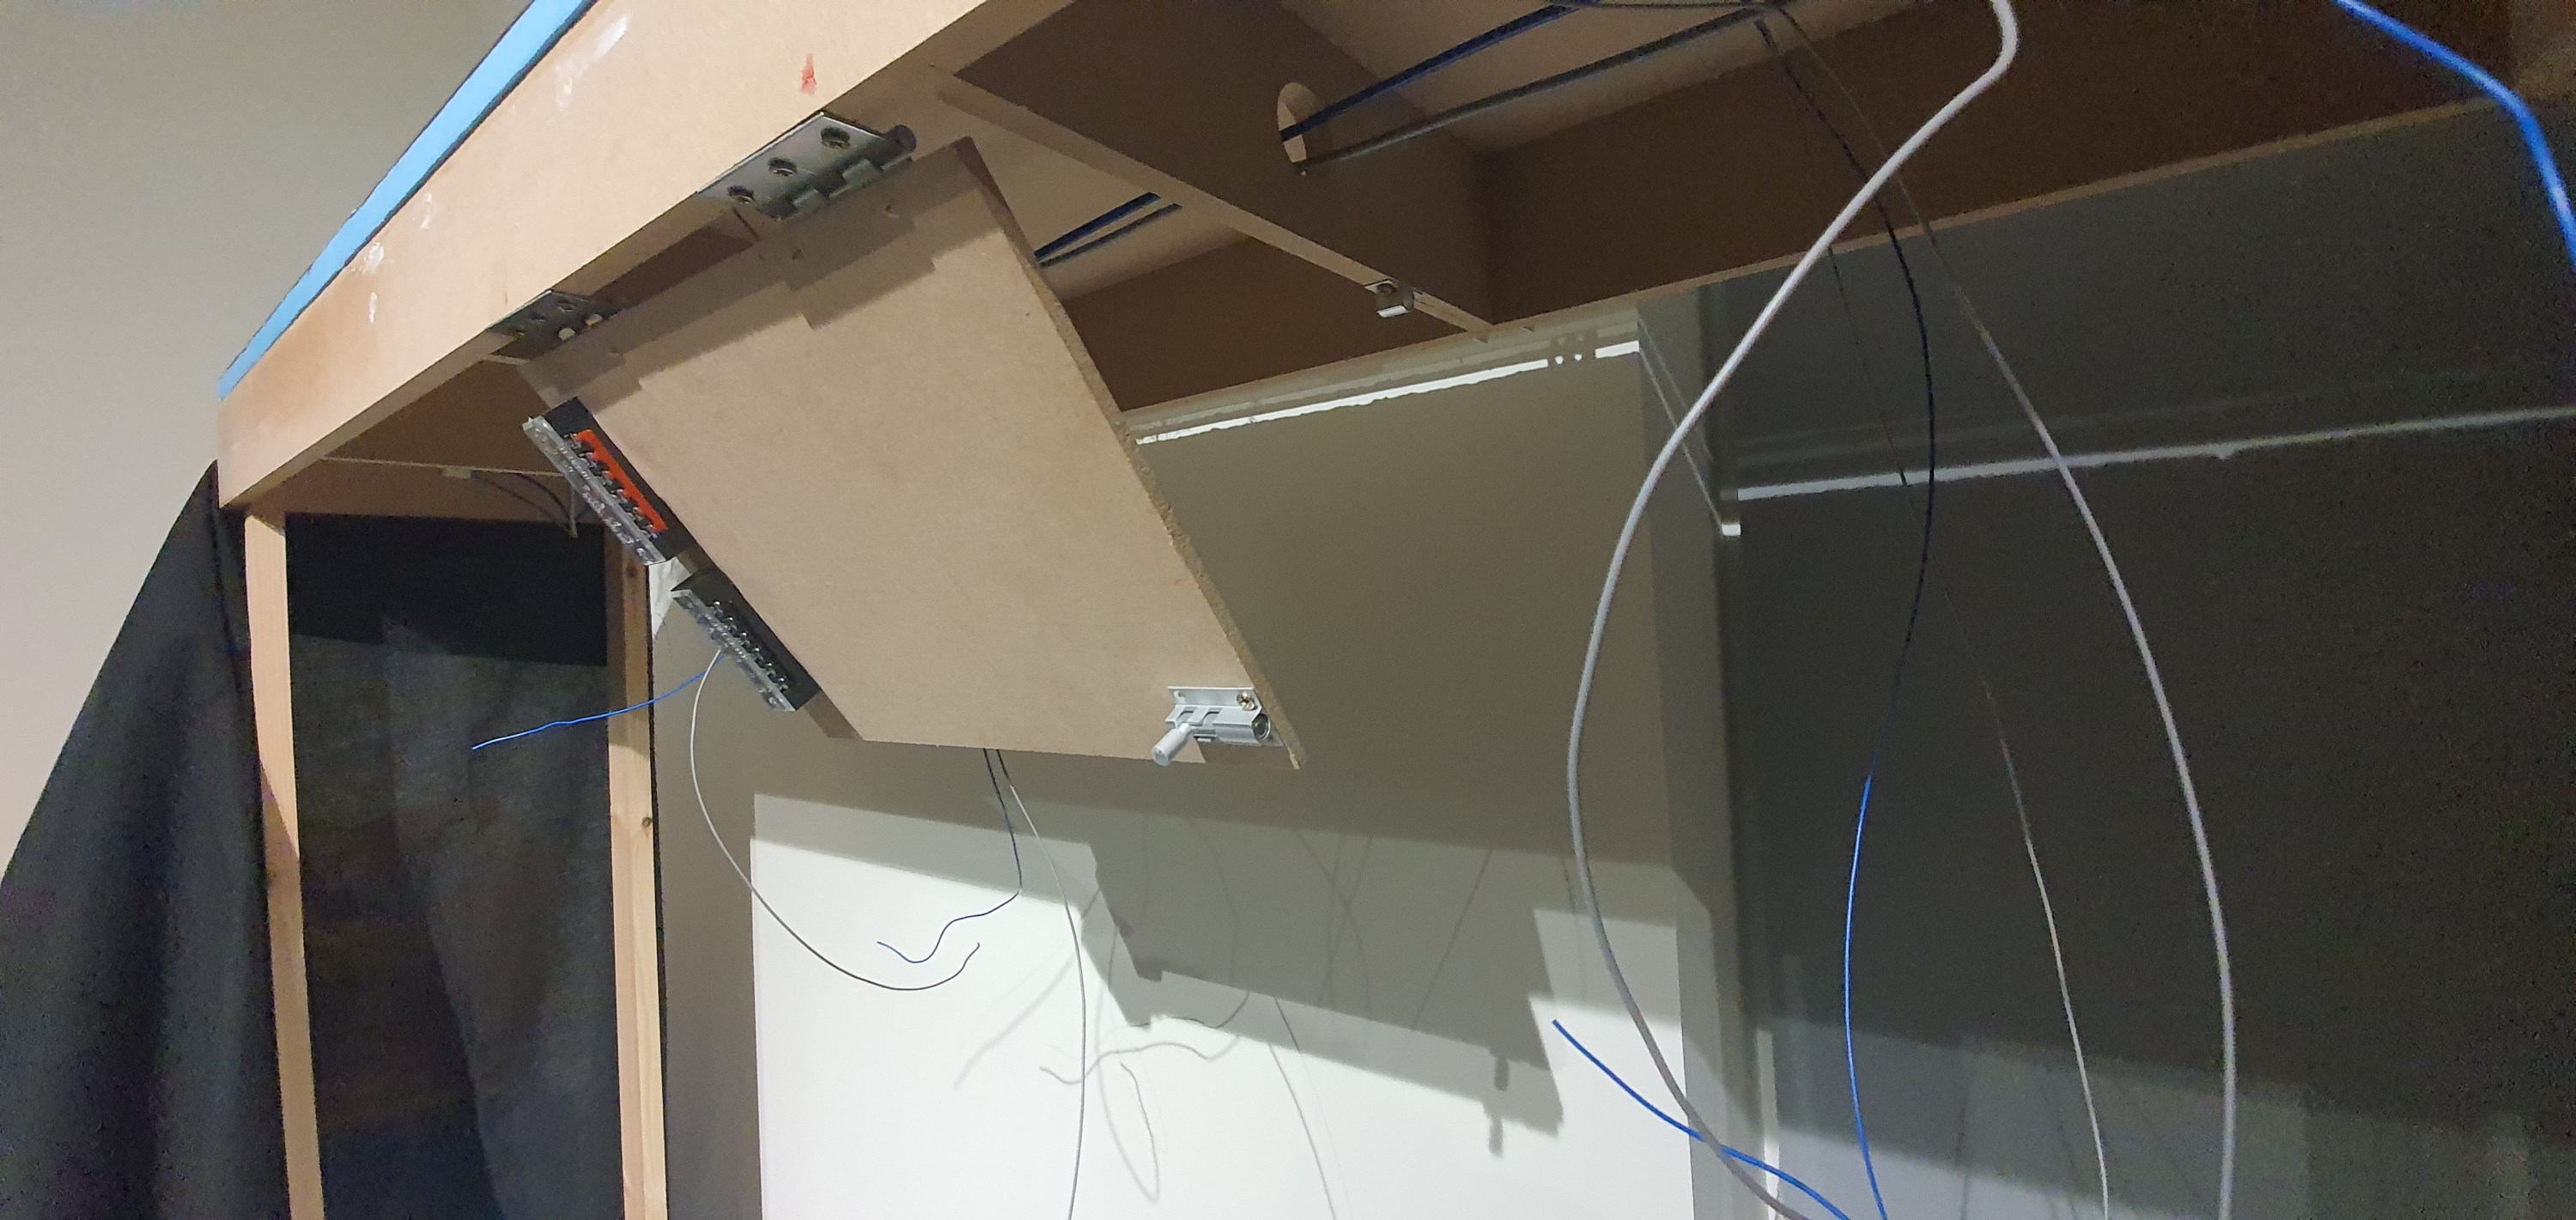
and then we get another deck on

tighten with the spanner

An awesome little project, i would always suggest grabbing a kit for a helix unless you have the skills, time and the tools to be as precise as the CNC machine that made this kit.

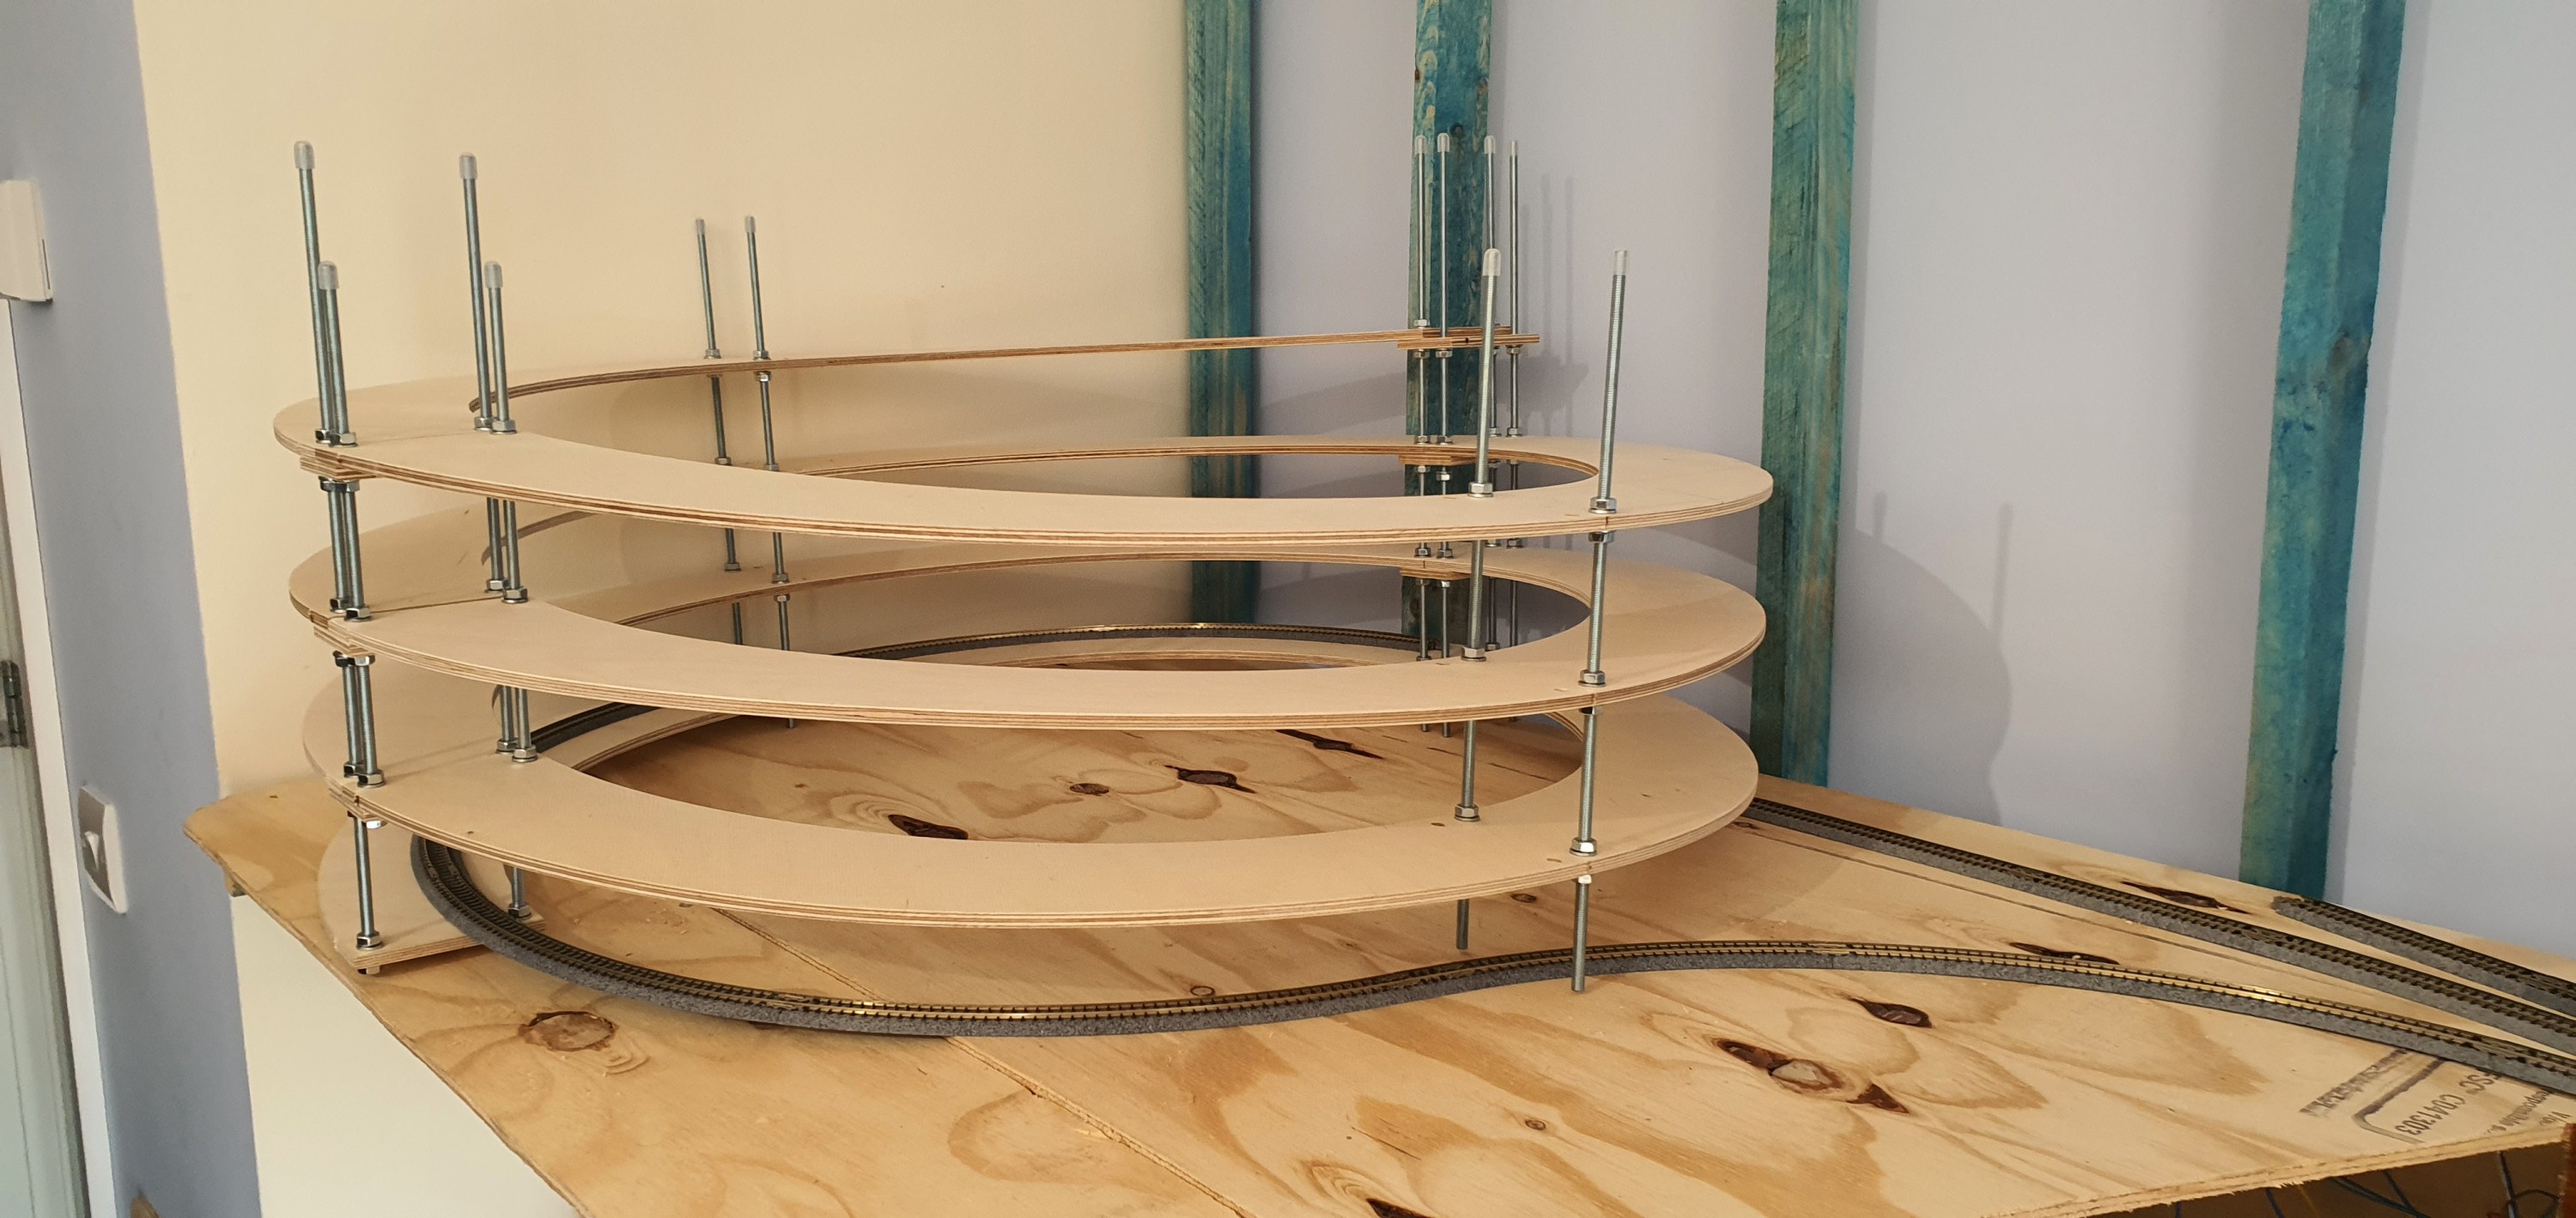
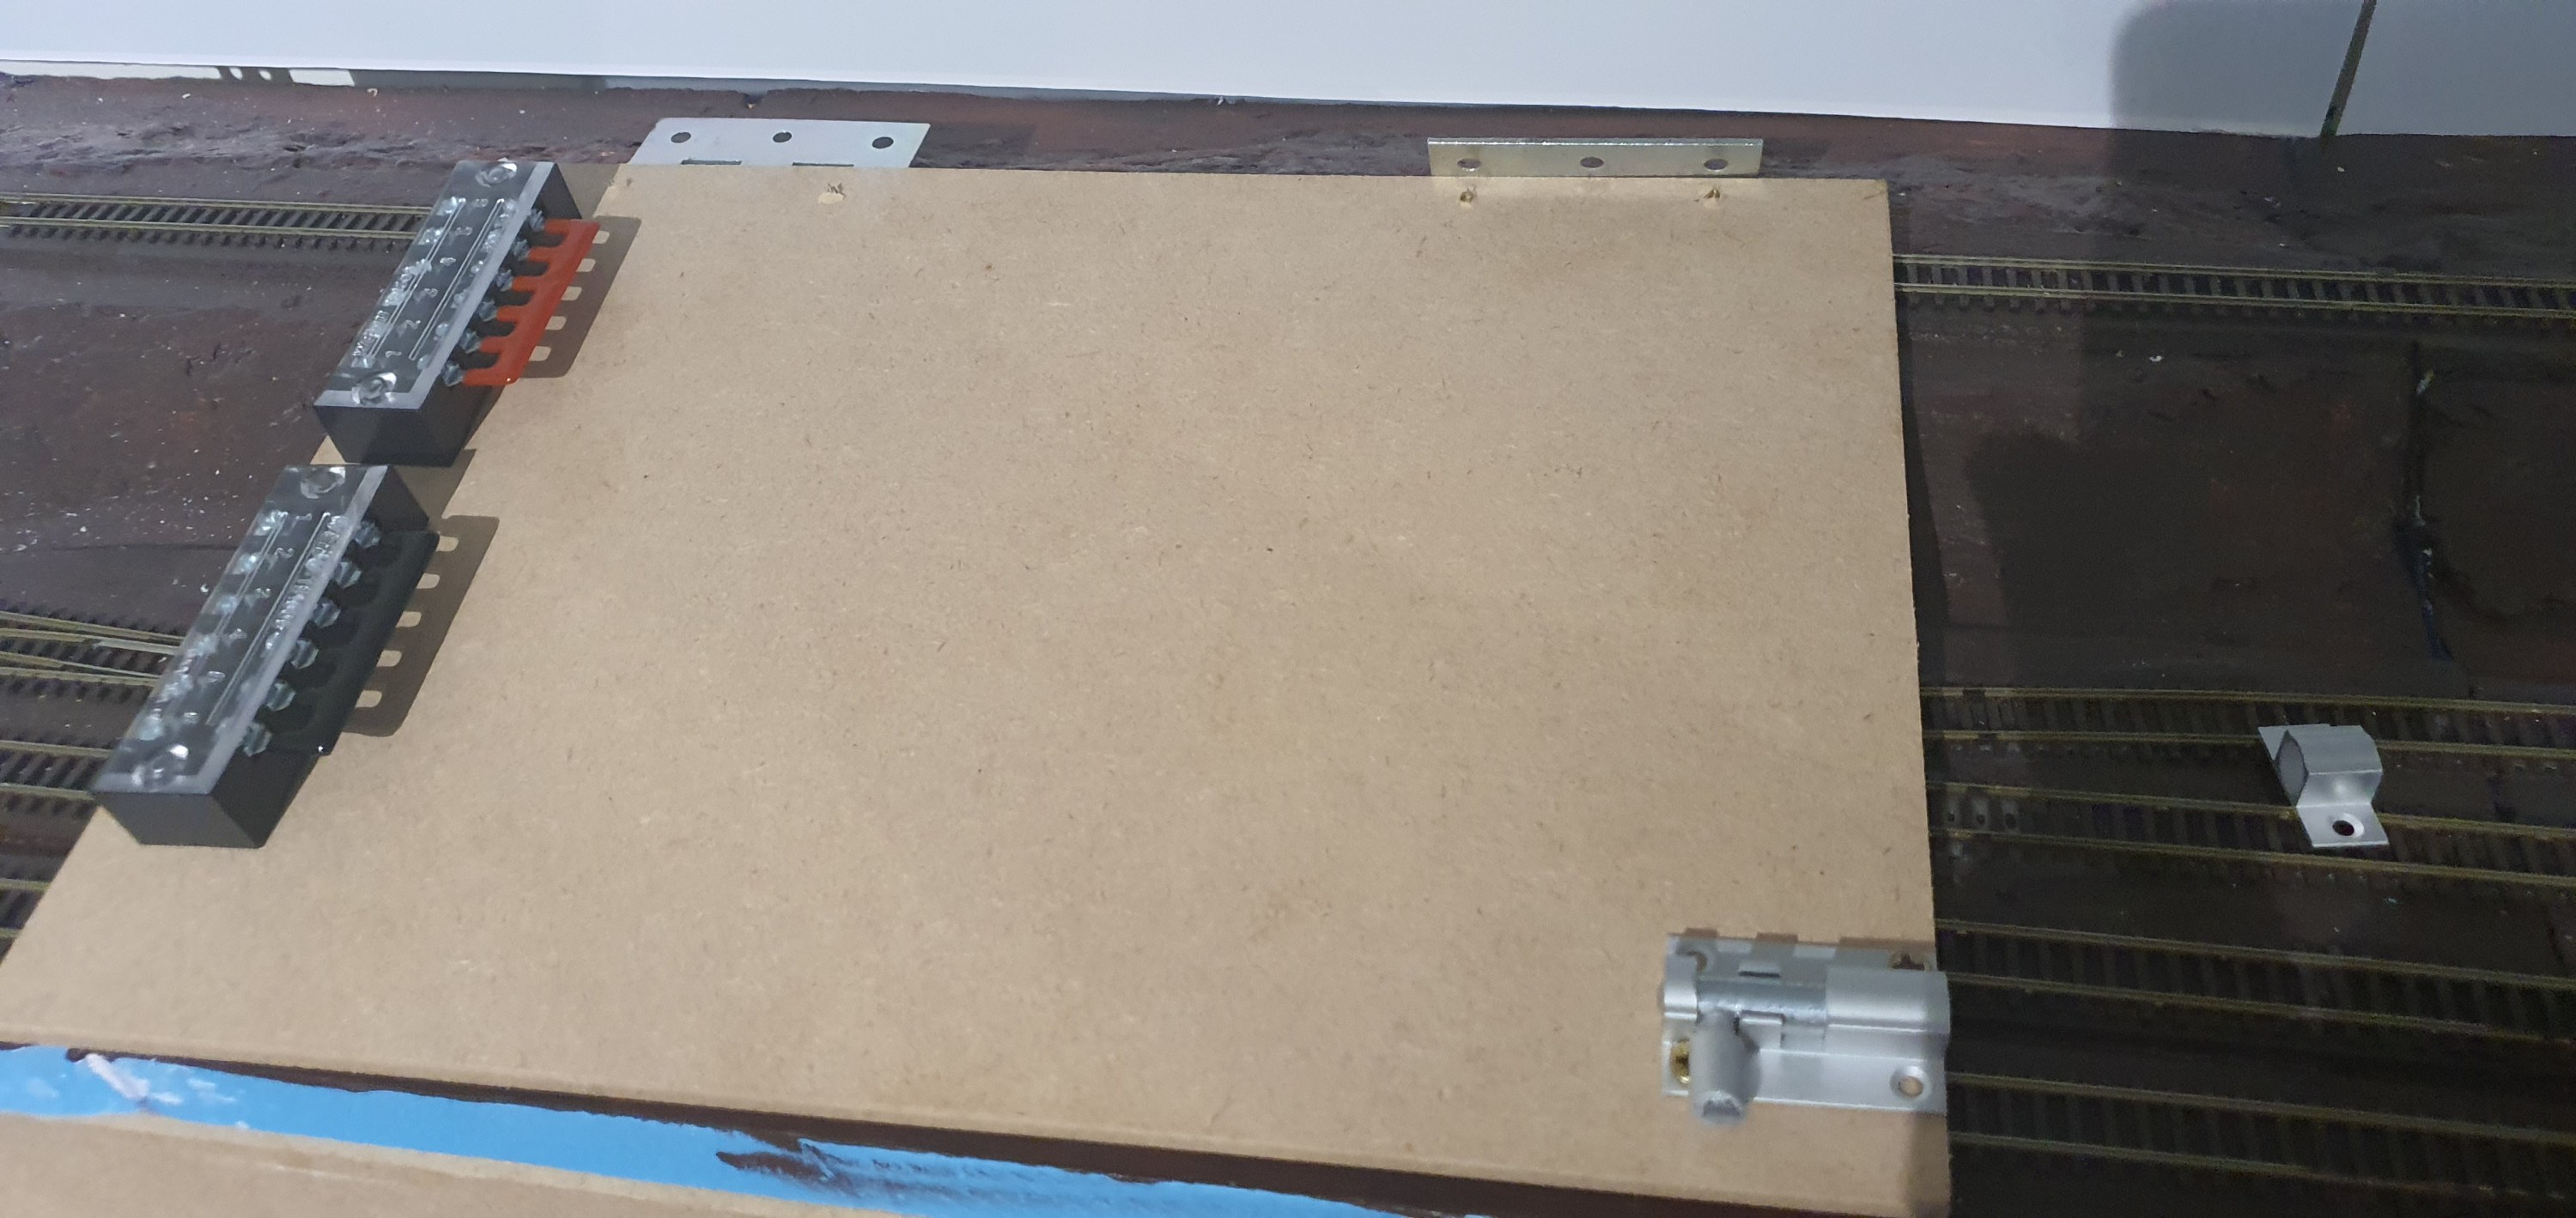
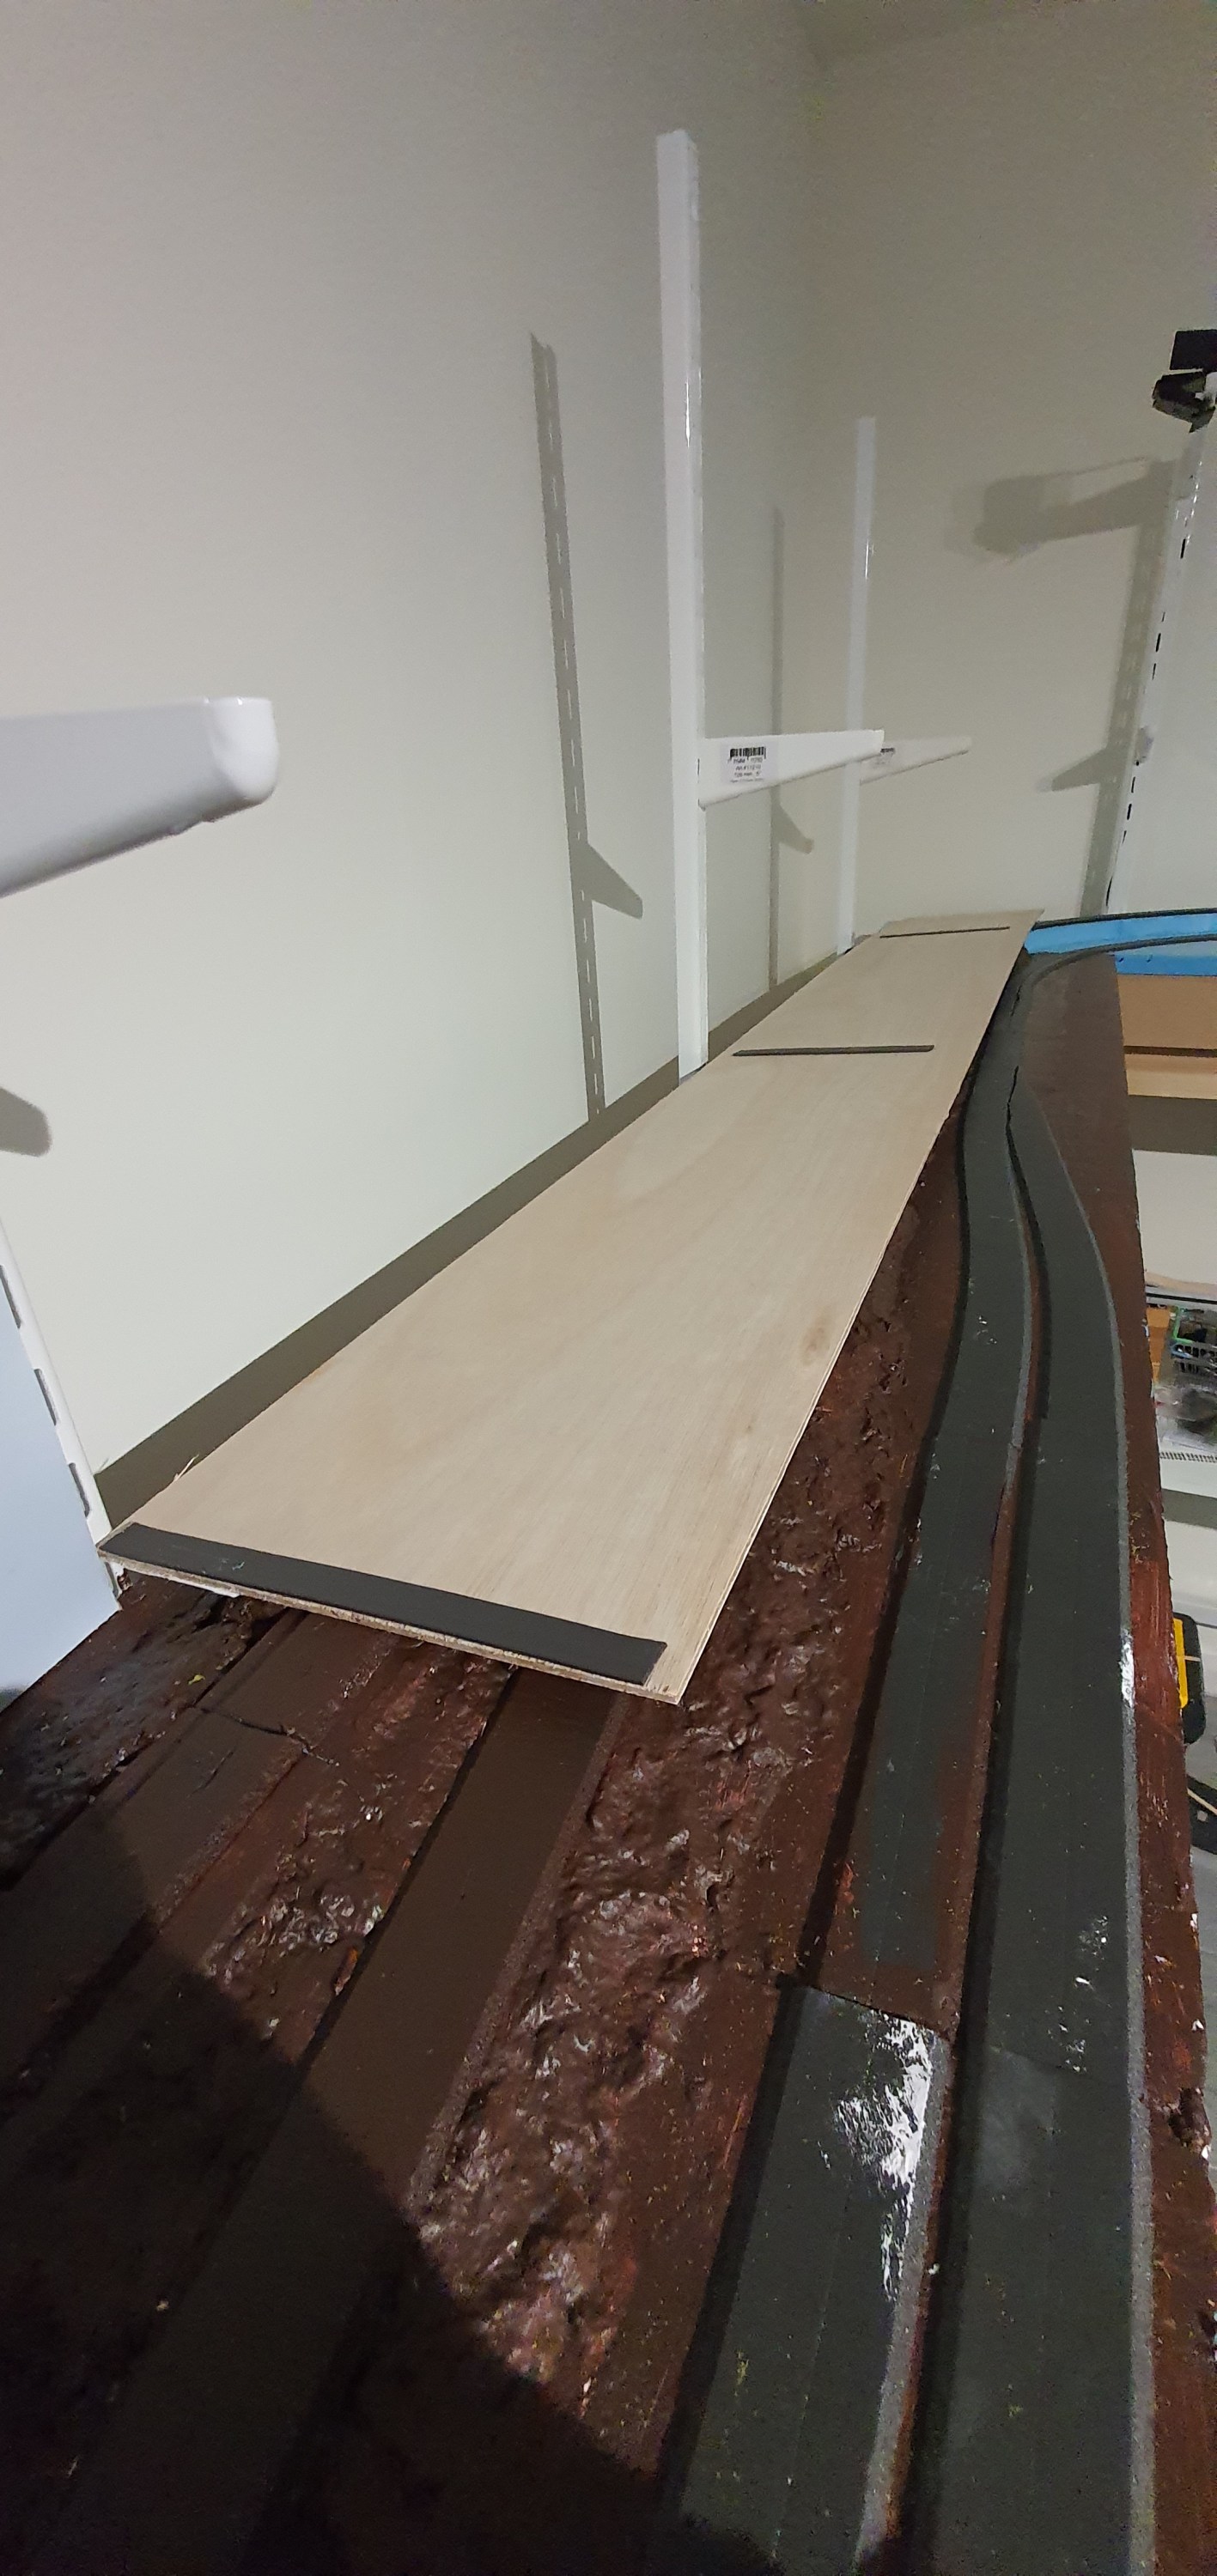
A lovely project for a sunday morning, this is just sitting on the benchwork it’ll be fitted in its final resting place when the next deck goes on. I always plan my helices so that the base is wider than the connection to the upper deck.

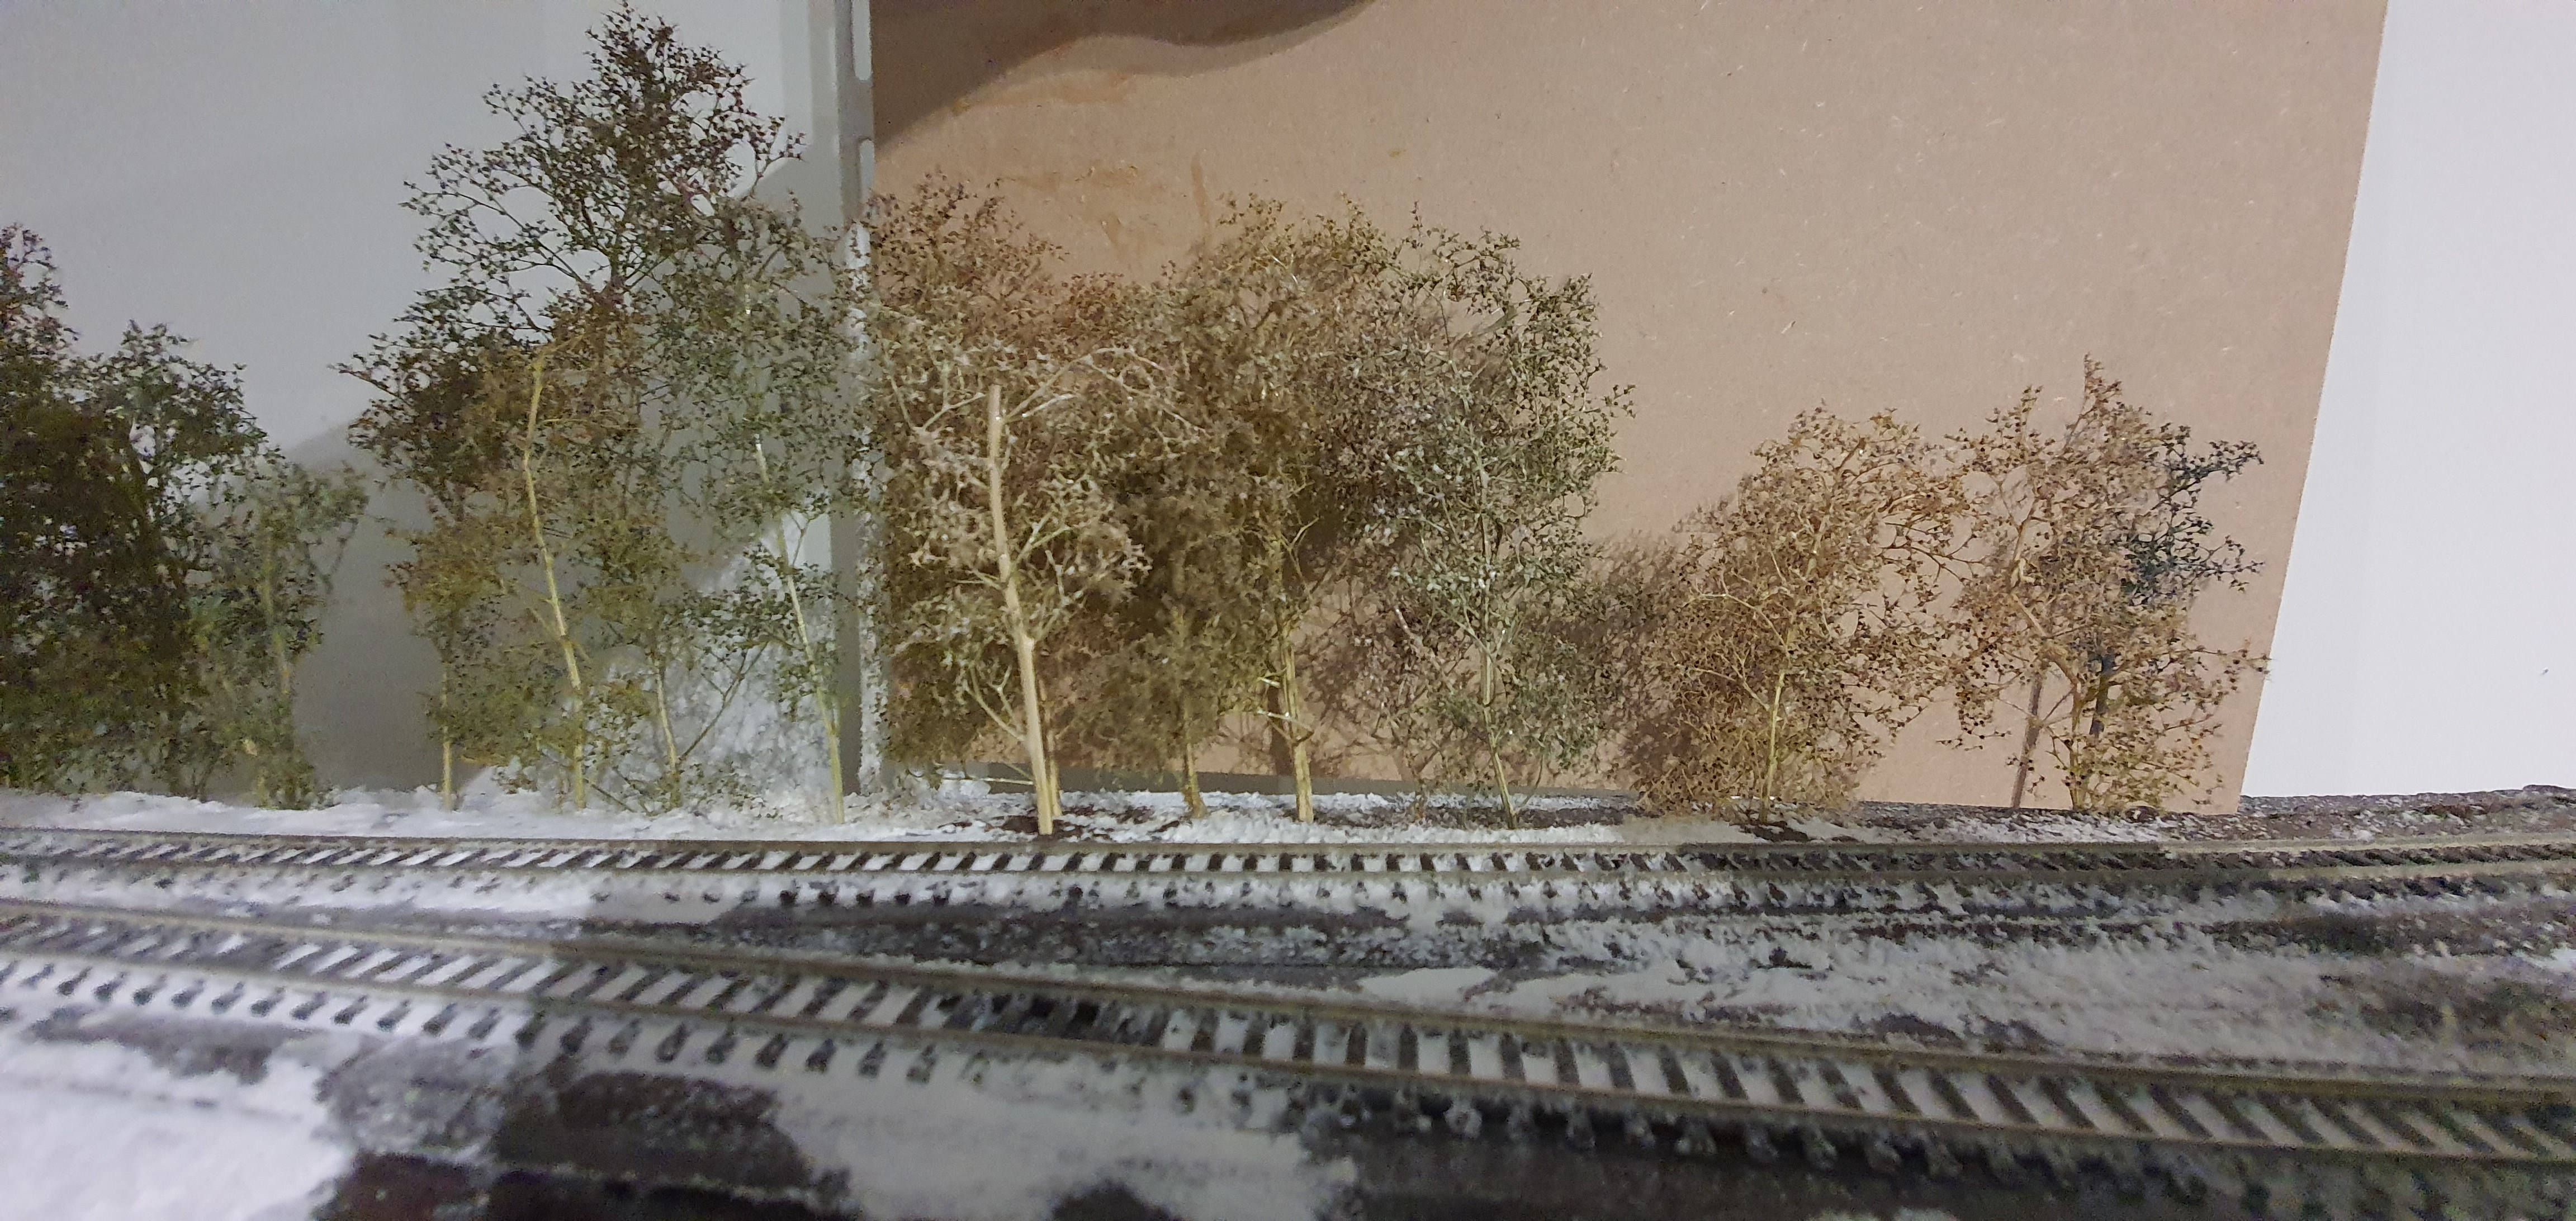
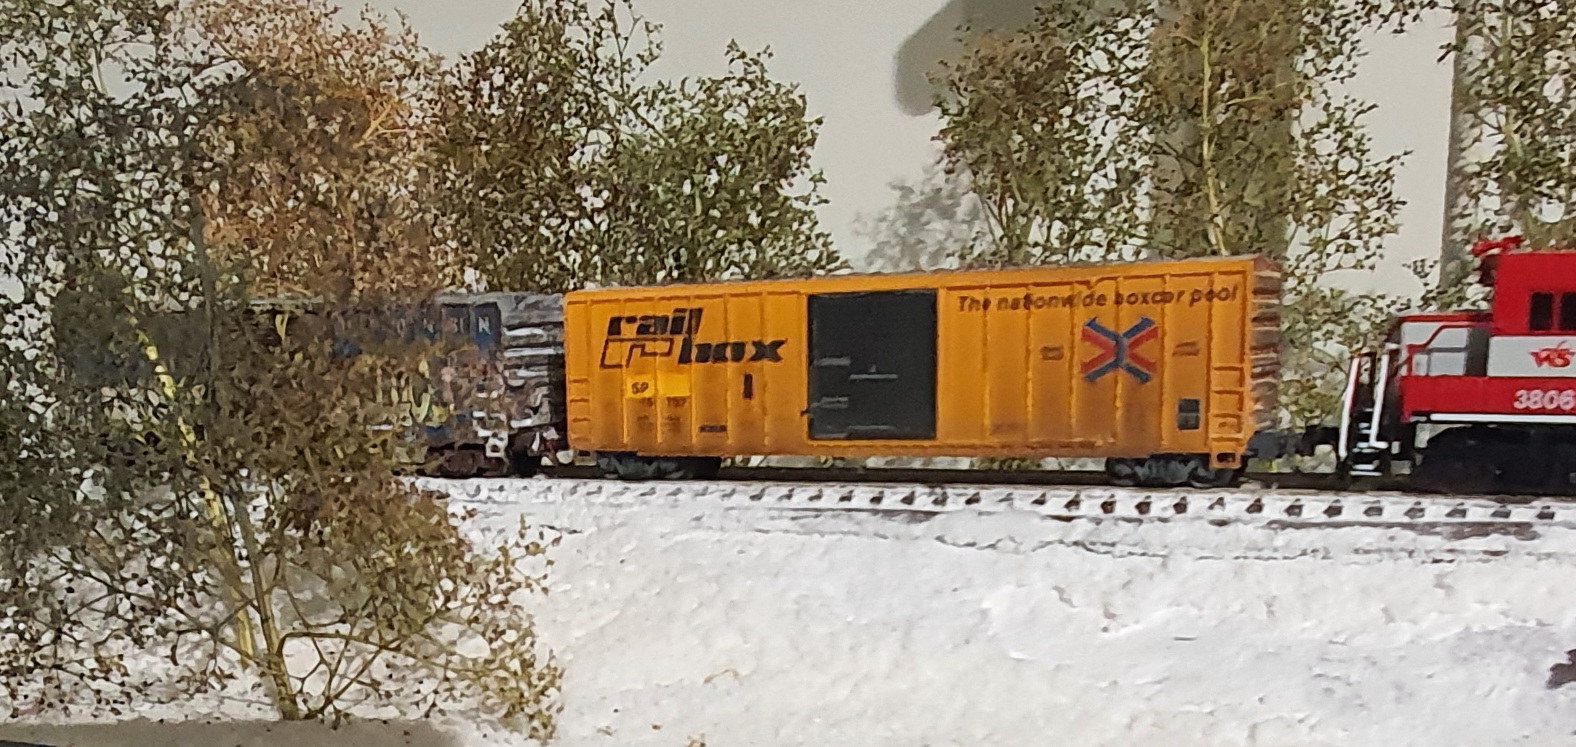
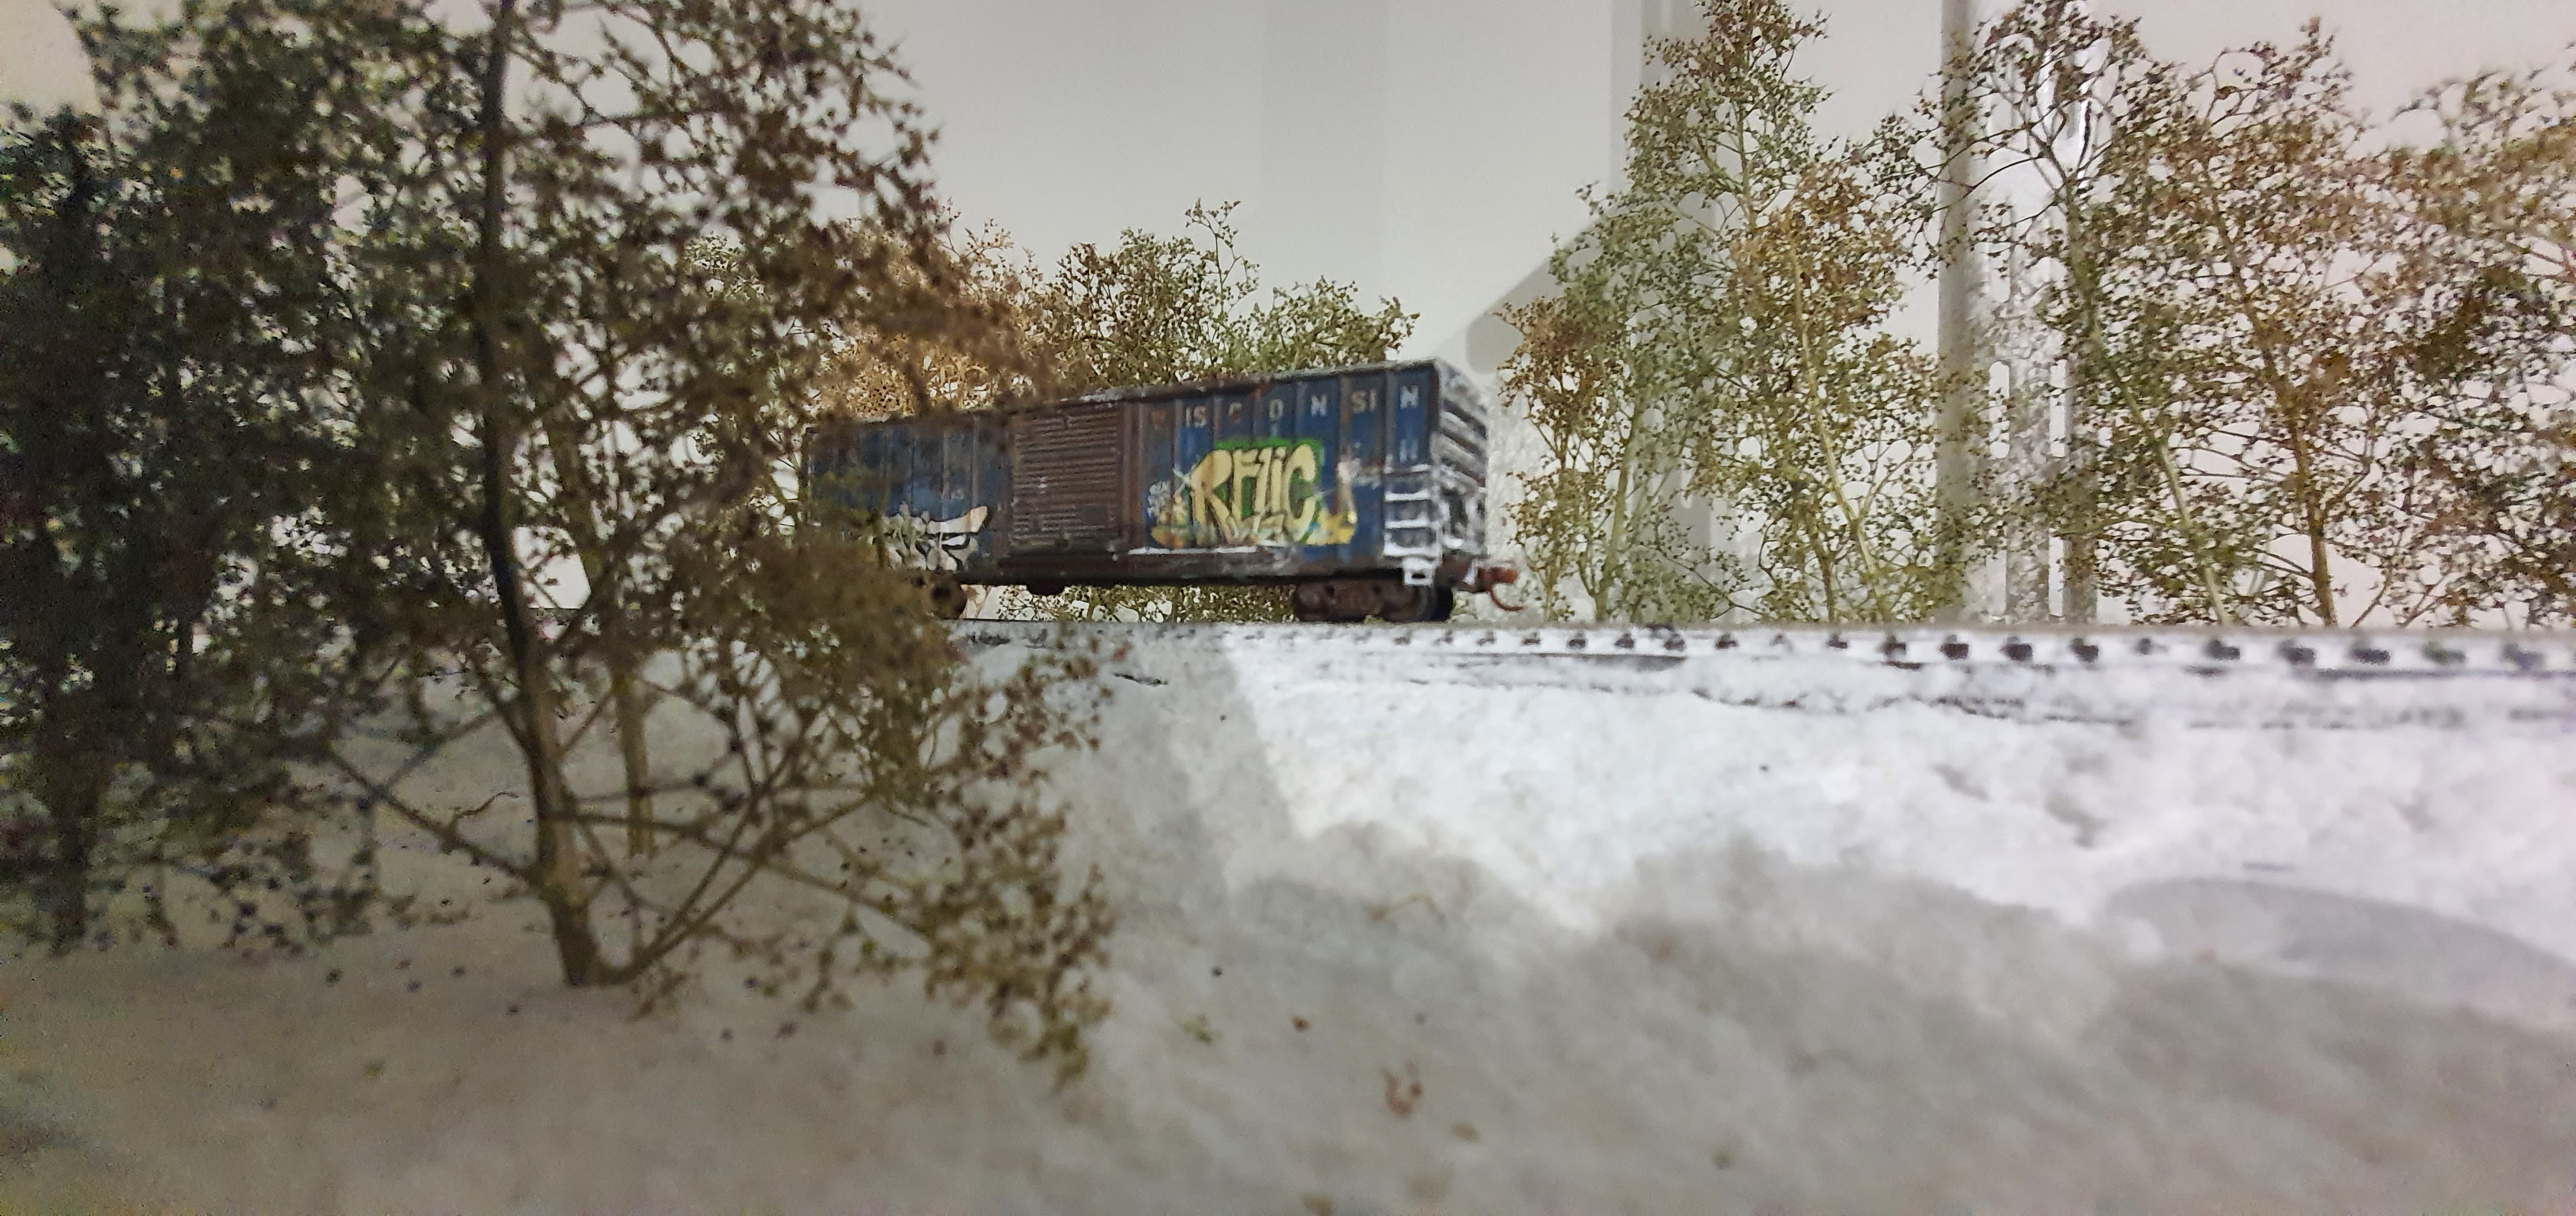
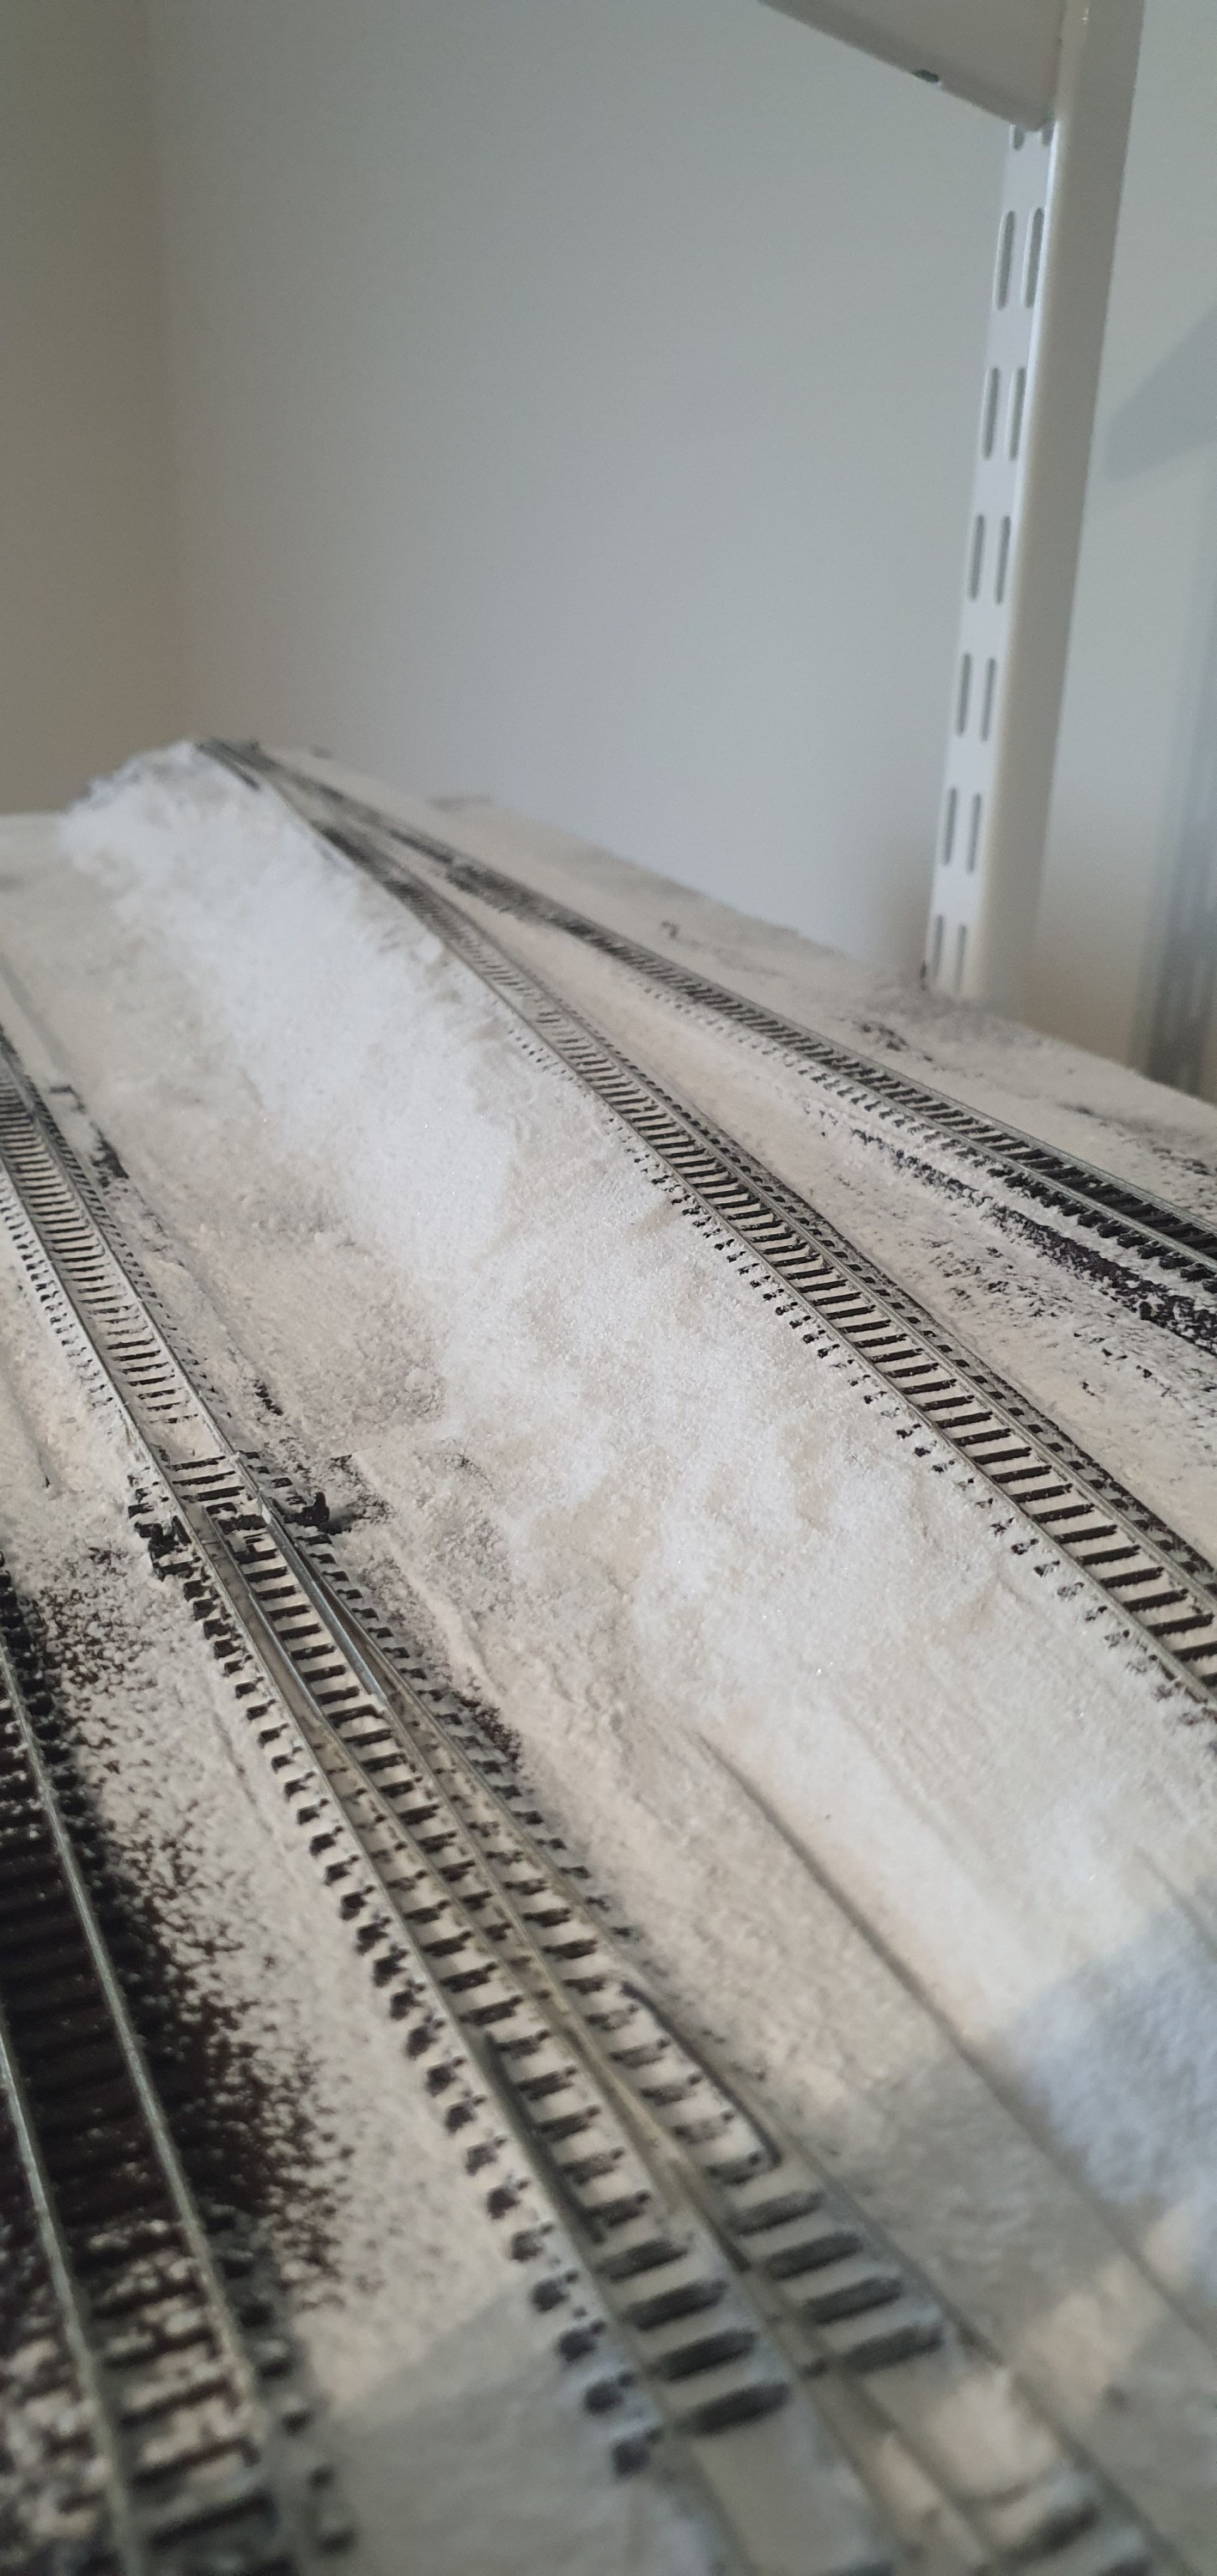
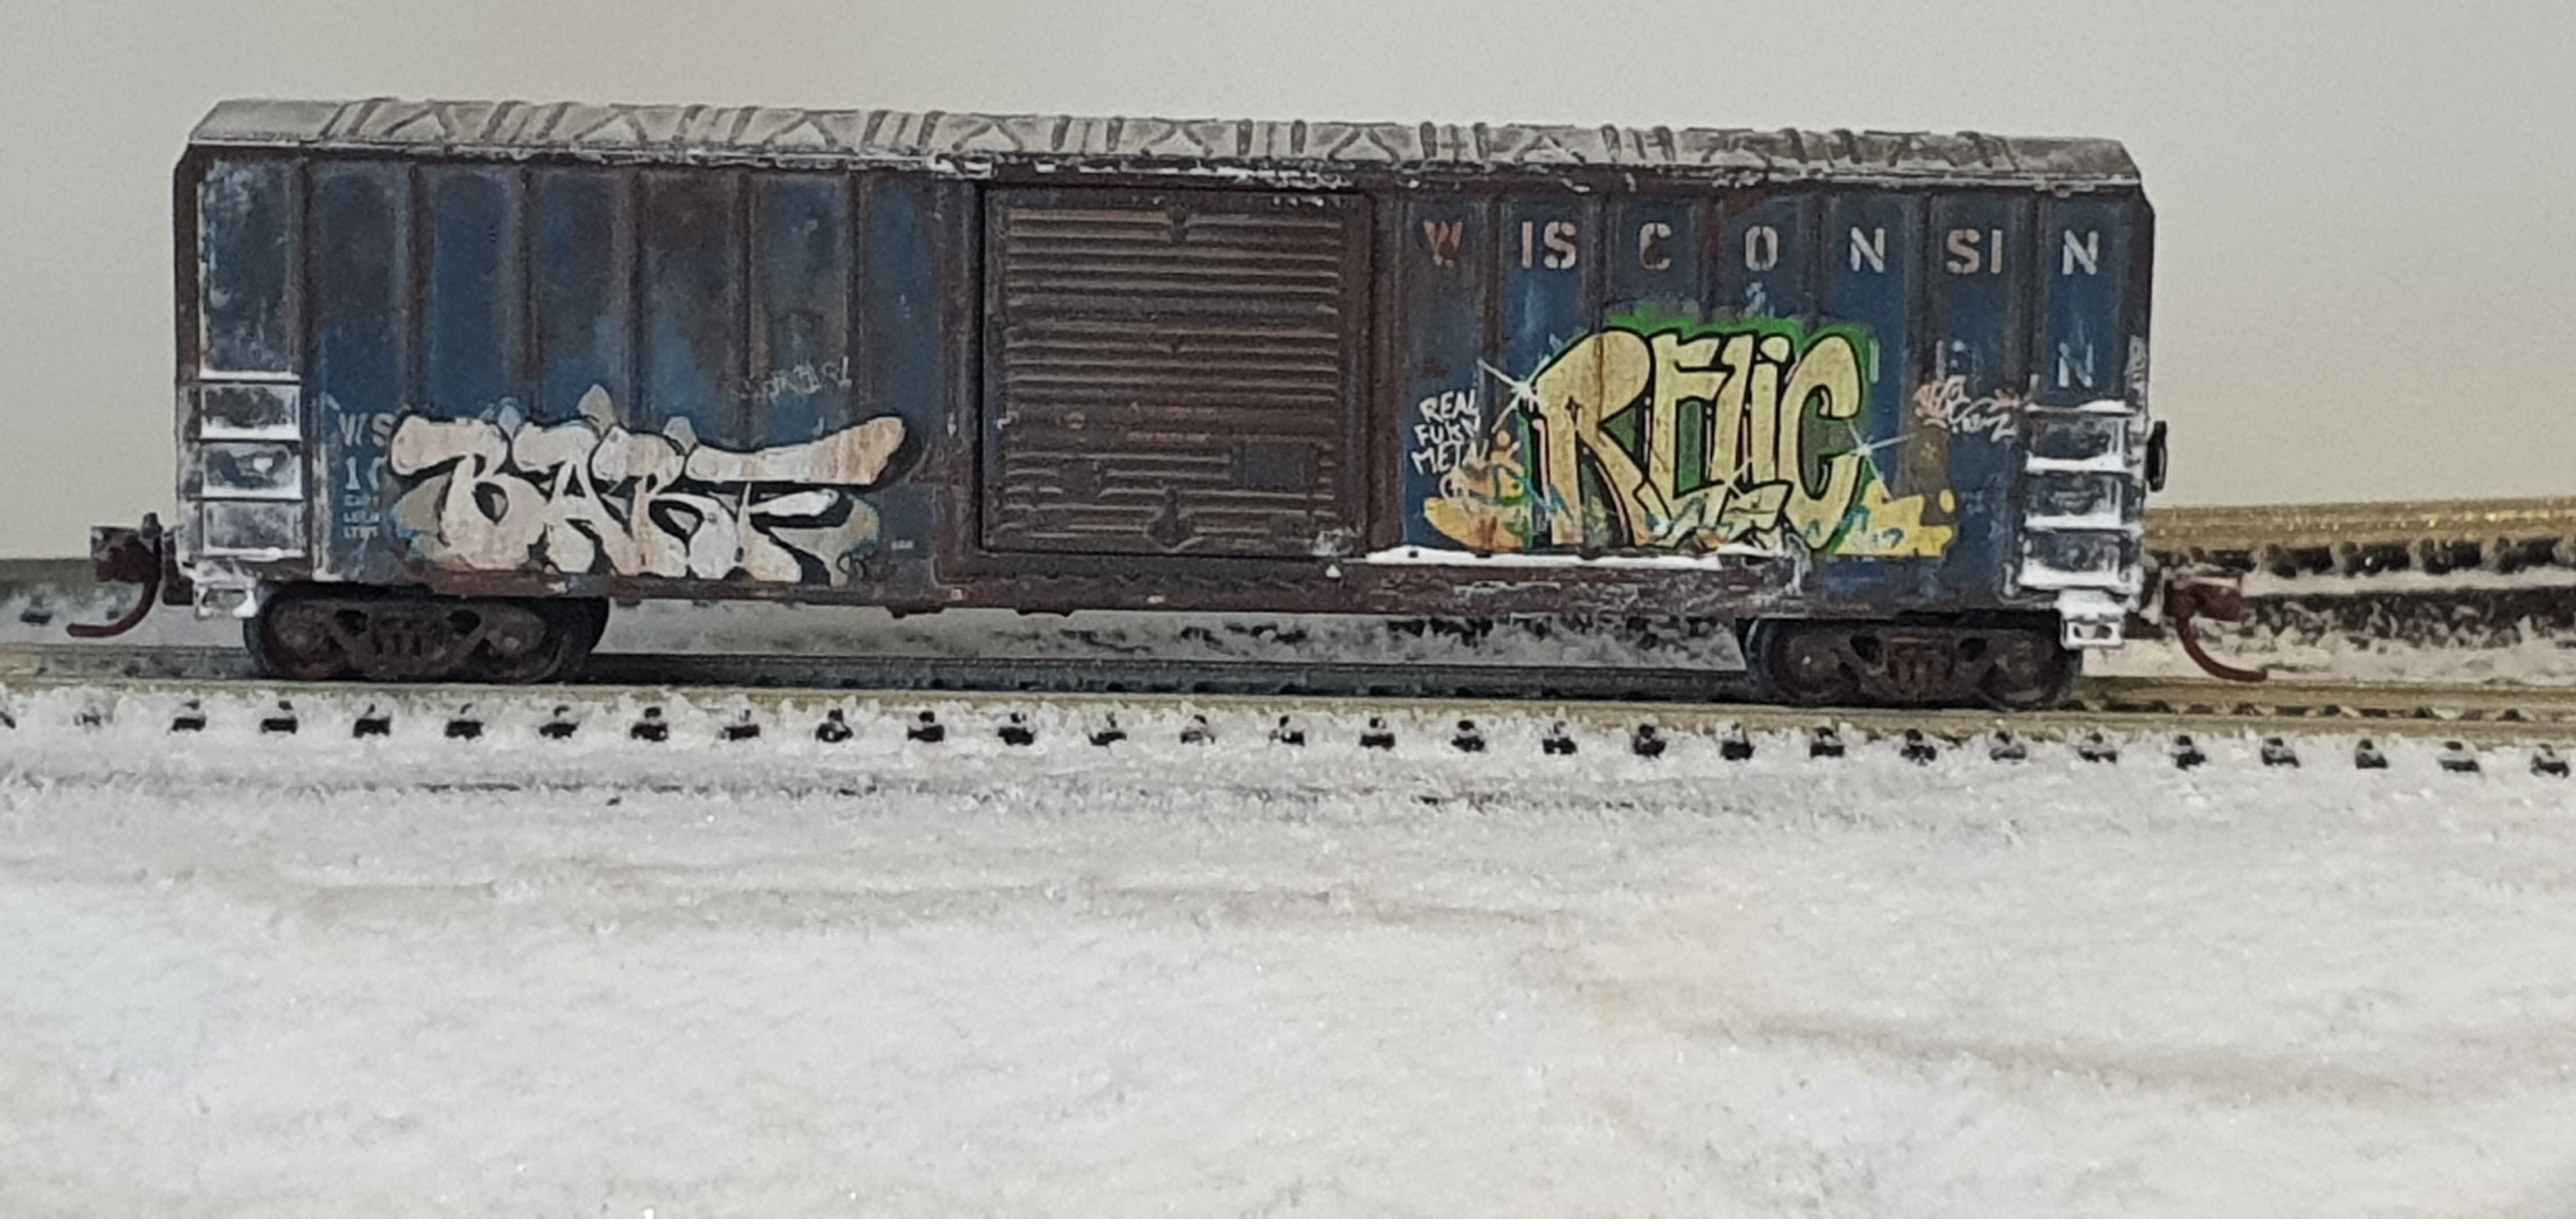
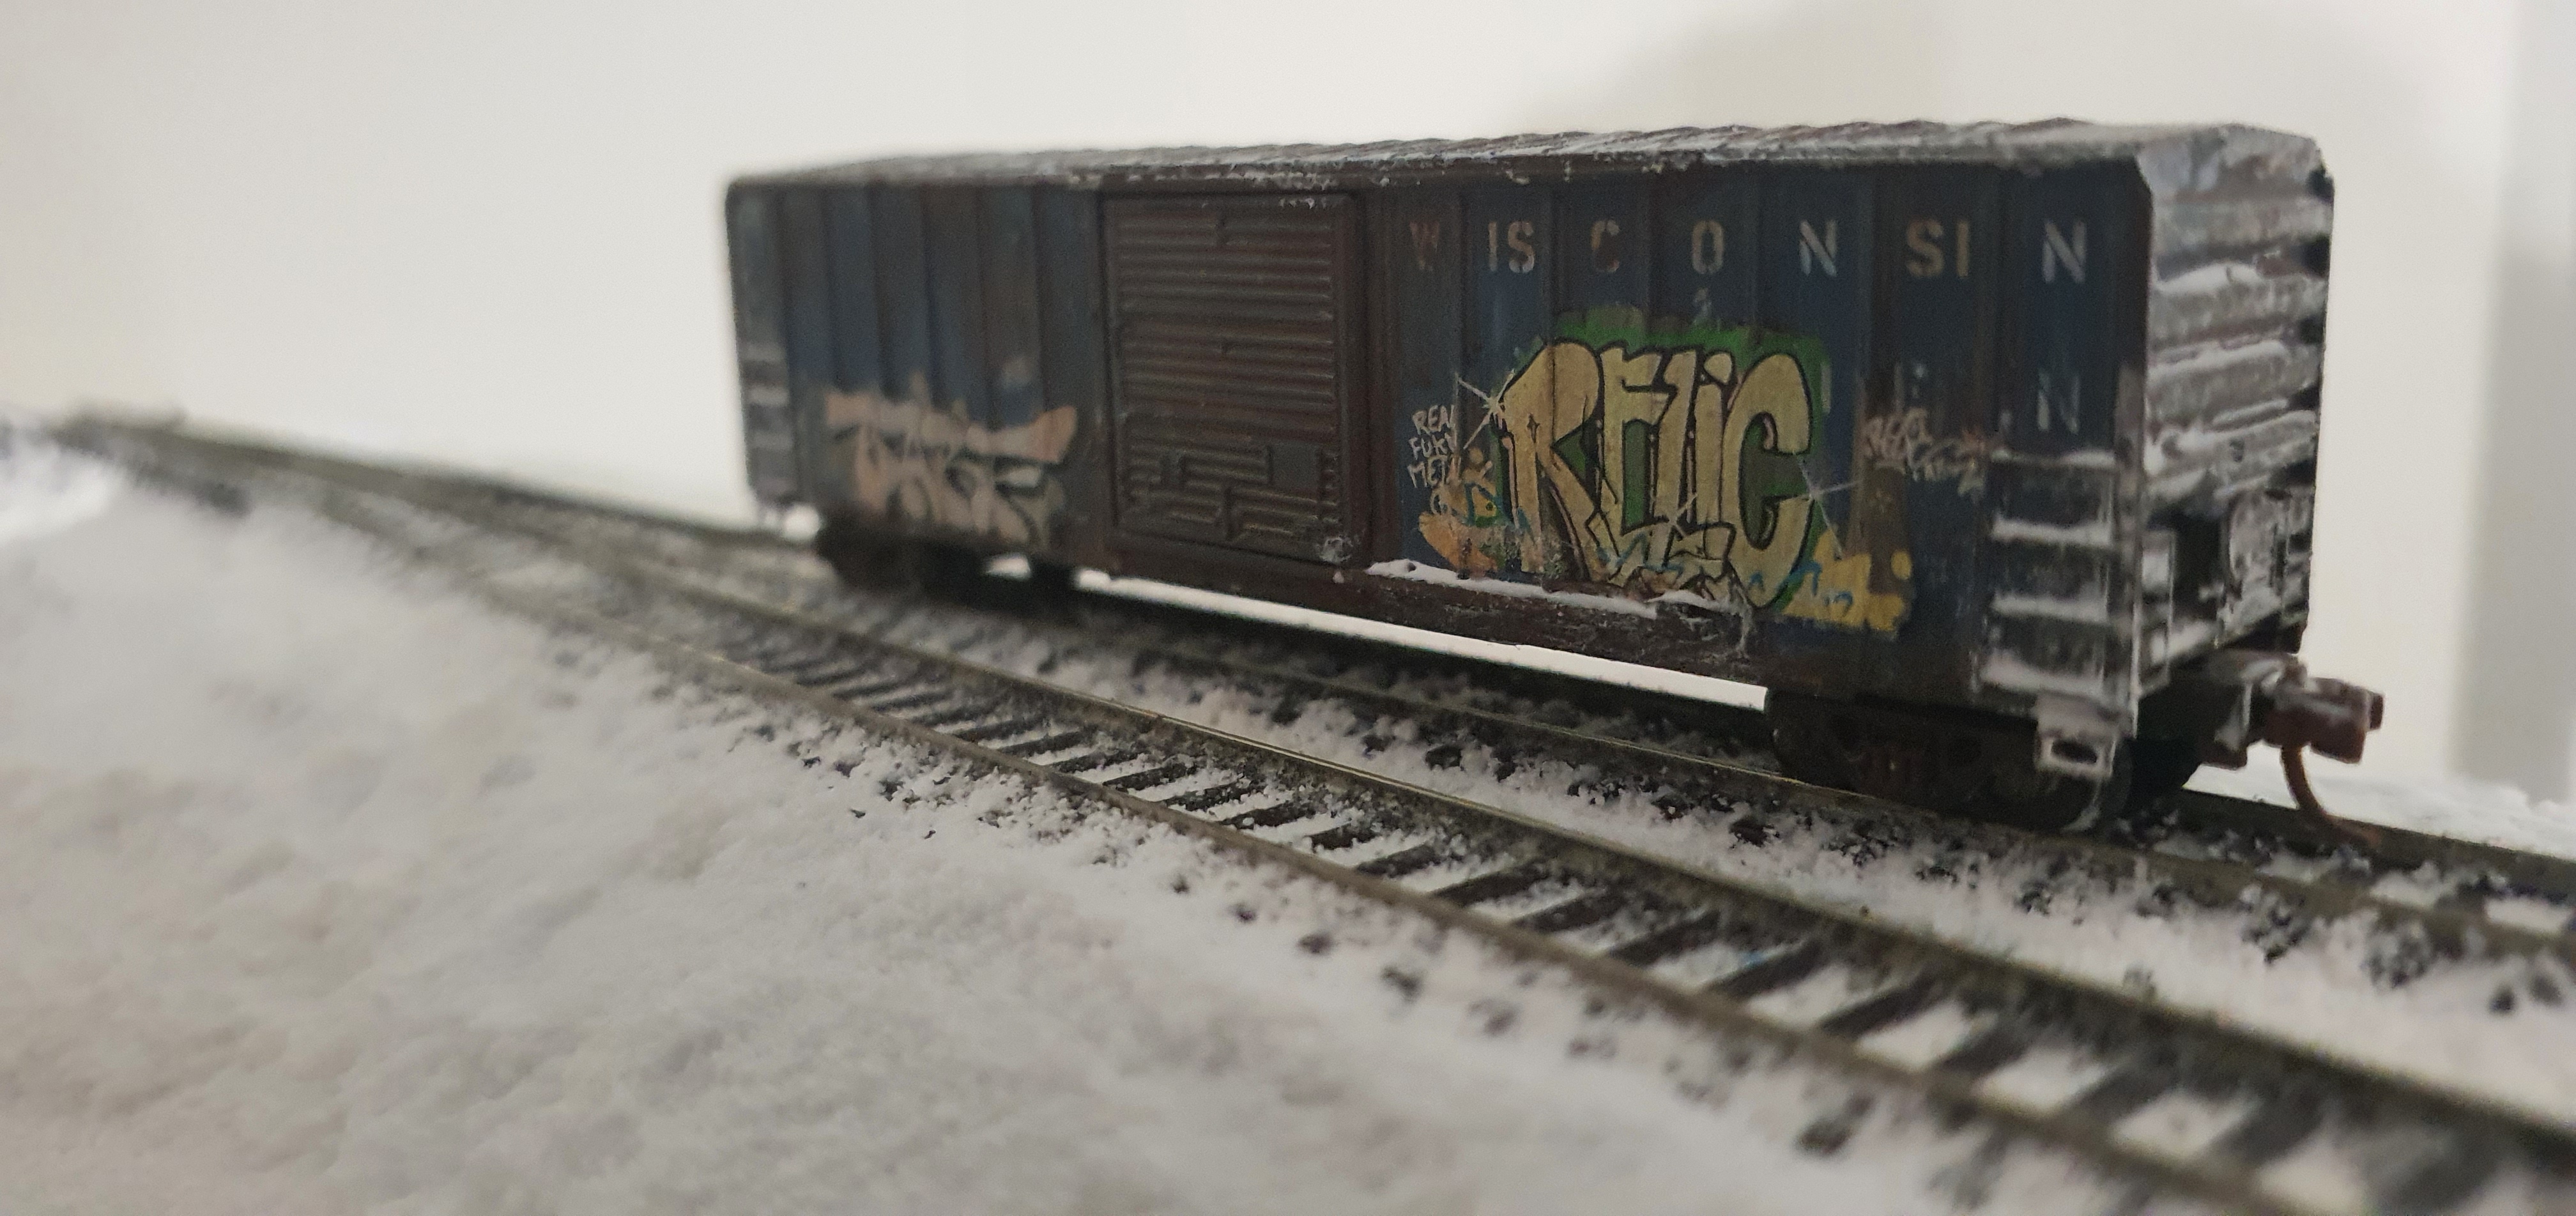
Well this will be it on the WSOR until the Ackerville scenery is completed. I don’t know what is coming tomorrow yet but stick with me I have lots of projects to do with materials on hand so we should be ok for a few more weeks.

Sundays progress, a wee bit of paint.

Remember last week I did the last bit of sculptamold for Ackerville well we had some nice weather this weekend and it finally dried. That means it was time to get a wee bit of paint down.

So this is what it looked like when if had dried. The WSOR is on the right coming downgrade to be level with the CN mainline and both will parrallel each other around the corner before diverging with the WSOR heading to Milwaukee and the CN continuing towards Waukesha.

At the moment I am focussing on completing my Scenery AP which means I need to do 18sqft of scenery and that means just doing into that corner you see in the picture but I call Ackerville done when we get the scenery finished up to the point the tracks get level again.

So here we are with the base scenery on, its the usual burnt umber that will have woodland scenics flex paste over the top and then snow powder. Of course thats plan B as the first attempt didn’t go quite as expected, you’ll see how well it goes or not later in the week when the materials arrive.

Anyway I know Brad is bored reading this now so I can promise that tomorrow we will be moving to the WSOR Northern Sub to add Helix Number 2.

Stay Safe

Gordy

Track Planning for Jordan, Part 3

Well Jordan came to me and said hey how would my plan look in a 24ft x 2ft space? Theres only one way to find out eh!

This was where we got to last time in a 12ft x 12 ft space. When changing space its important to re-inspect the givens list so we checked in with Jordan.

He wanted the following

  • layout fed by two helices for continous running and staging underneath
  • Keep the yard area & round house
  • Station area for communter trains
  • Keep City feel
  • Try not to change the switching area on the right hand pennisula

So my first stab at chaging this I kept the yard and rotated the pennisula. the additional module in the middle is where I added the station area with platforms. Jordan approves but we can always make improvements.

Can you spot the changes??? Well yeah lets talk them through, so national biscuit has moved to one of the large warehouses behind the depot. That gives you a larger run around to serve the coal yards and brick yard. I have also added a passing siding to allow trains to avoid the yard and depot area.

Each of these modules are 4ft long and Jordan plans to follow the TOMA aproach building two modules at a time. The first two modules have arrrived and Jordan has shared this picture with me of his modules from CMR products.

Well thats it for today, the postie brought a helix and some other parts today so we can get on with some work on my own layout tomorrow.

Gordy

Its February NMRAx today :)

Well its our Monthy NMRAx event today so this is a wee reminder post rather than a modelling post but don’t worry i did do some modelling last night mostly re-drawing a track plan for one Mr Kramer to fit in a longer but narrower area.

Anyway today its NMRAx for those in the USA its from 2pm EST until 11pm EST with 8 hours of clinics with a one hour break.

You can watch live over on the NMRA Youtube channel. https://www.youtube.com/channel/UCHw-7-1FWB5zQgTM0ZVY-Yw

I’ll be back tomorrow with some more modelling or a look at Jordans plan being transformed from a 12x12ft space to now fit in 24ft x 2ft.

Gordy

Boards for Layout electrics

Ok yeah you have seen this concept before on another module but as we move to wiring up ackerville I wanted to get the board in place for the module we are now at scenery stage with.

This is just an A4 size 6mm MDF board with two hinges and a 38mm bolt

As you can see the boards are simple but have screw terminals for the feed wires so the wiring on the board to the electrical modules can be neat and tidy.

The hinges are screwed to the underside of the module frame and the board will swing down when I need to work on it and up under the layout when in normal use. There should be minimal climbing under baseboards.

I dont have all the modules yet because I don’t need them. I’ll get them when I do so for now the screw terminals will be shorted so all track feeds get power. I’ll remove them when I get the modules installed.

Here is the board swung down and you can see the locations for the electrical modules. These won’t go on yet, I’ll only install them when I have enough track down to warrant a operating session.

Well tune back in tomorrow hopefully that sculptamold we did has dried enough for some paint. It looks far too blue over there.

Gordy

Sculptamold, yes more mess!!

Well we are around the corner from Ackerville and heading towards Waukesha the WSOR here is decending to be level with the CN mainline for the next scene on the layout.

As you can see sculptamold everywhere but when its painted you’ll not see some of this mess and it’ll be buried under snow anyway.

Here is the transision between the main Ackerville section the lines here are curving away to the right which is the area in the first photo.

Yeah this looks like a mess but paint will hide it all. The CN is on the left and WSOR on the right.

Well thats a right mess i’ve made i best go clean it up and plan tomorrows entertainment. See you all soon

Gordy

The mainlines are in!!!

I took a couple of days off this week and yesterday as you say I got the backscenes into placce. Today i added feeders and cut the flex for all the main lines through Ackerville. I don’t glue my track down until its all done but today i got the feeders soldered to the rail and fitted through the baseboard with the track cut to length. I just need to add the yard tracks one evening this week and it that track will get glued into place.

looking northbound you can see whats left to do here in Ackerville

looking south the track on the mains is in as far as the corners which won’t get done until I add the sculptamold to the next board and get it painted so thats a job probably for next week.

The final shot showing a box car on the WSOR mainline about where the Highway overpass will be fitted. That track on the incline still needs to be fitted the gaps there under the roadbed will be filled with woodland scenics flex paste.

Well not sure what we will get done tomorrow possible these last few tracks in the yard or that sculptamold I guess it depends how messy i want to be after my first day back in the virtual office.

Well till next time.

Gordy

Backscenes for Ackerville

After a weekend of Train meetings I took a couple of days off to recover so that of course means time in the train room. I’ve had the wood in the garage for a few weeks and after playing with the snow I decided to add the backscenes to help me with the tree colouring issue we spoke about yesterday.

I used 3mm plywood and mounted an ID backscenes over cast sky photo backscene using a spray adhesive. But they come at 15″ tall which is good and bad because I needed to cut them but good because one pack now goes twice as far. There was a little excess that was removed with a hobby knife.

cutting on the underside of the table 😉

The boards are held in place with self adhesive magneting strip that is attracted to the supports for the upper deck and are just strong enough to stay in place but also be easily removed.

Its honestly easy to just remove and put back into place.

Then back to the trees, I haven’t done anything else to them but here they are with backscenes behind them.

I have however spotted a nice looking bush growing into my garden that might be perfect for N Scale armatures I’ll be having a look tomorrow to see if it will work.