
To celebrate our discover of Yellow Snow on the layout, for a limited time get your Gordy.uk mug now from the Gordy store.

To celebrate our discover of Yellow Snow on the layout, for a limited time get your Gordy.uk mug now from the Gordy store.
For the past 6 weeks I have been working with the team from the Rocky Mountain Train show to put on a virtual event. This was live streamed yesterday here is the link to the Youtube quality version of the livestream that you can watch on your home TV or your computer. There are presentations form manufacturers, clubs, museums & layout tours from the Denver area.
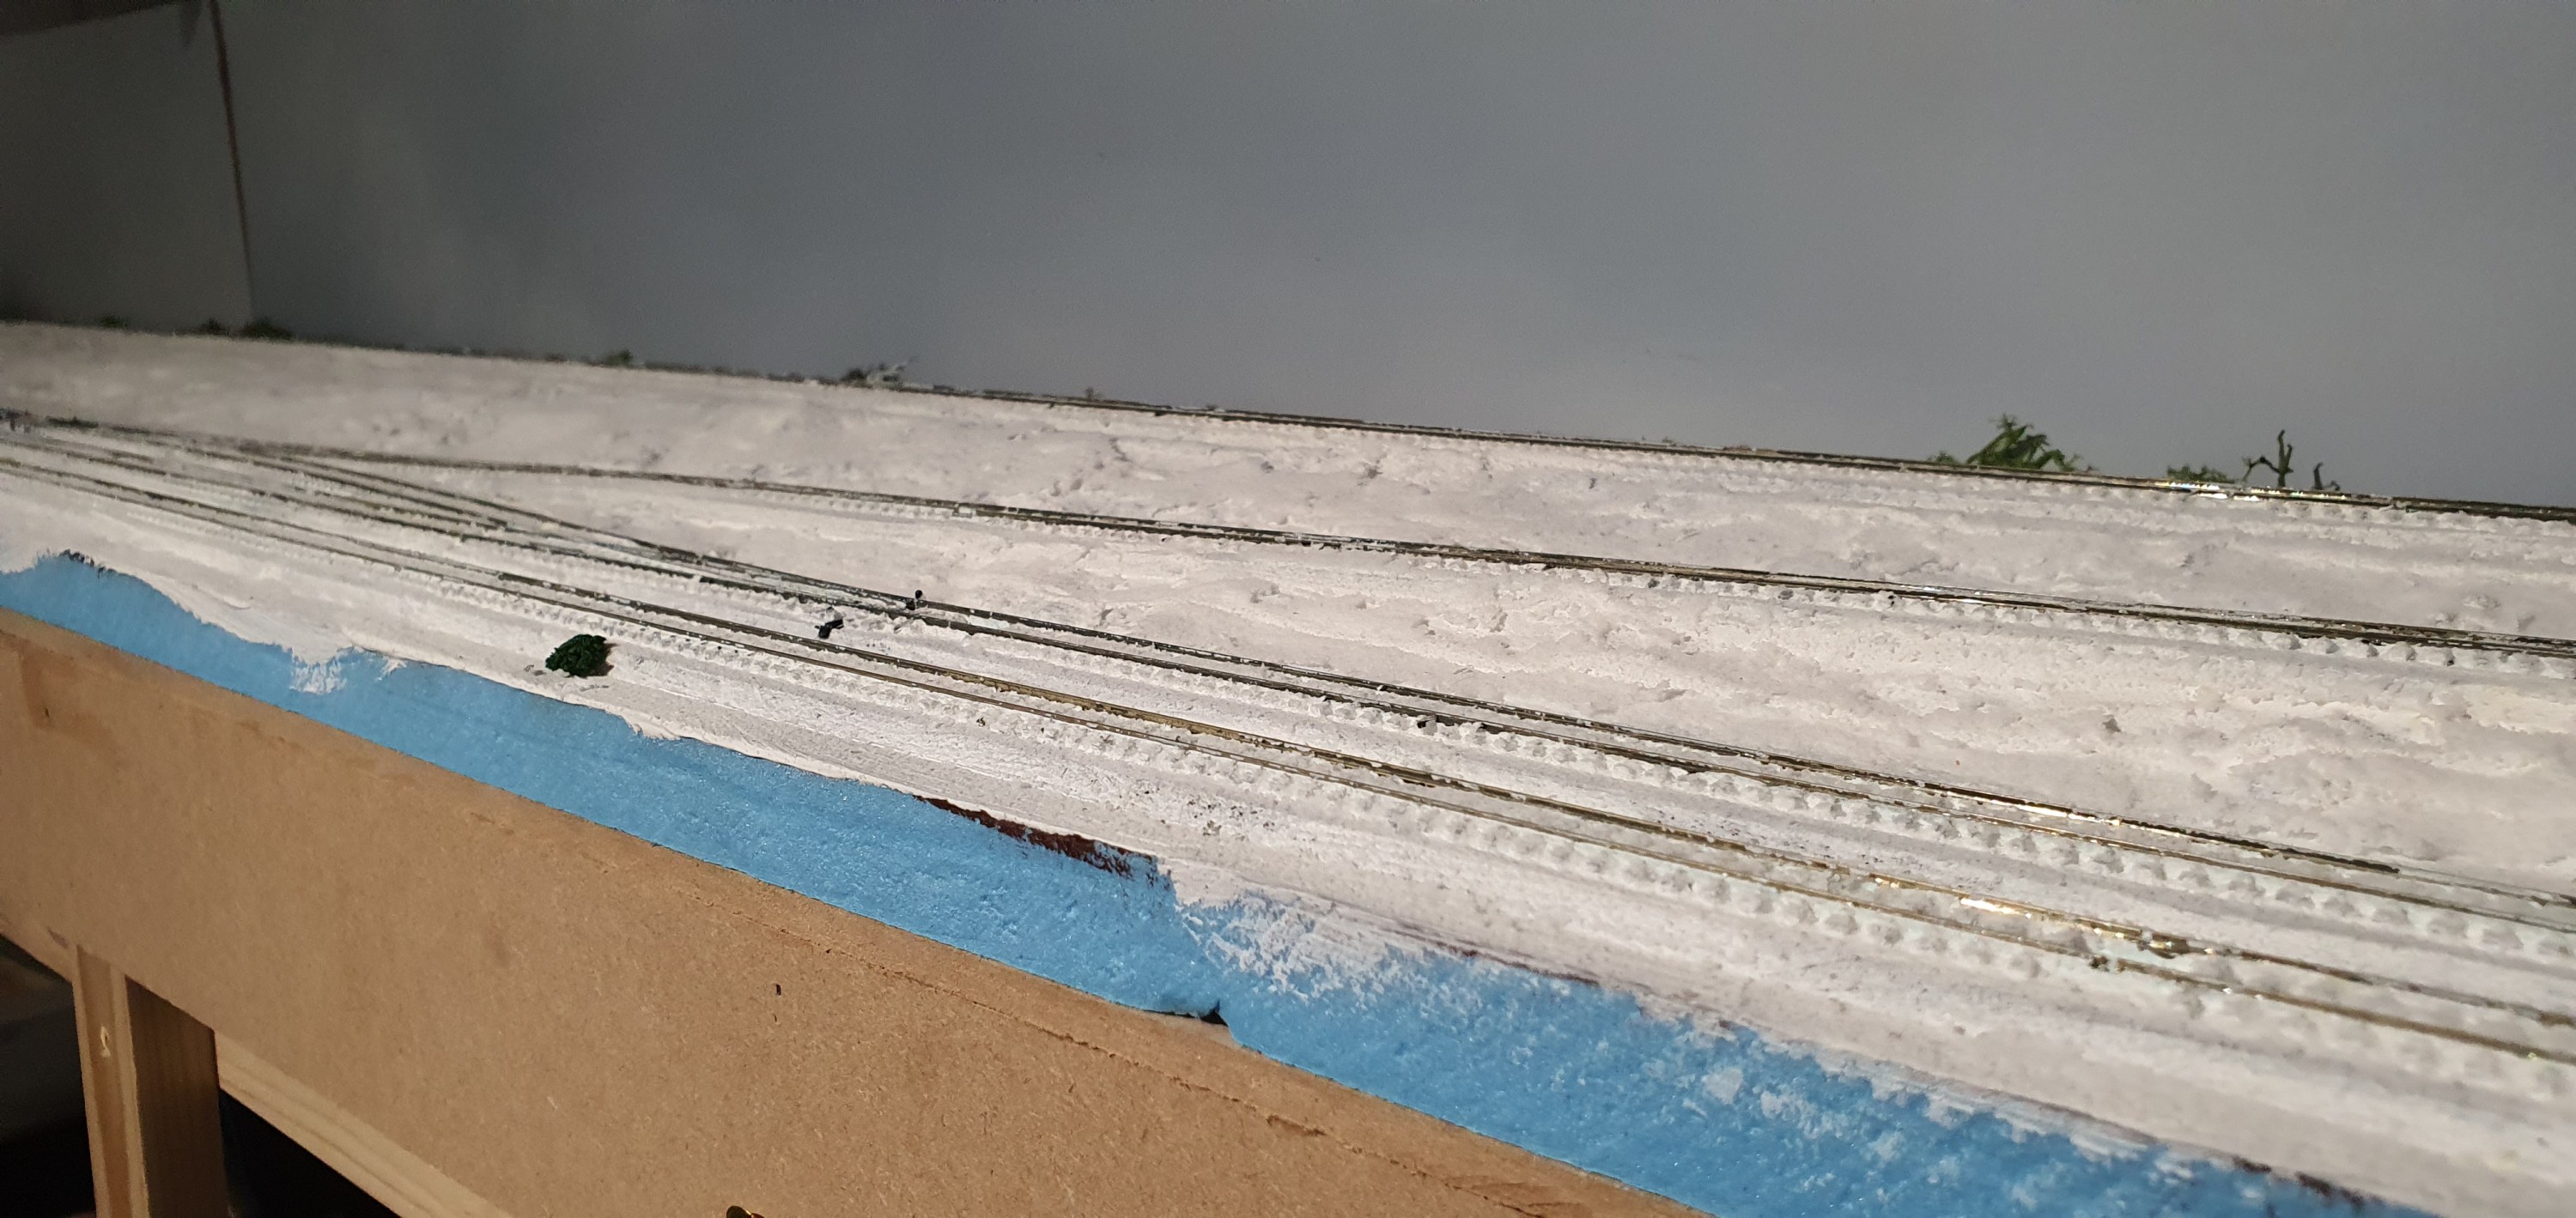
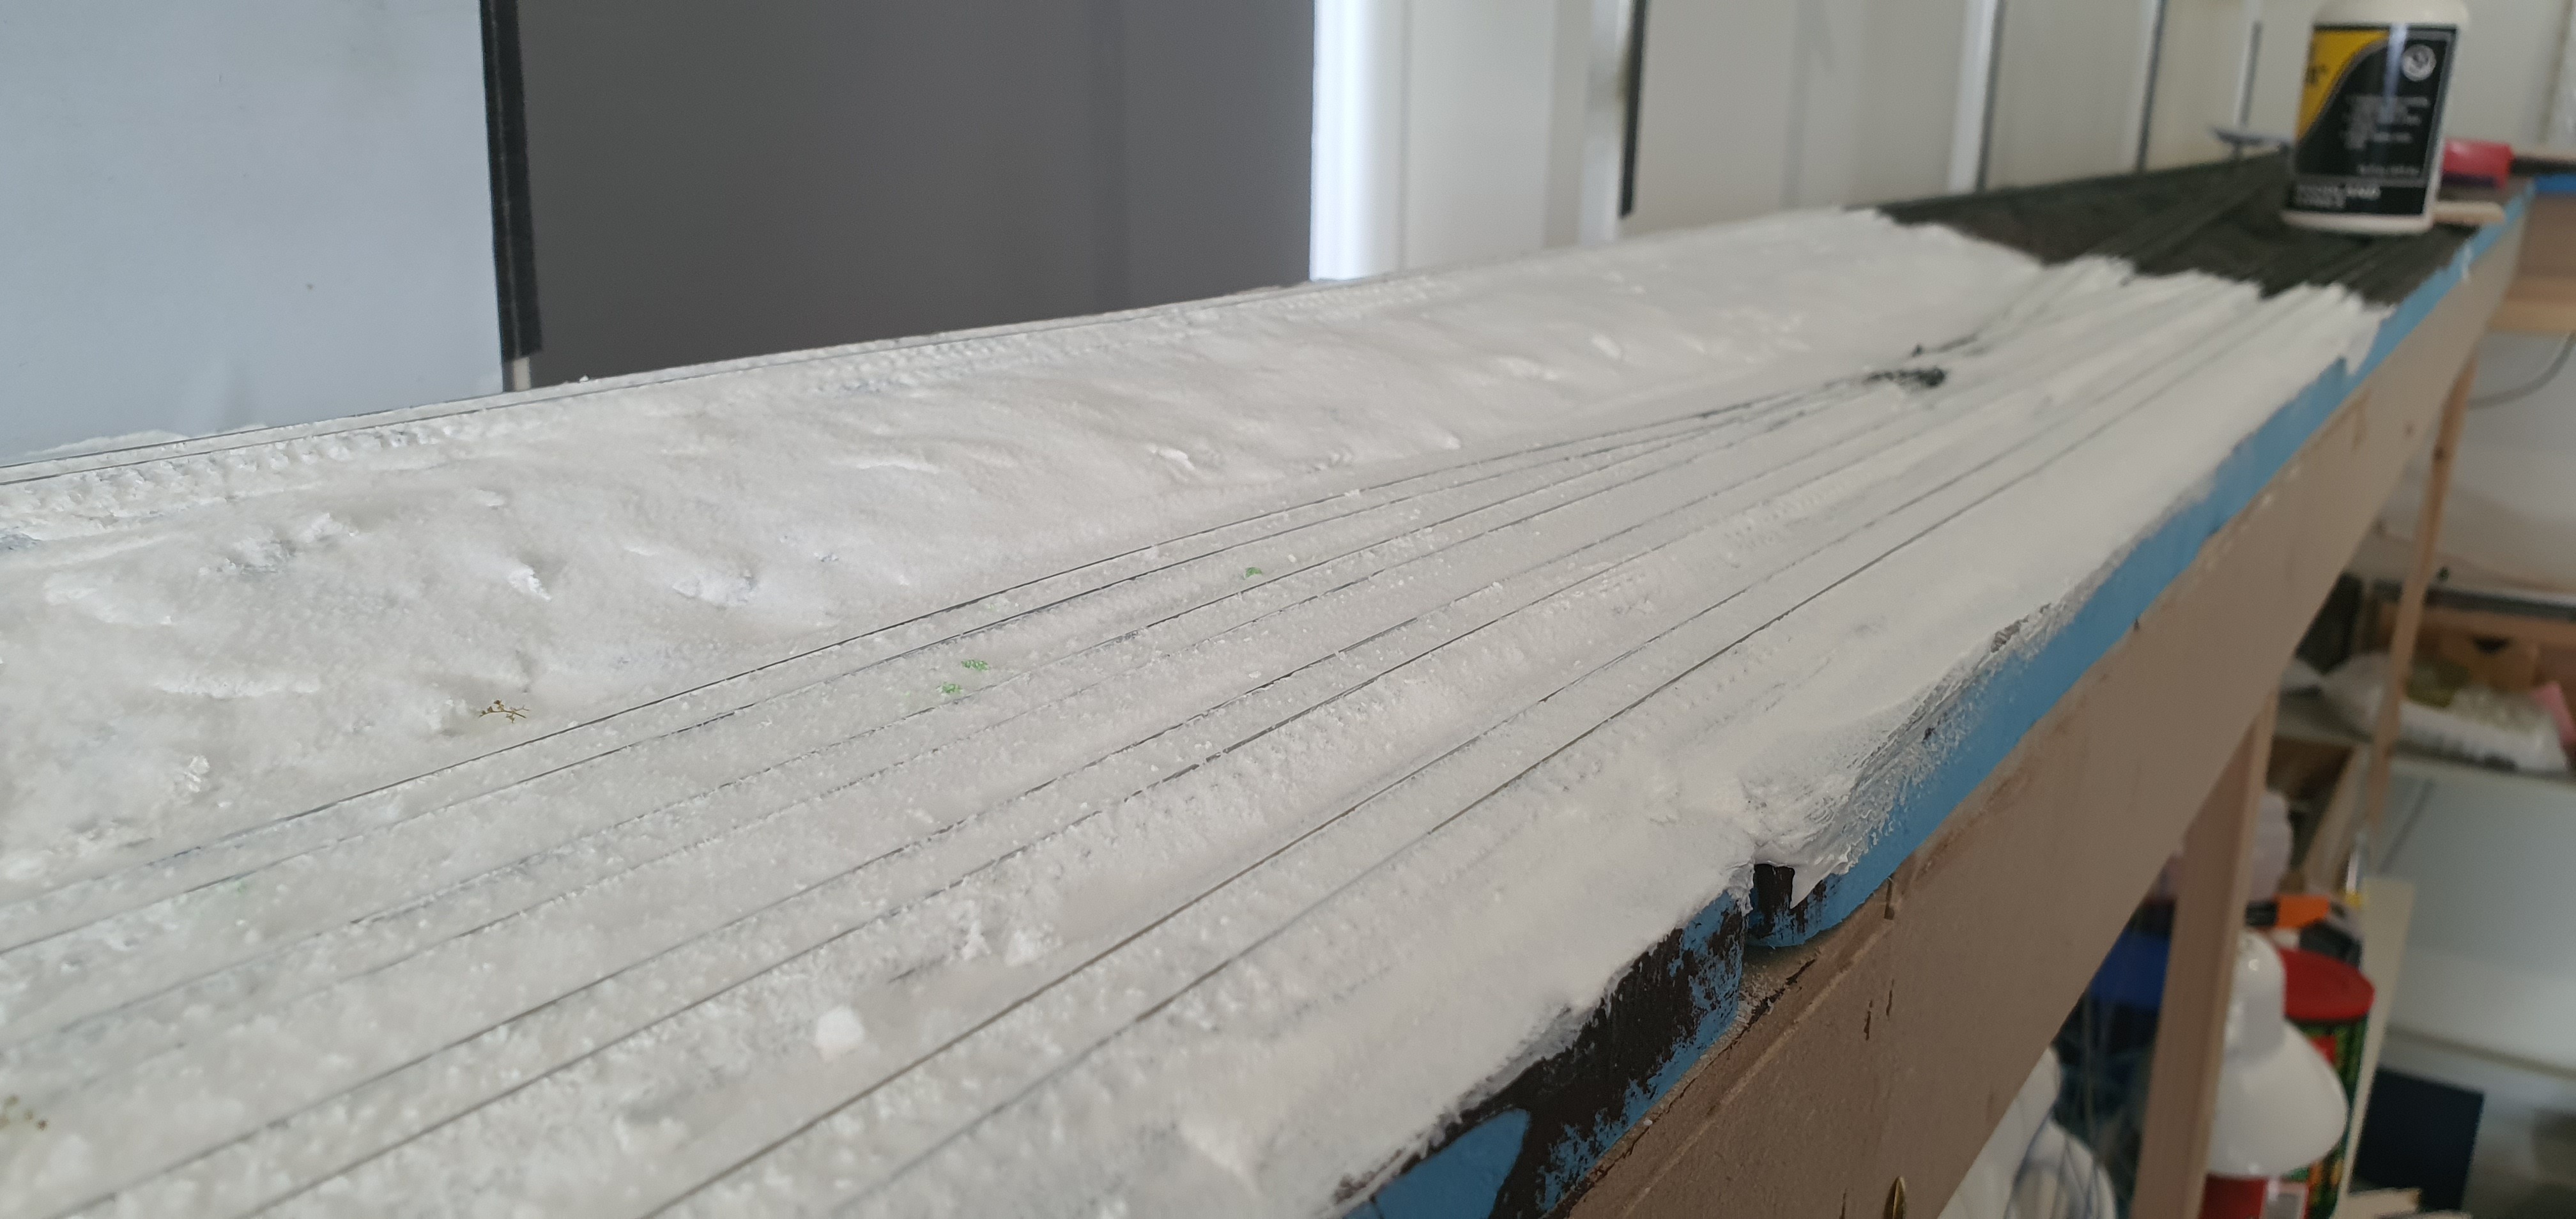
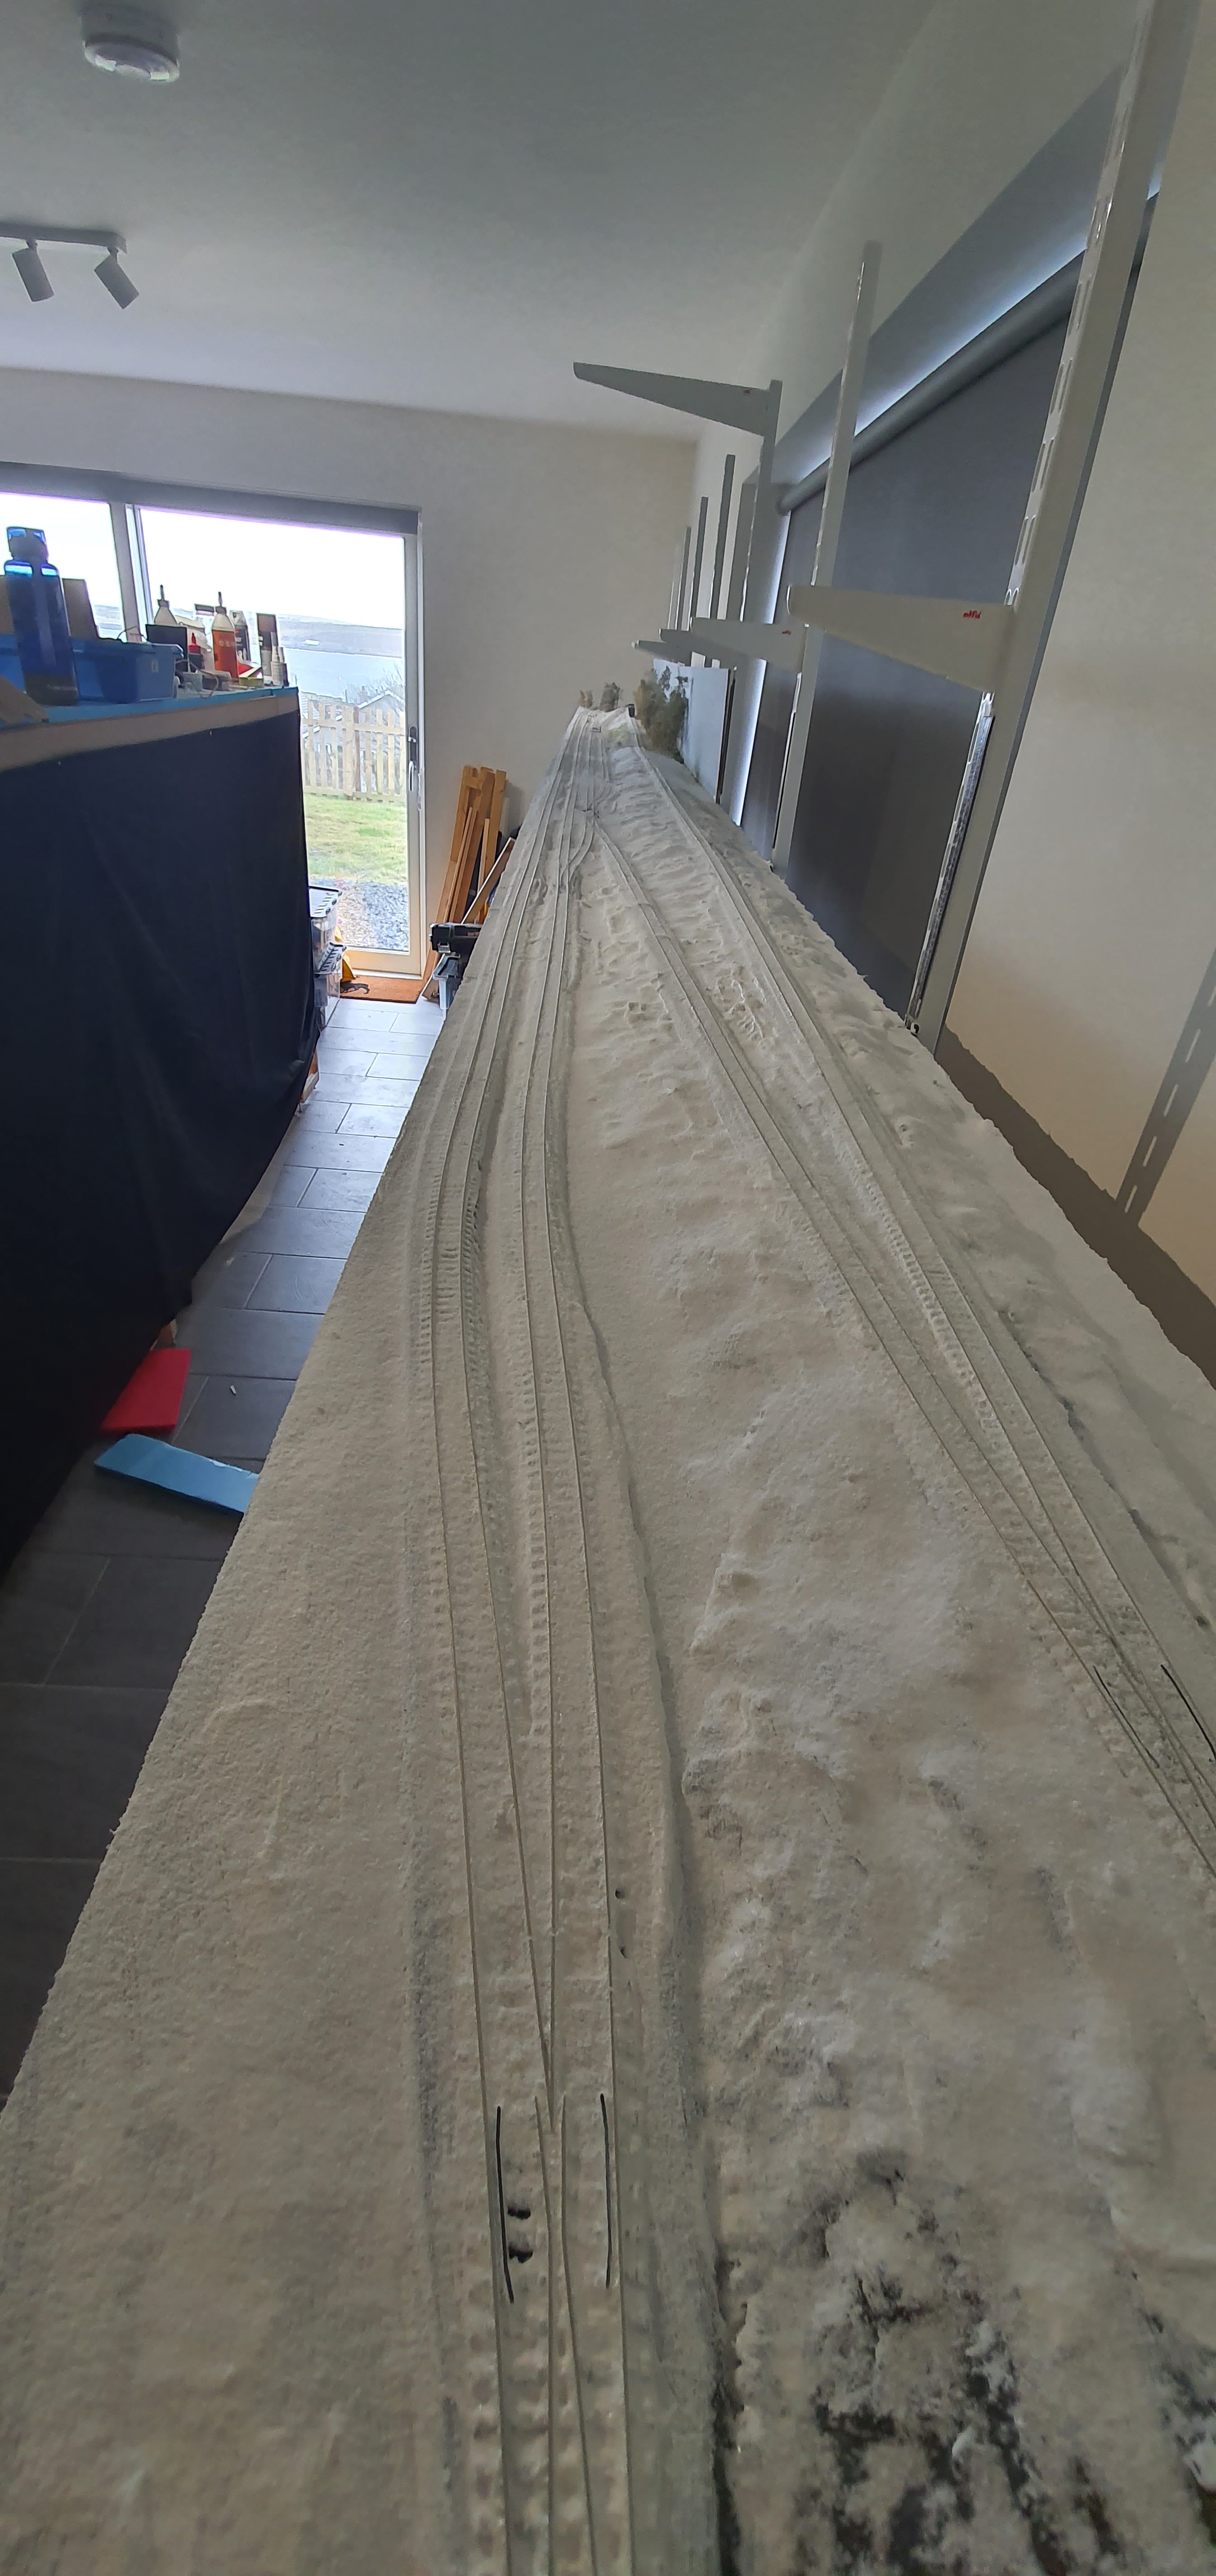
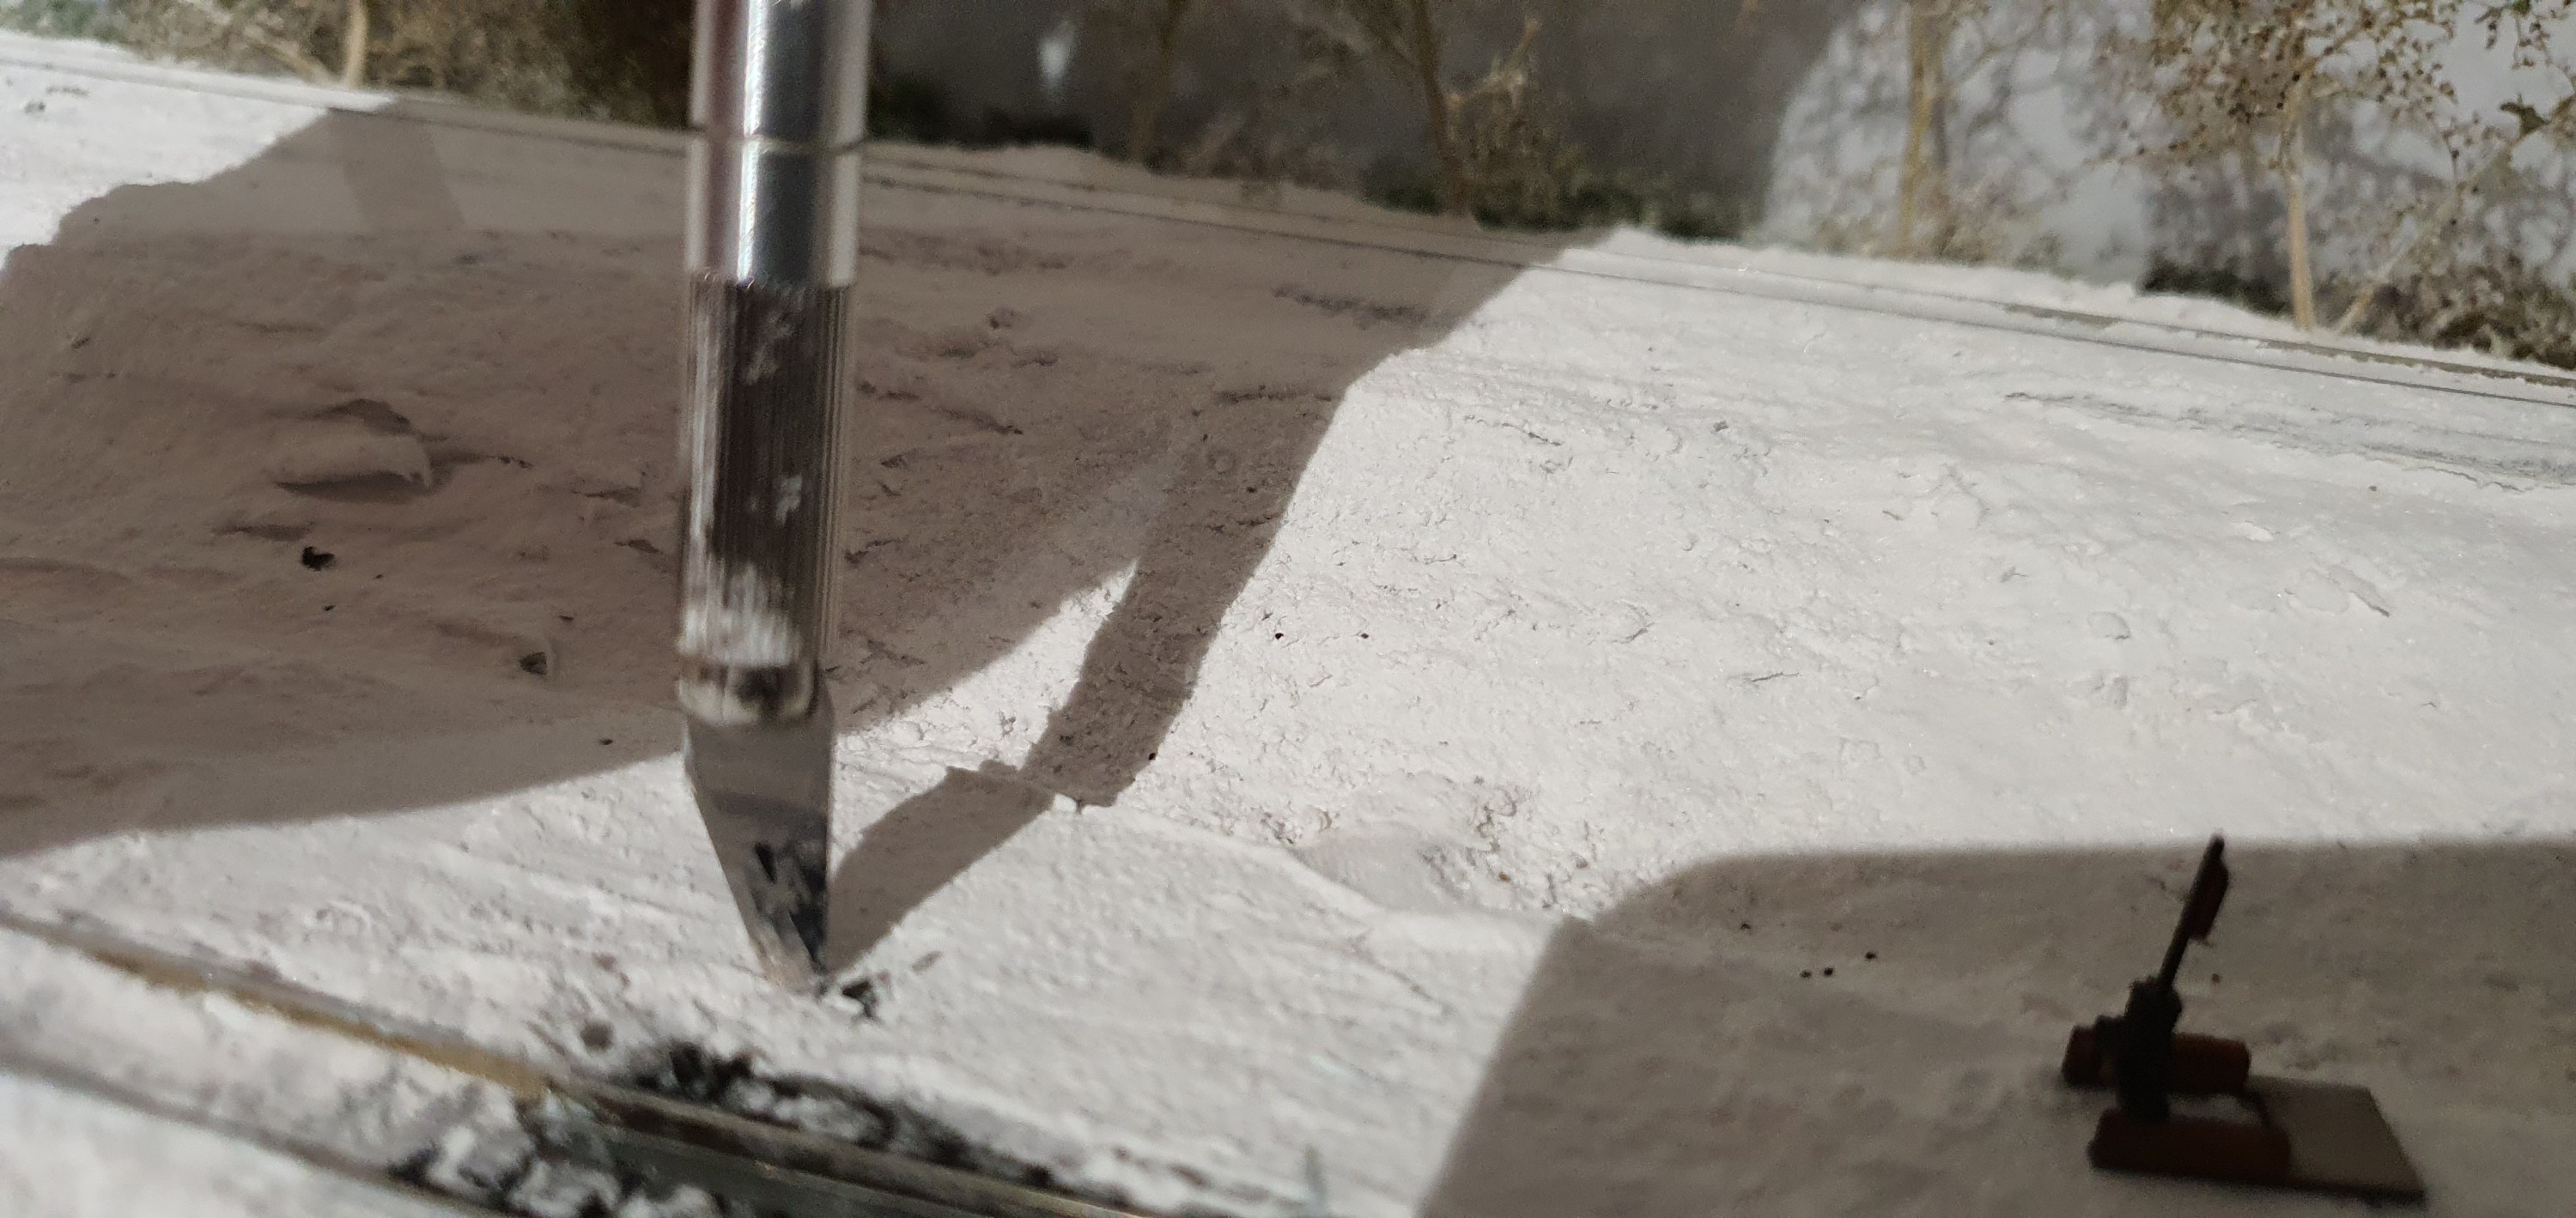
Having previously cleared the snow from the inside of the rails, I decided to remove the snow from the outside of the rails too. It was the usual method to remove the snow a sharp dental implement dragged along the side of the rail.

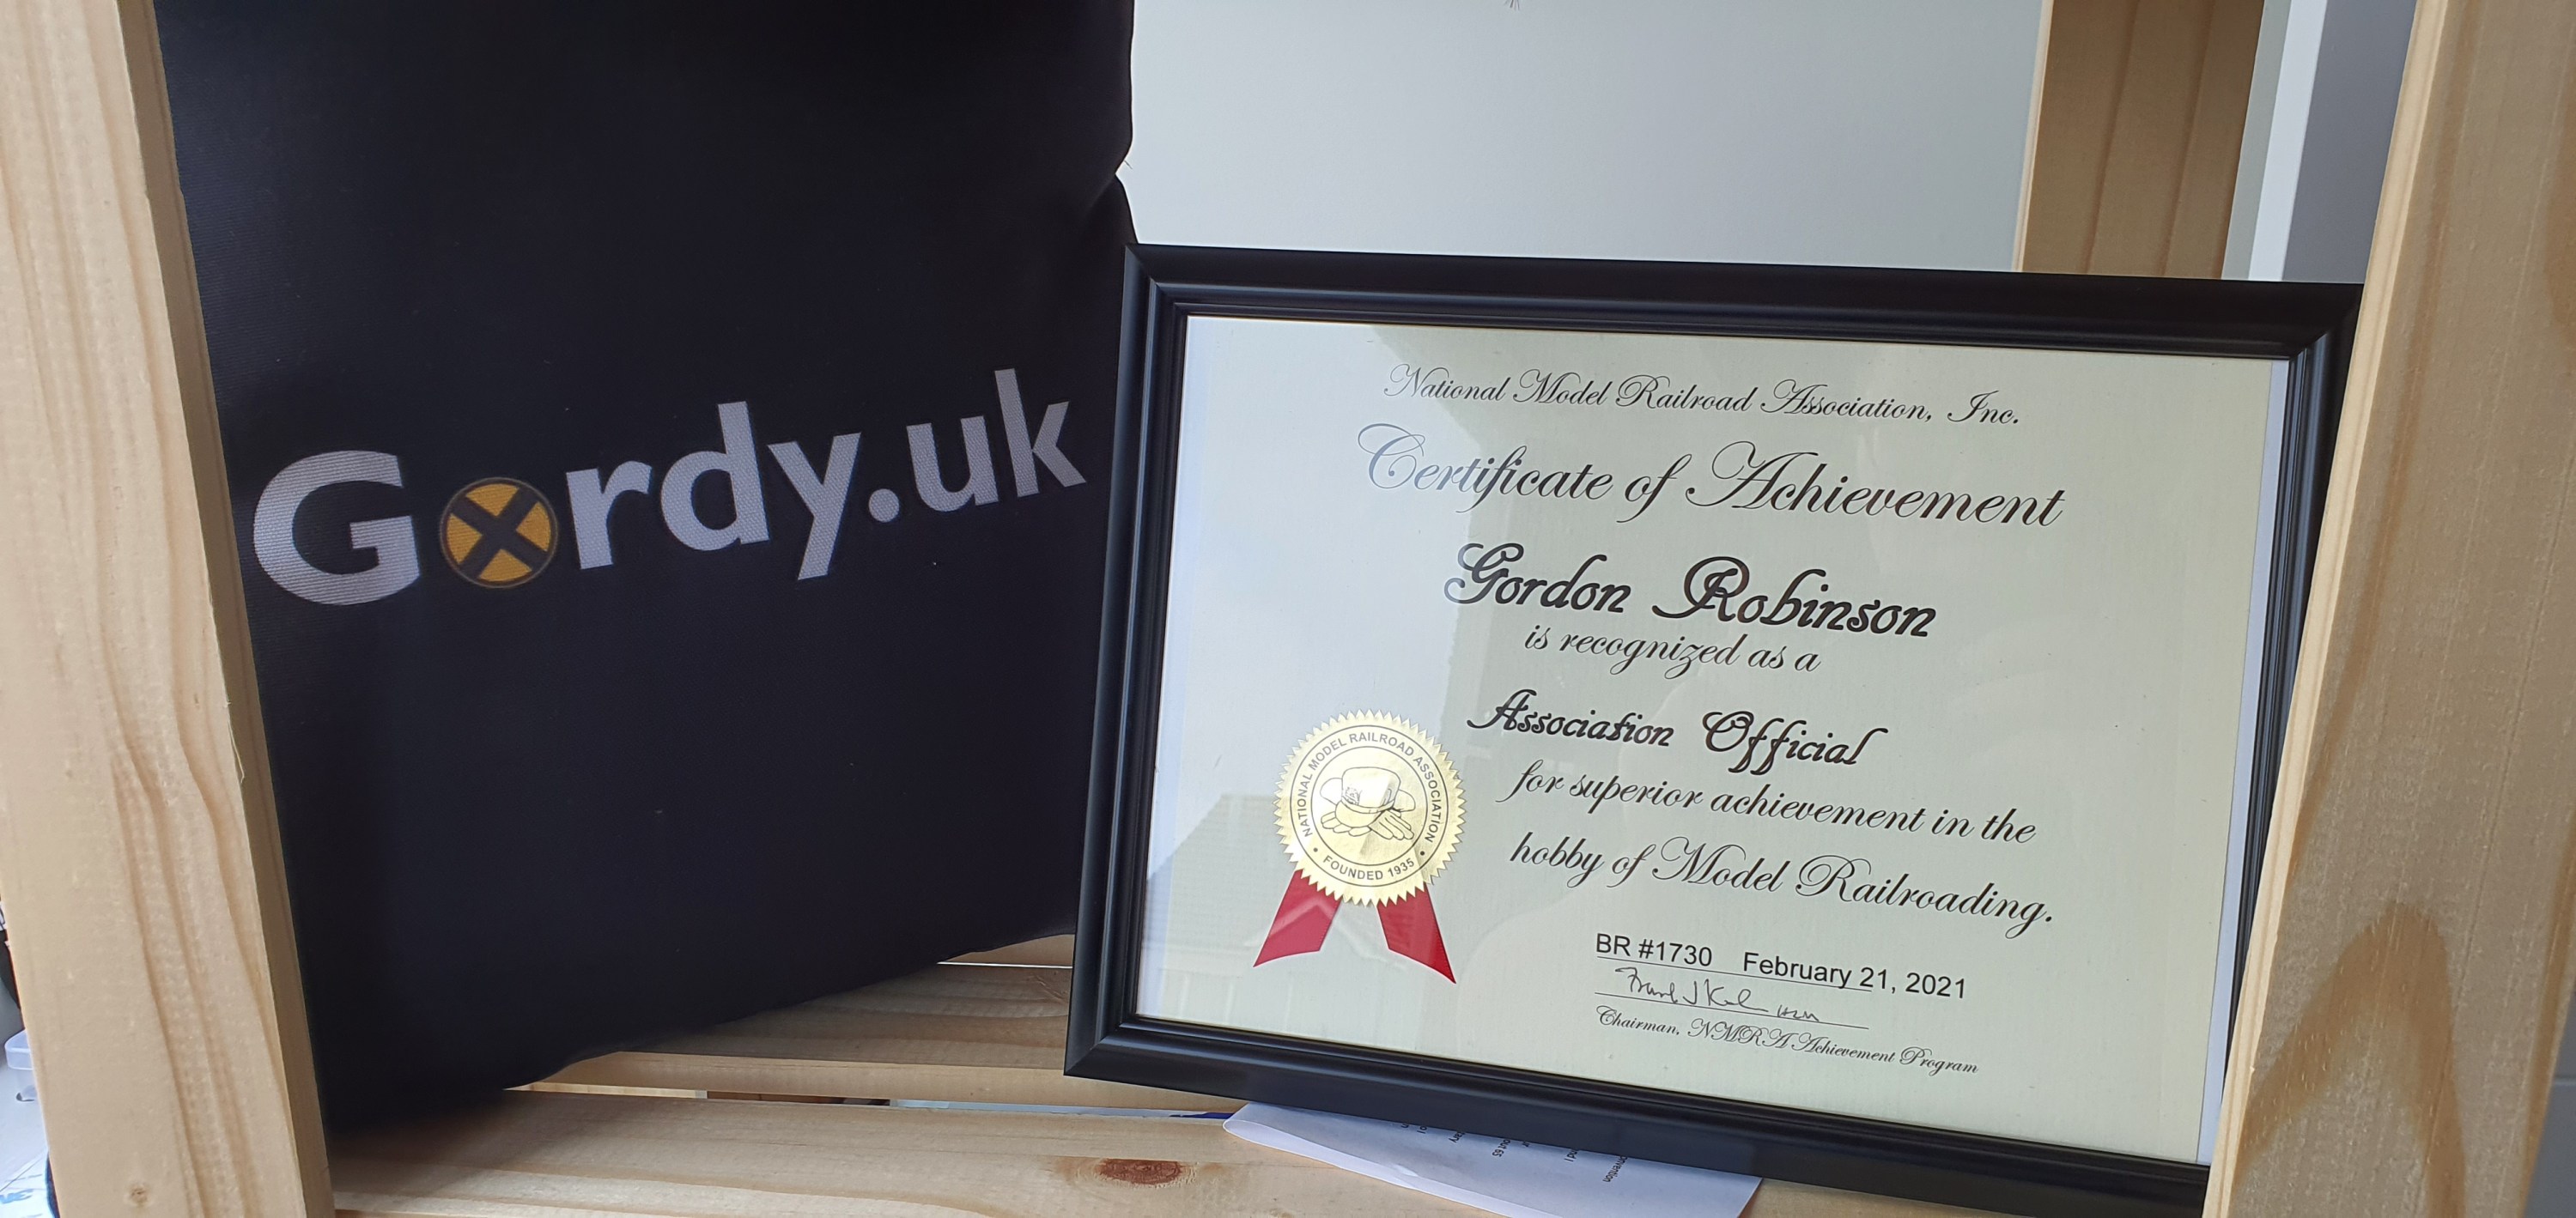
I have reviewed my Association Official AP Cery from the National Model Railroad Association, this was for my work as Divison Superintendent for the Scotland Divison of the NMRA British Region.
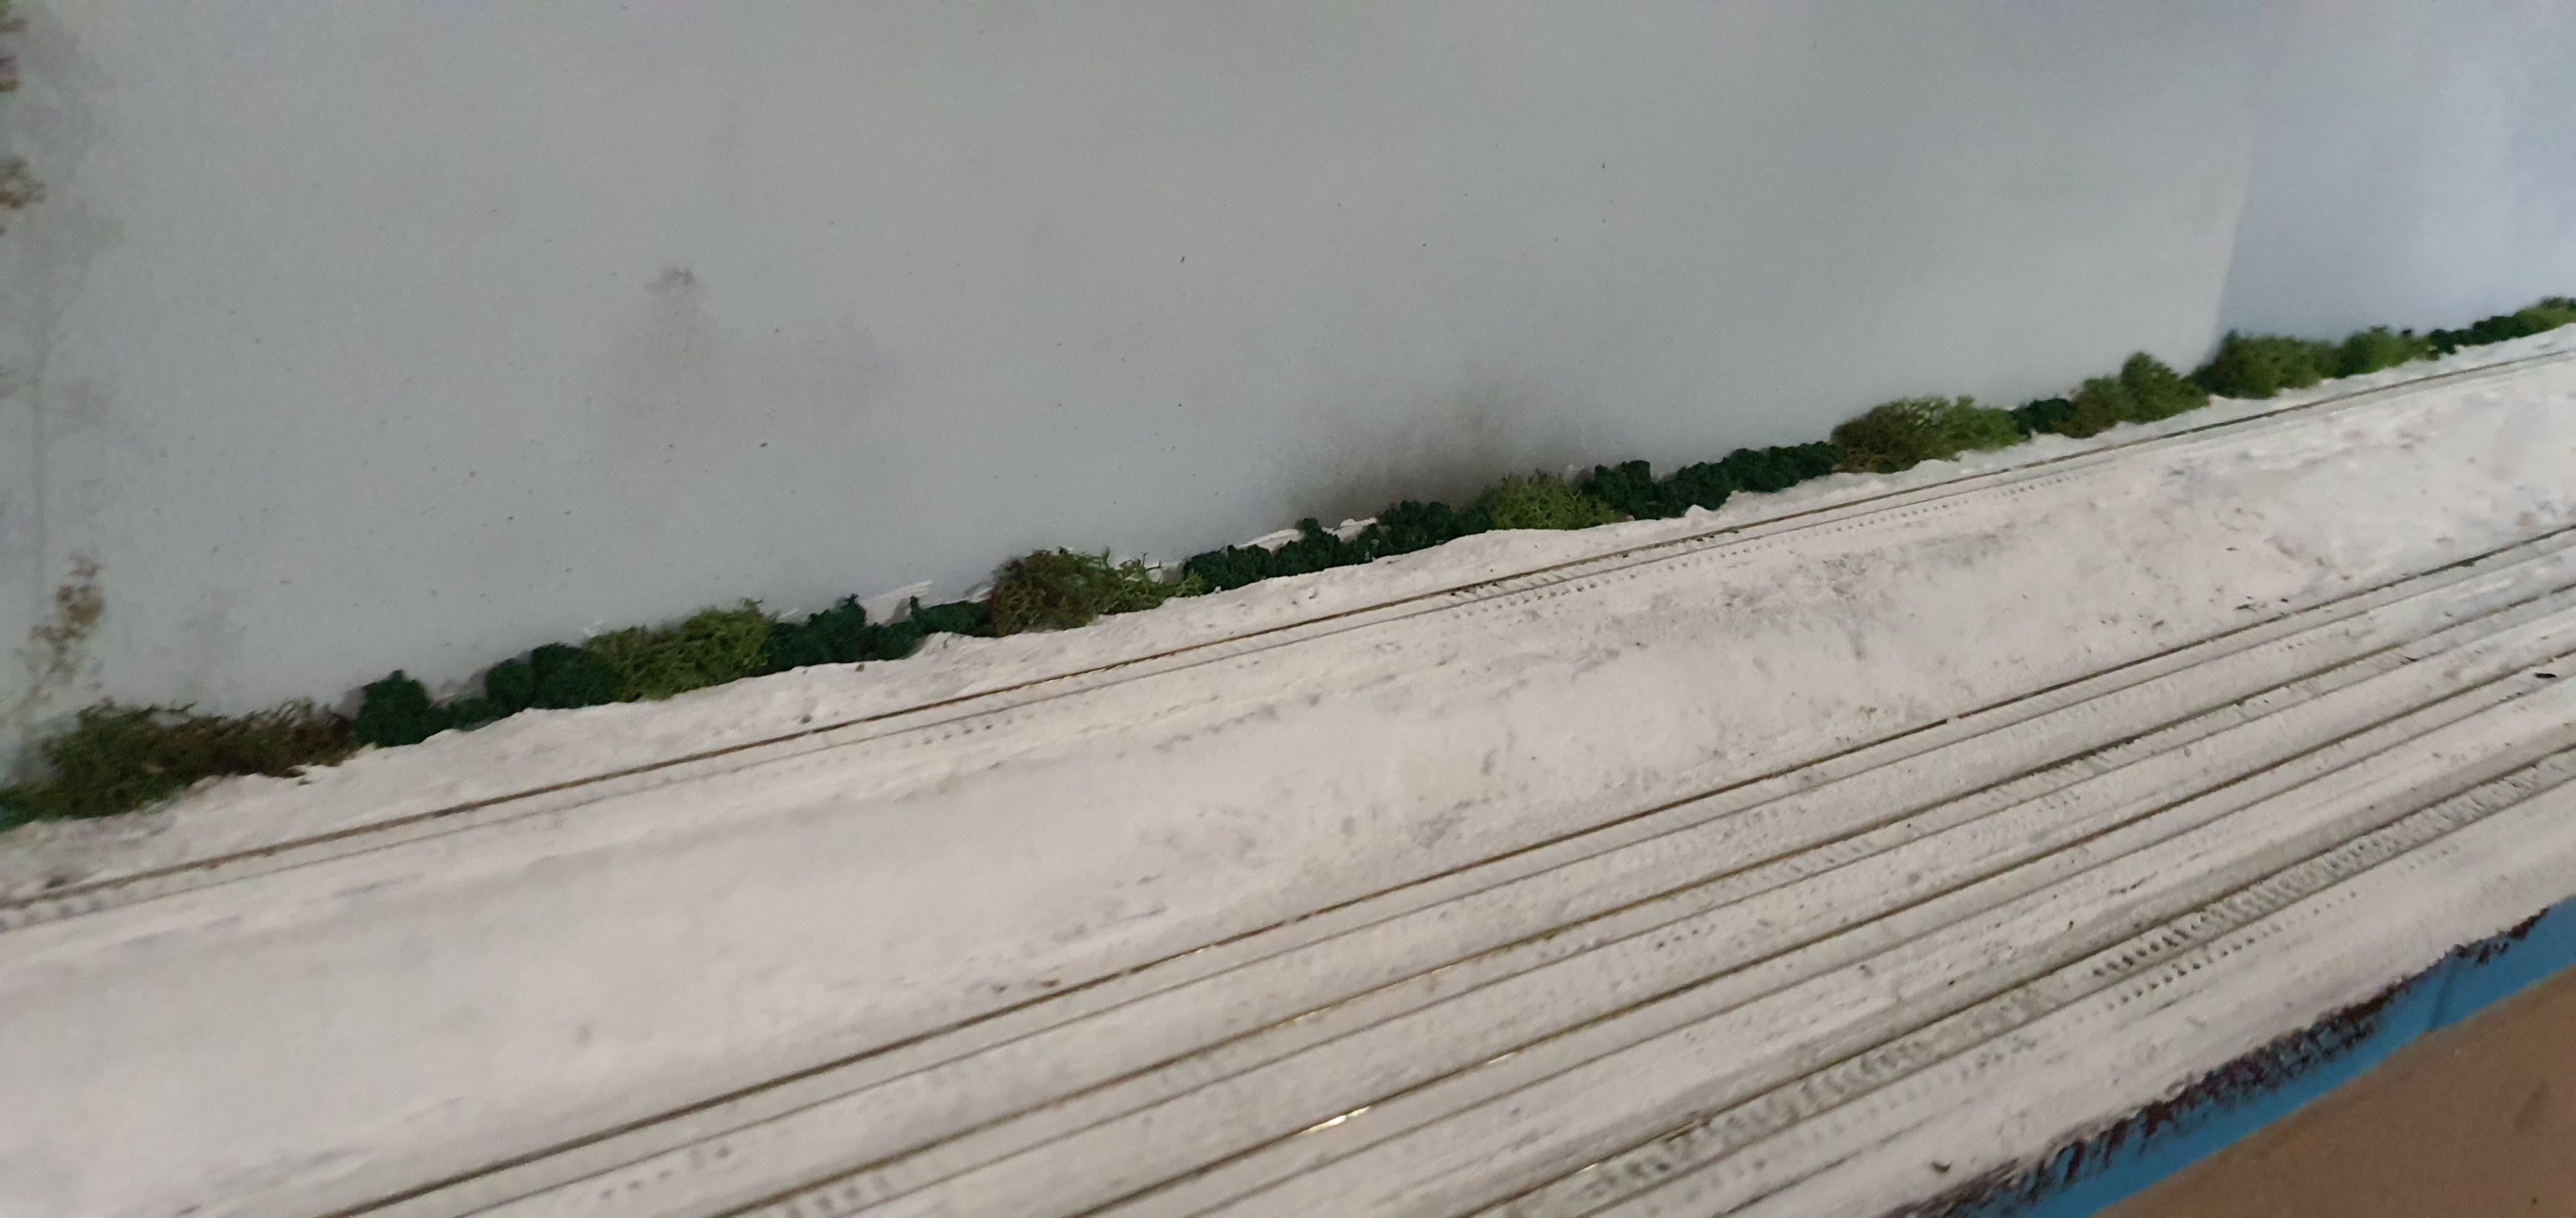
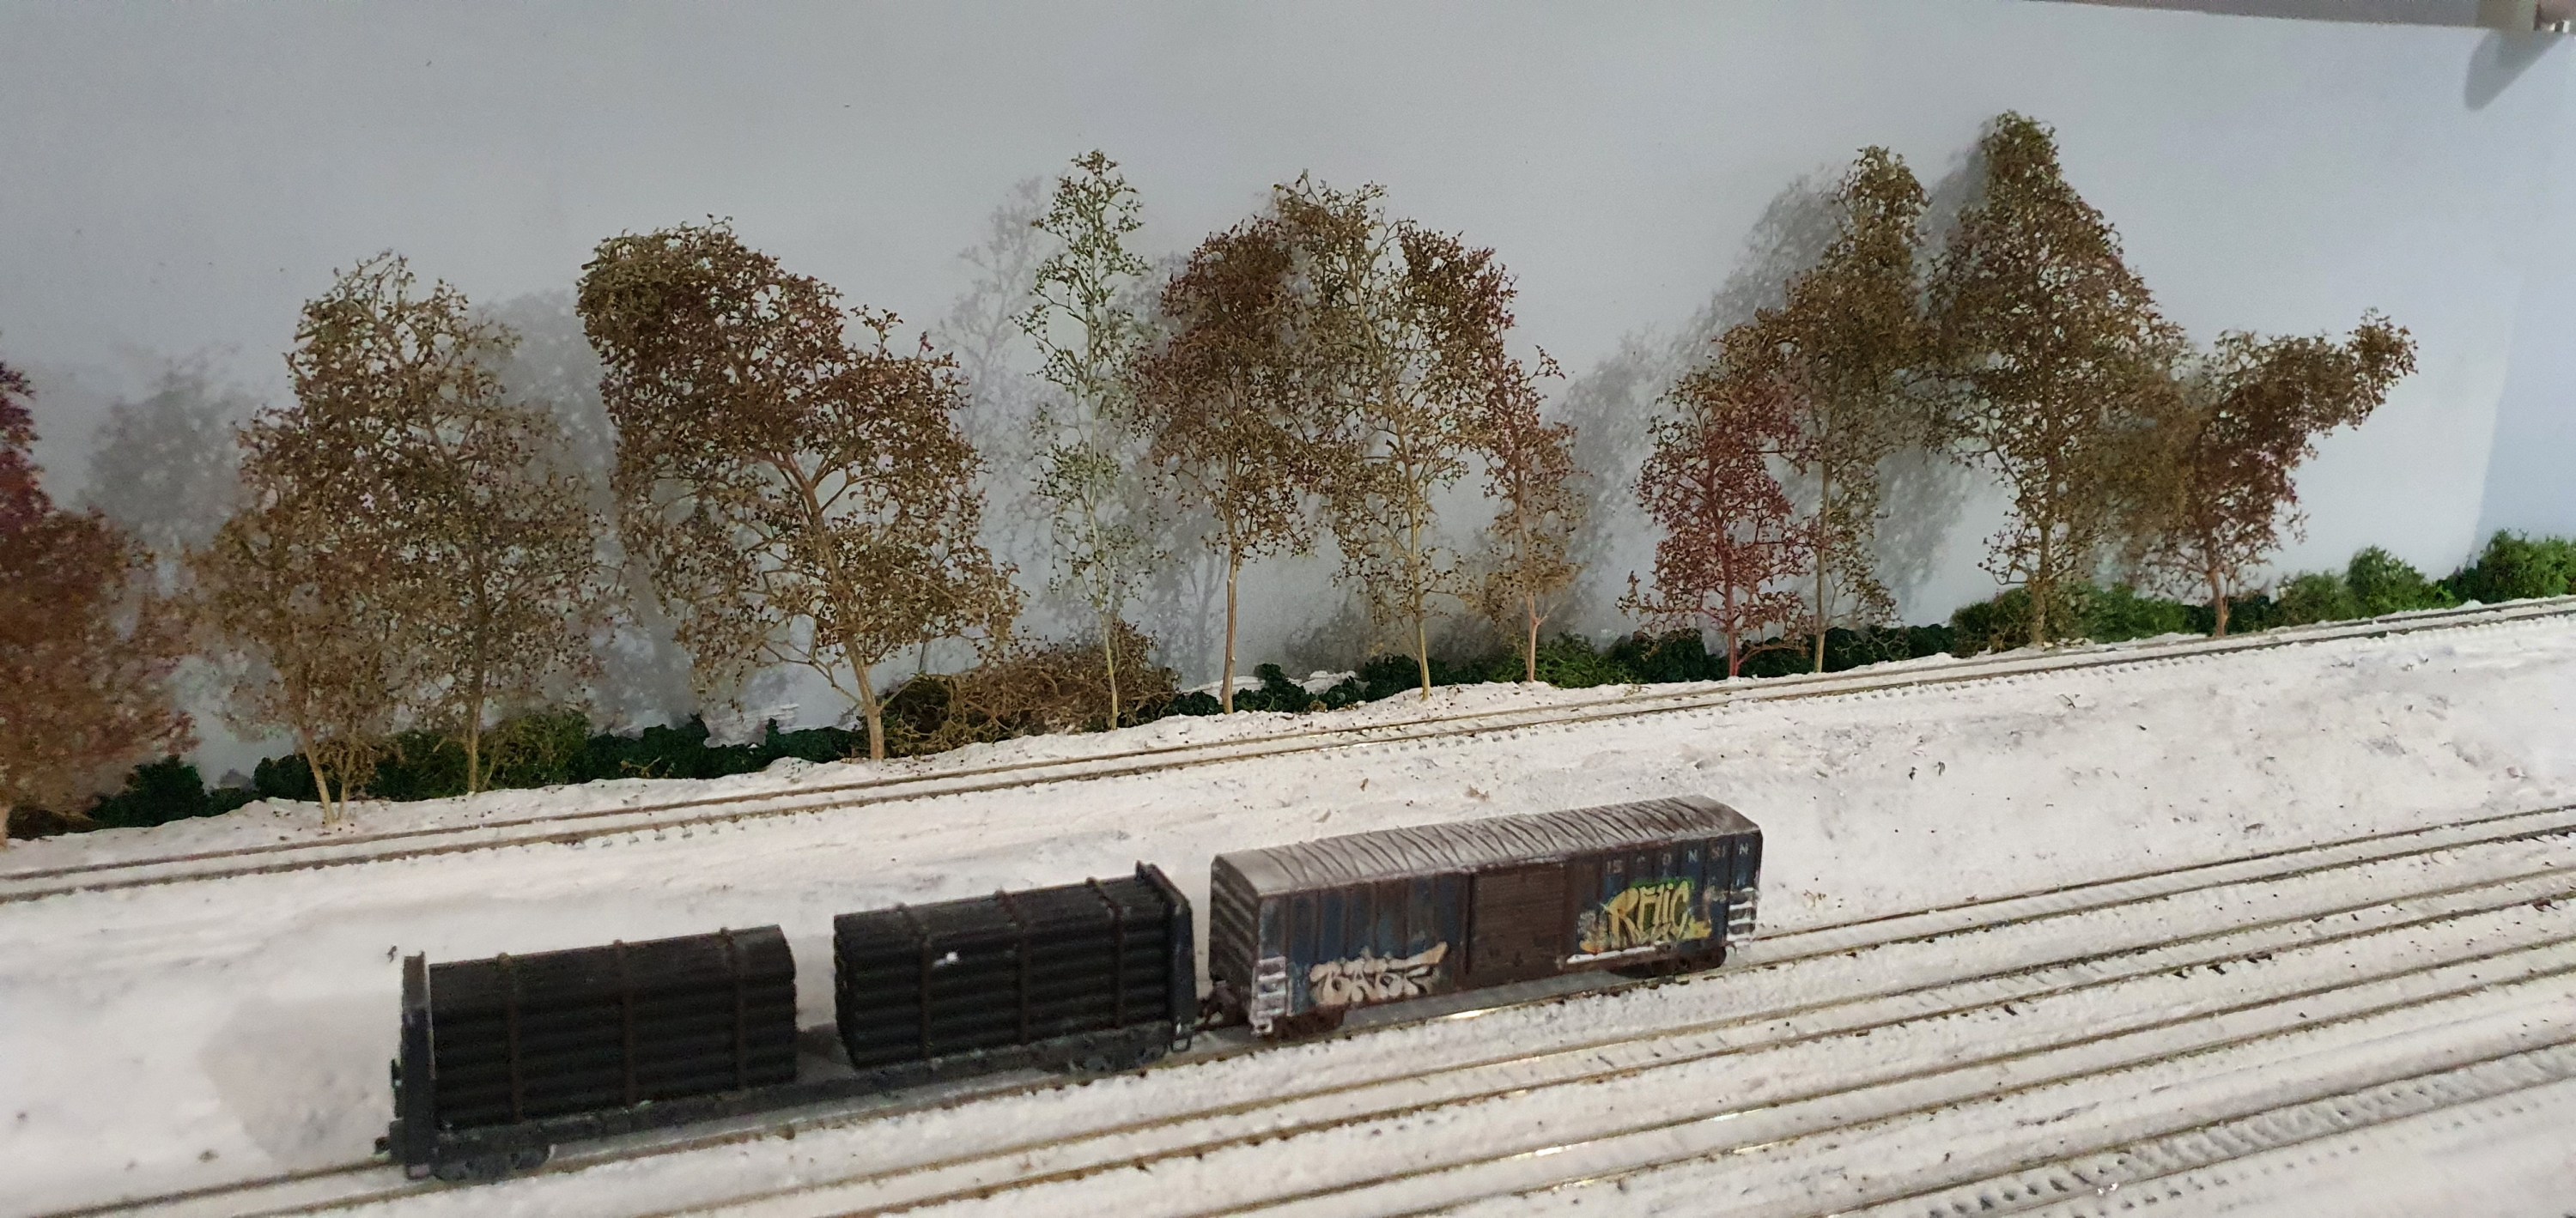
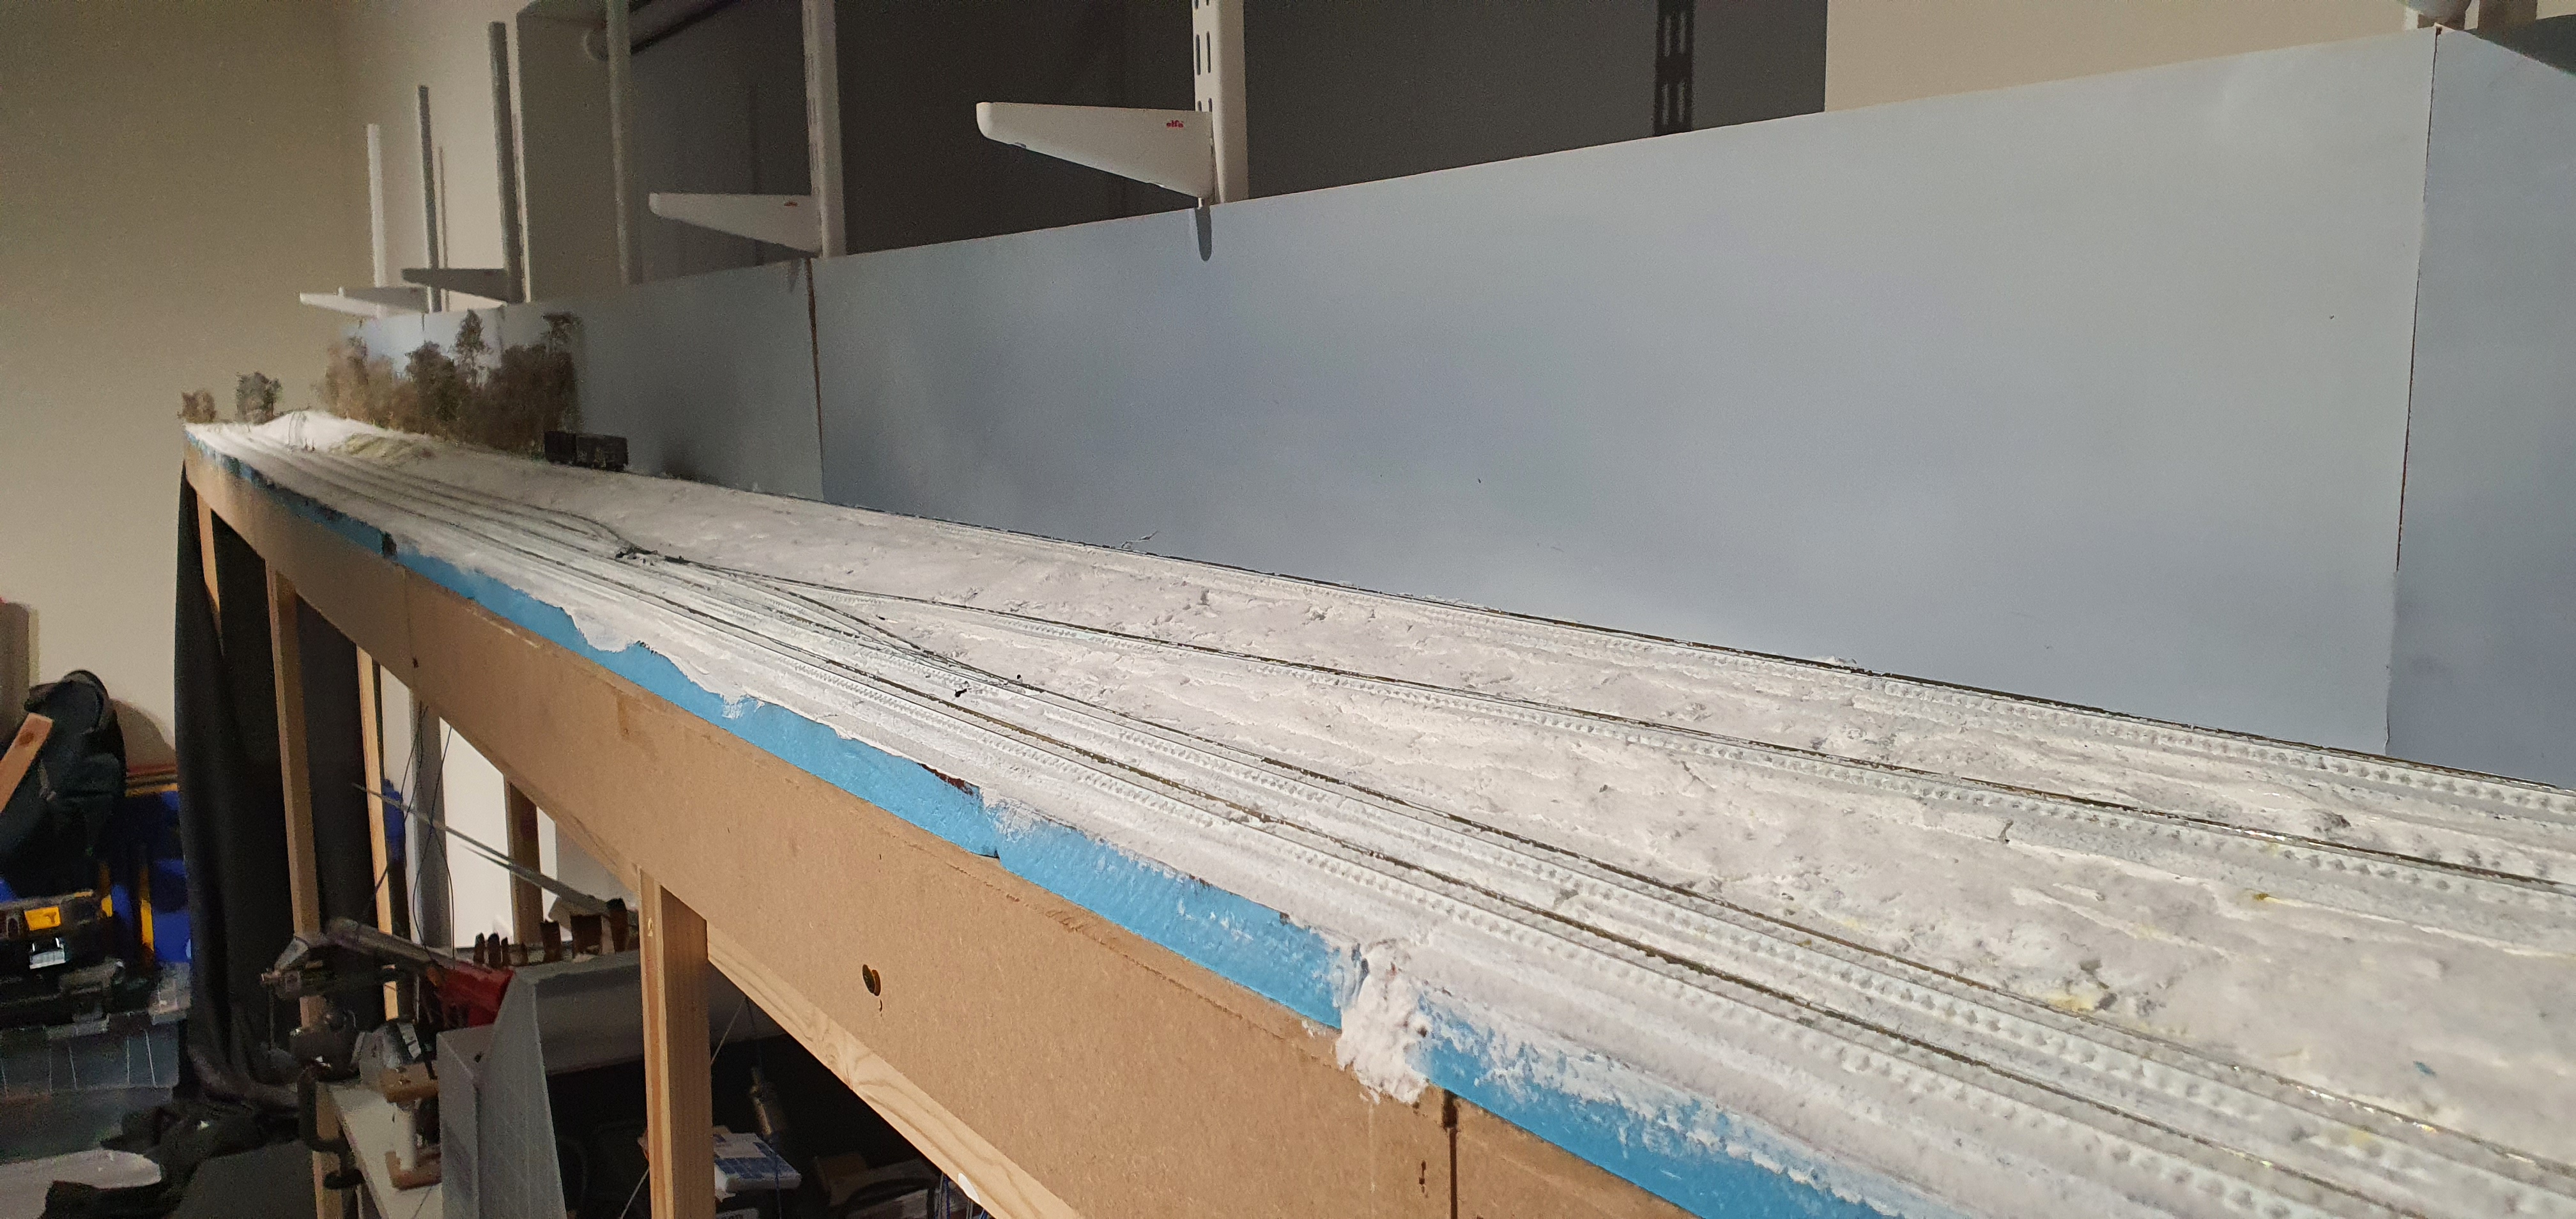
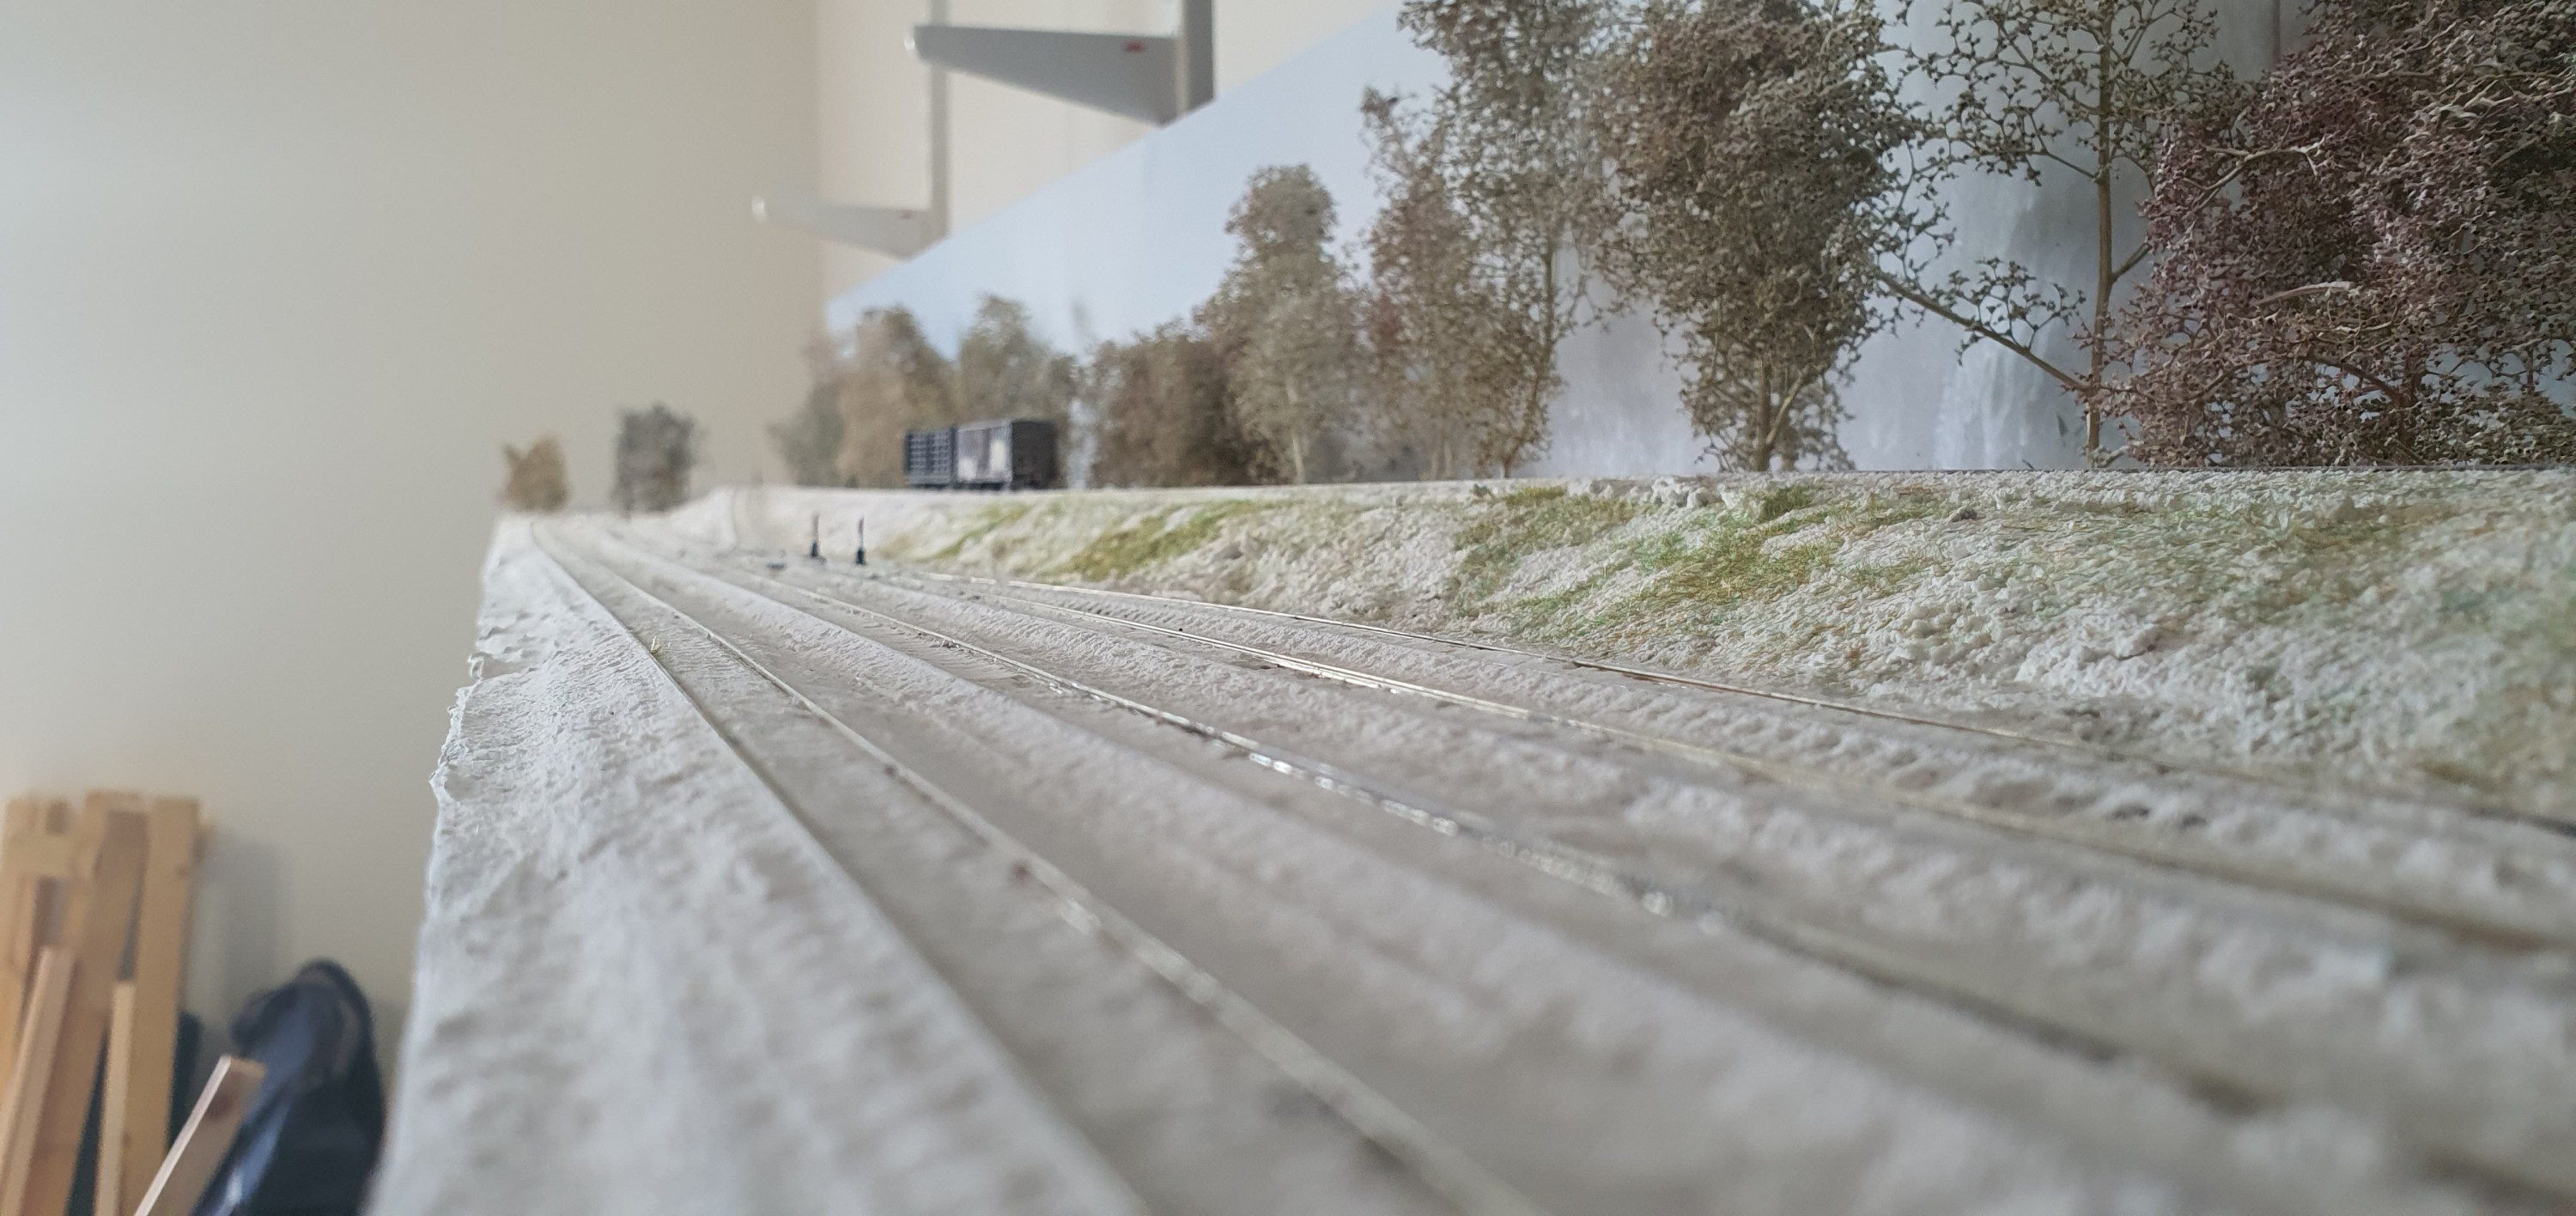
Just adding some more bushes along the backscene here, not much to see.
Because of the embankment with the WSOR tracks you can’t even see the foliage but it hides the gap between the backscene and baseboard.
Just a quick post showing the drop down wiring board in action. These are the feeds for the North end of Ackerville.
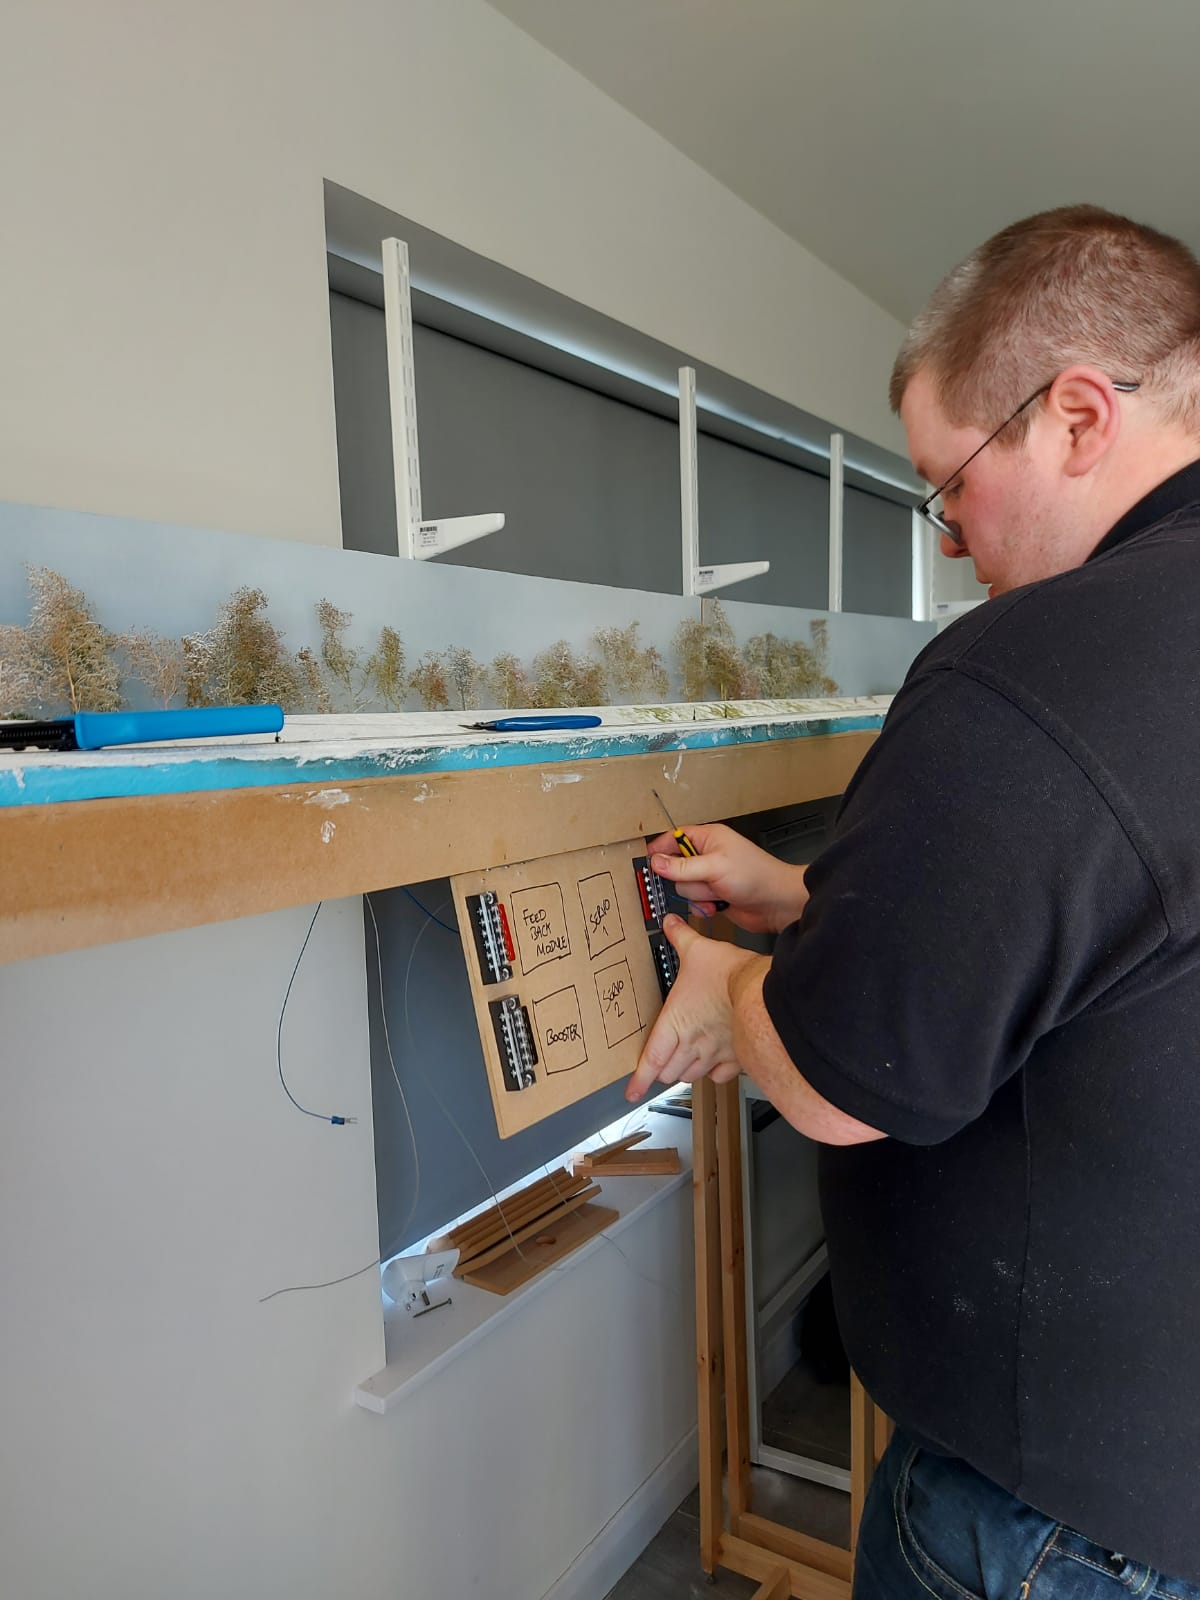
Its really alot easier than climbing under the boards.
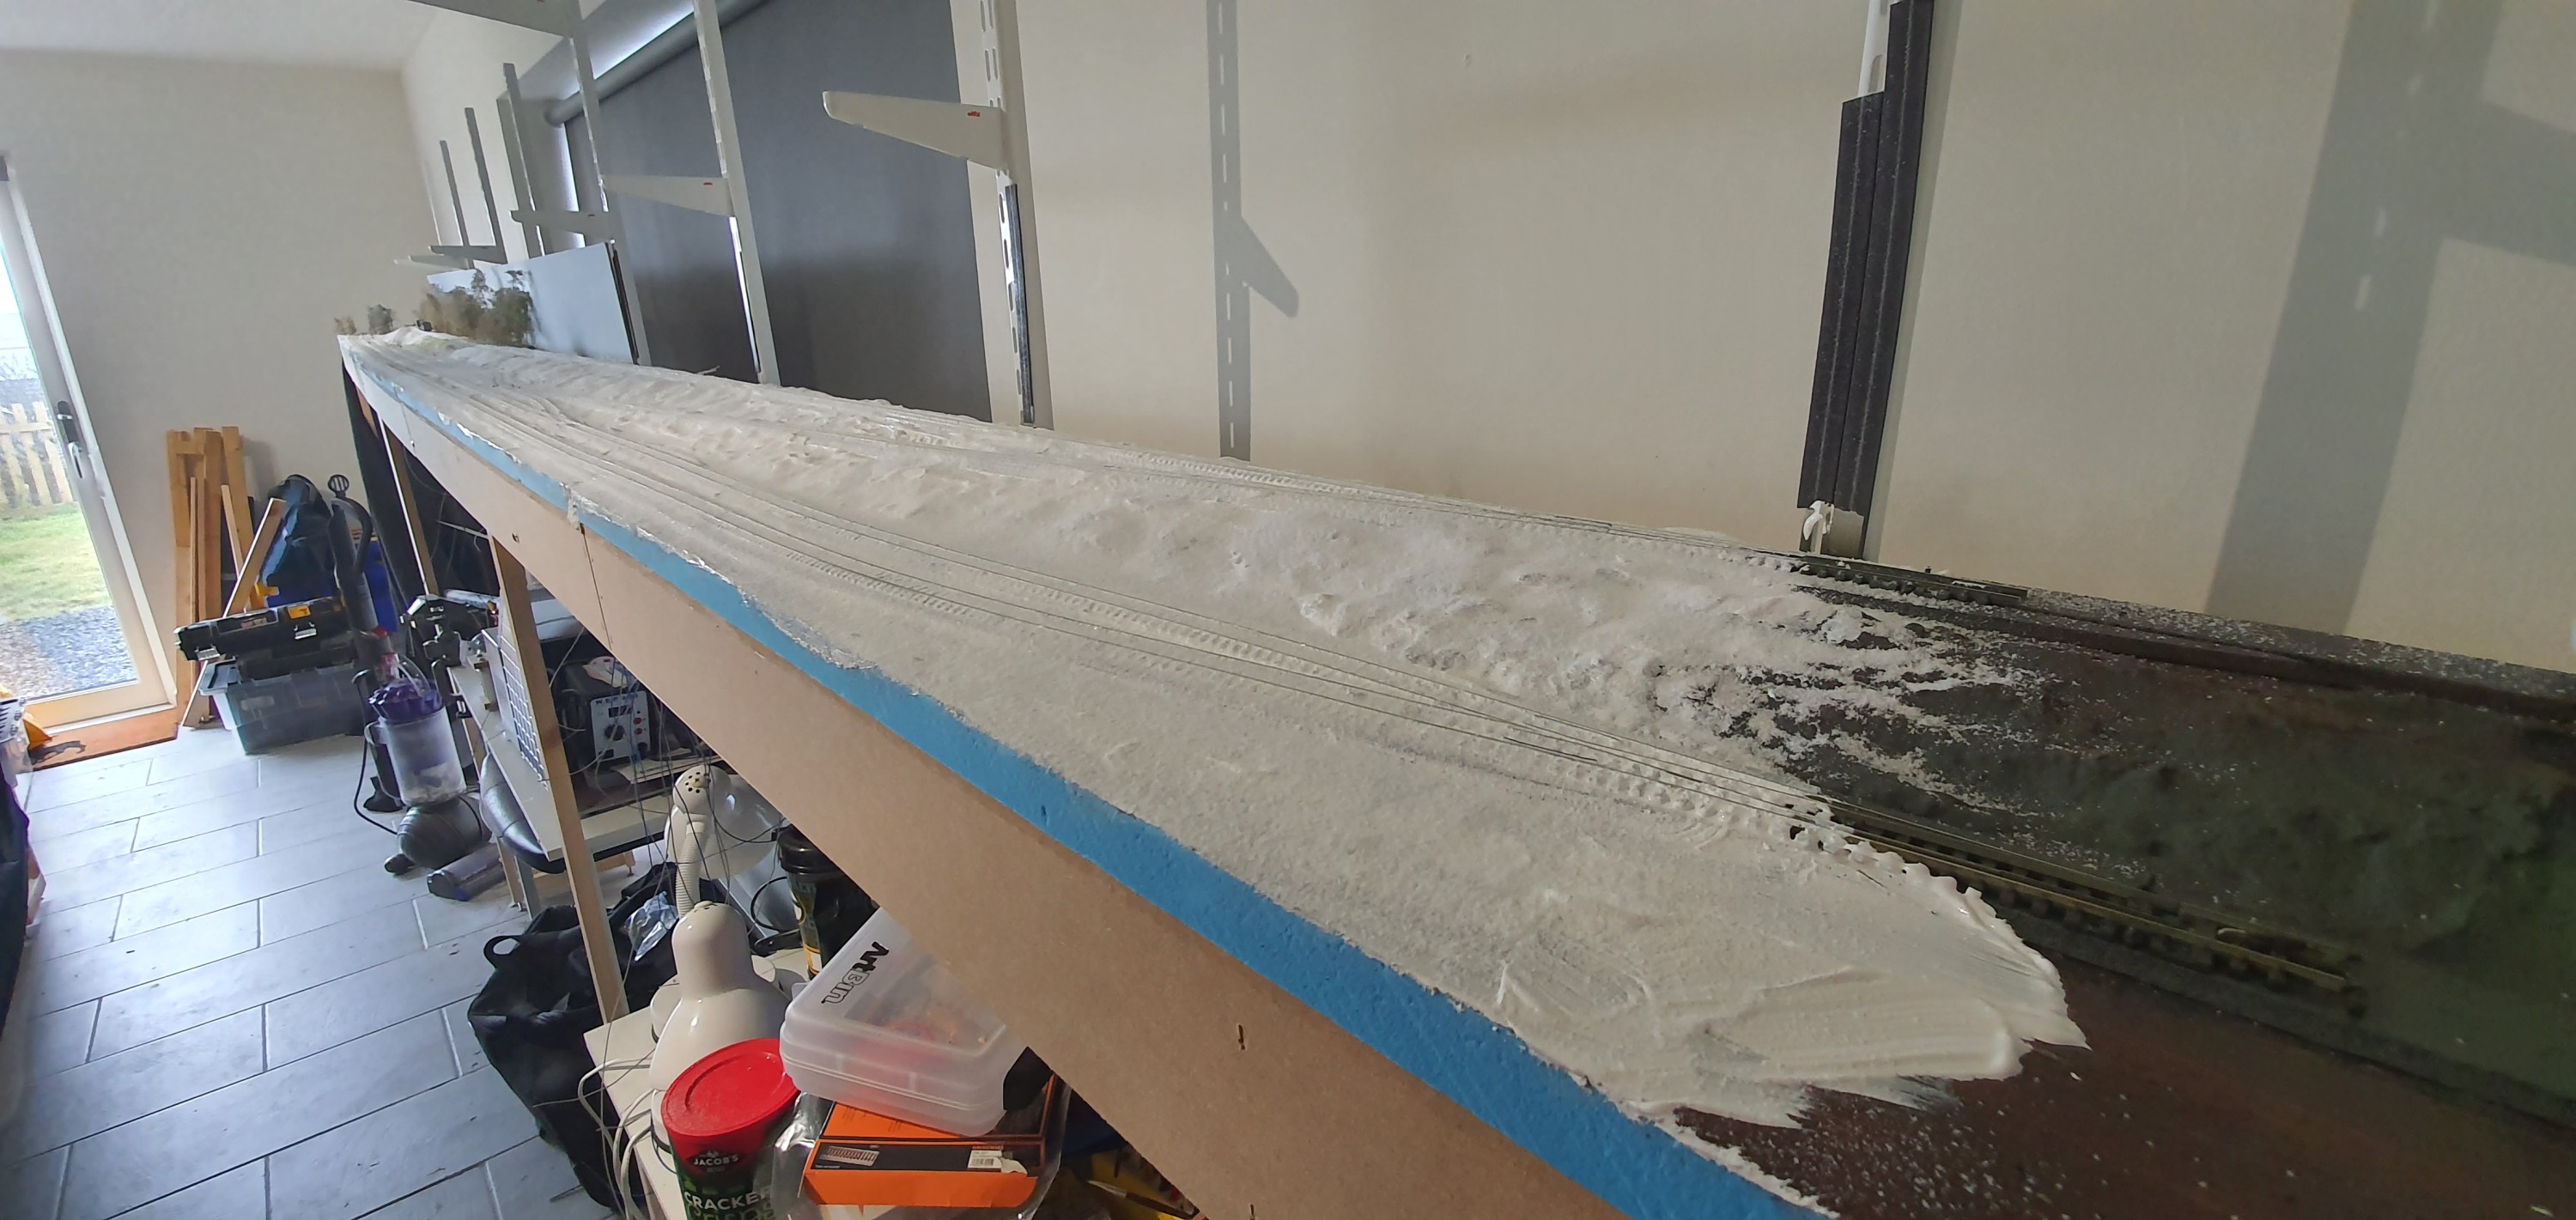
If you have been following the blog you’ll know this process now so its a rinse and repeat.
1. Apply Flex paste/matte medium
2. Apply snow powder
3. Spray glue
4. Clear flangeways
So what’s next we’ll come on, it’s foliage, trees, snow, switch stands, grass and more snow.
Probably time together the wiring finished on this section I guess.
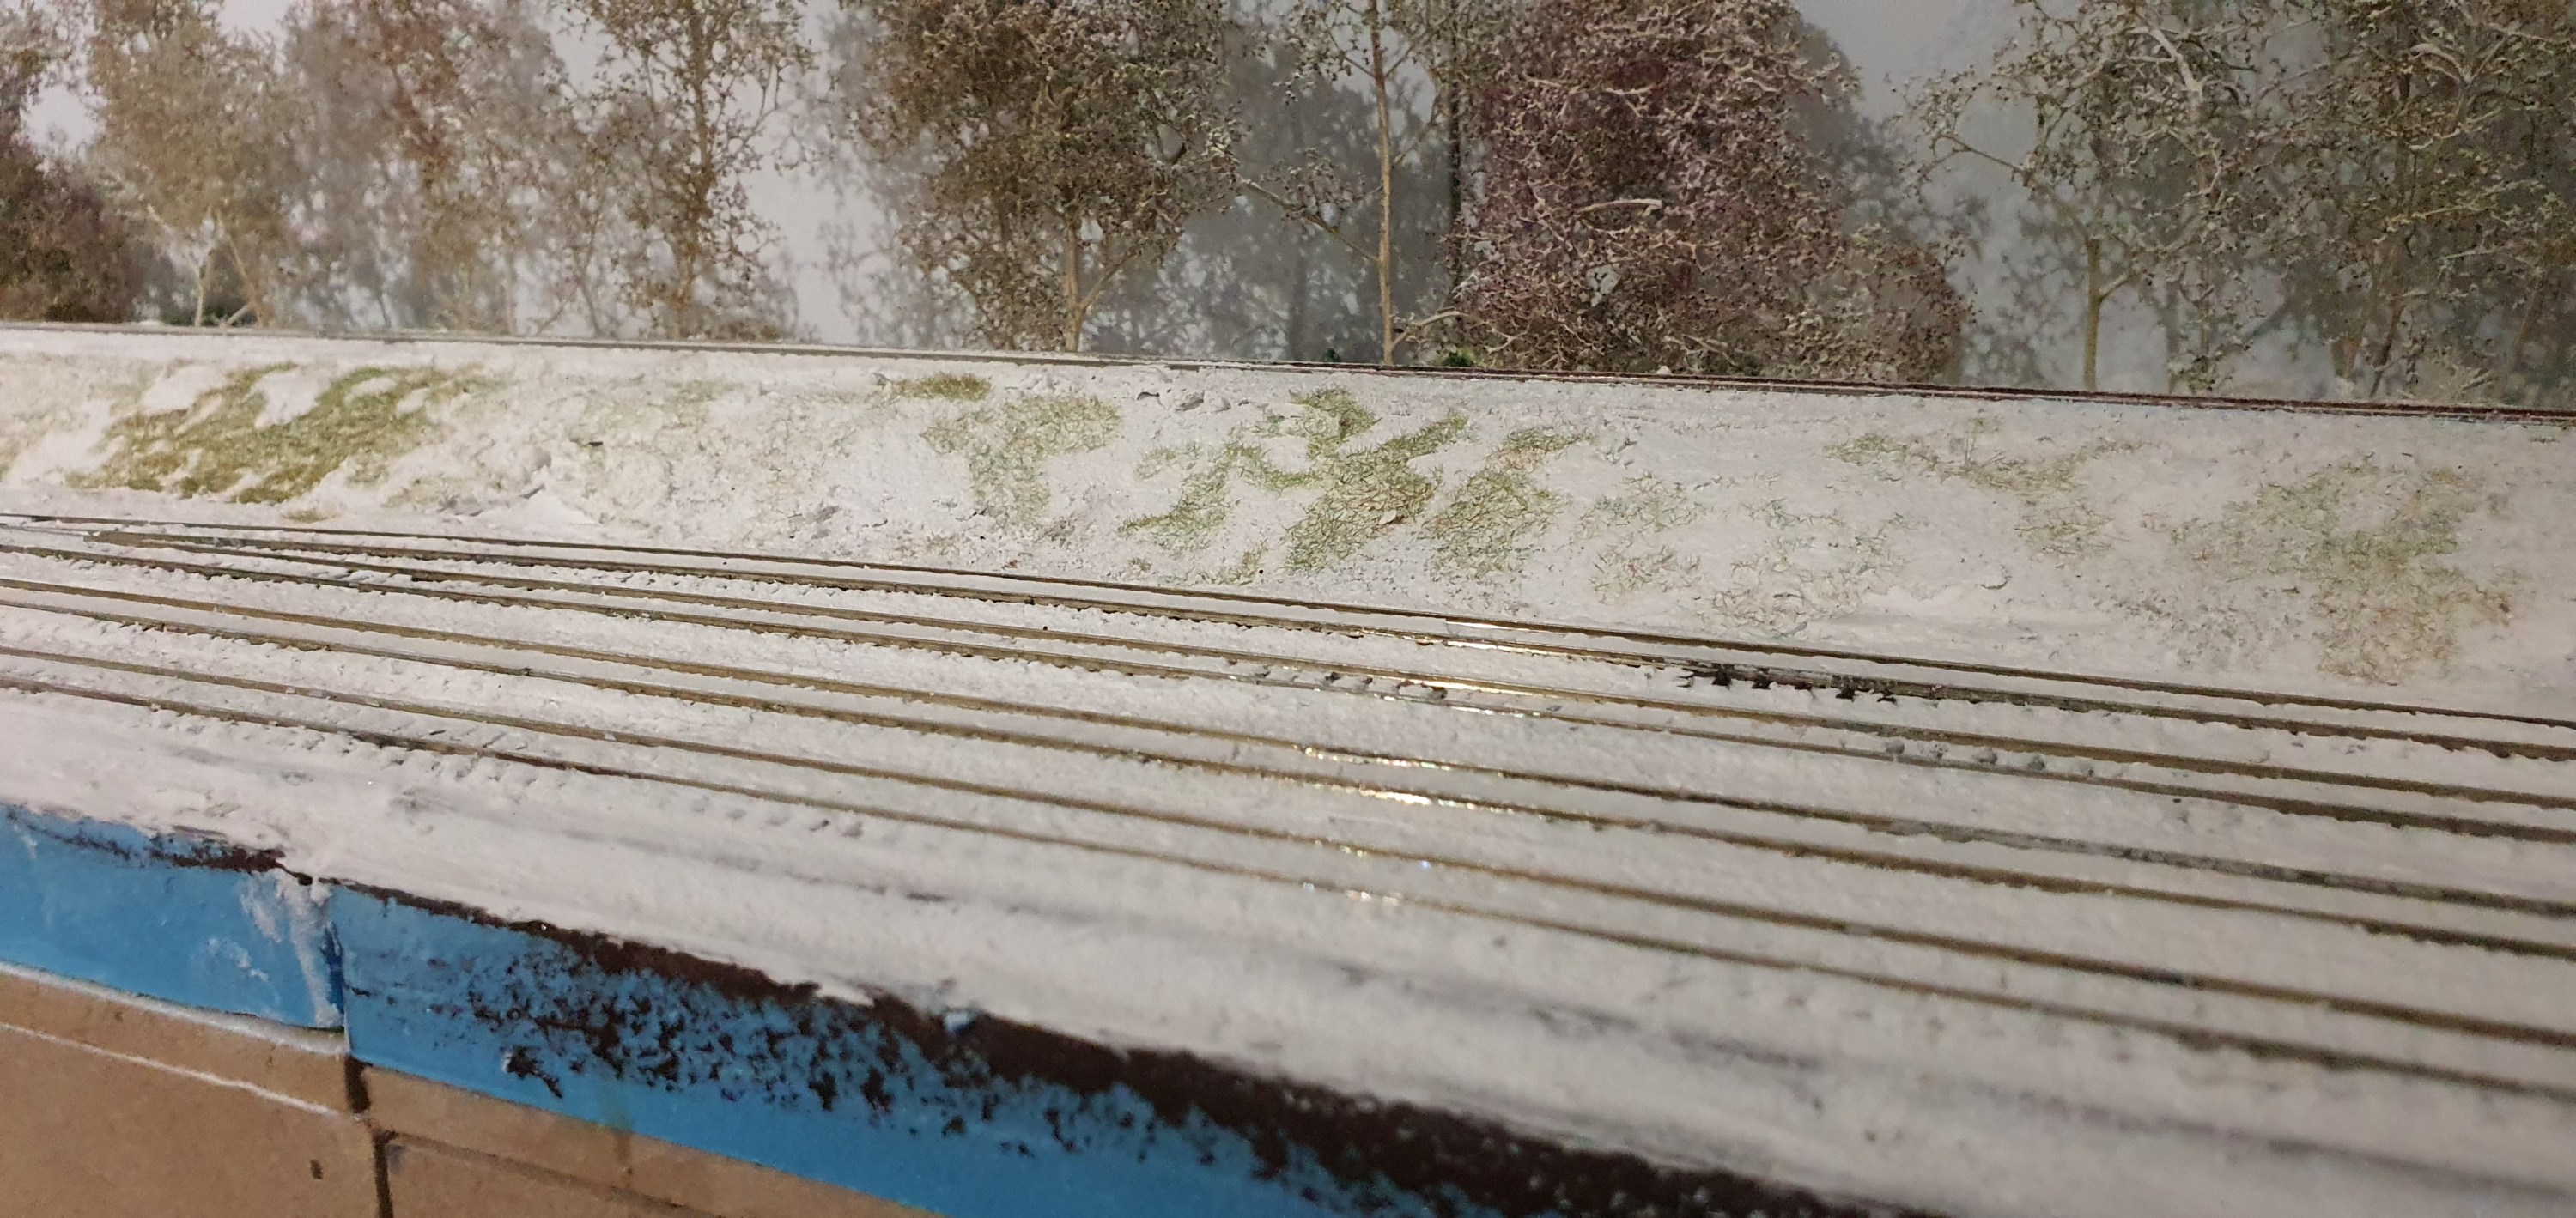
Yeah I am serious. When snow falls it hides the grass and longer lengths show through the snow in patches.
Here is a picture of the effect I was trying to create.
To do this I just applied the glue into the dry snow before applying the static grass.
I think it works, I’ll go back and layer in some darker shades.

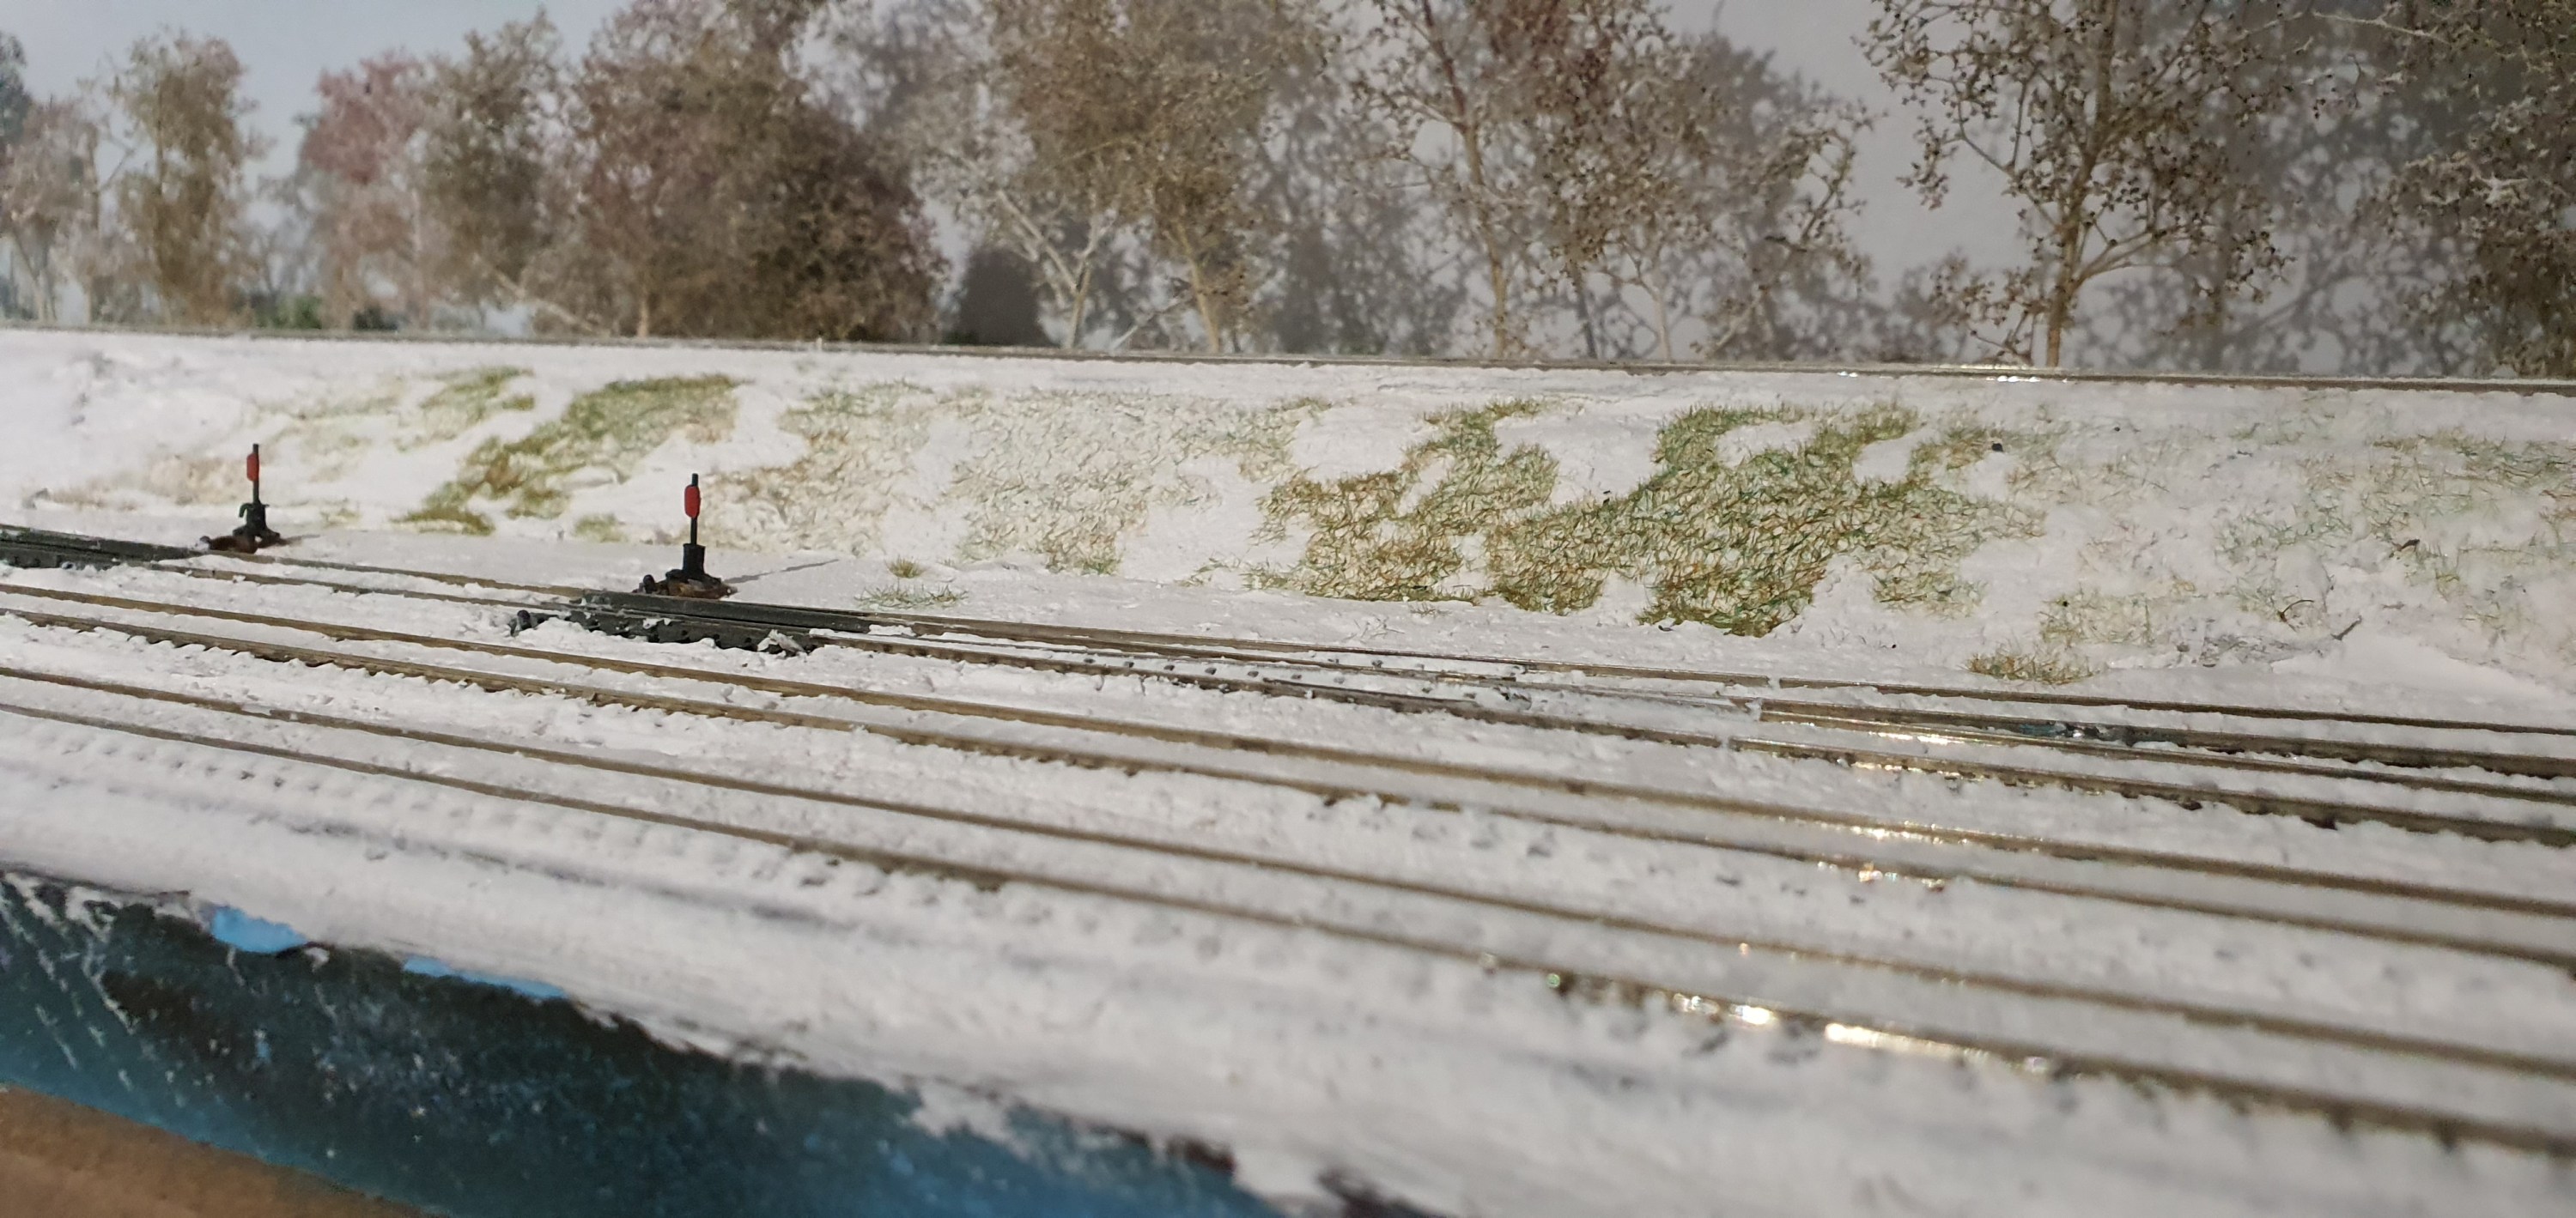
Right time to get some switch stands onto the layout isn’t it!!
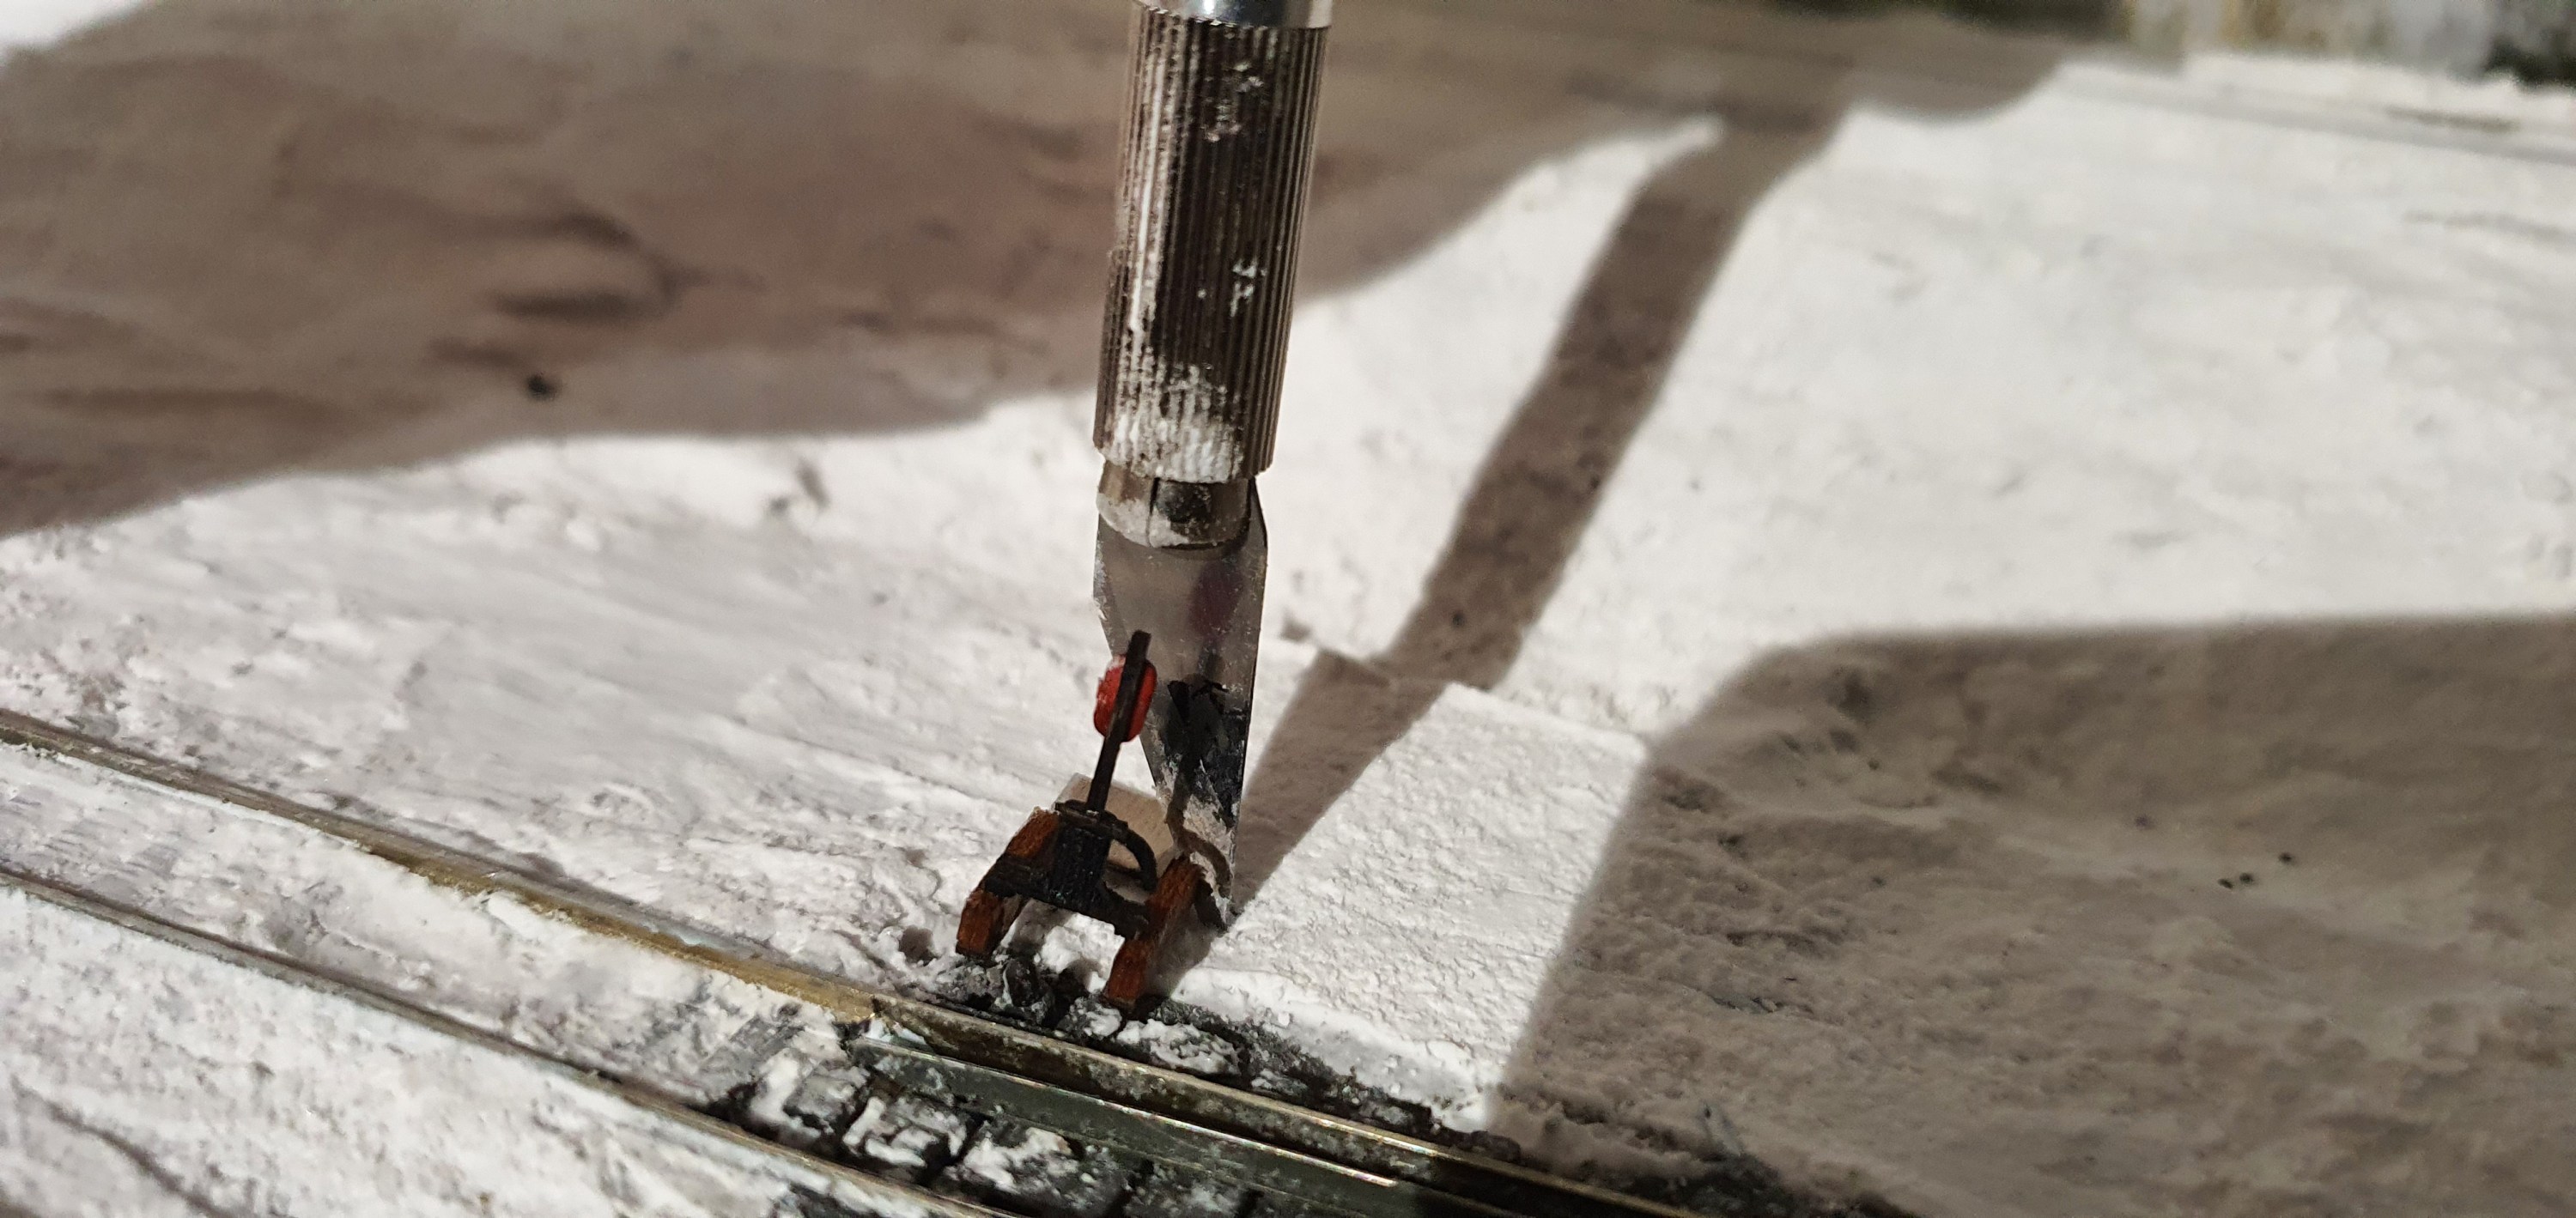
That means some snow needs cutting away. It can always snow again lol
Once the area is big enough a dab of glue and a T pin and the stand slips under the turnout.
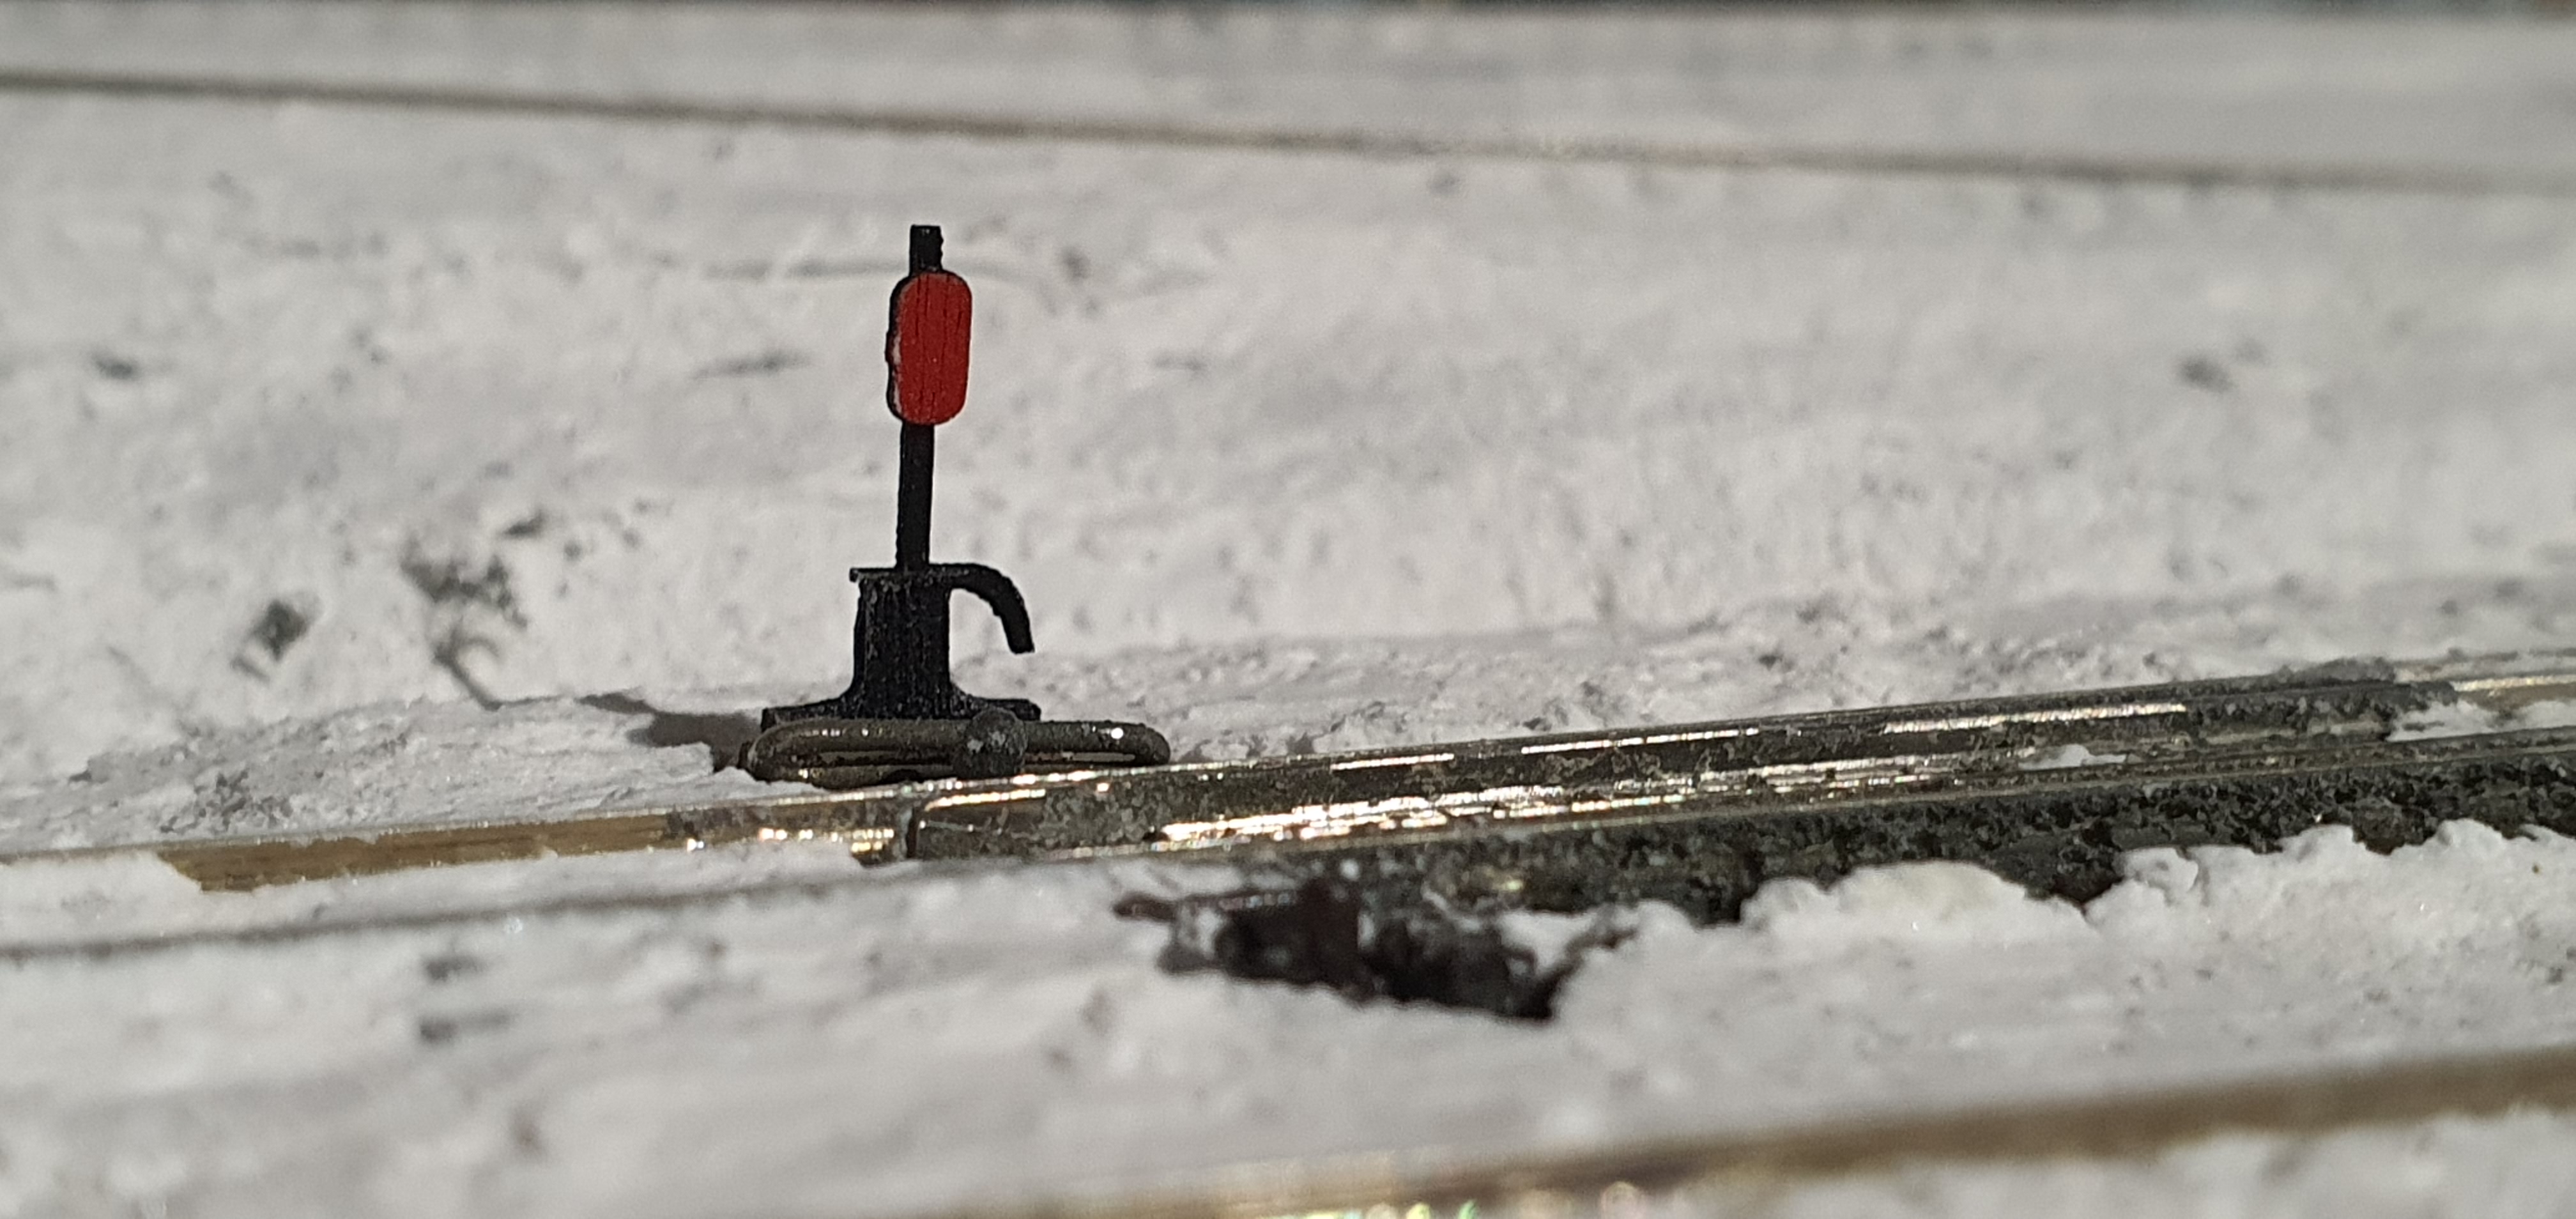
One more shot
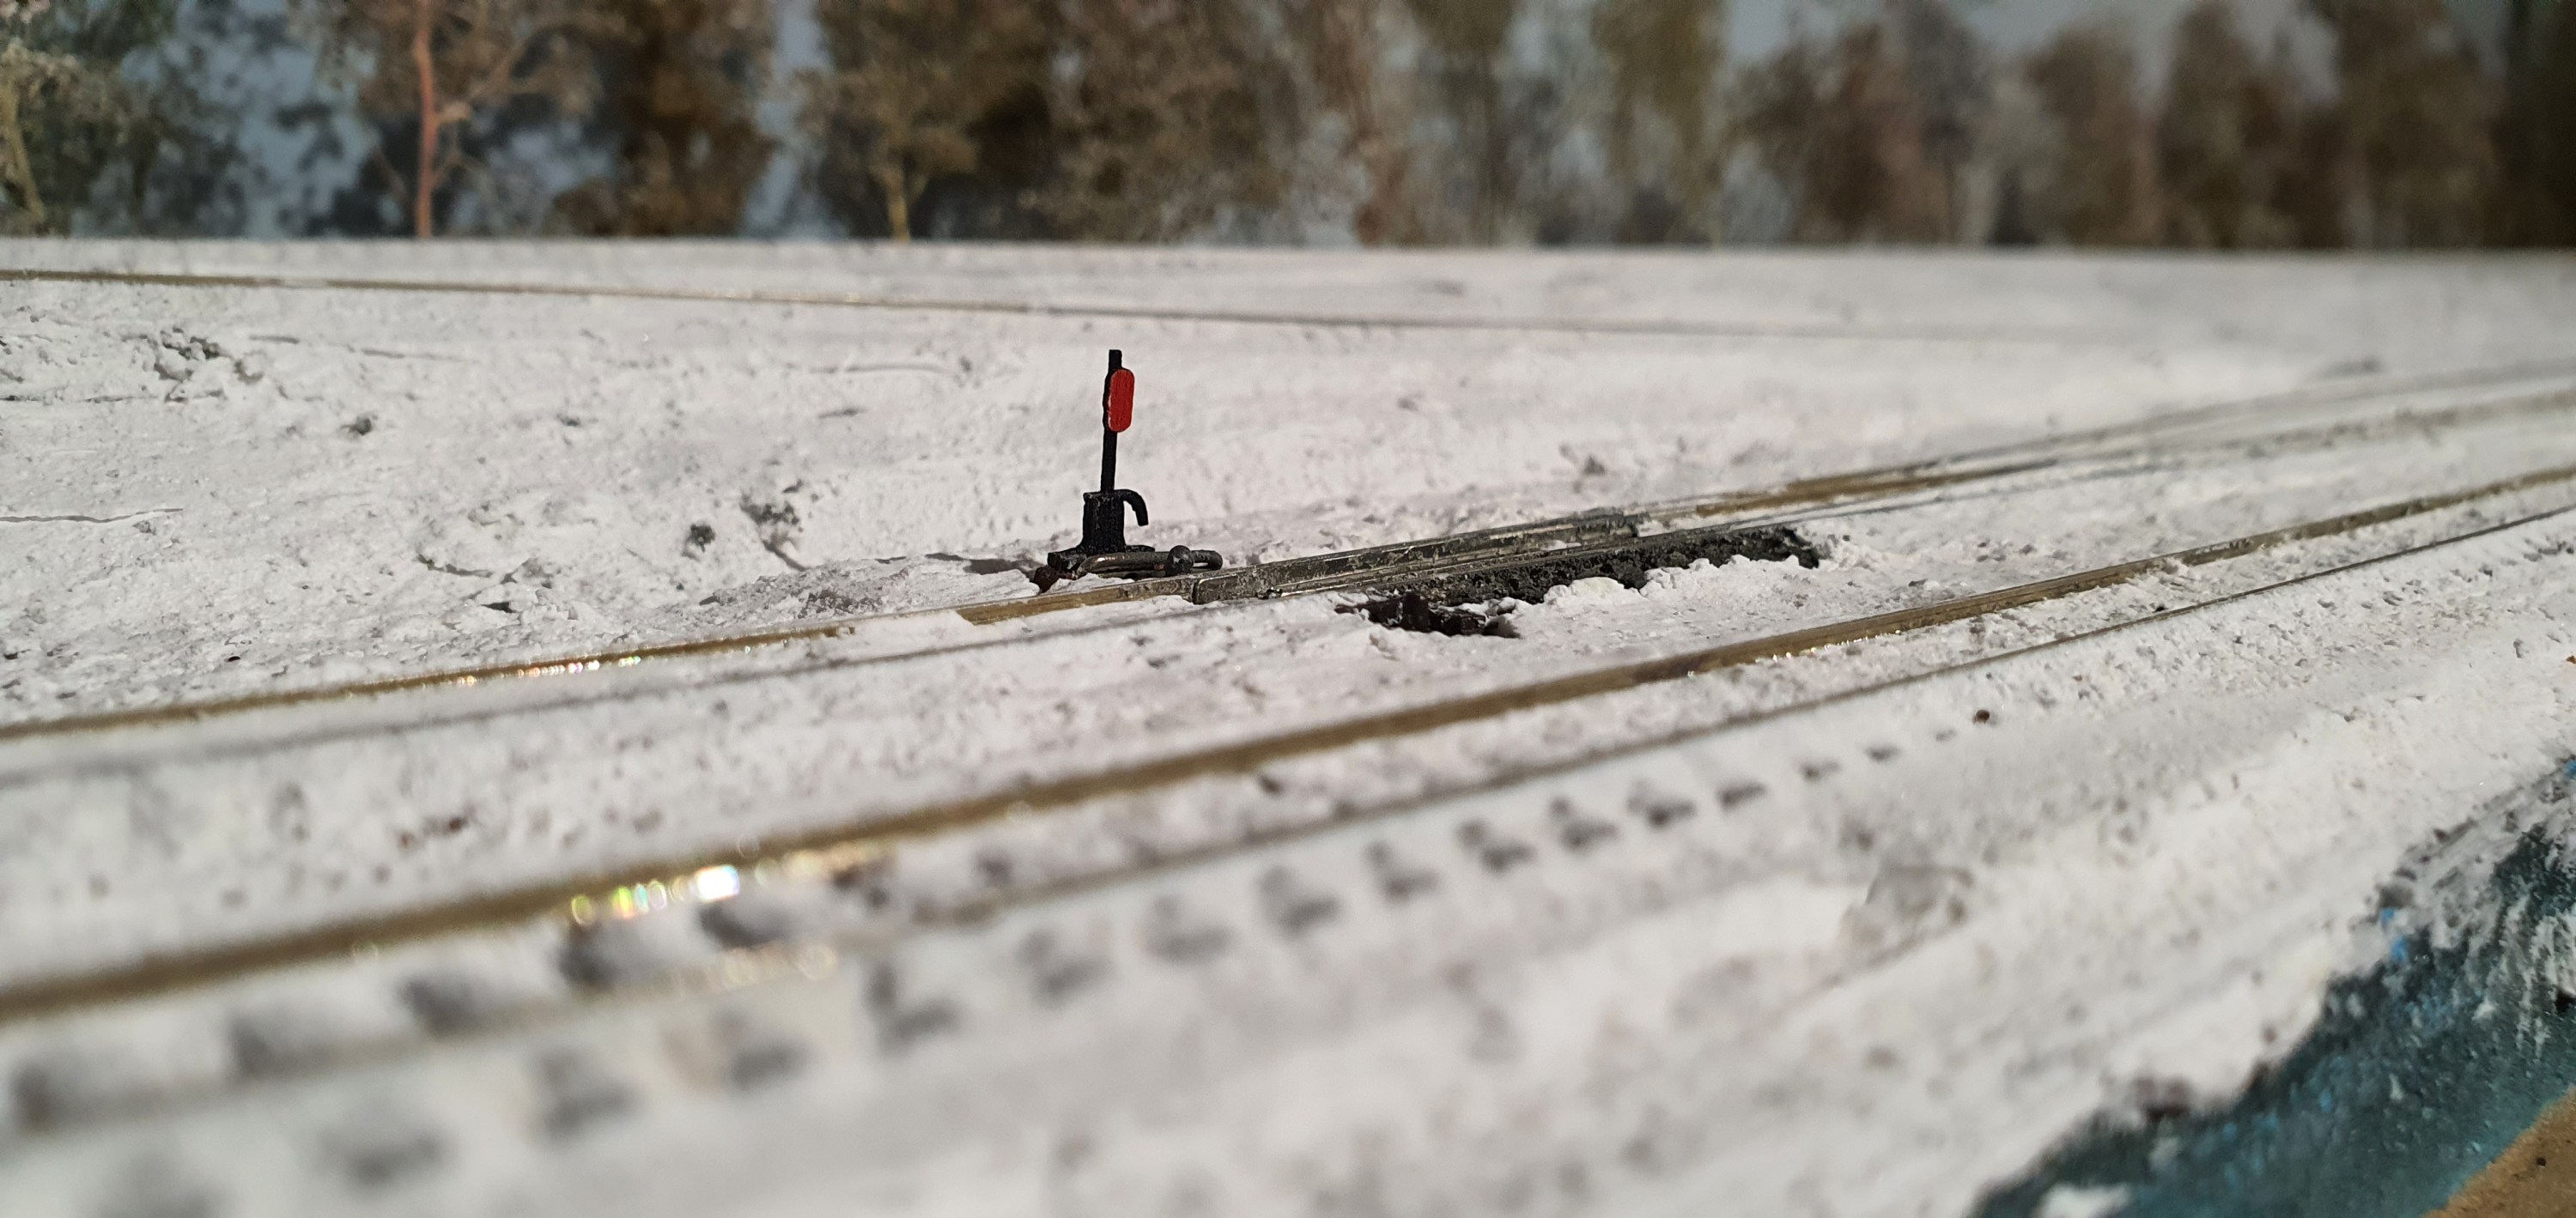
Now to get some ballast in there and a wee bit of static grass between the WSOR and the CN.
After standing for 24hrs to dry (the glue says 20mins) it’s time for paint. Red for the boards and black for the stand itself. I’ll leave the ties natural.
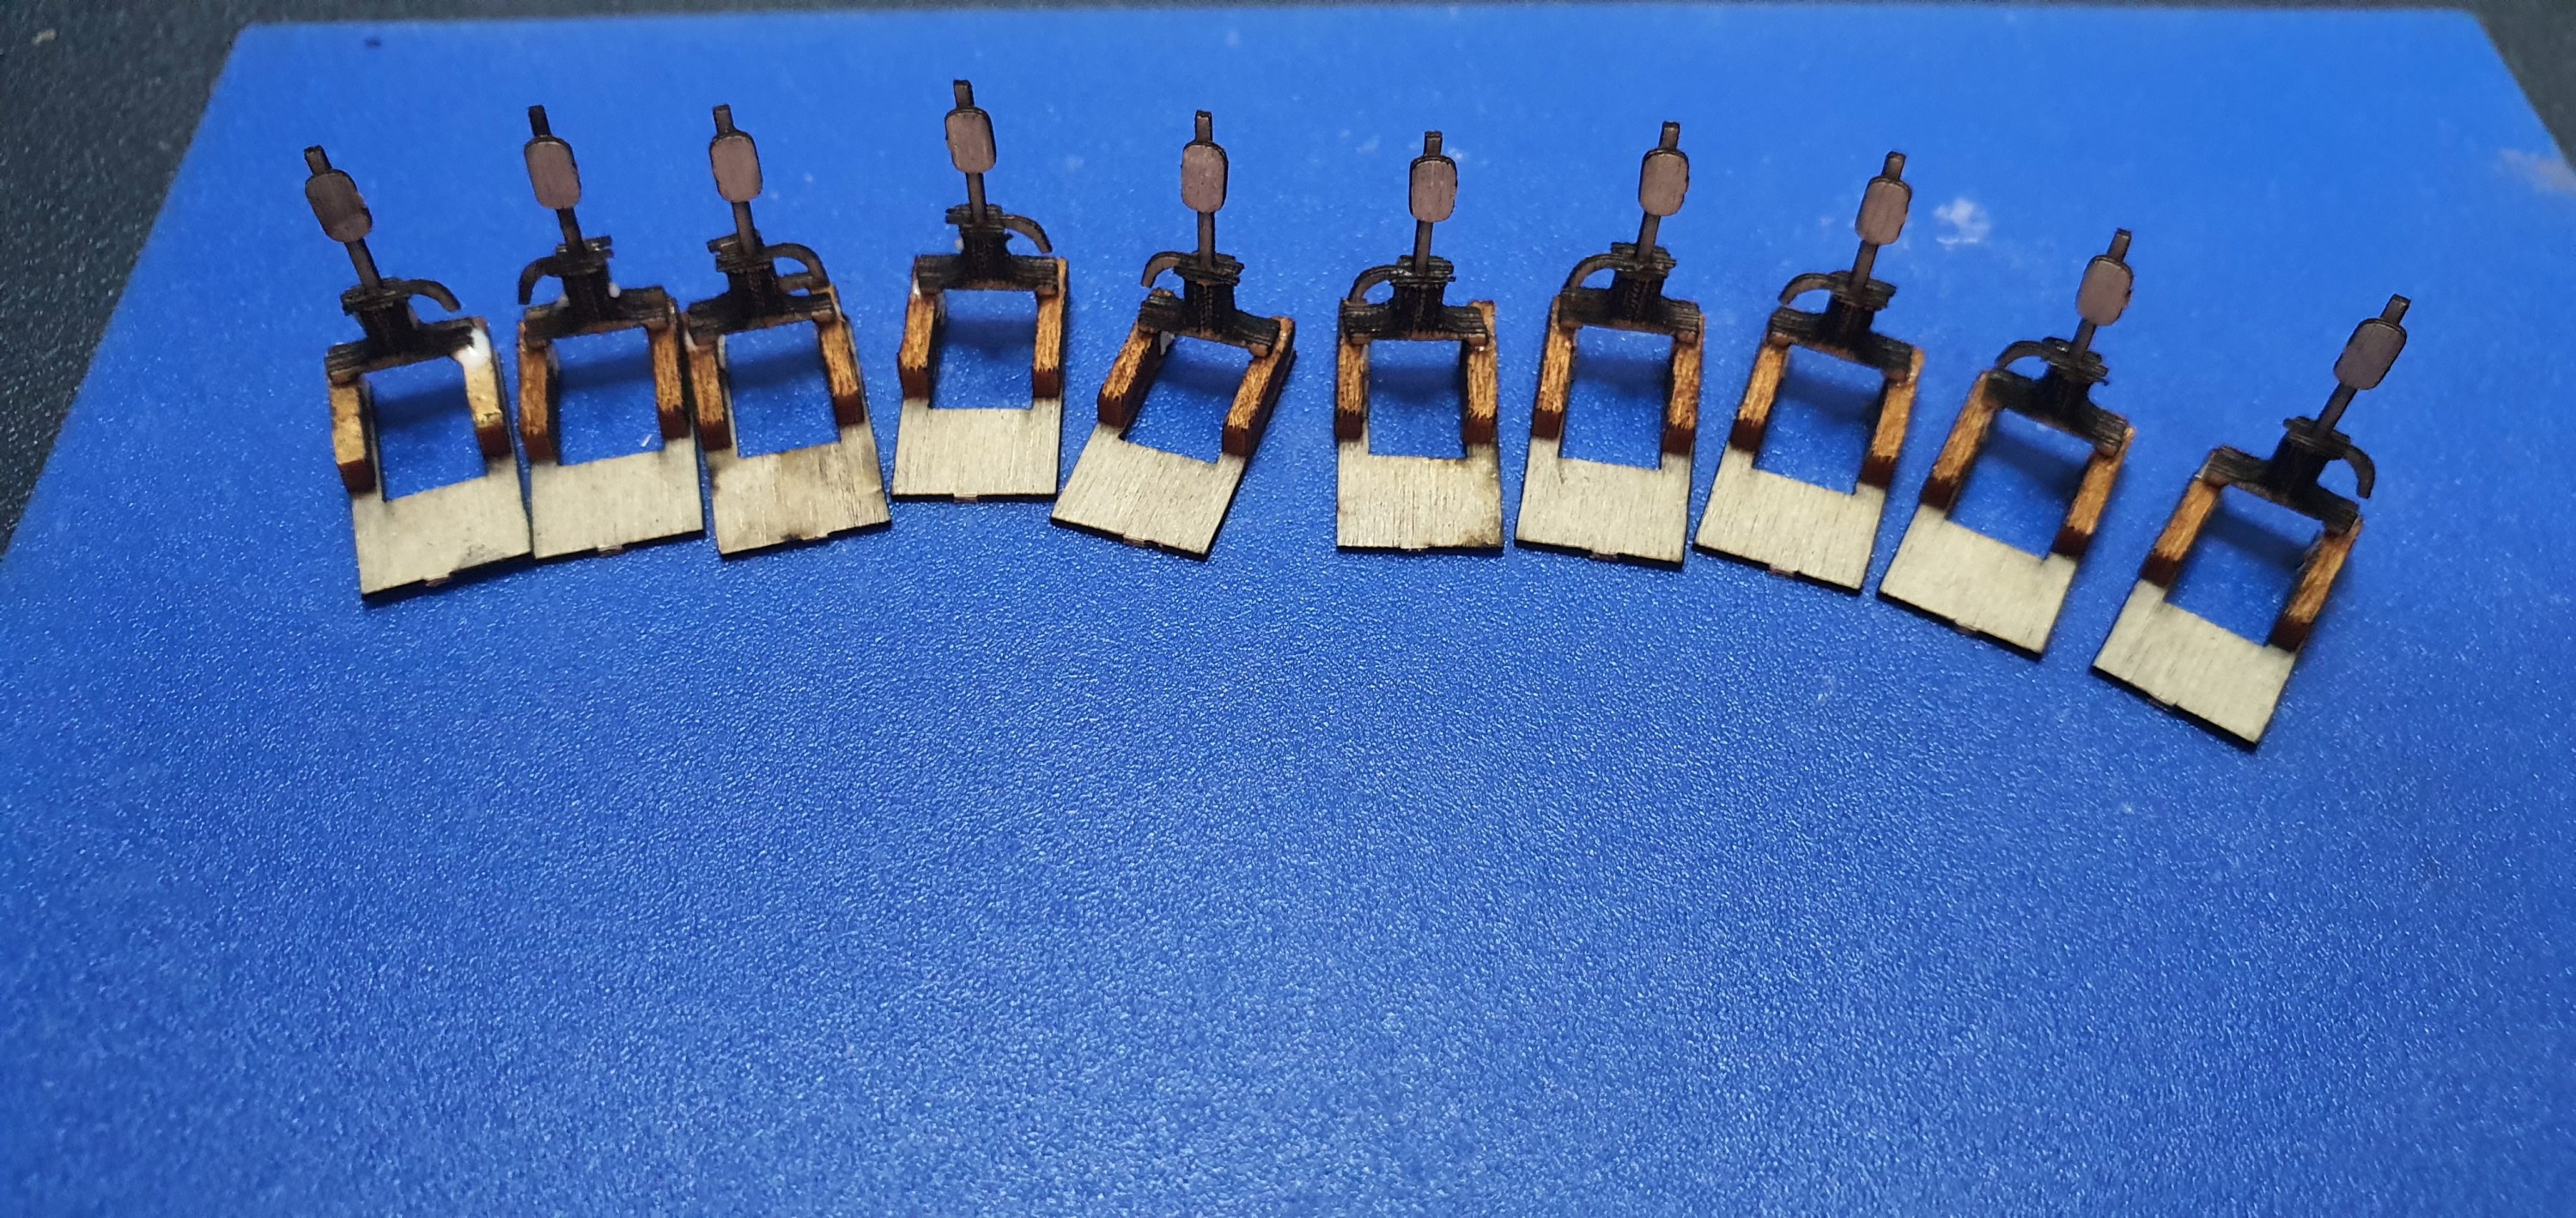
Into my limited paint stash I got Ferrari Red and black – perfect lol.
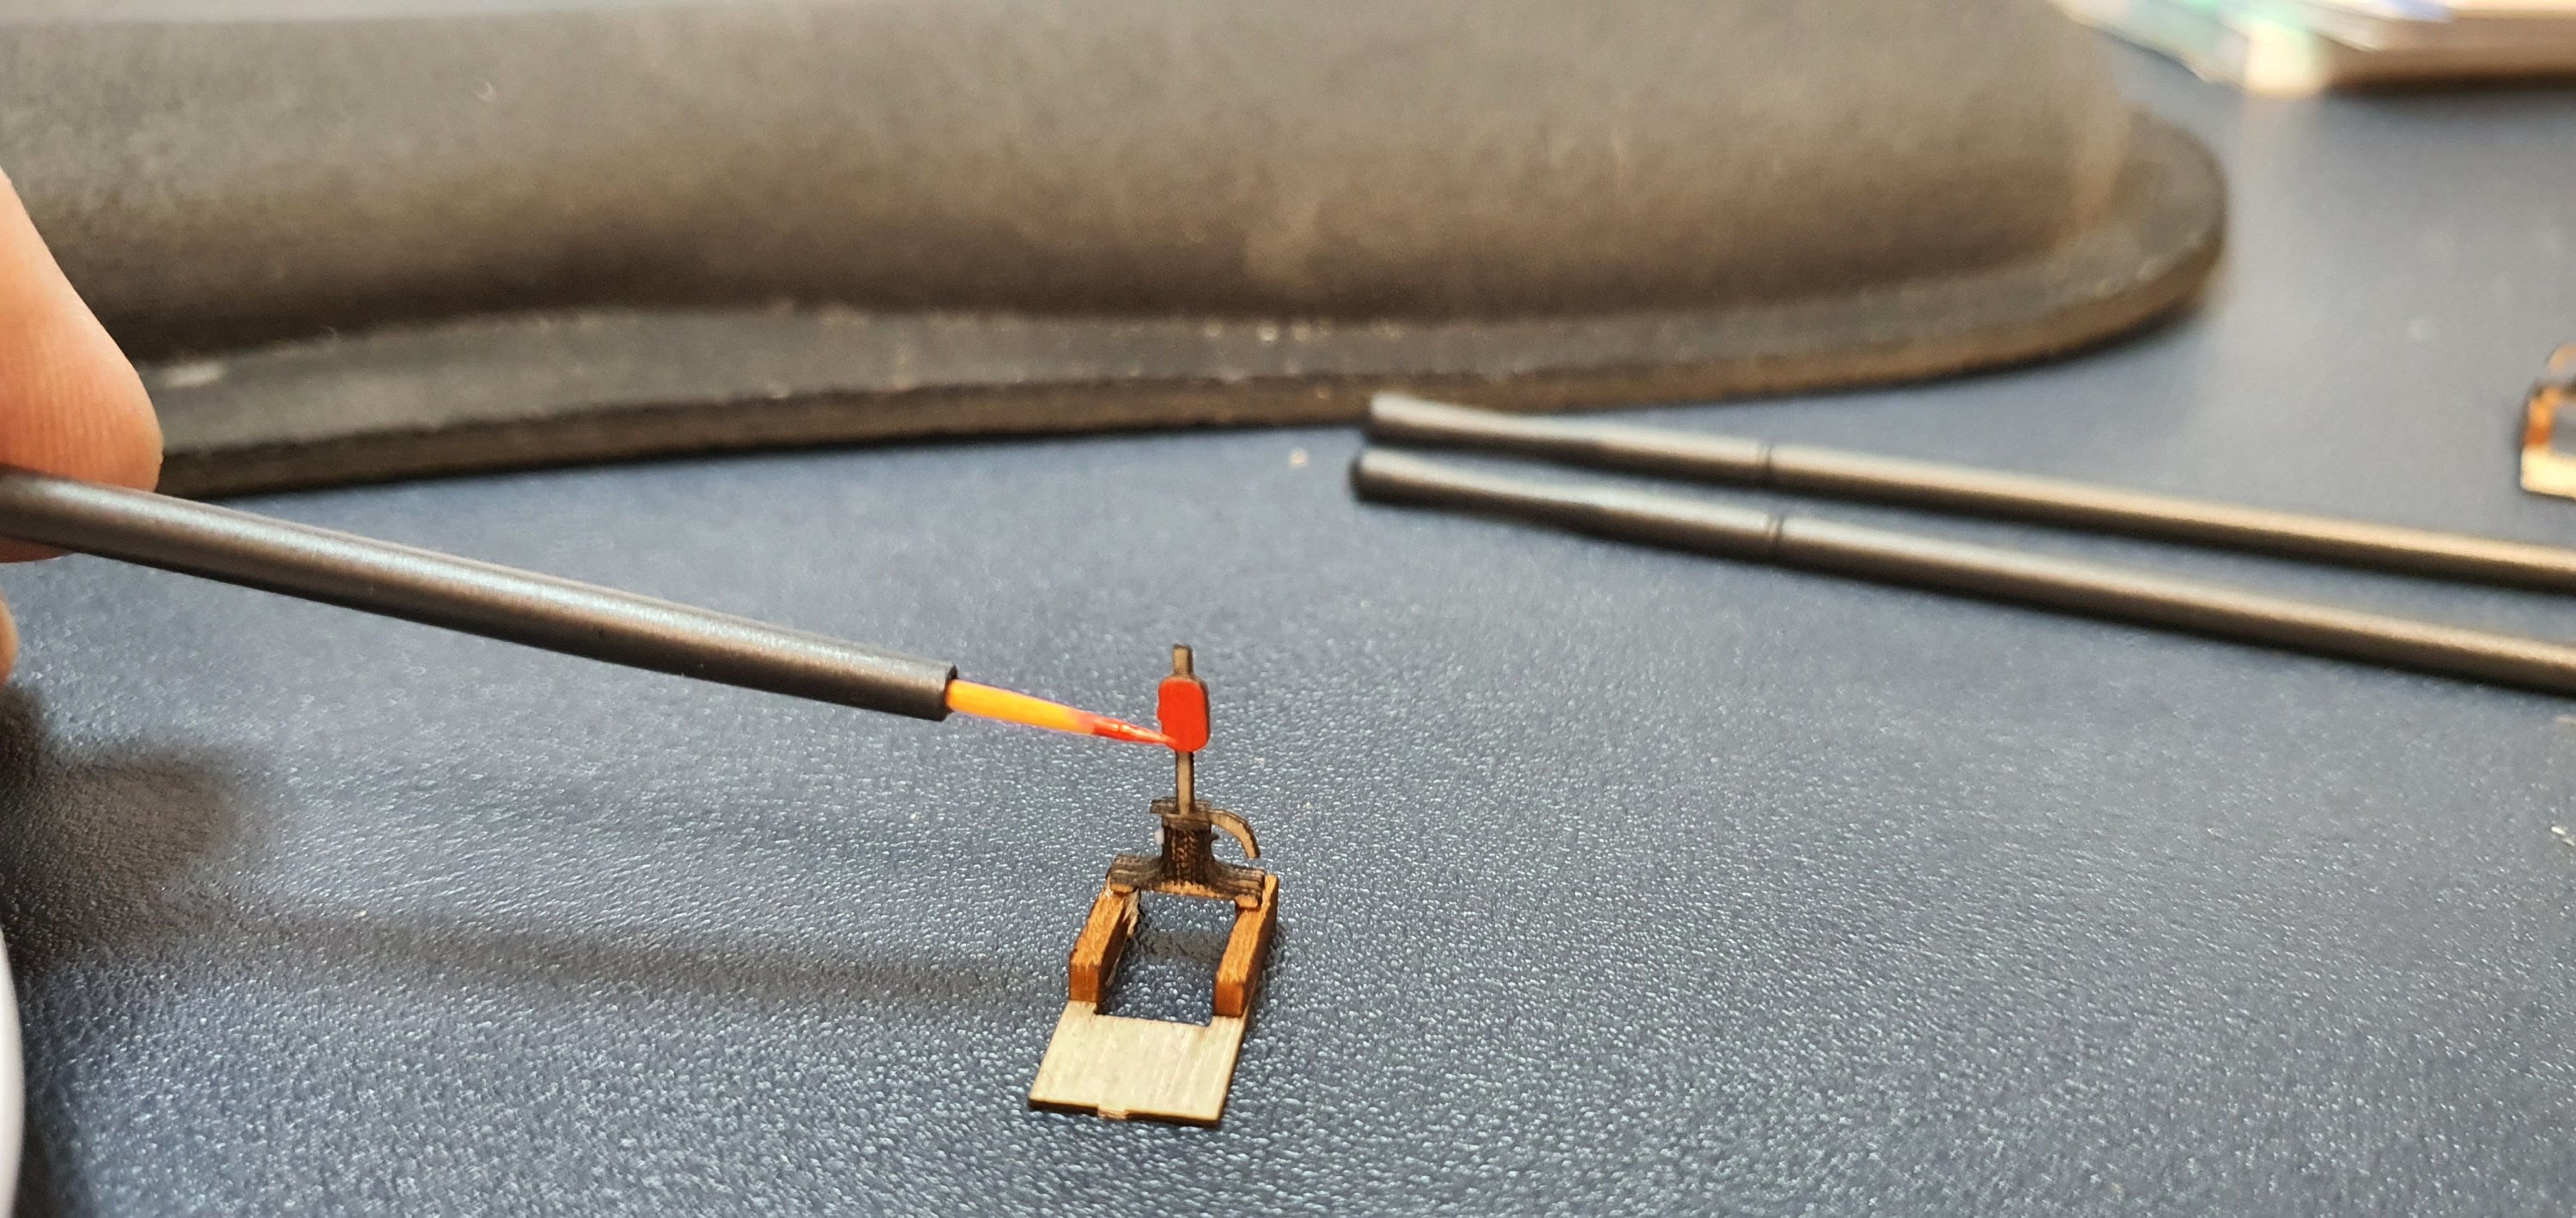
I use make up brushes rather than micro brushes for two reasons. 1) they are cheaper 2) the tips are finer.
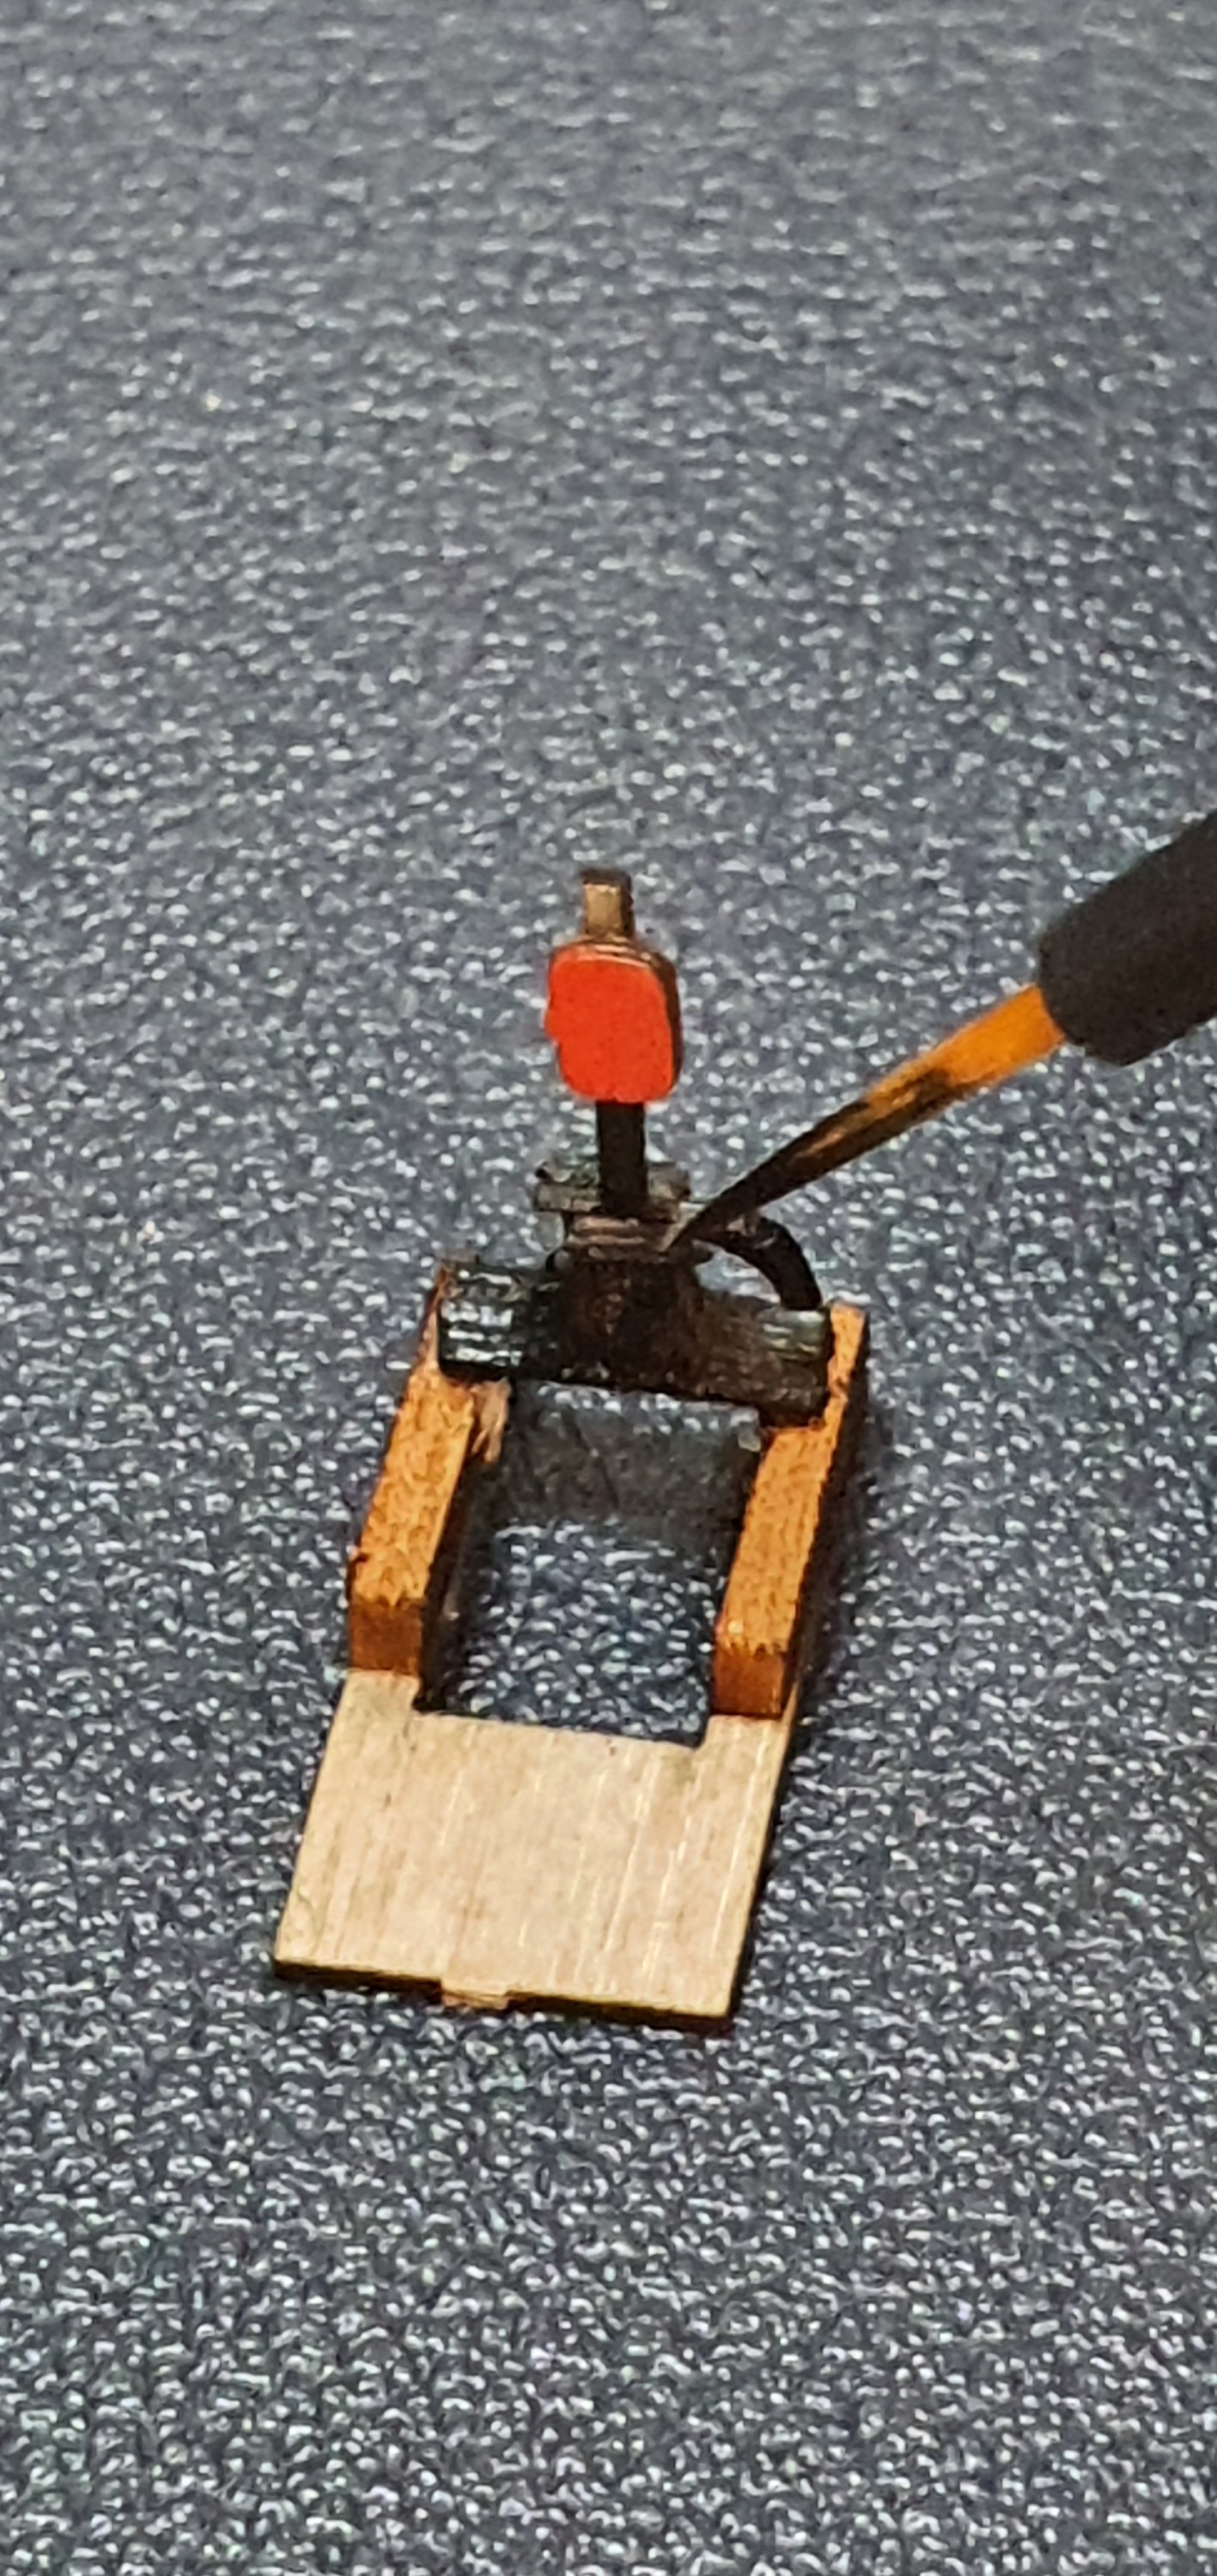
Black for the switch stand this is 4x zoom on my phone !!!
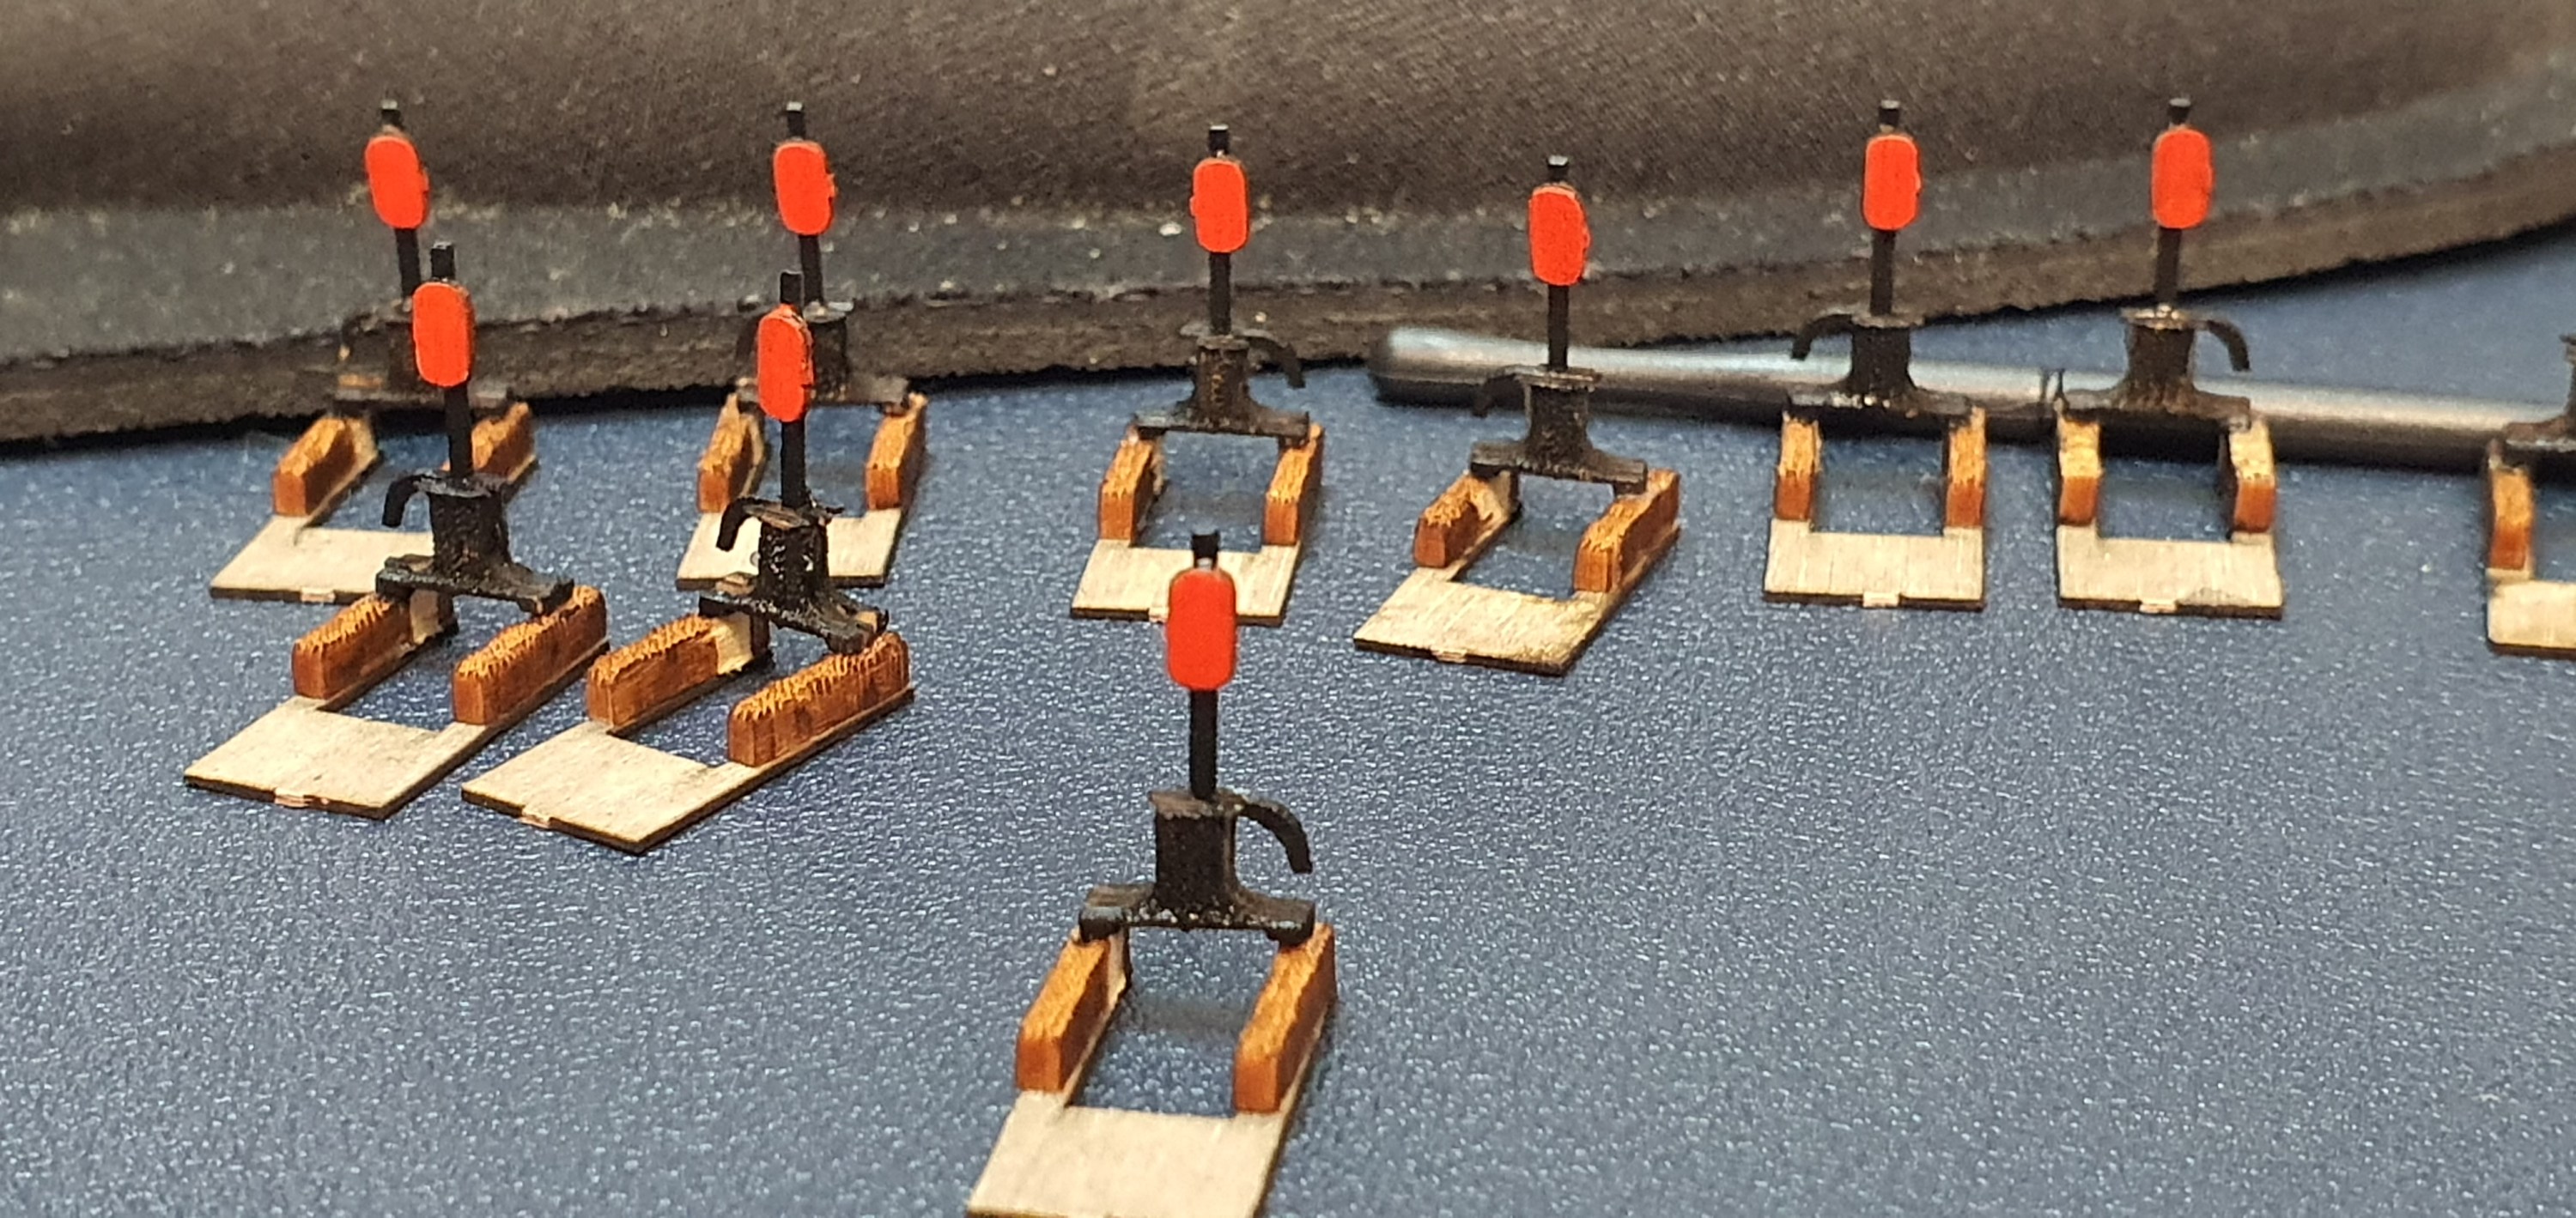
And there we go ready for installation on the layout.
