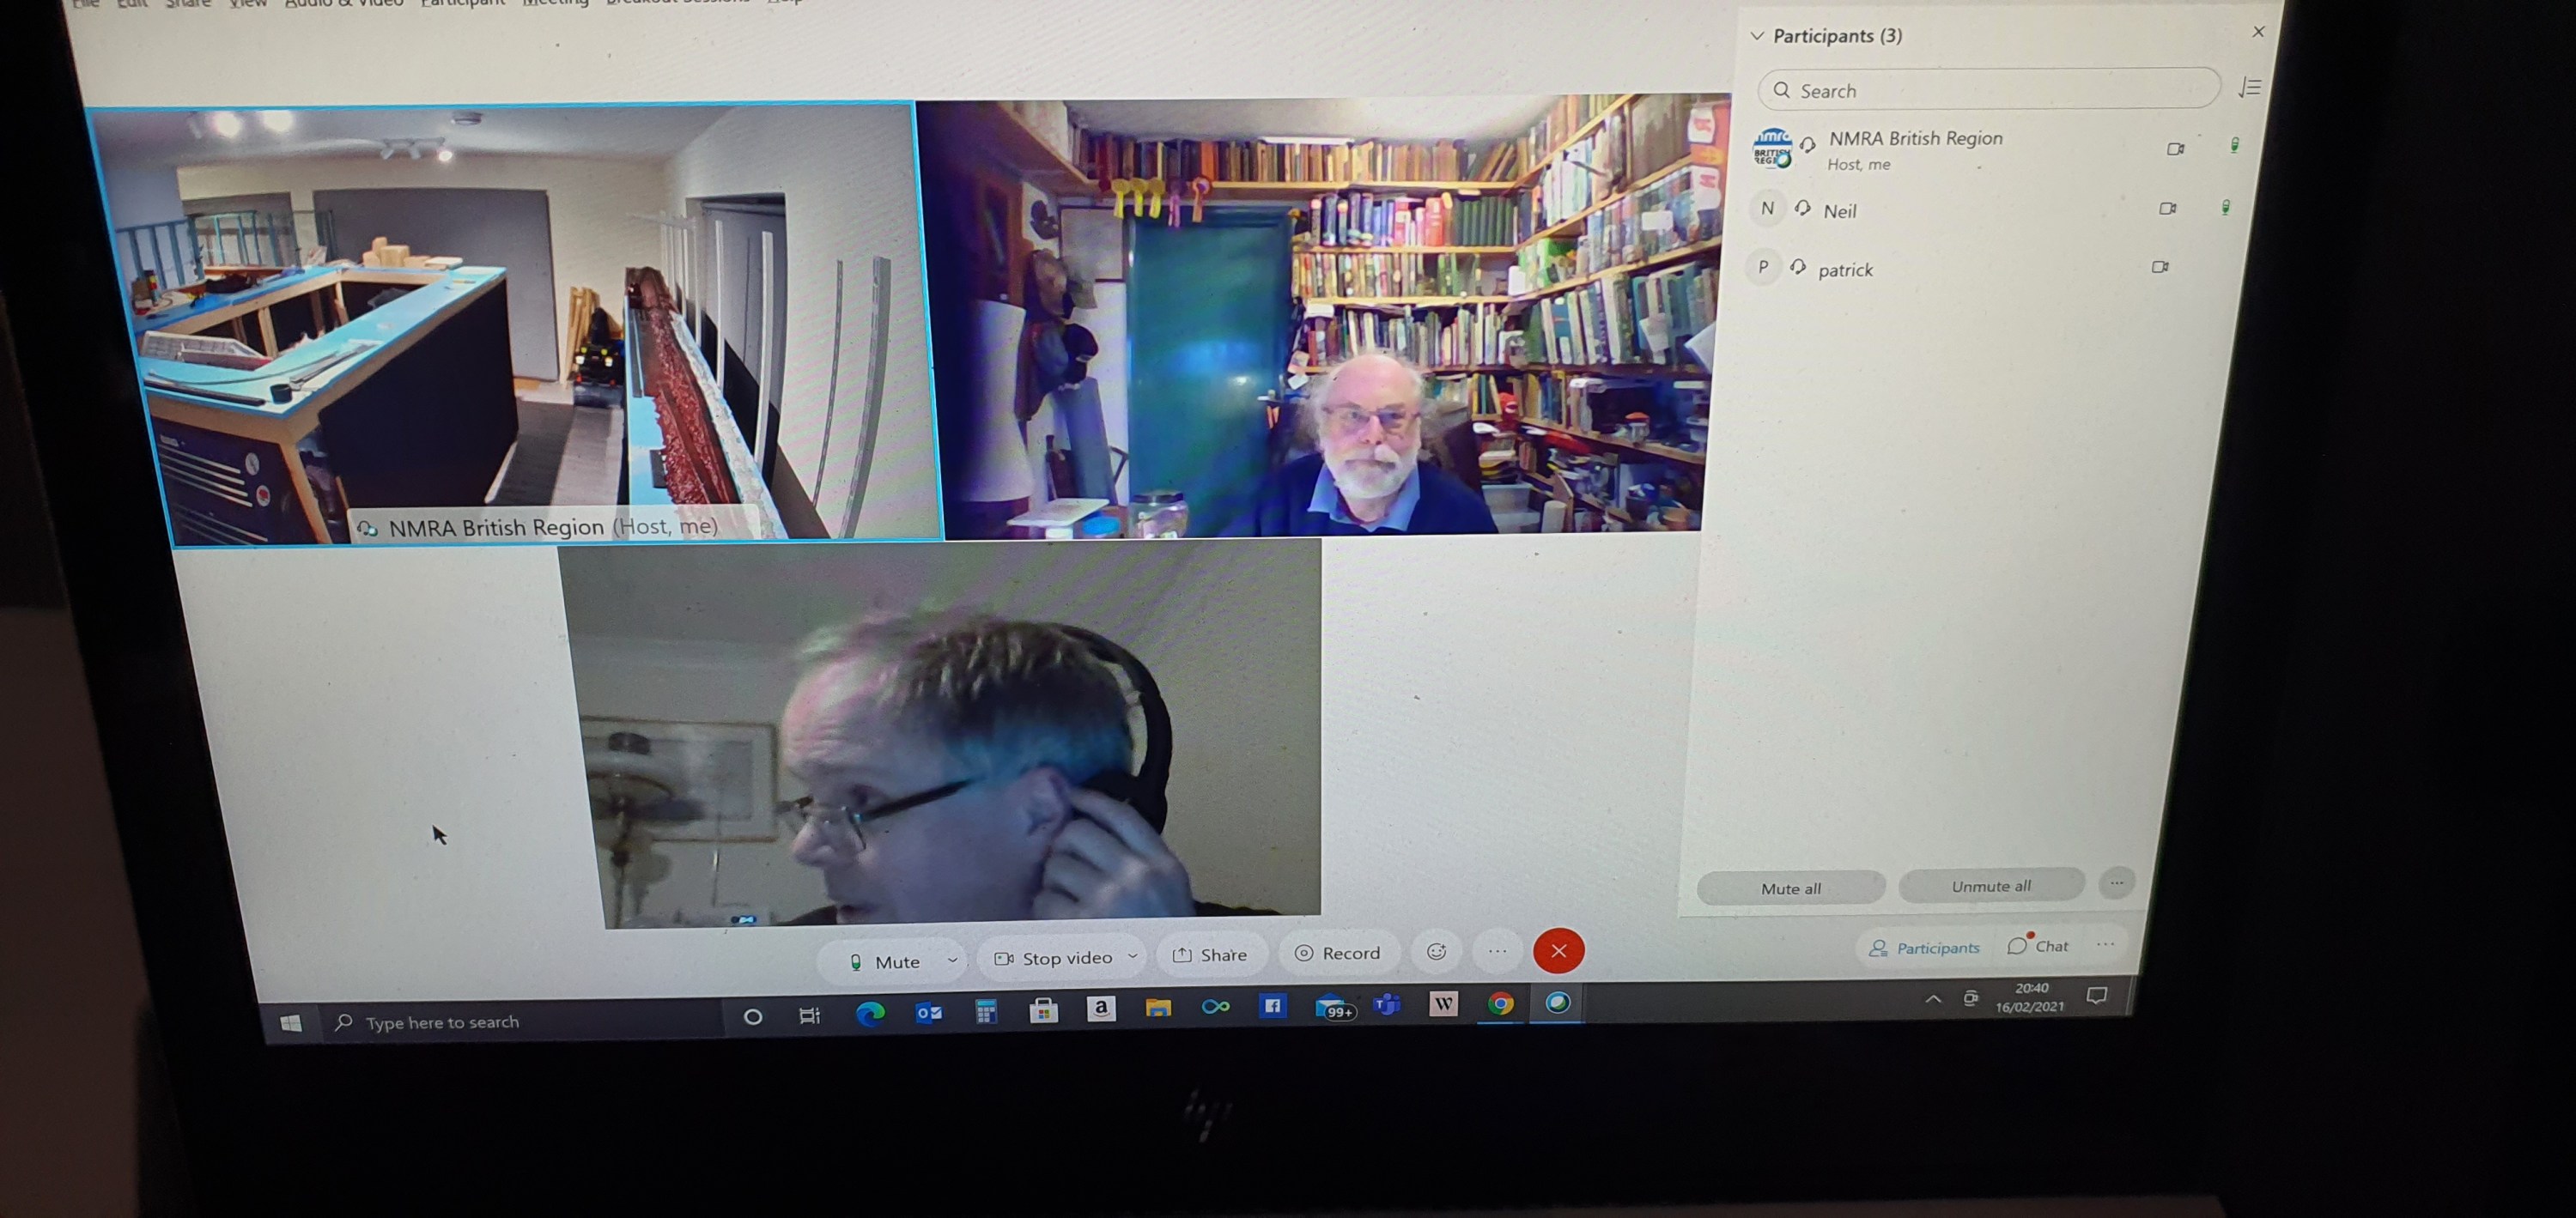
Just a few pics from me testing some snow products this afternoon. I am now upto 10 hours of Train meetings this weekend already so its really cut into the modelling time.

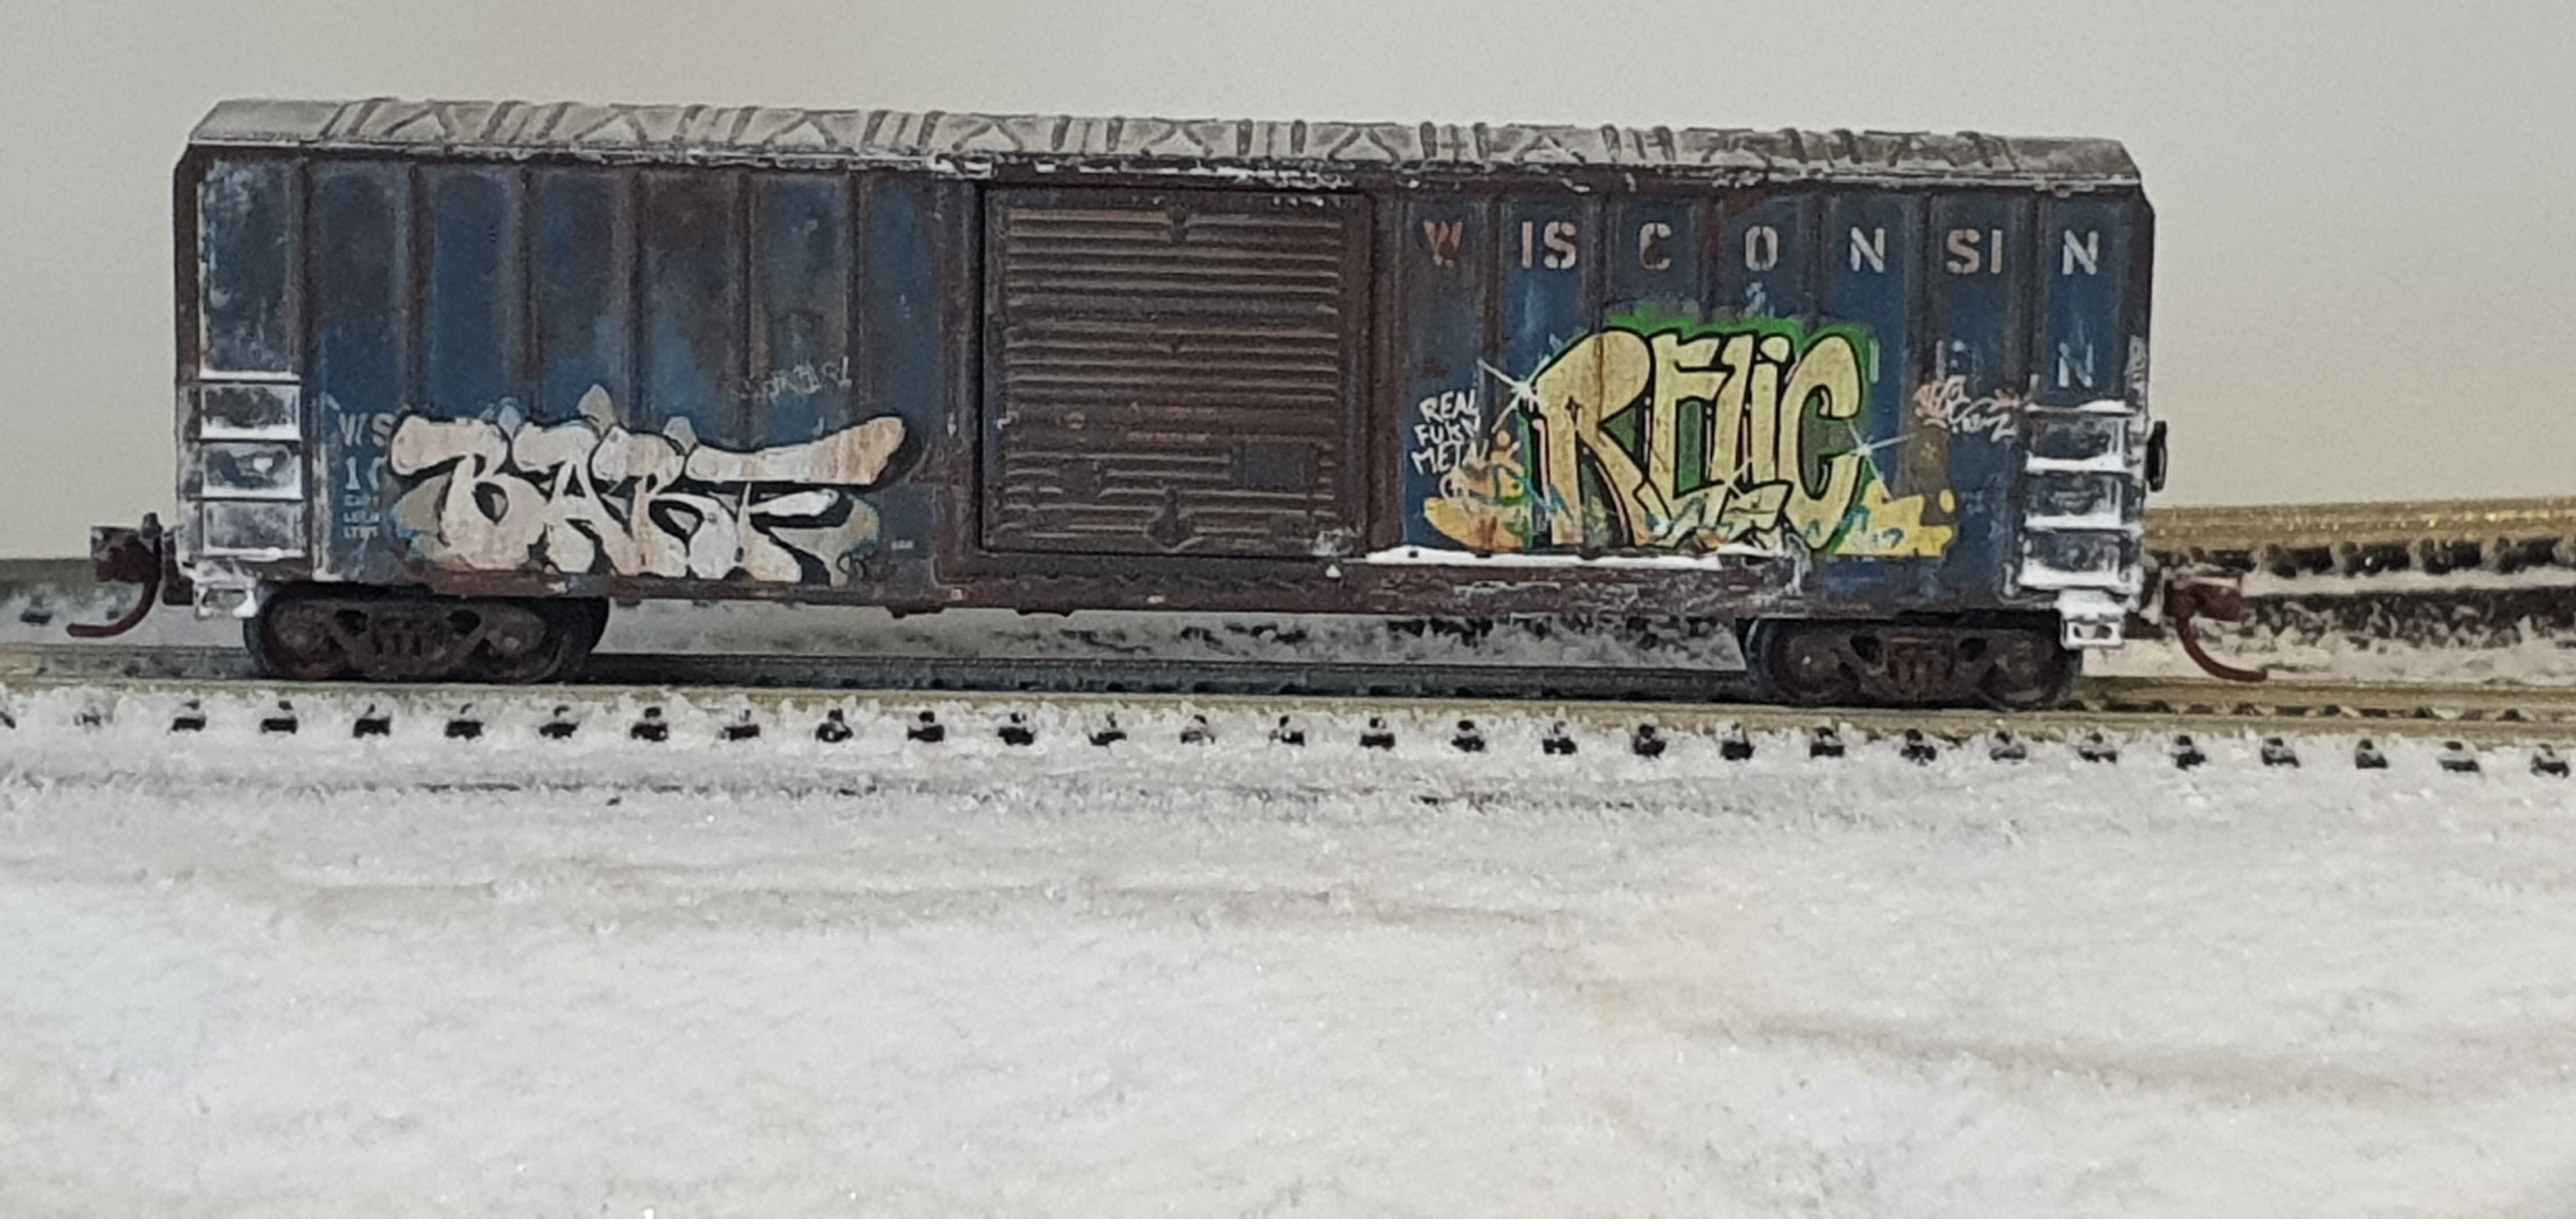
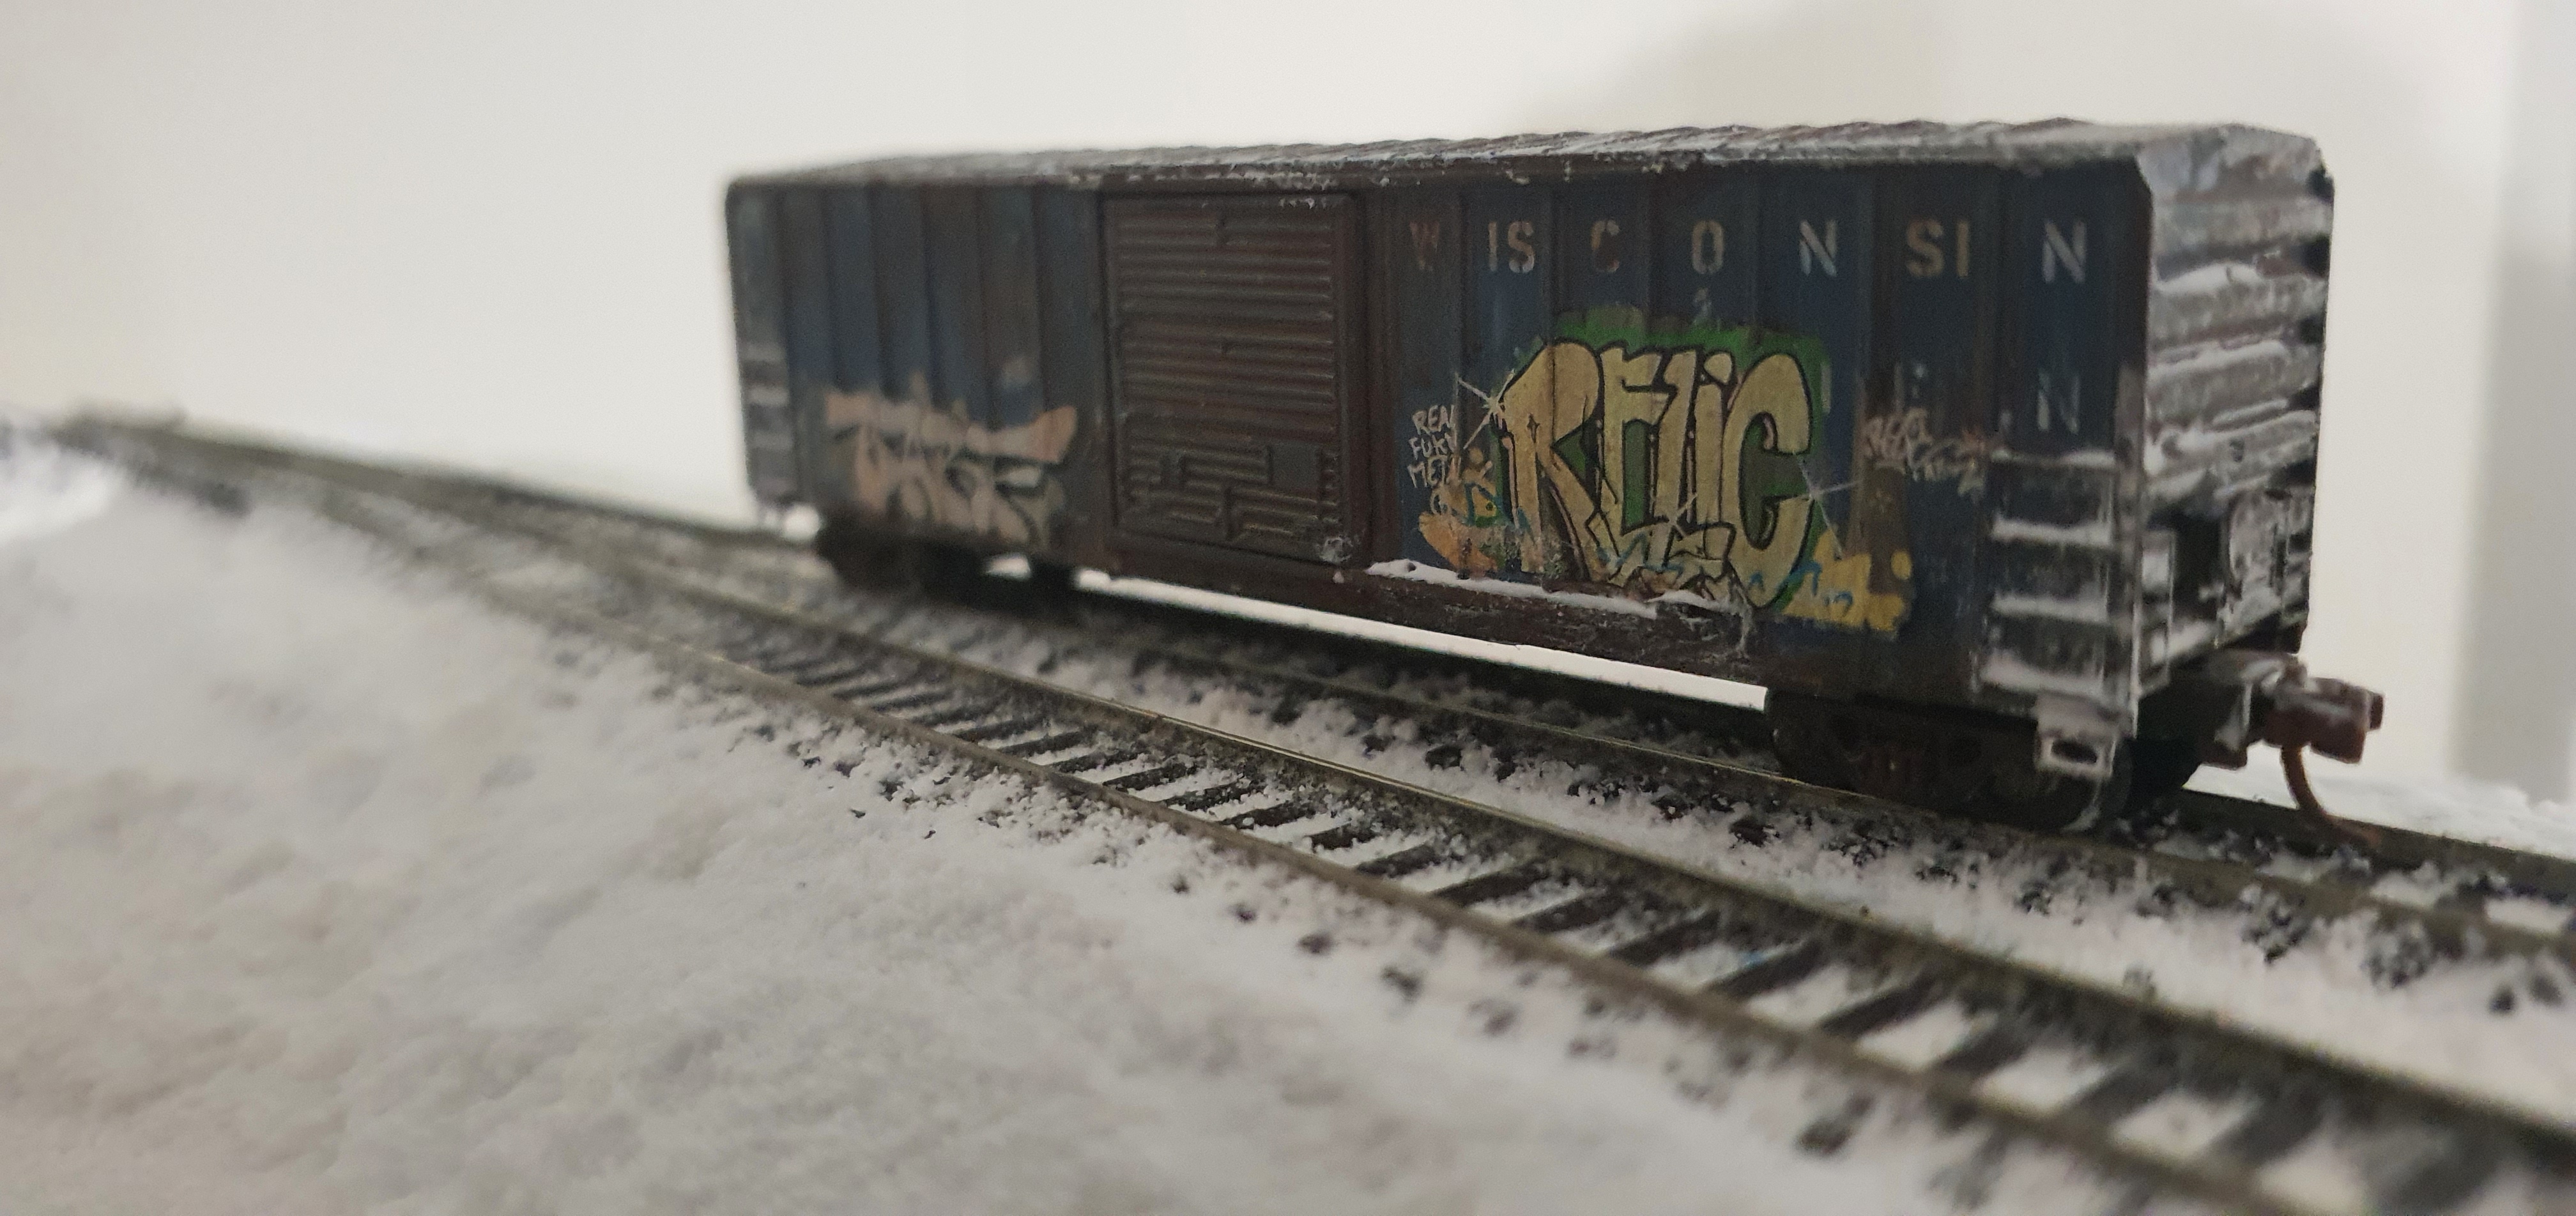

Just a few pics from me testing some snow products this afternoon. I am now upto 10 hours of Train meetings this weekend already so its really cut into the modelling time.
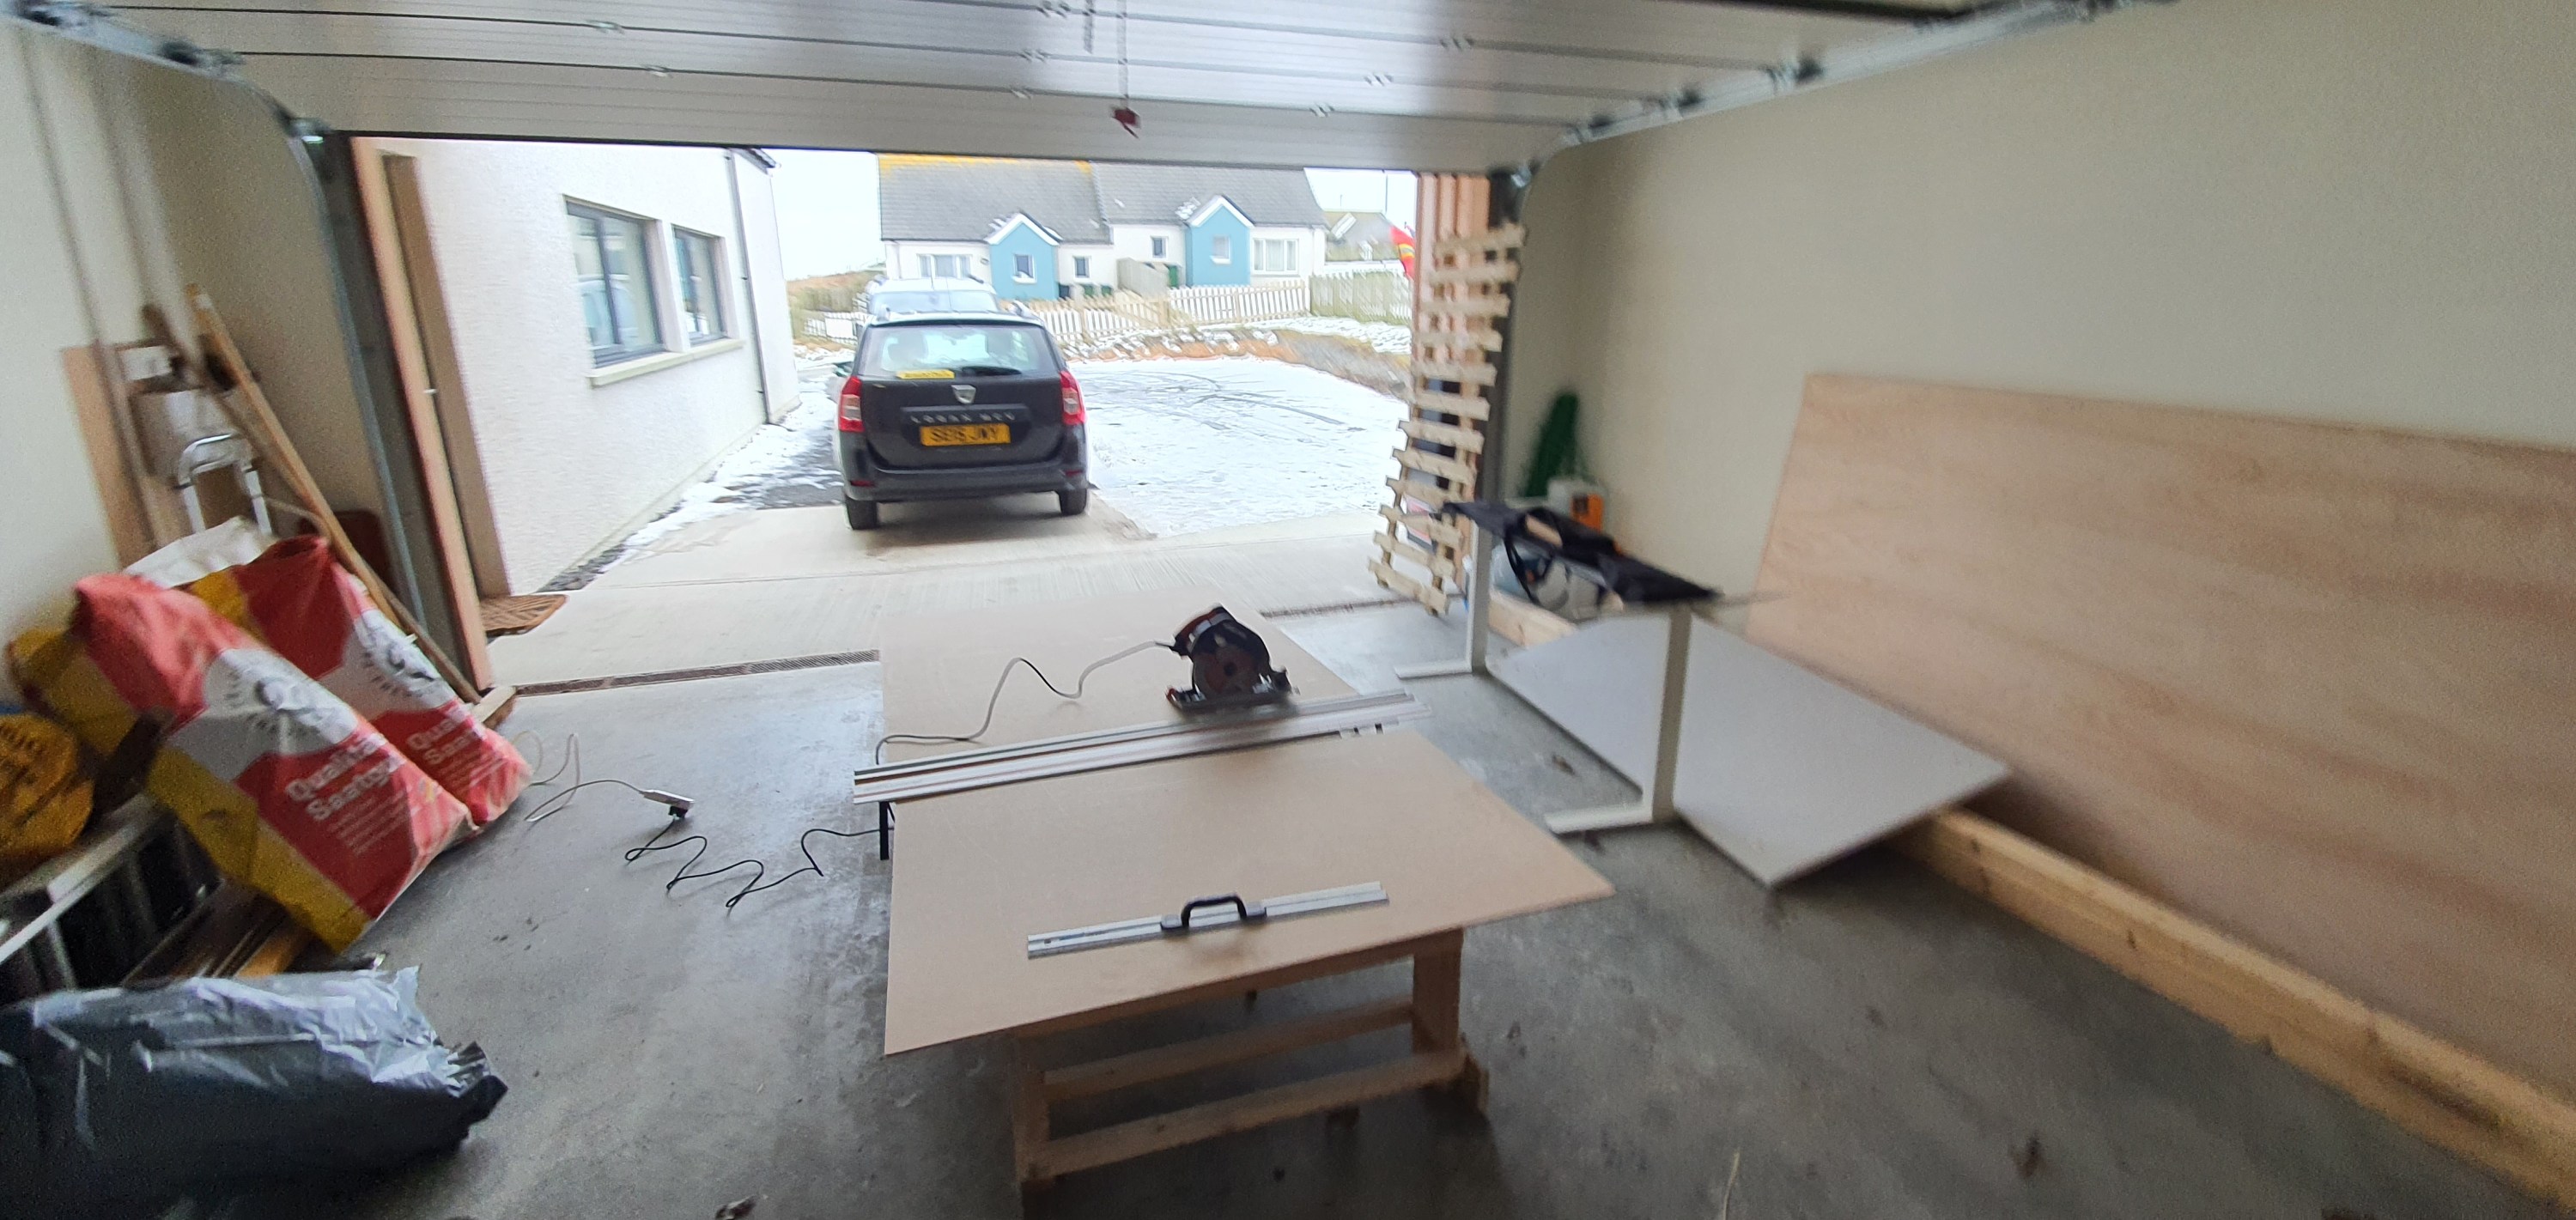
Its been a really busy day, on the go here from 8am-10pm in really terrible conditions for working in the garage. Anyway I thought you’d appreciate a few shots of what’s been happening and there will be posts explaining what’s going on next week.


Tonight it was our Scotland div monthly meeting and so whilst chatting about AP, projects and Swedish locomotives painted funny colours I got the paint brush out and painted the rest of ackerville.
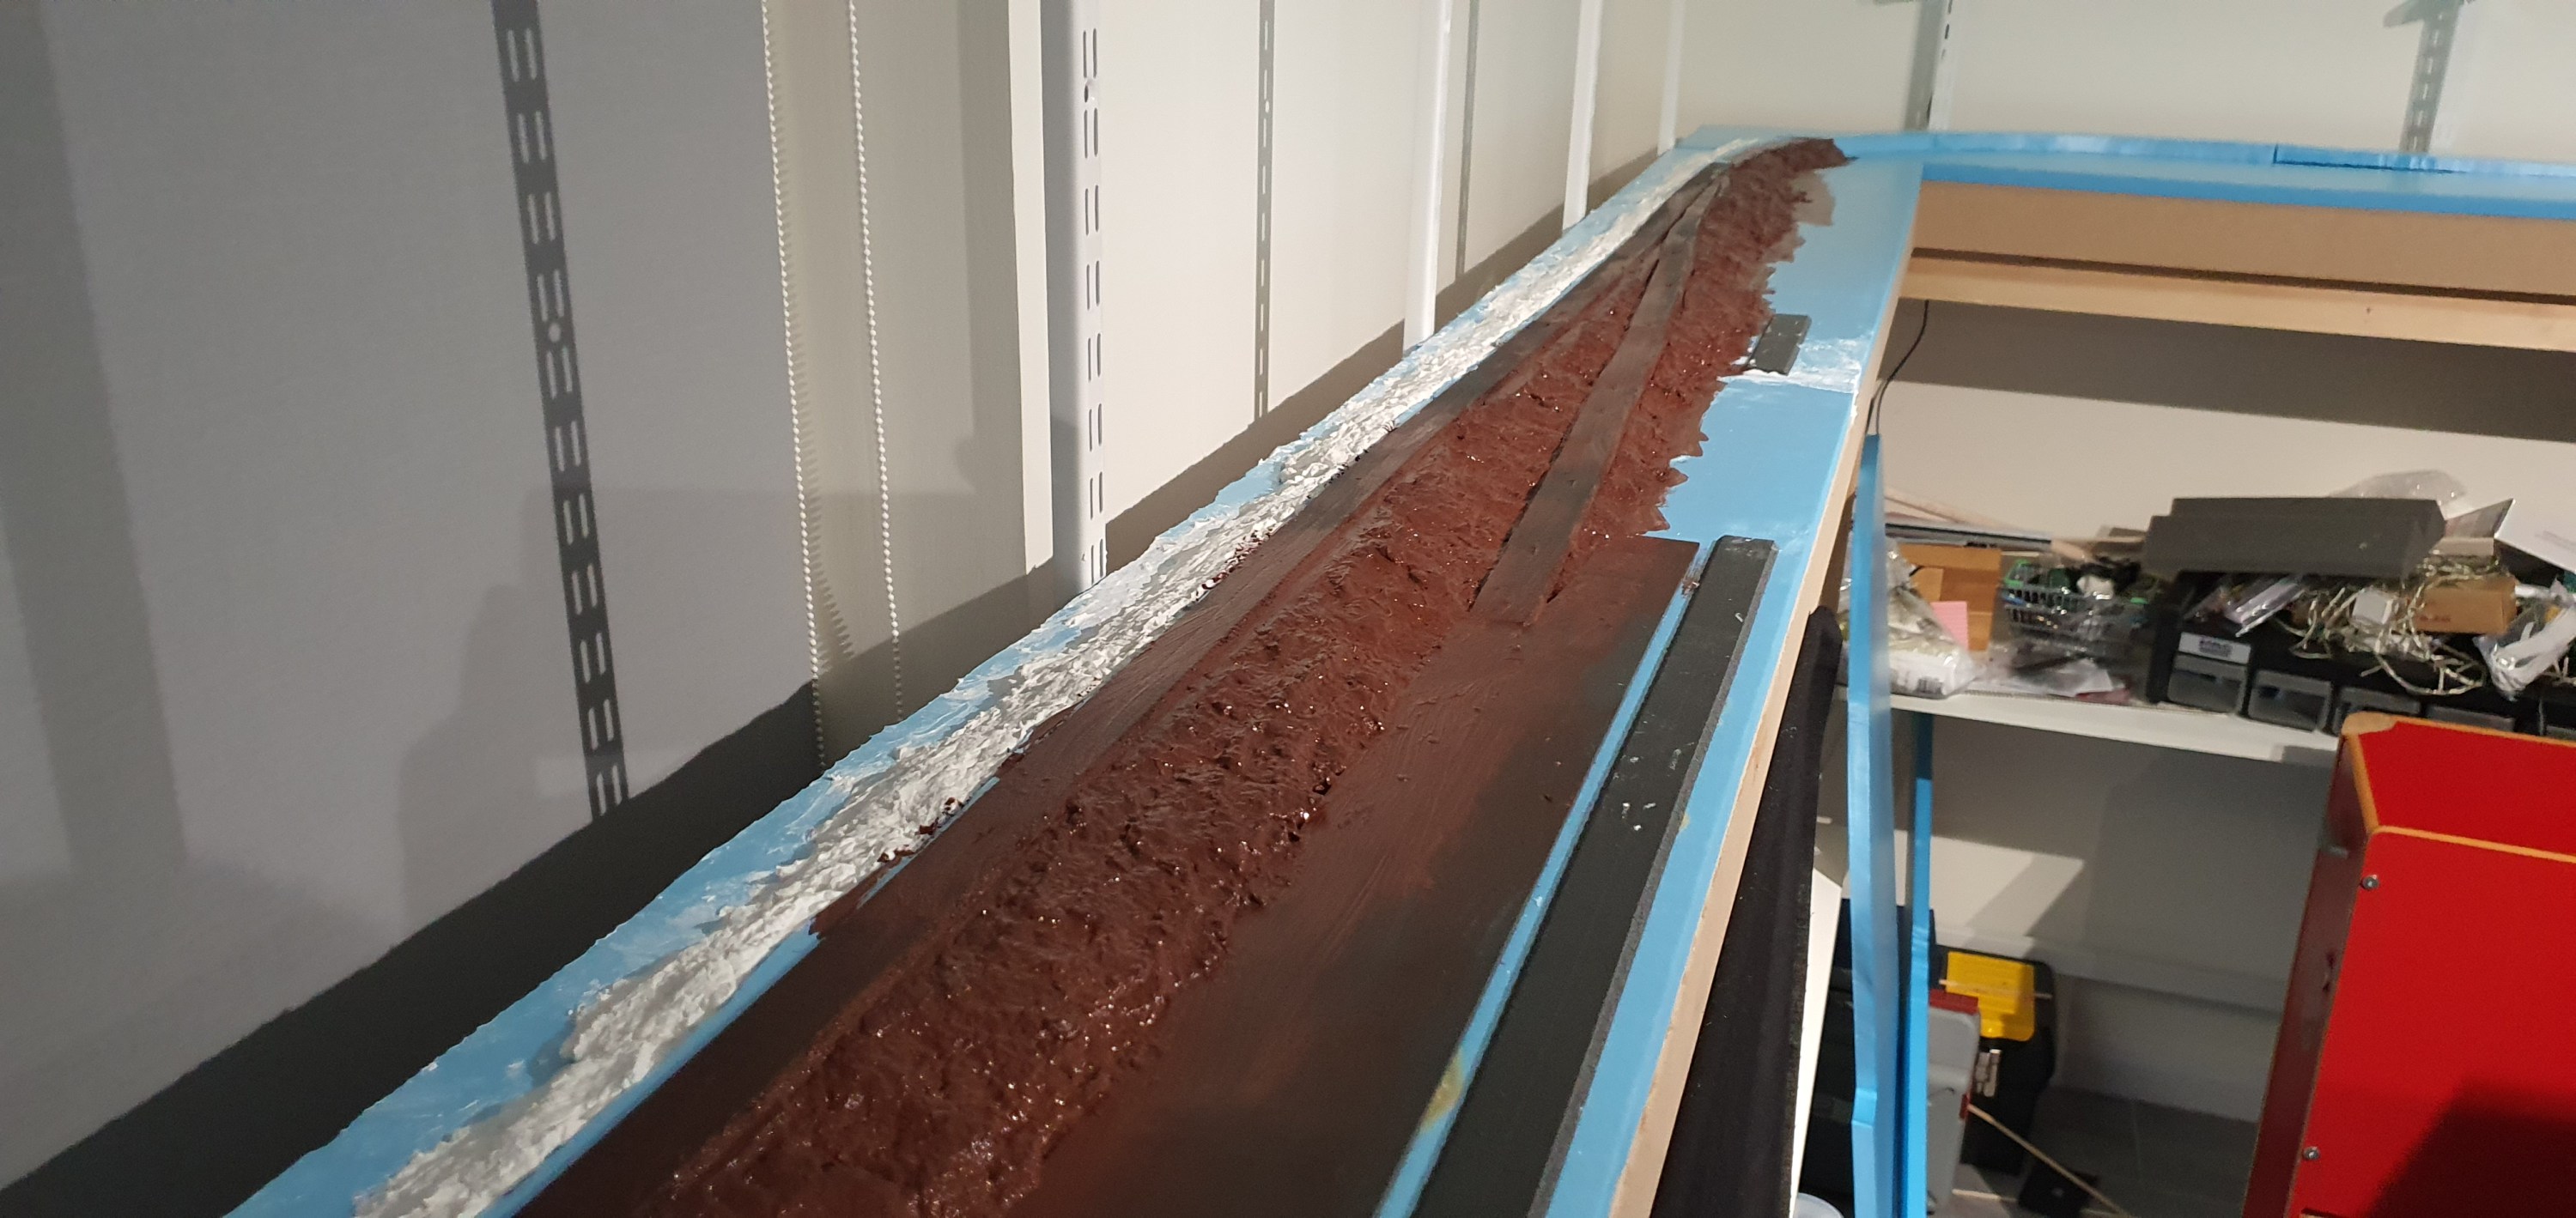
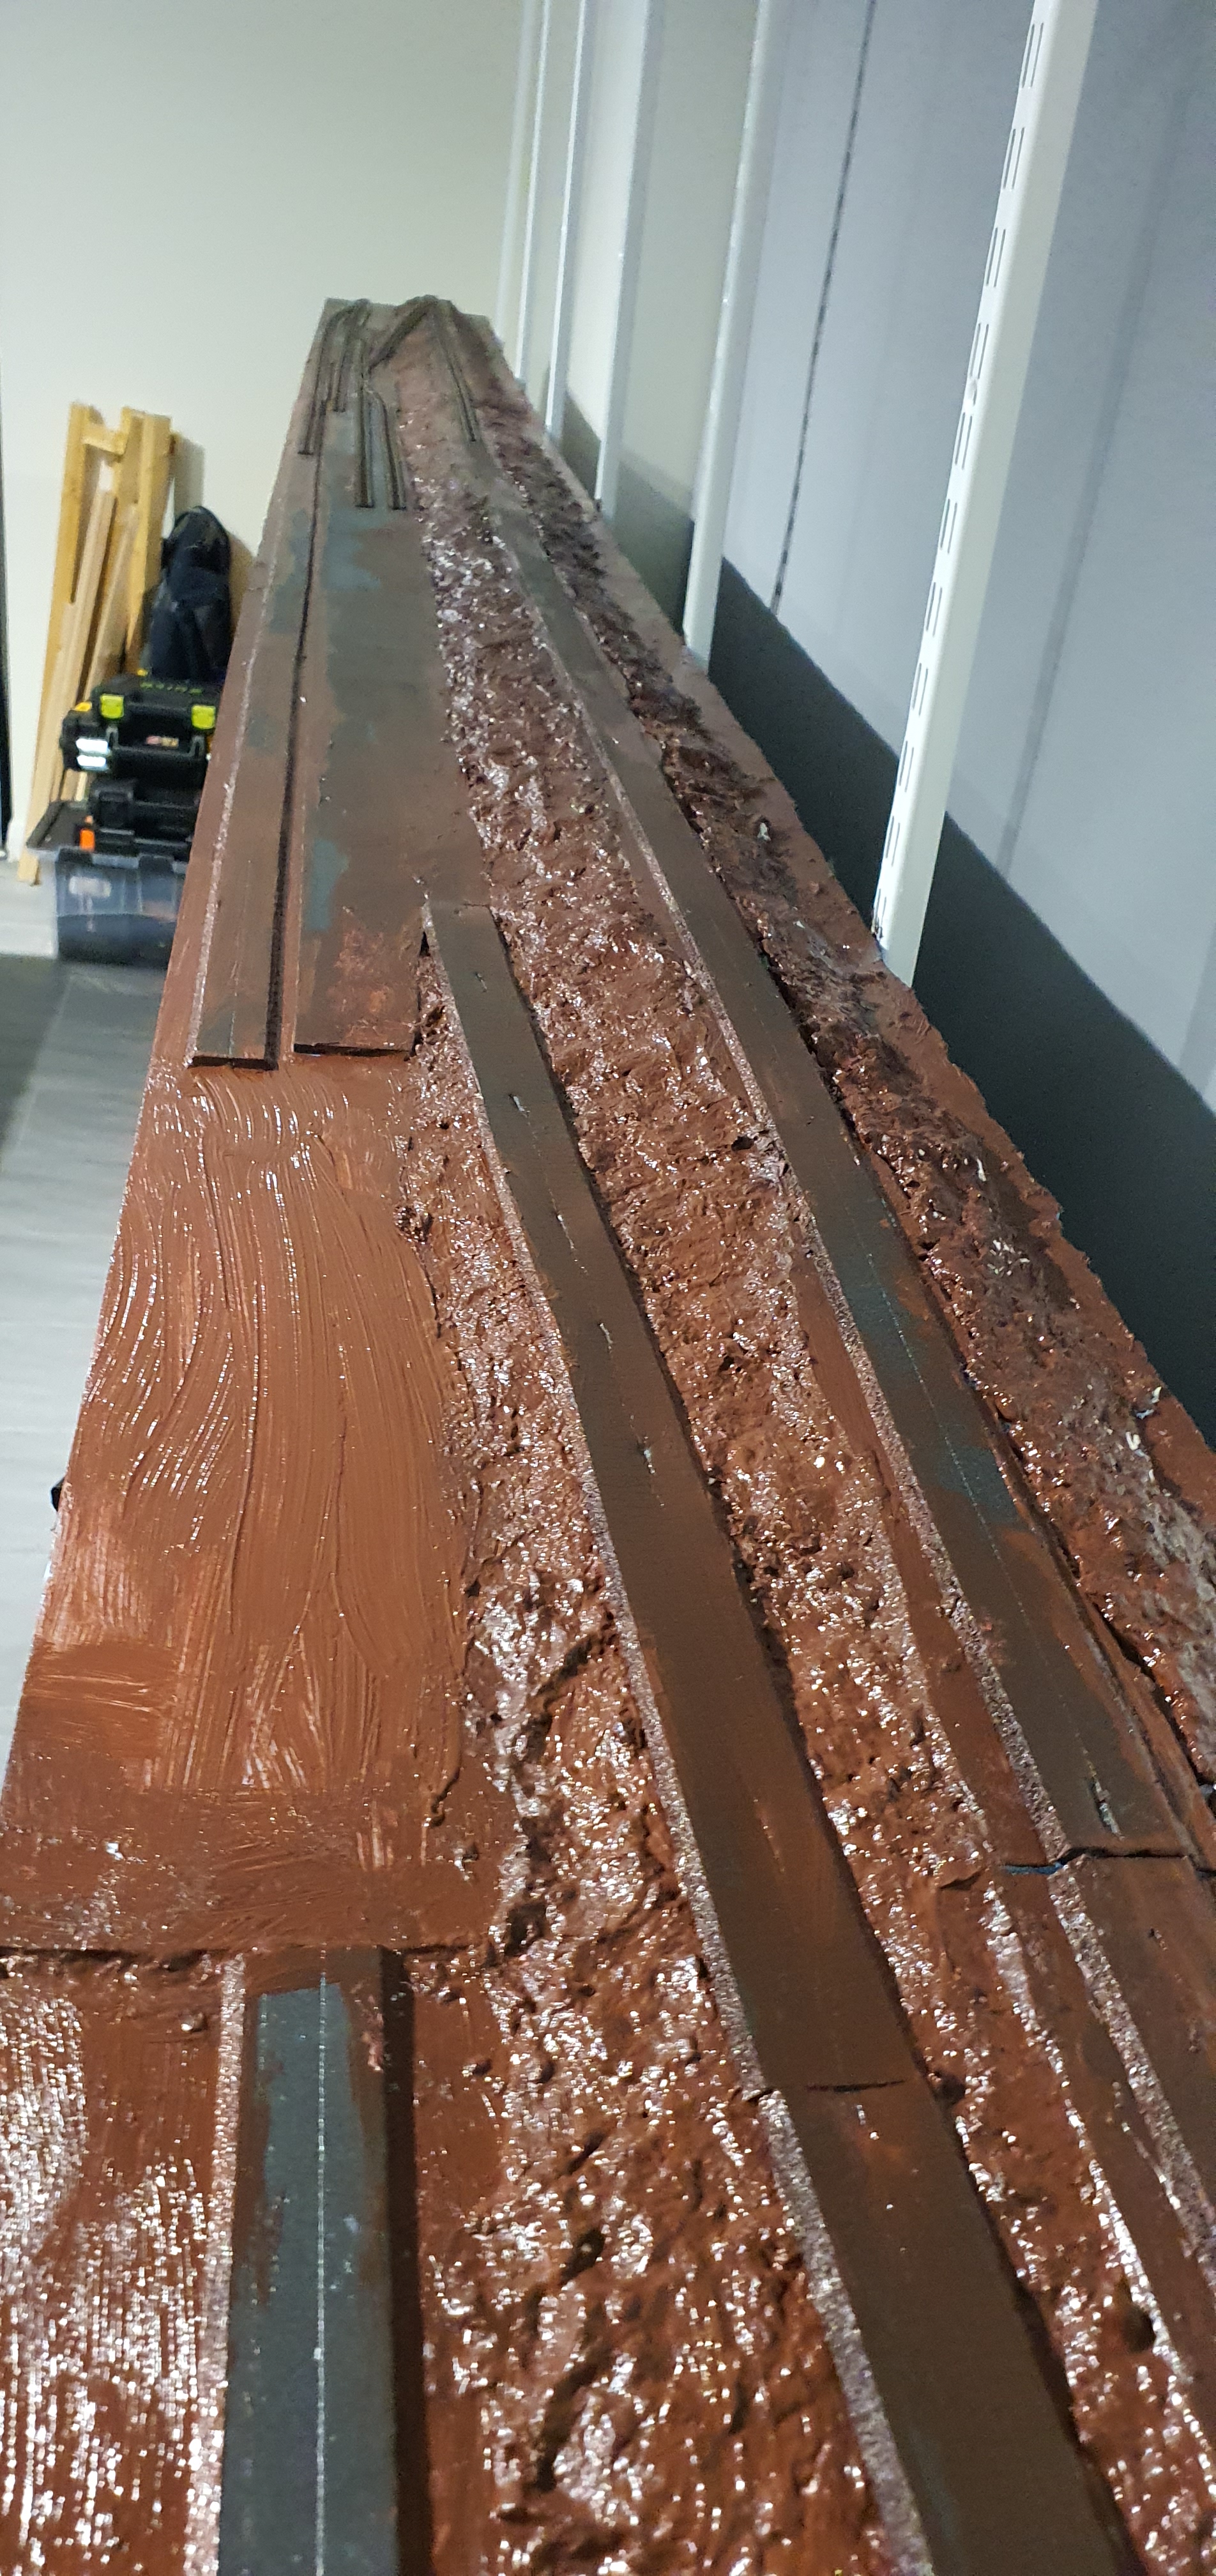
So its the usual trick here slap on plenty of burnt umber acrylic covering everything.

I also touched up the first area we did. Other activities today included submitted the SOQ for Association Official so that will be AP cert six and when this scenery is done I can apply for my MMR.
See what 30mins a day does 🙂 keep modelling we won’t be locked in the basement for ever!!
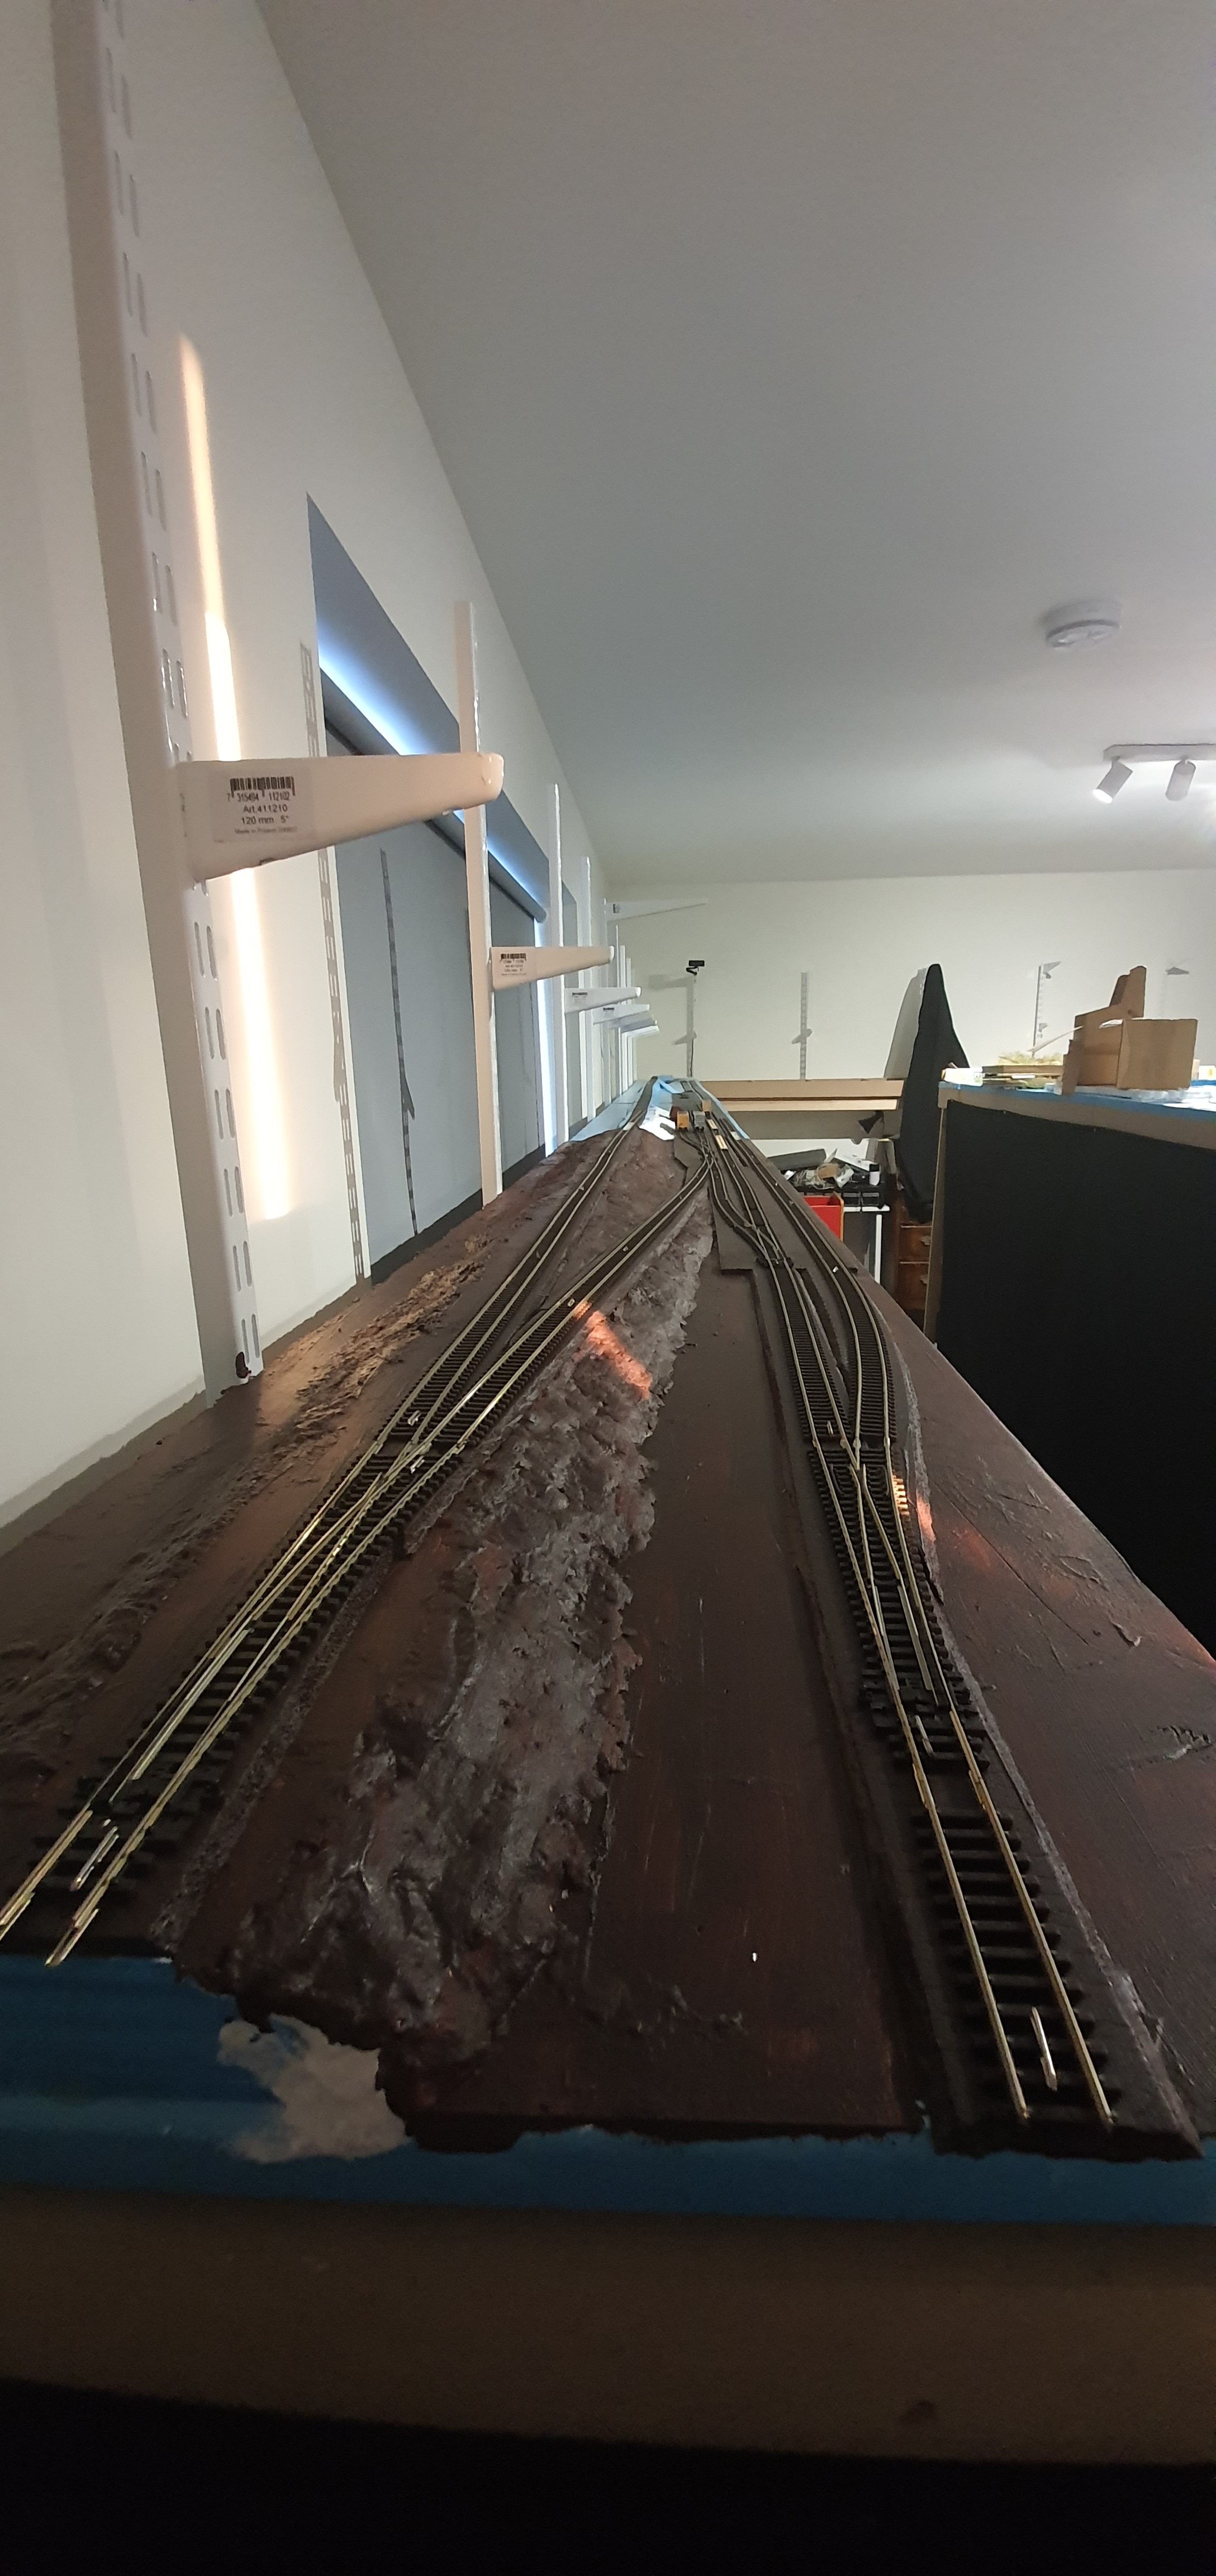
Another busy day on the Waukesha Sub, it’s baltic outside so no fasica cutting was going on in the garage. Instead it was all about glueing down foam, track and lots of sculptamold. Here’s a few shots from today.


Well still no saw 🤬 so maybe I can get some track down. This is a three stage process to be honest. We’ll get the track cut to length and fitted. Then we’ll solder feeders and finally glue it to the roadbed. Then it’s electrical stuff for us to get on with.
I always start by putting my turnouts in place. Then I hold them in place with t-pins and measure each piece of flex that will go between them.

On peco turnouts you need to remove these spare ties/sleepers. You will put them back later when the track is glued down.
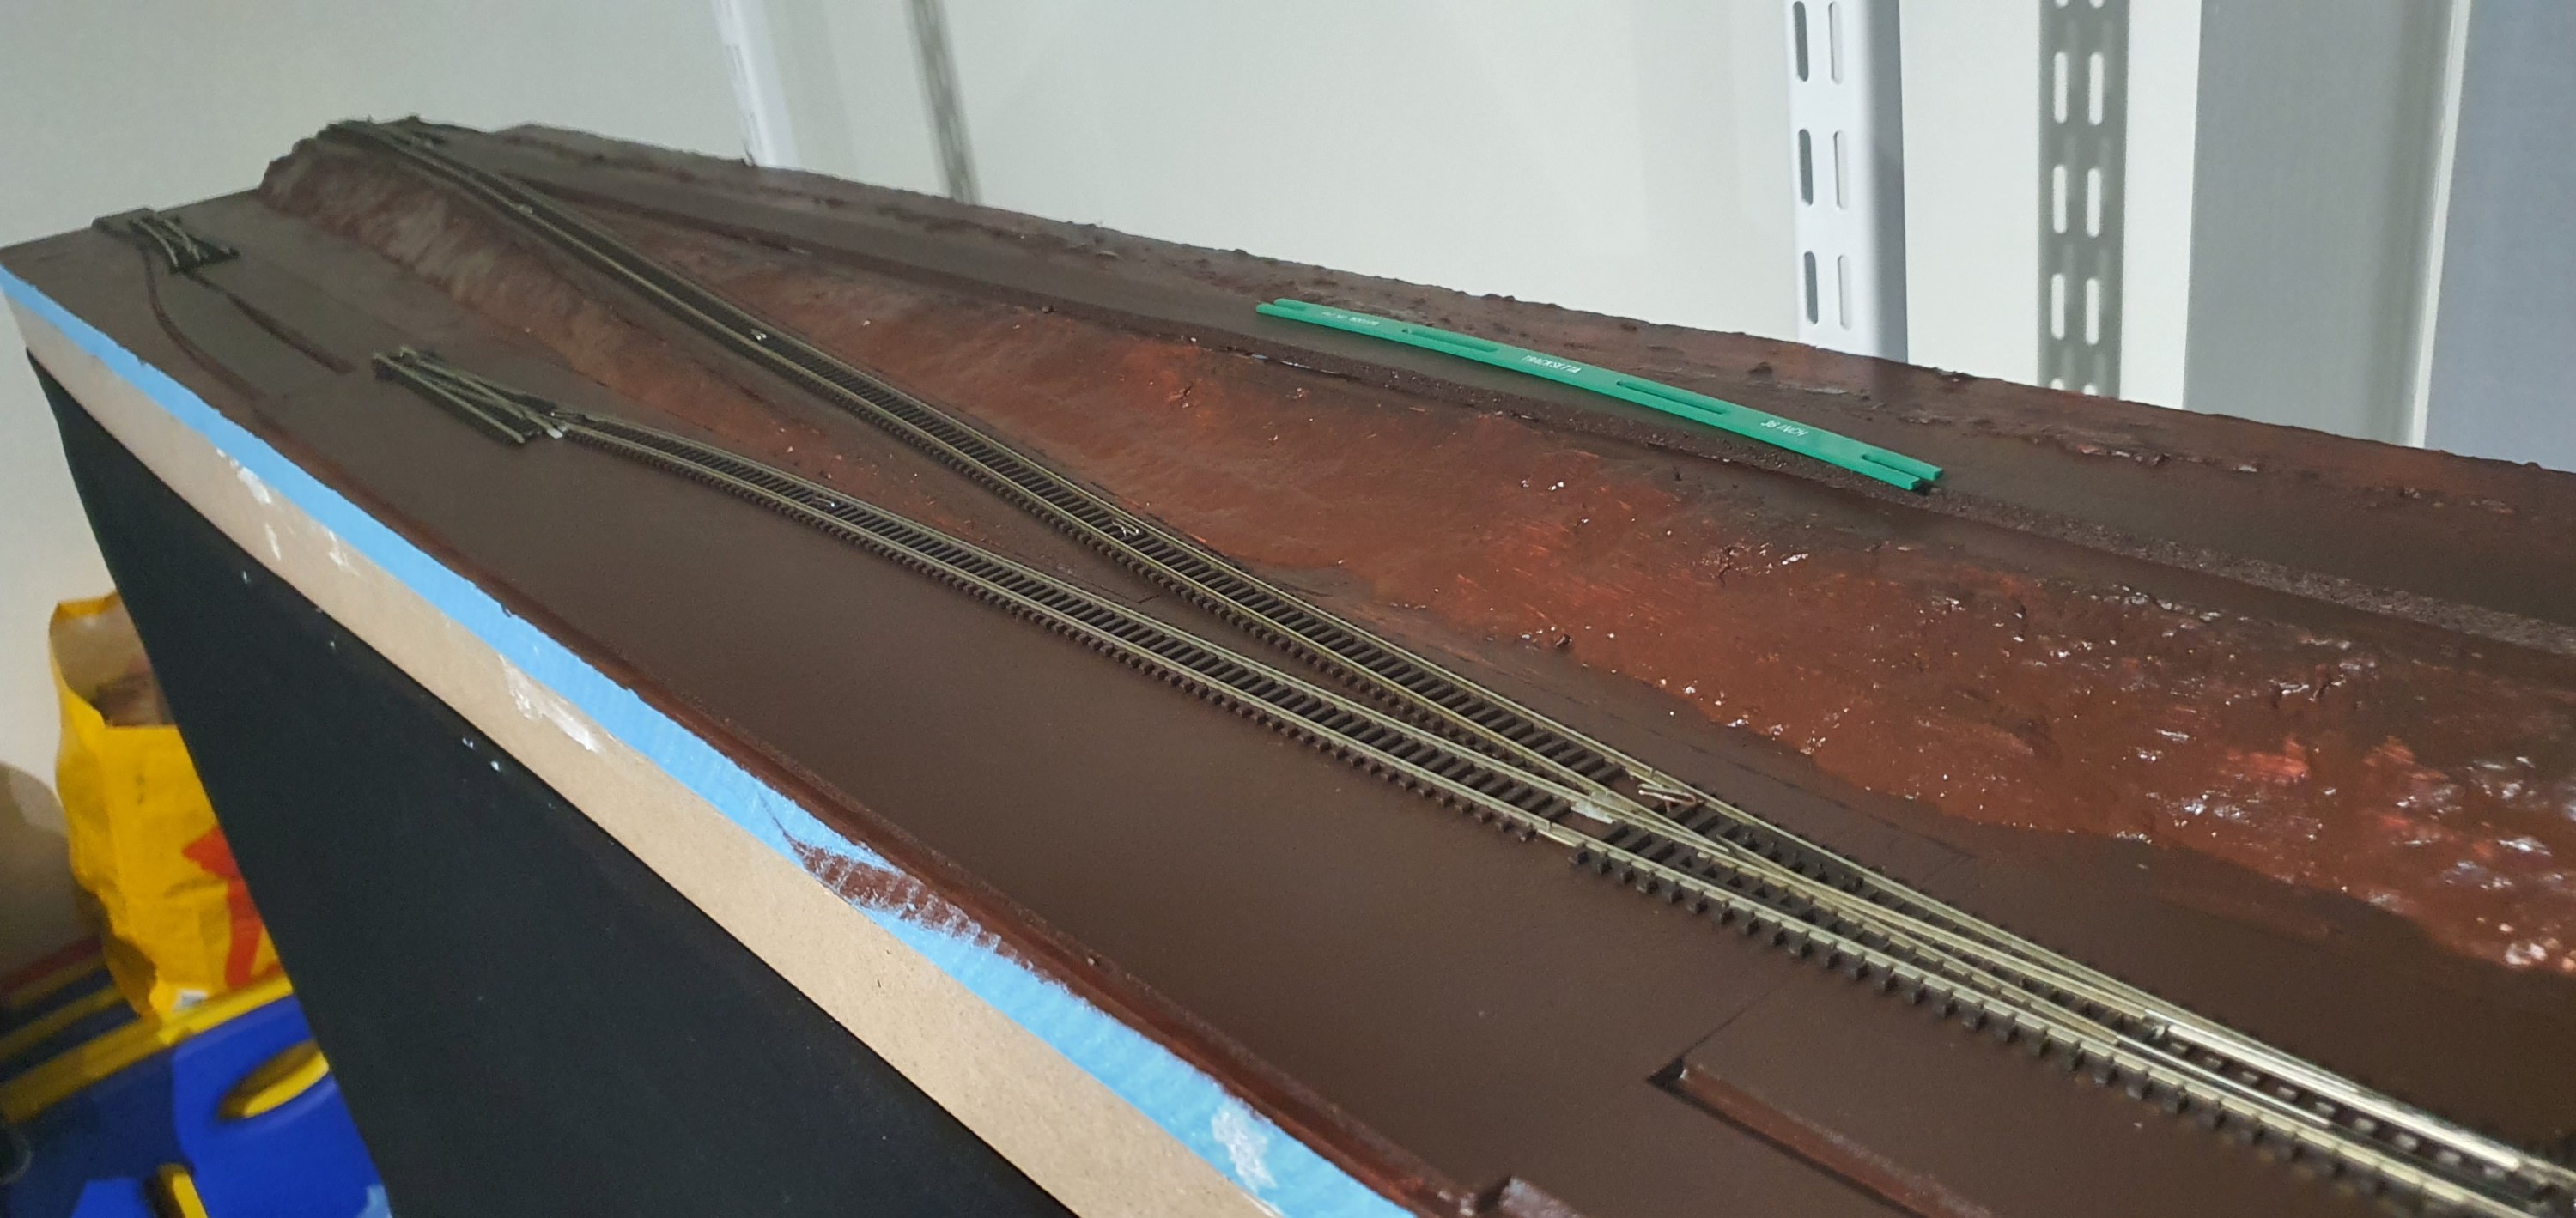
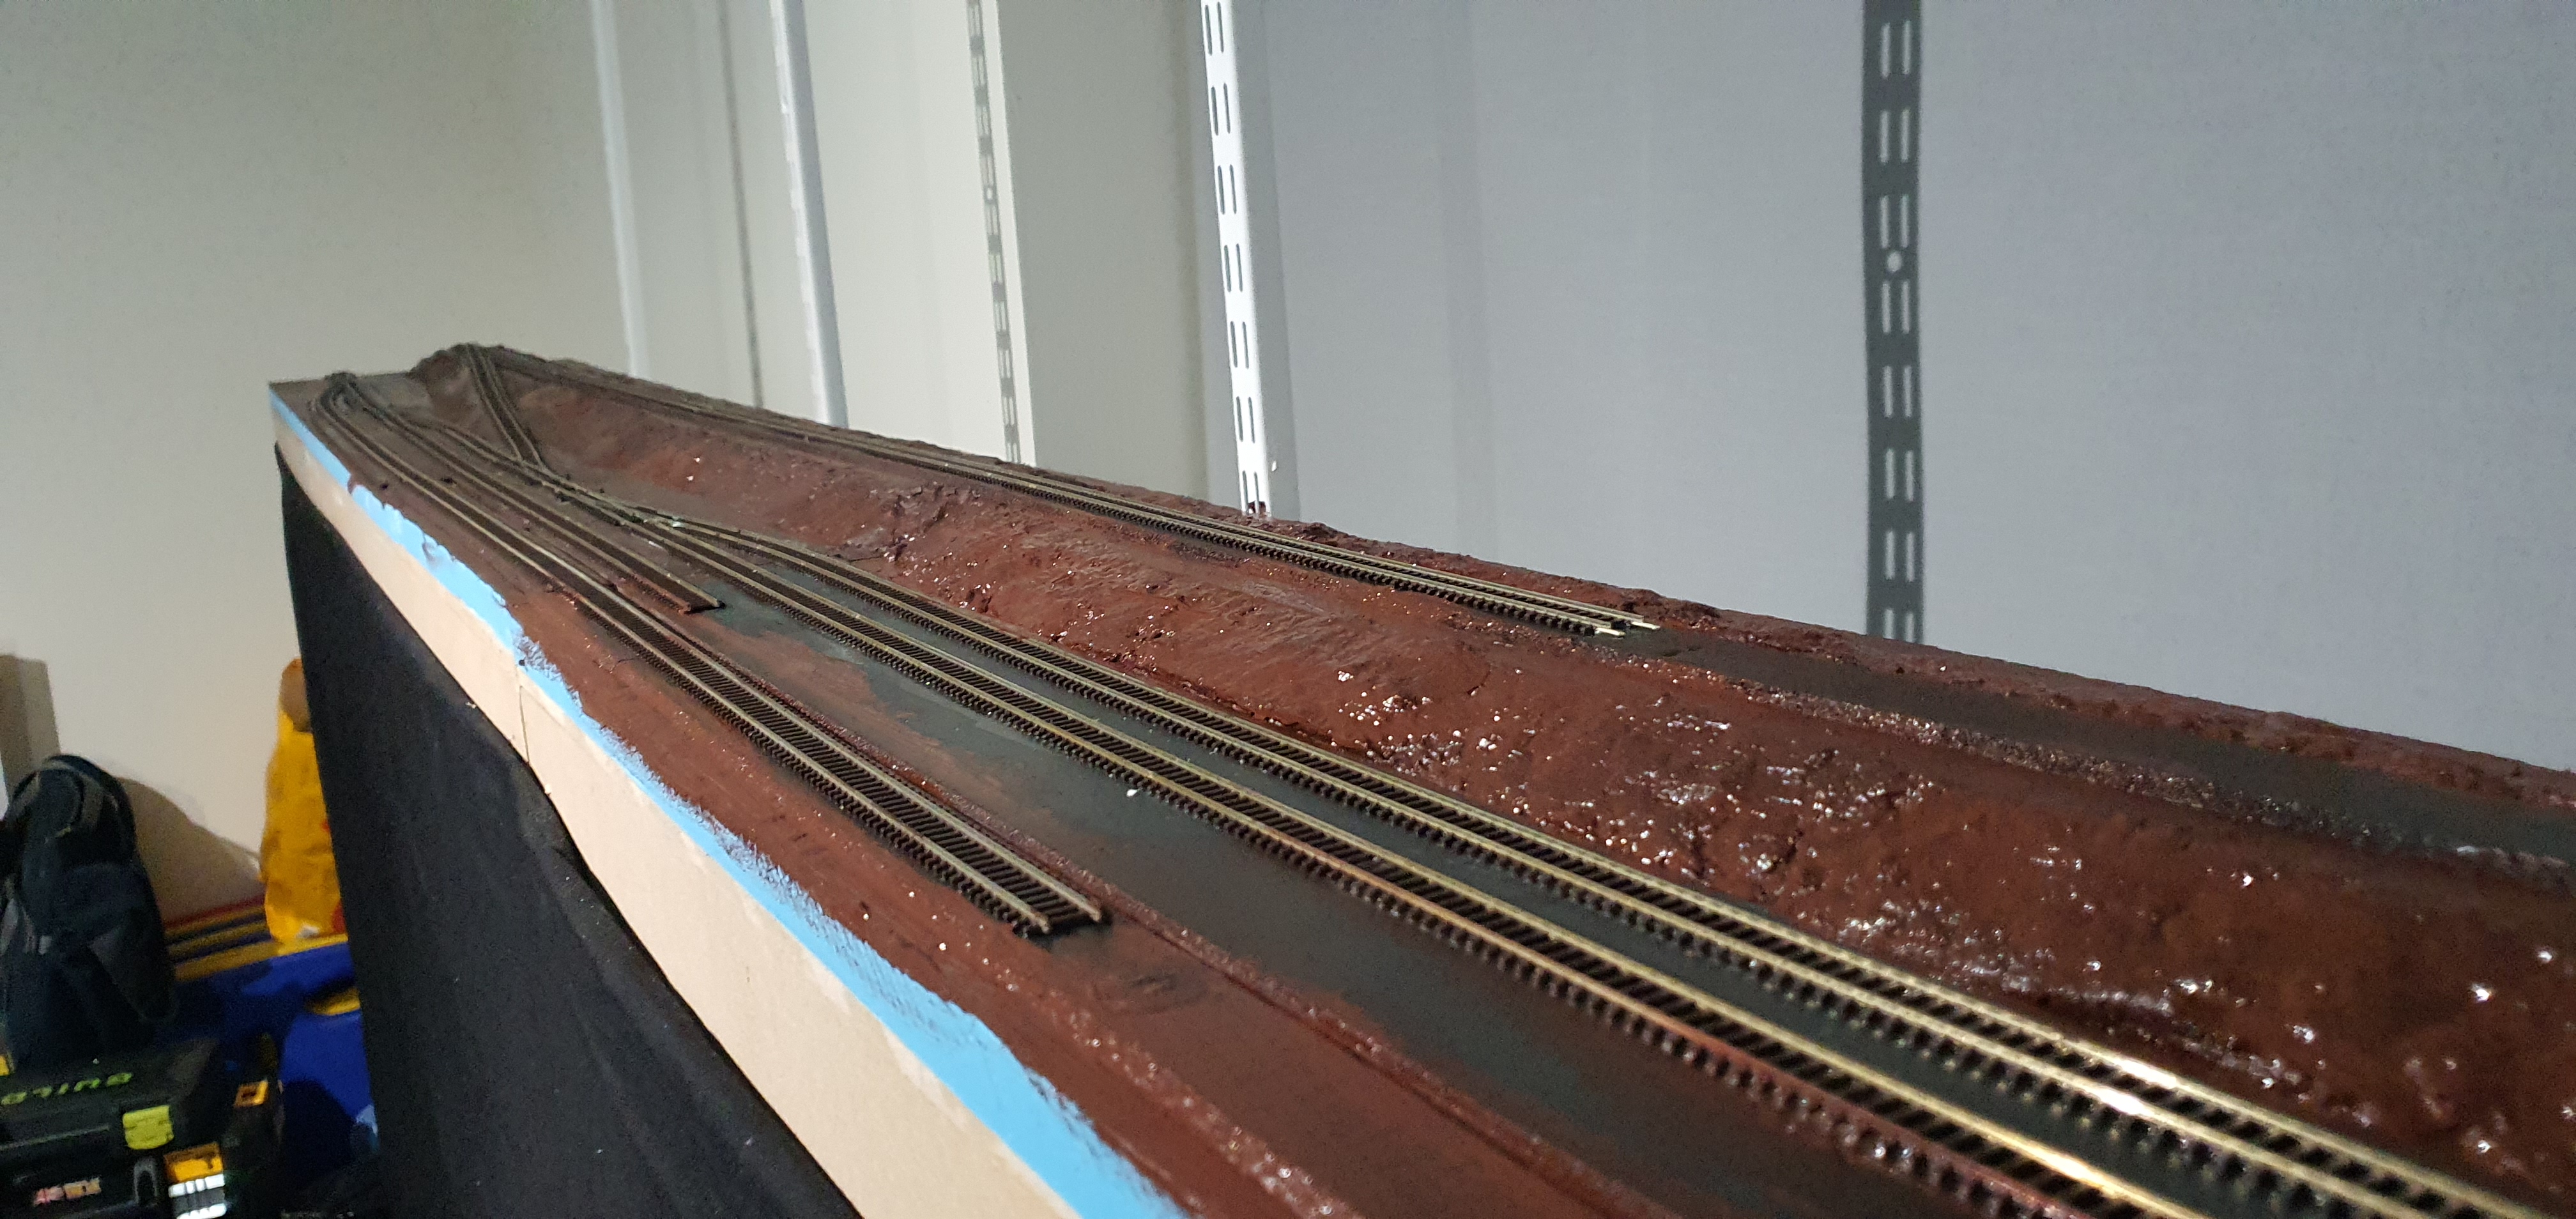
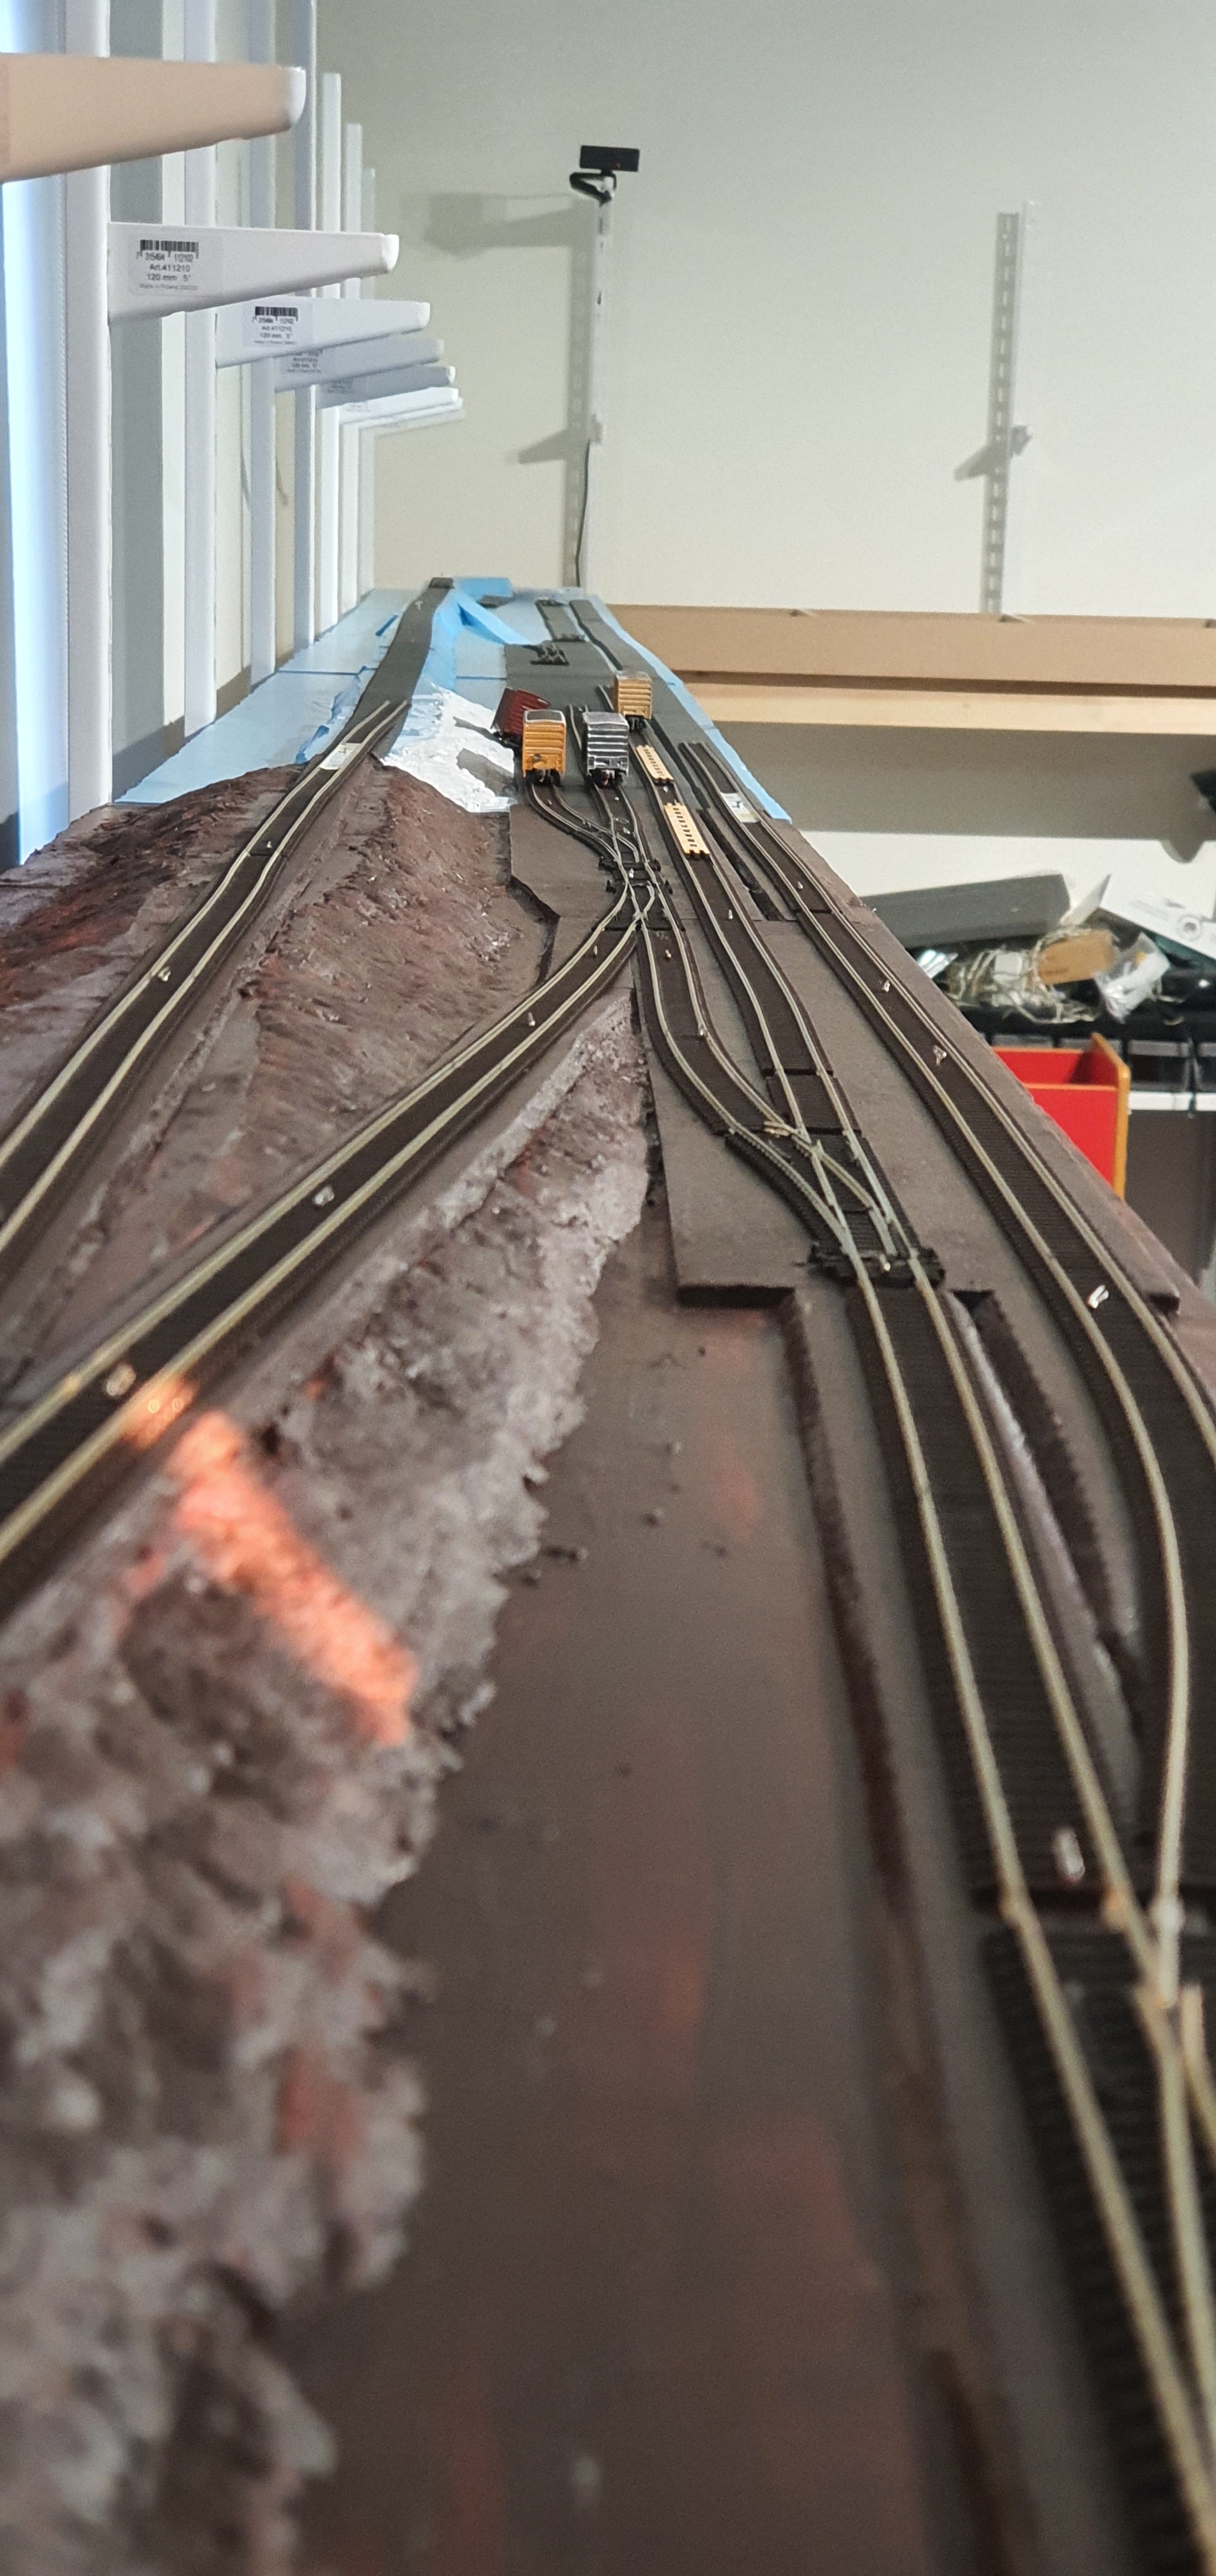
Here you can see the first sections of track starting to go down. I used a tracksetta radius to create curves in the flex and straight section to straighten the flex as its always got kinks in it when you lay it.
The cut flex is held with t-pins

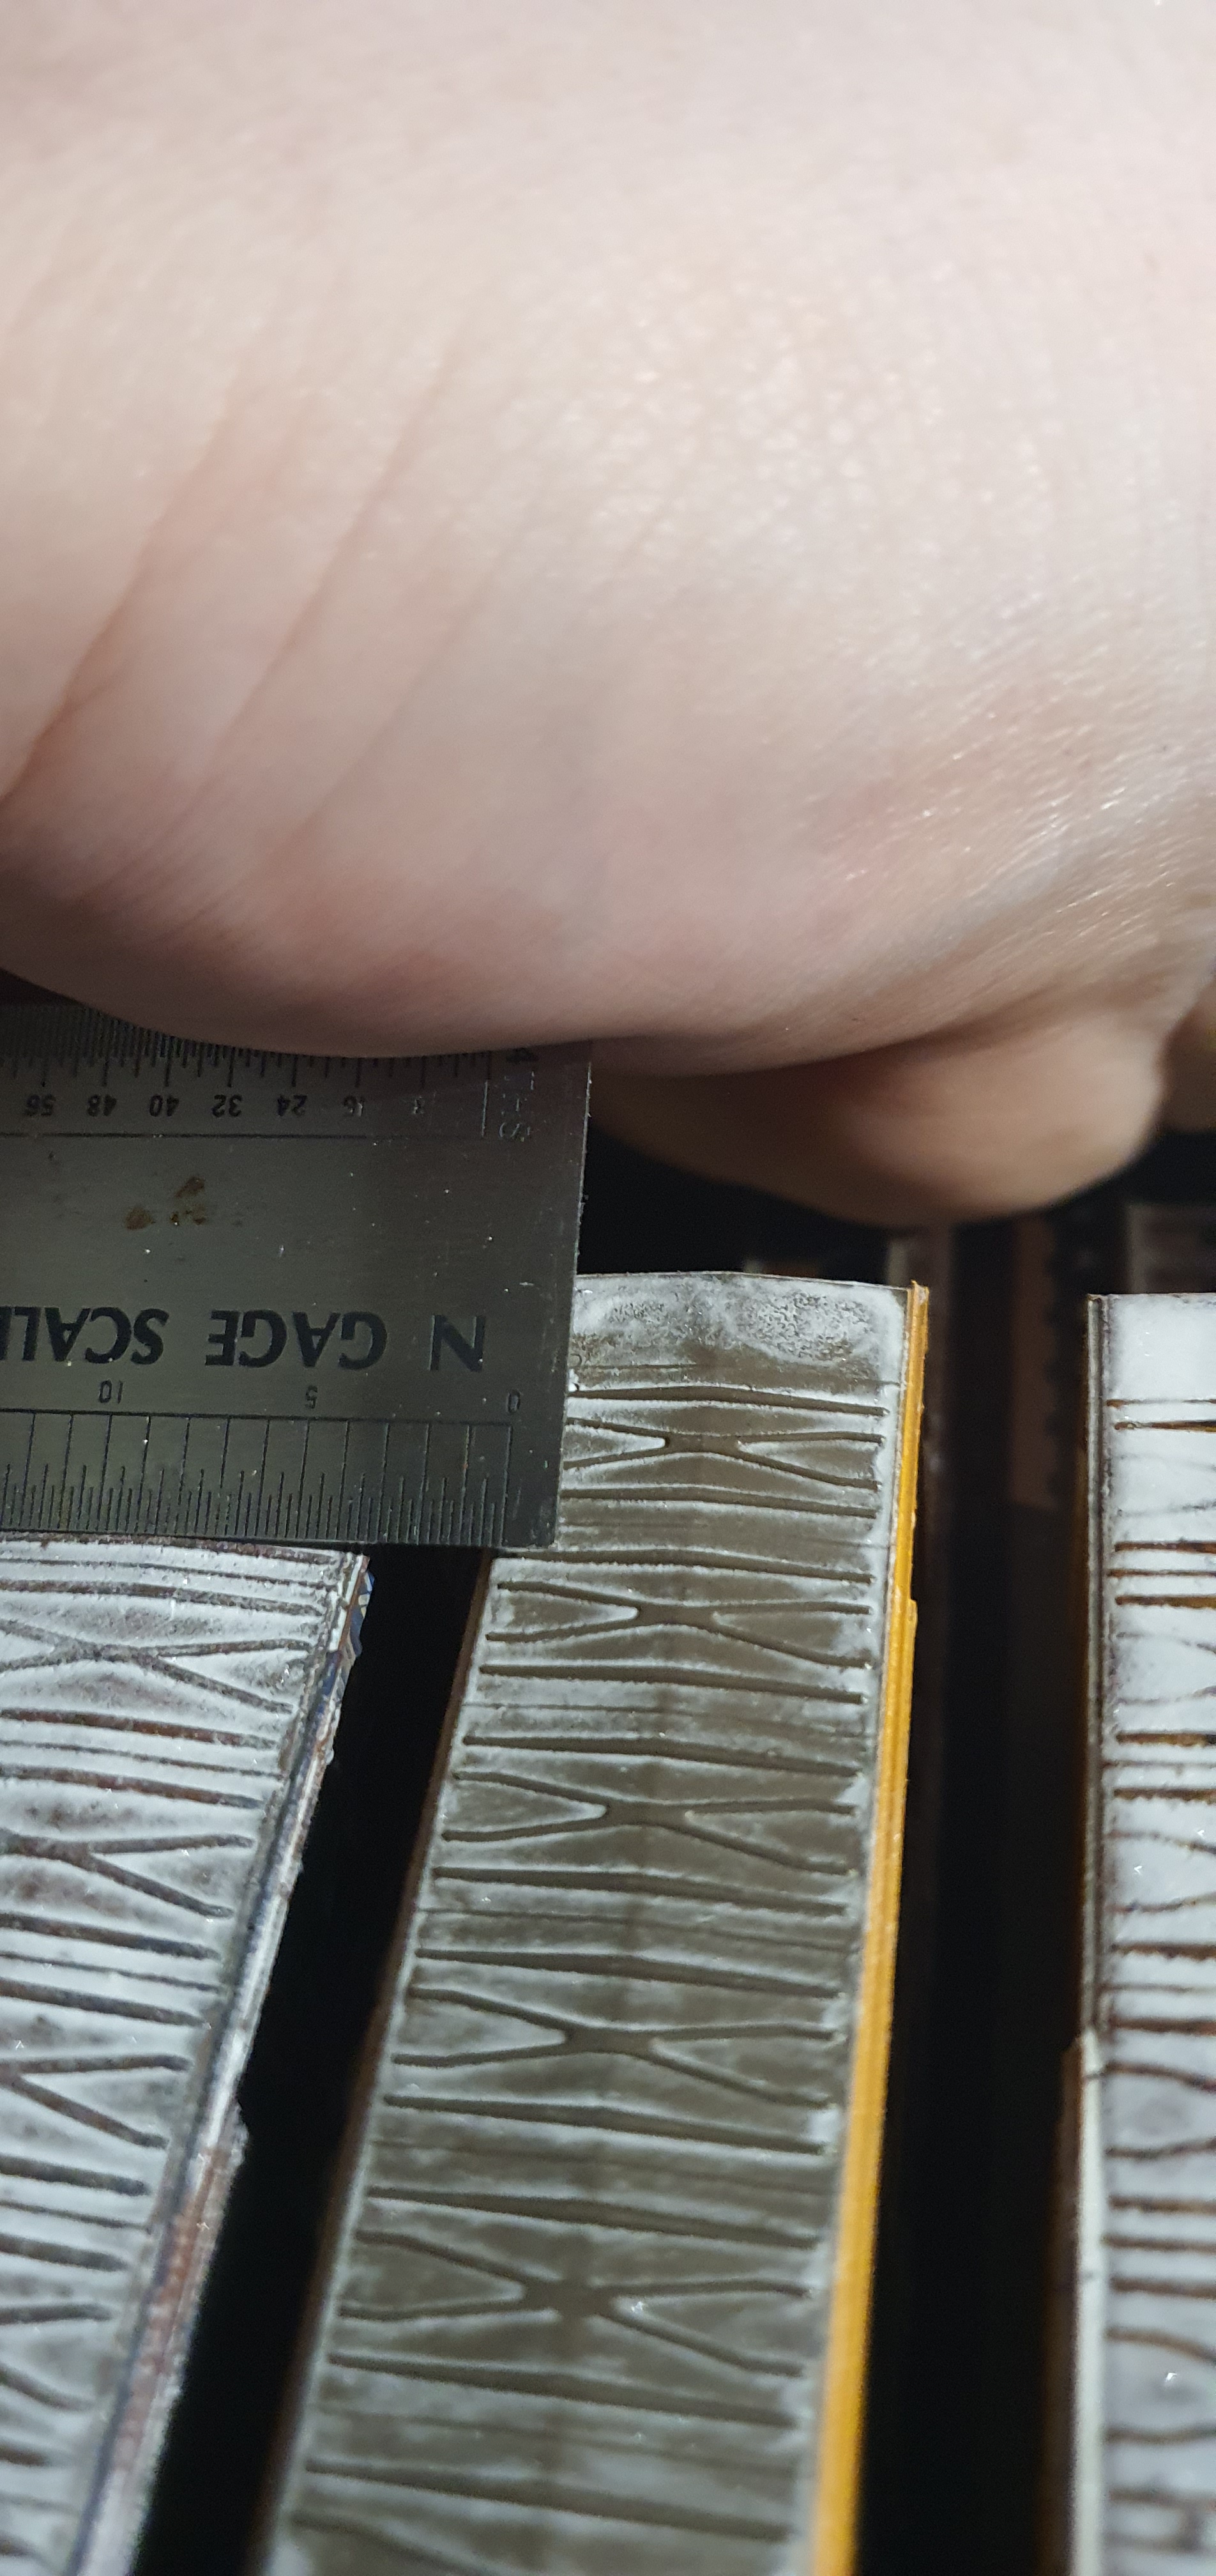
Then its on to checking clearances to make sure nothing is too close together.
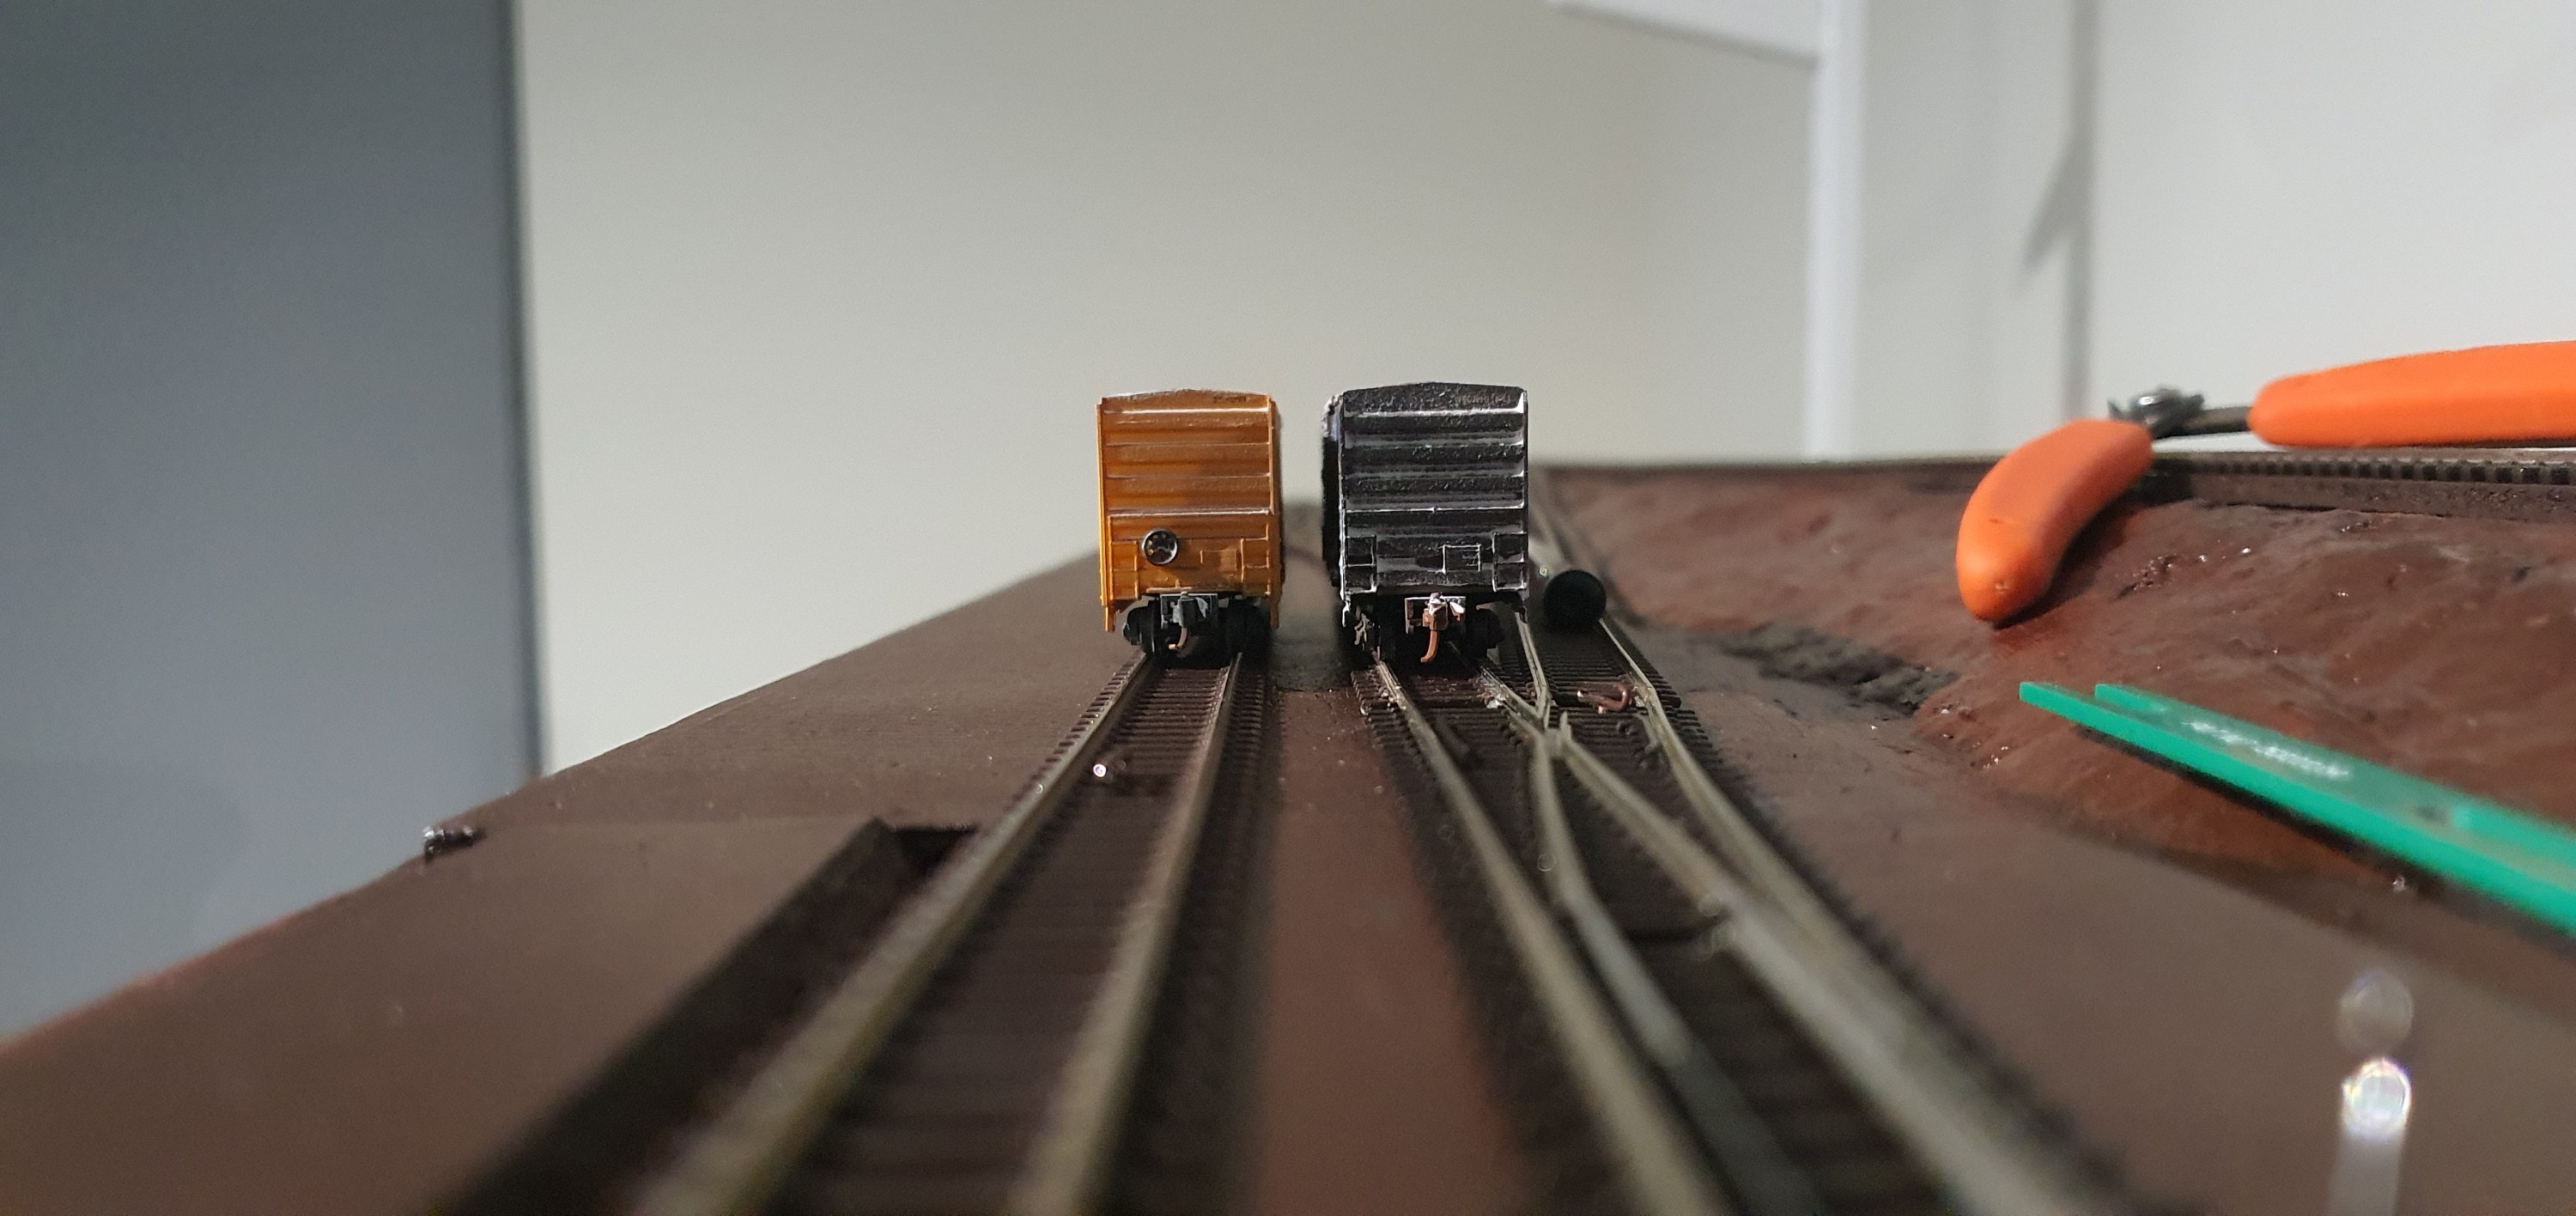
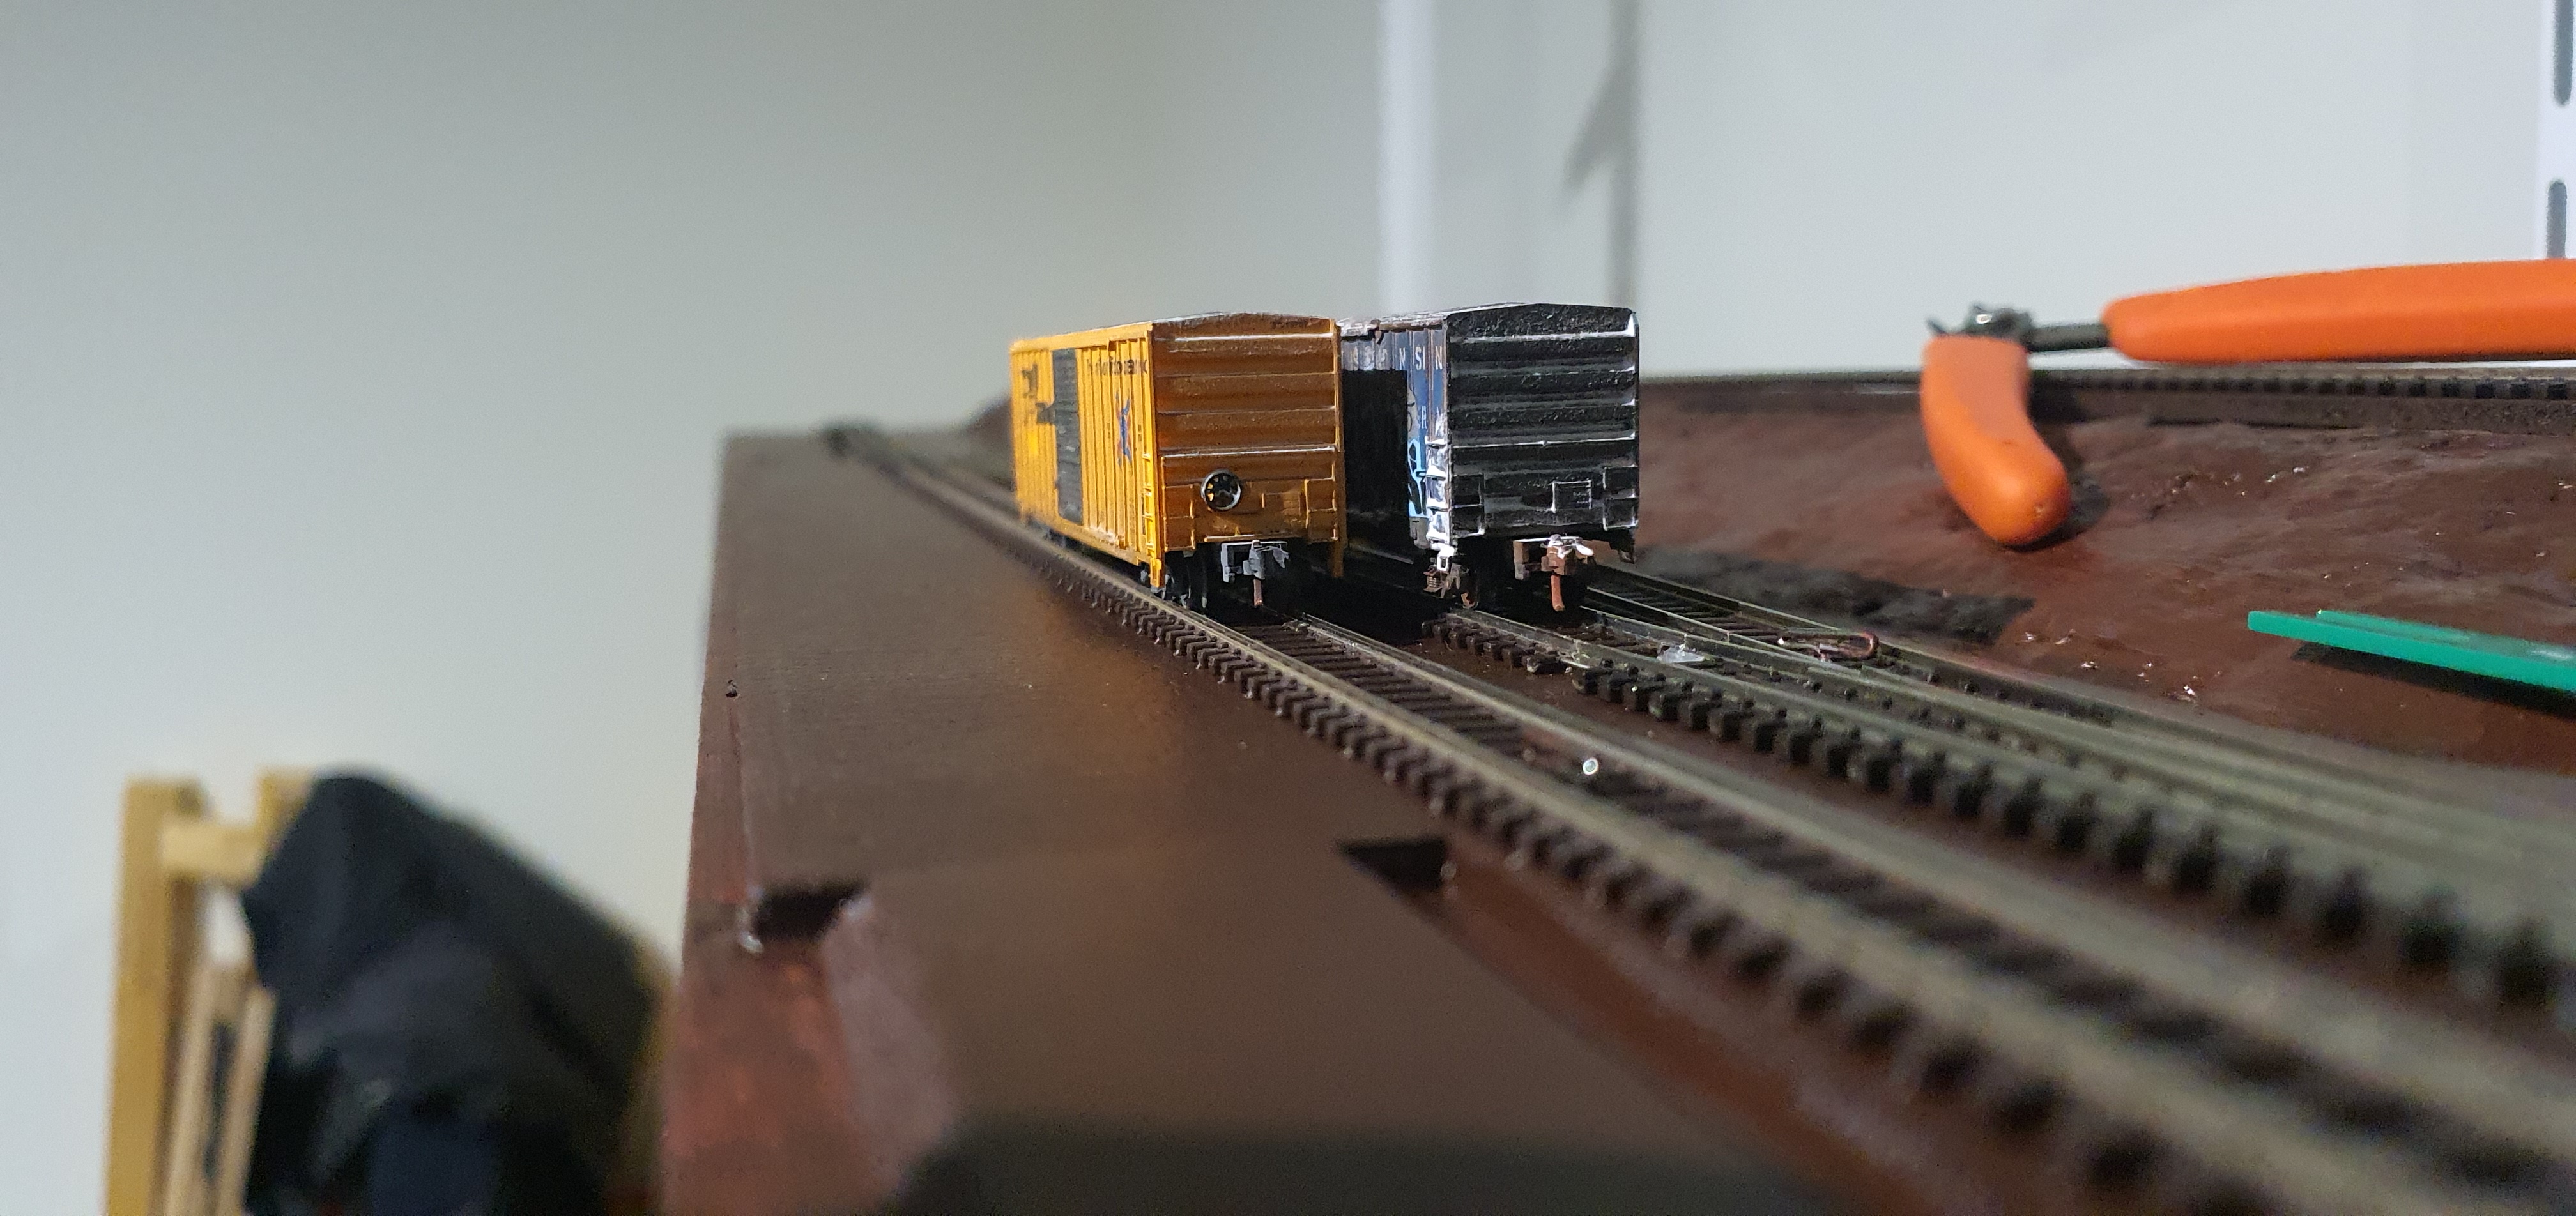
Things get jiggled about until we have something that looks like our track plan with no unsightly gaps.


Right now time to get feeders in and make some holes for the turnout control wires.
Call back tomorrow to see more progress. Gordy
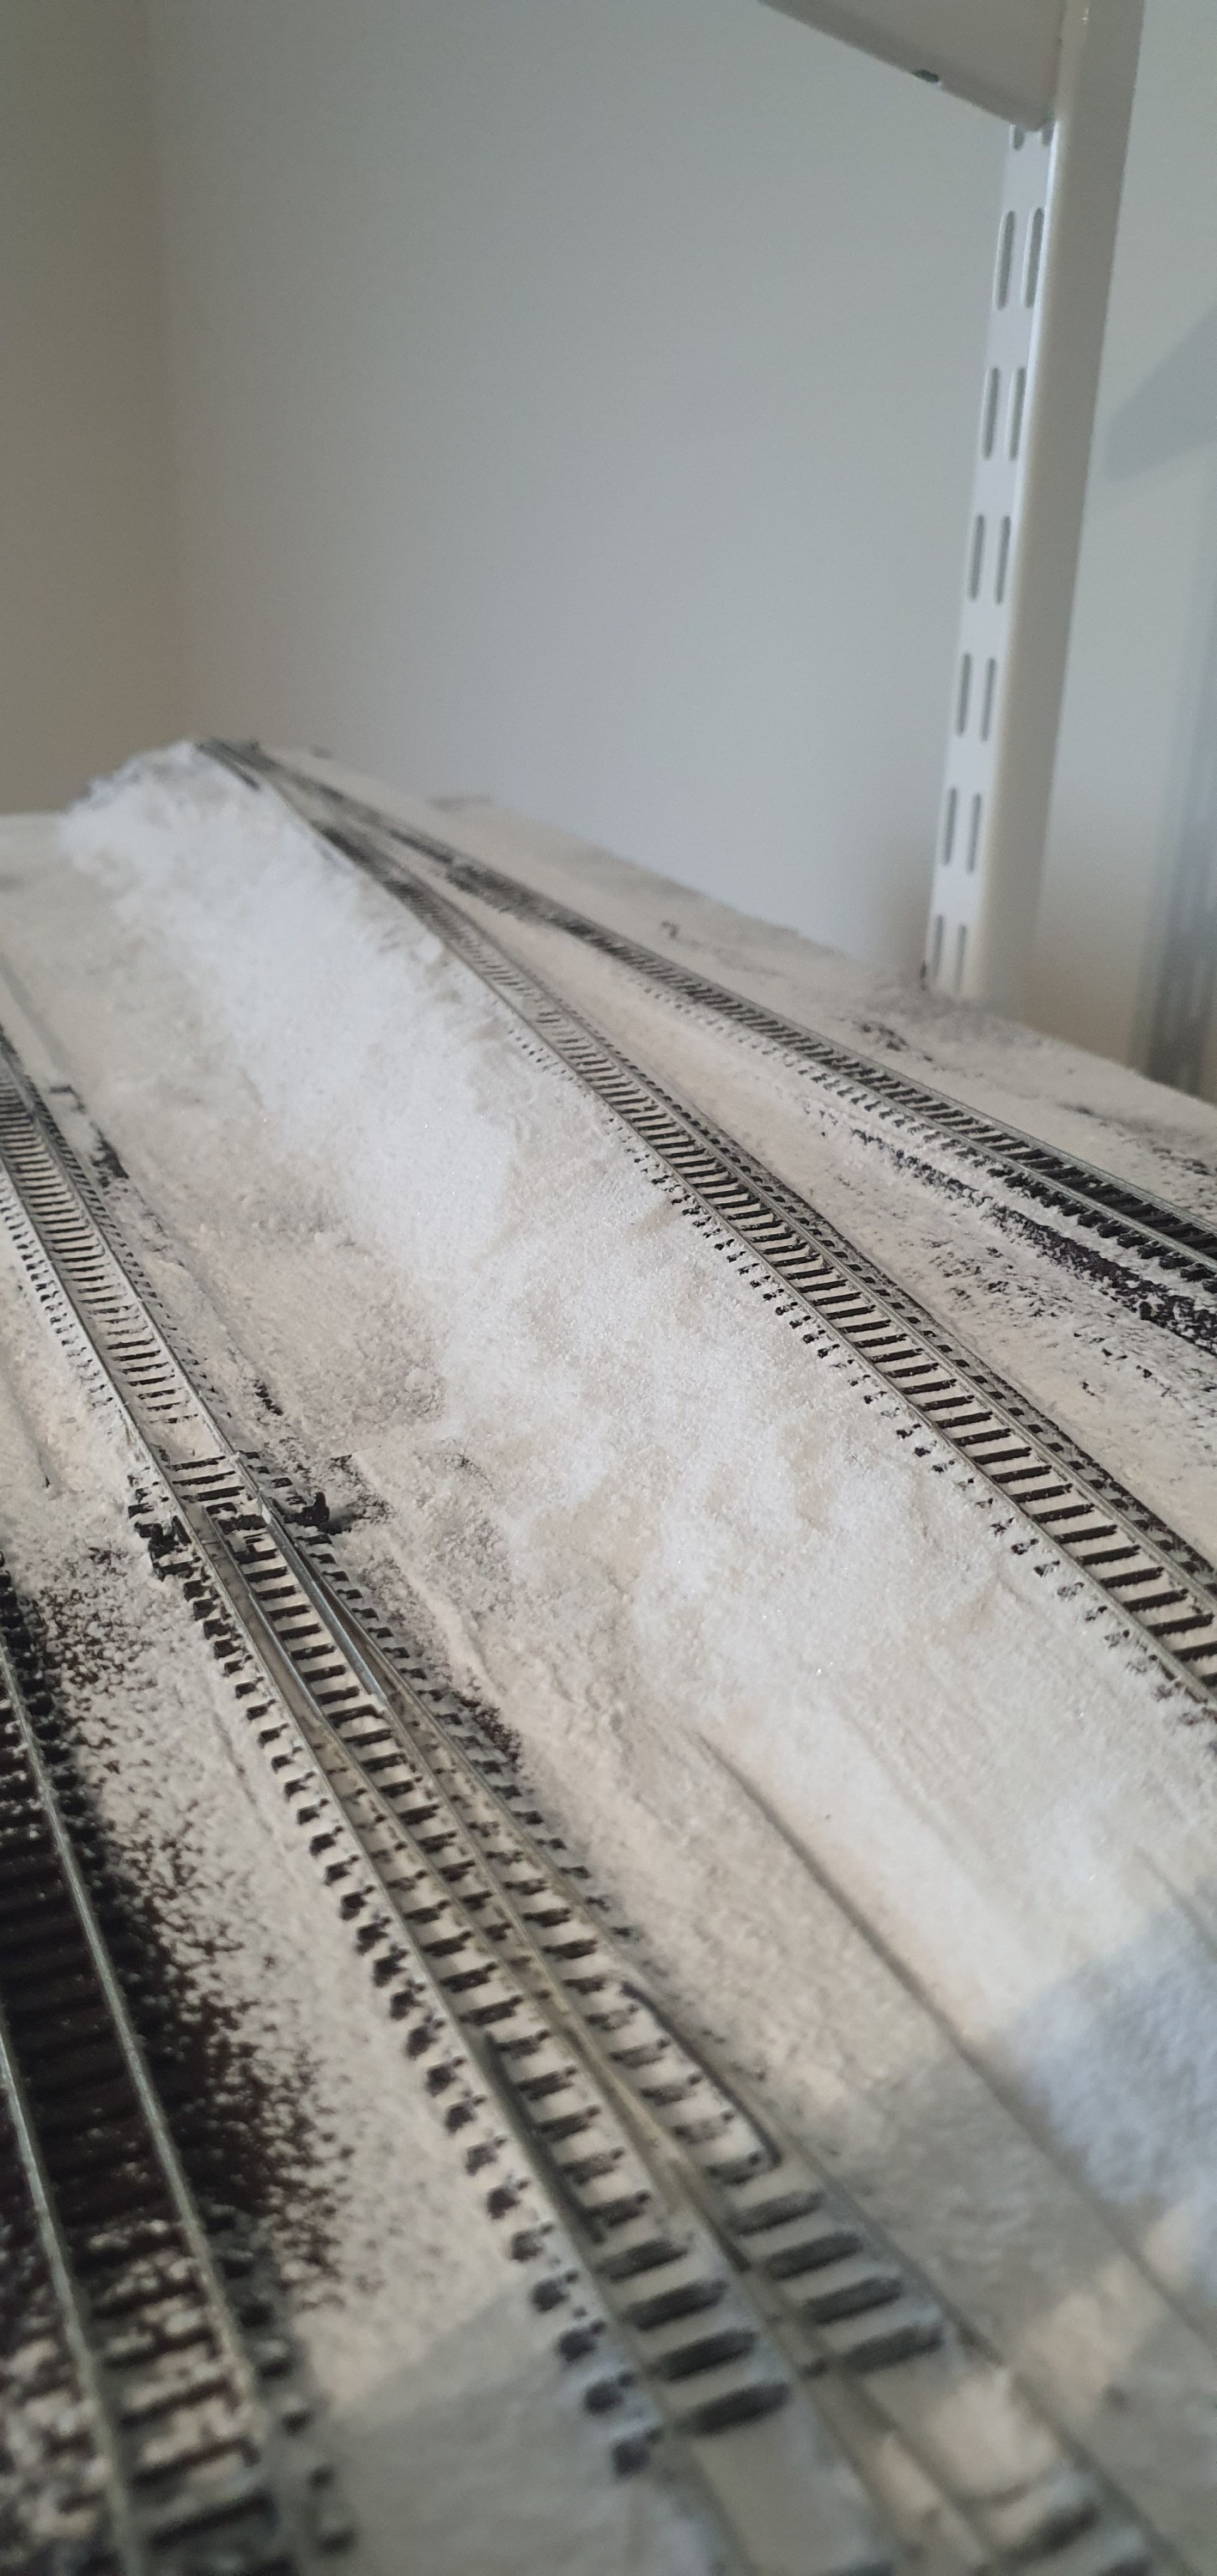
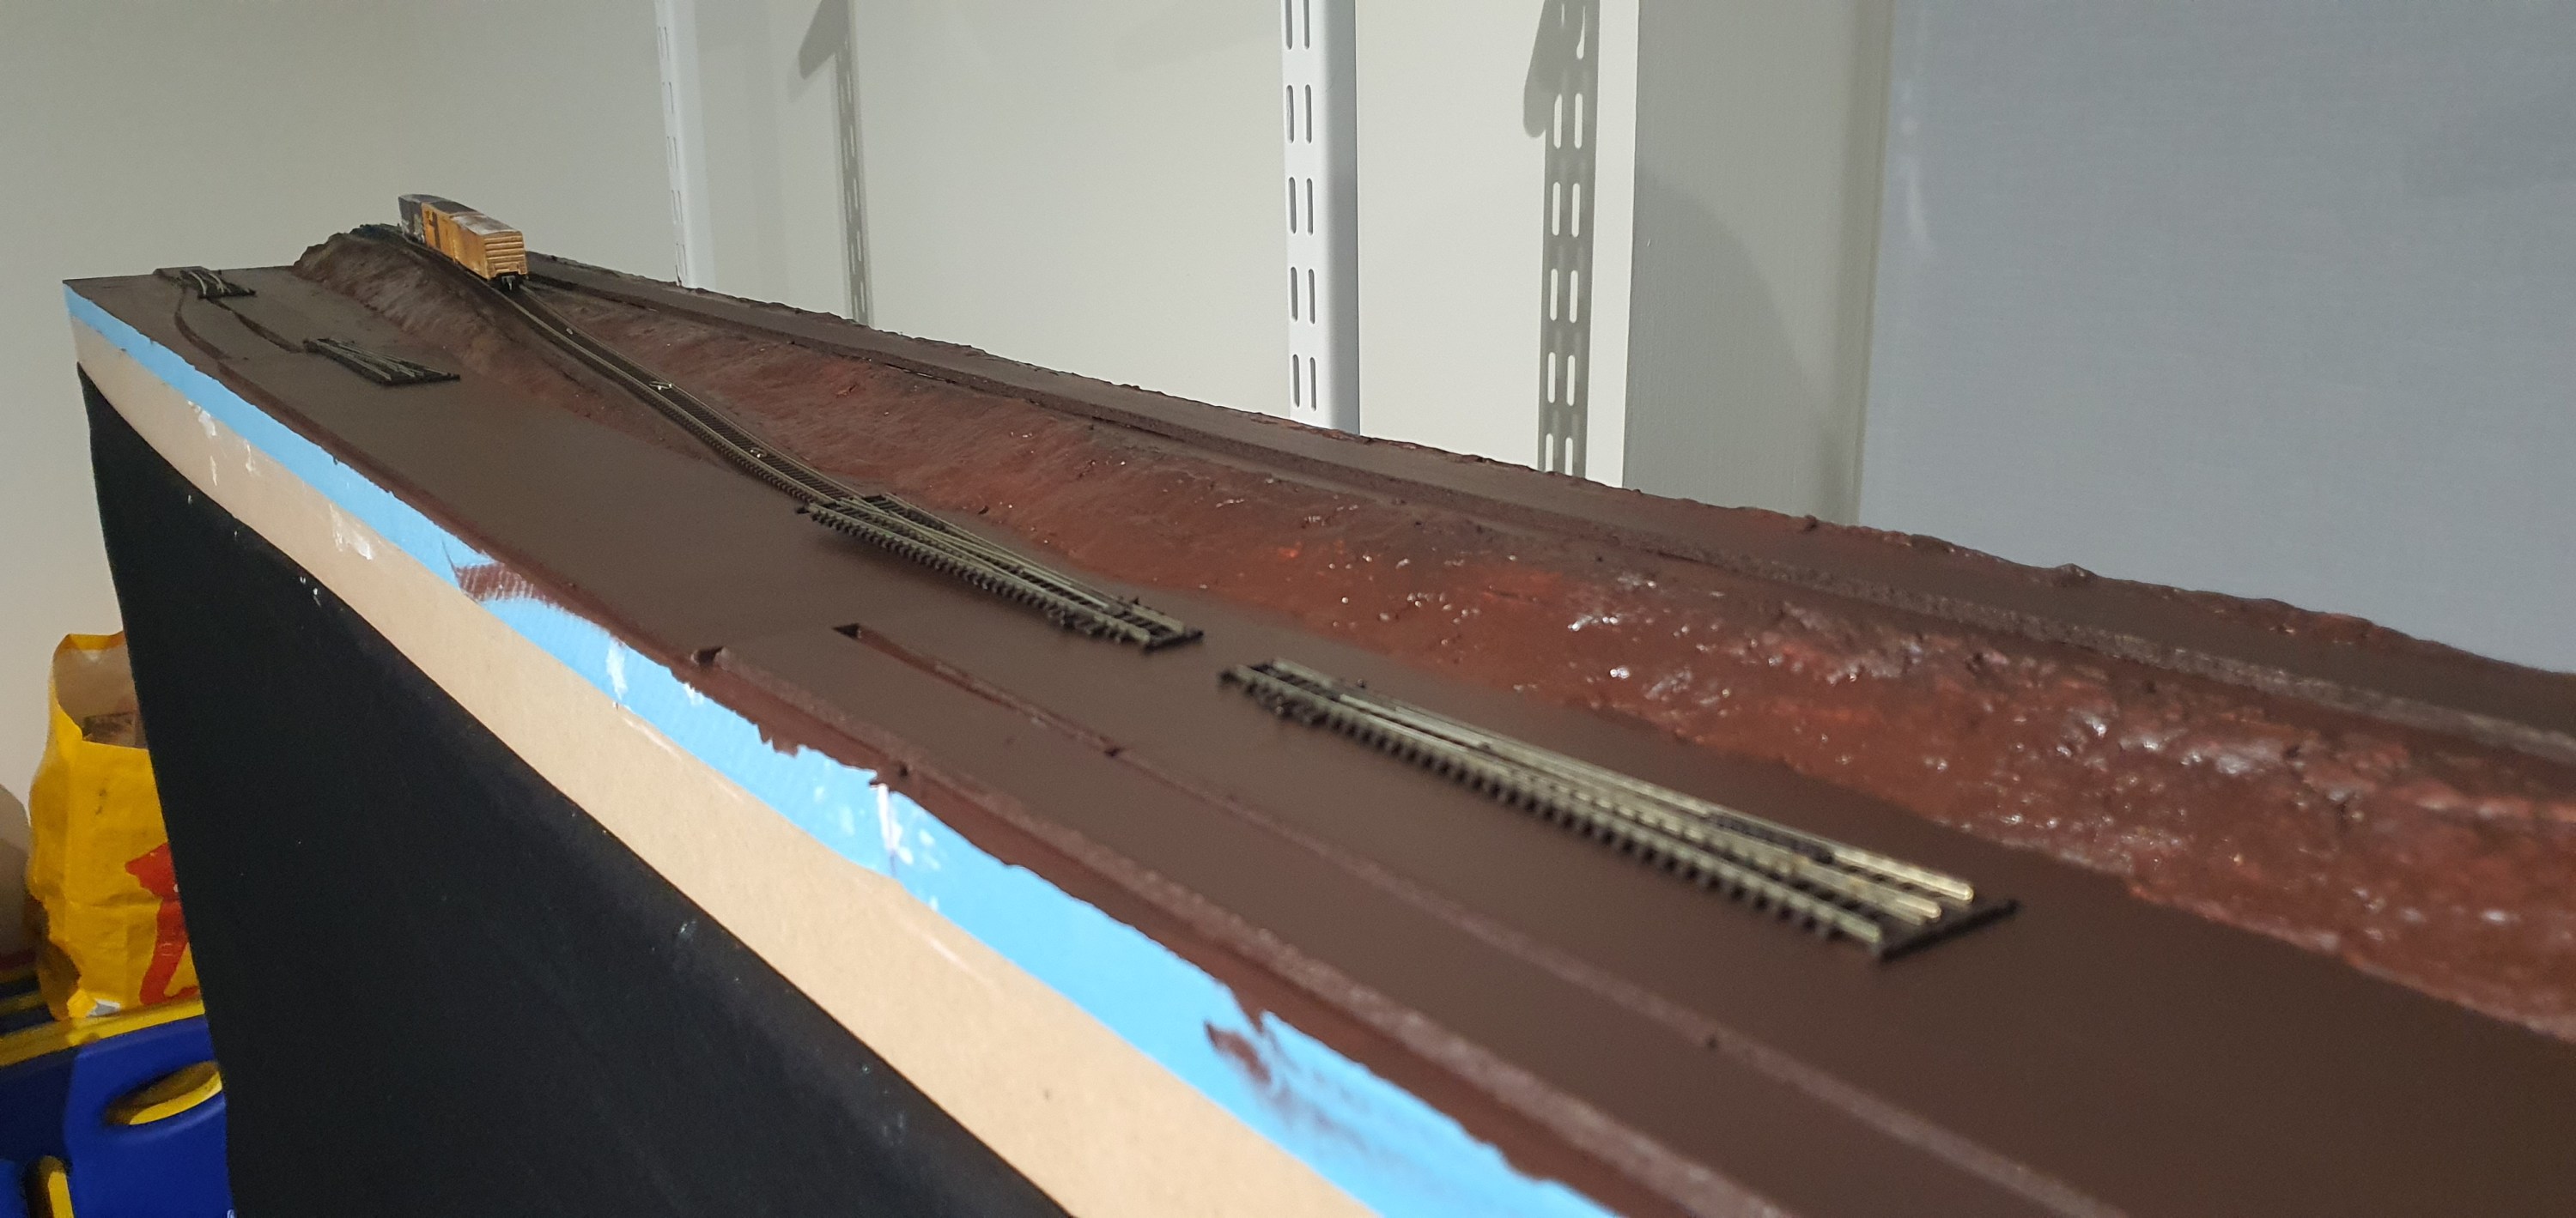
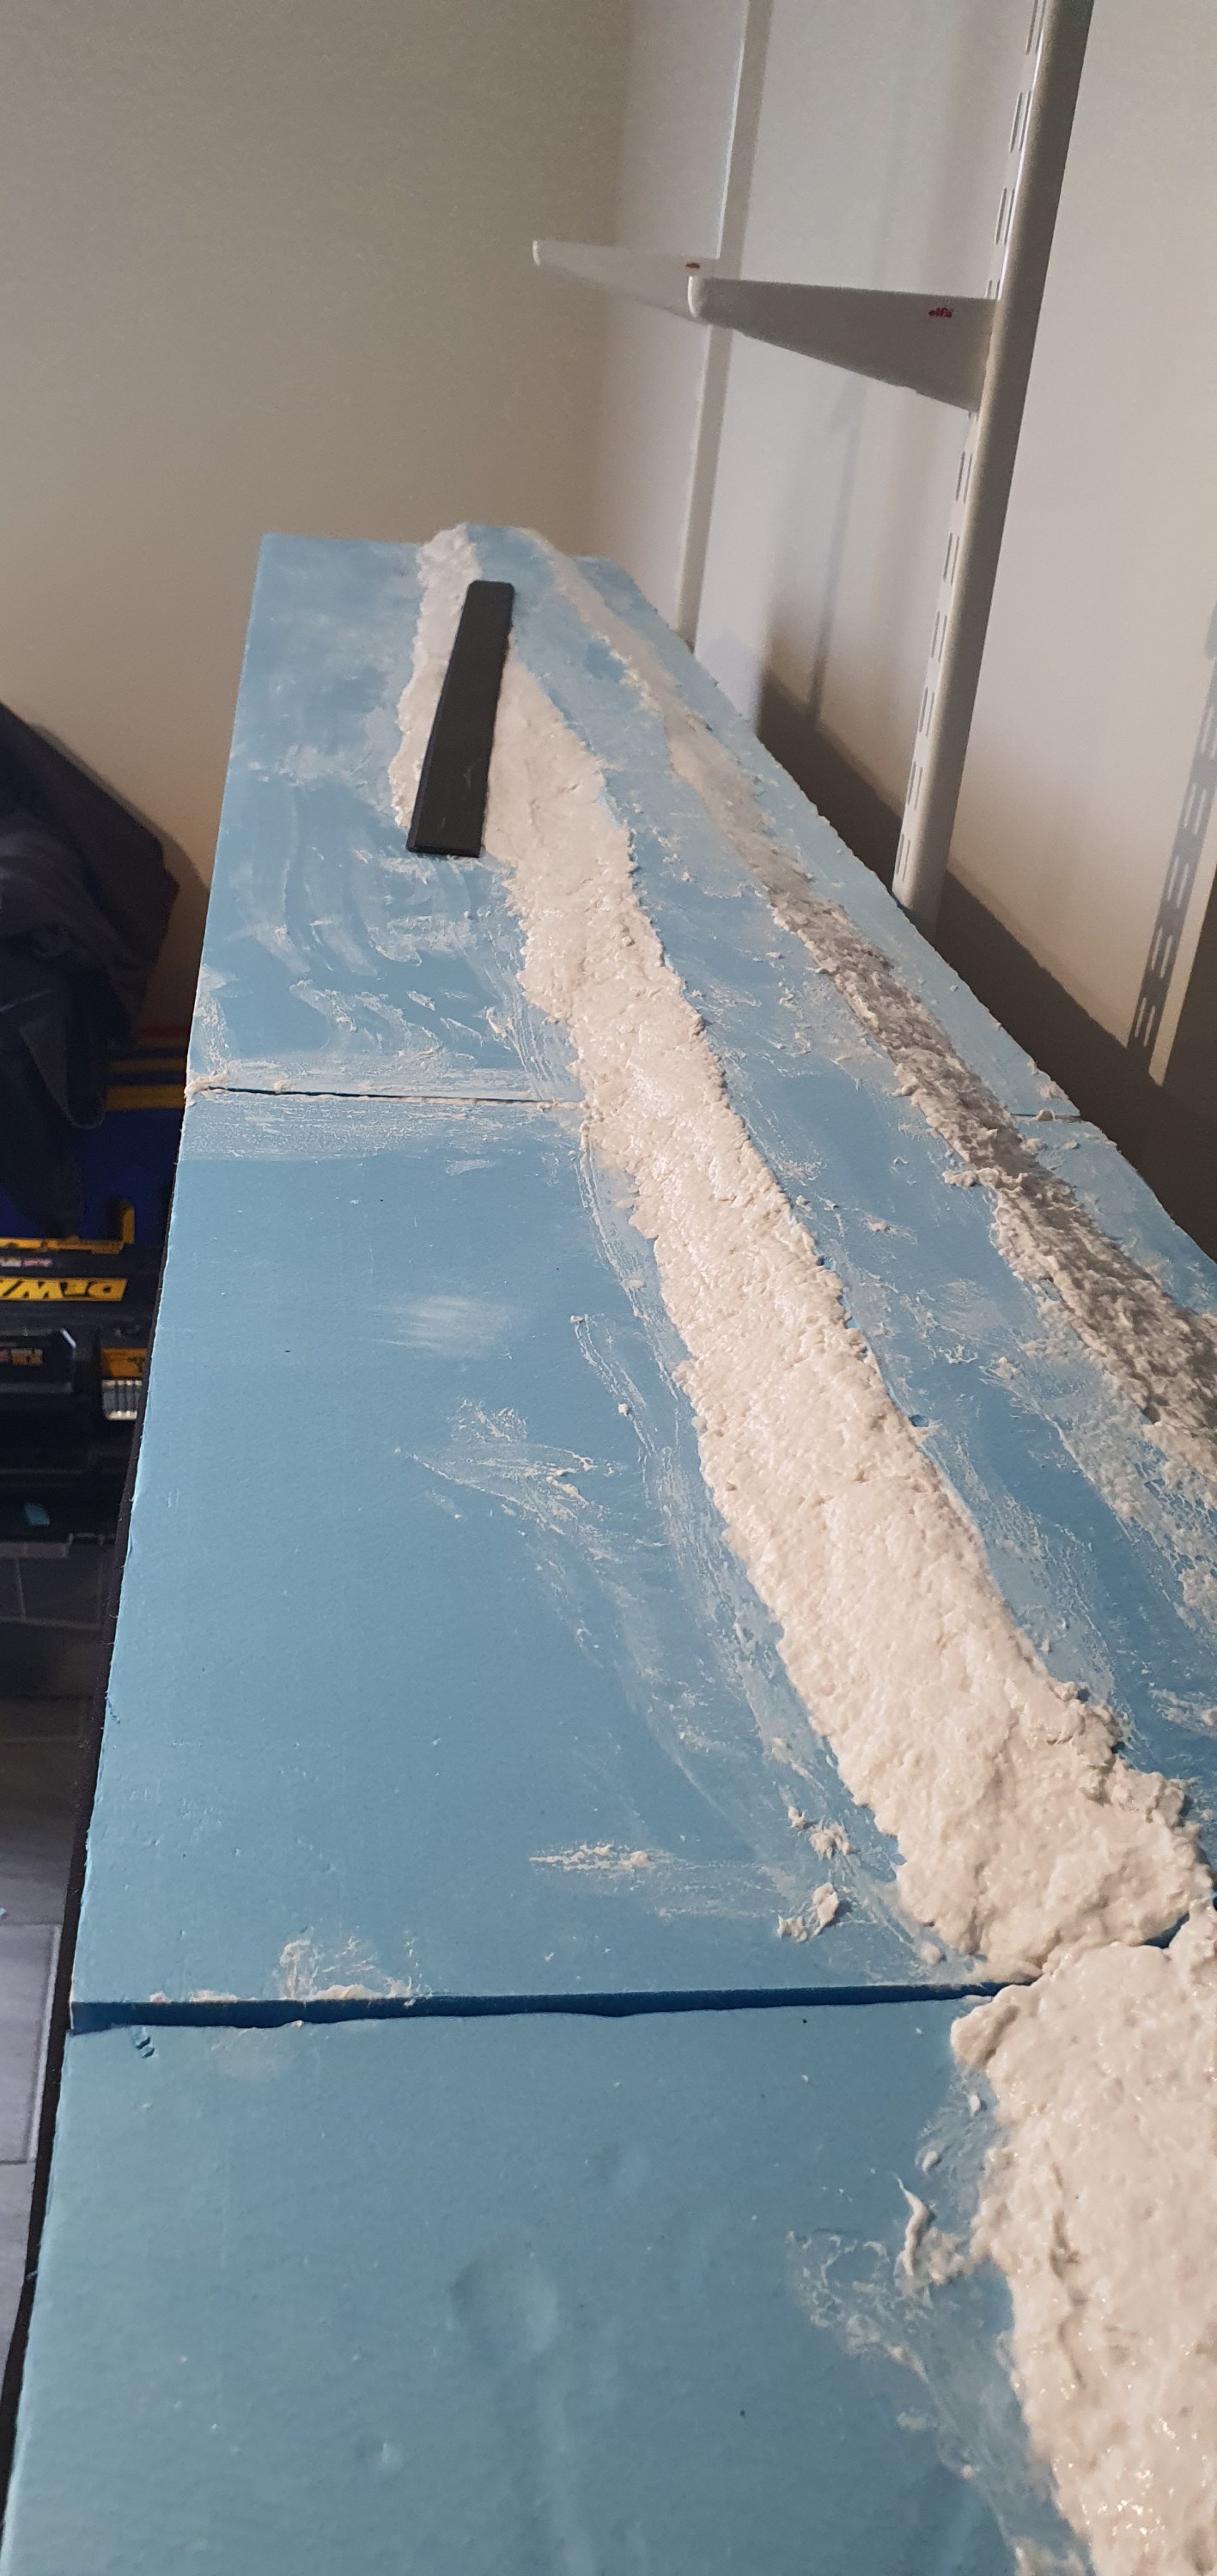
Yesterday we got as far as adding the sculptamold and turning blue foam into lanscape. We even managed to get the subroad bed down. Great Eh! well yeah but it still looks like blue foam and dry plaster so we need to do something about it.
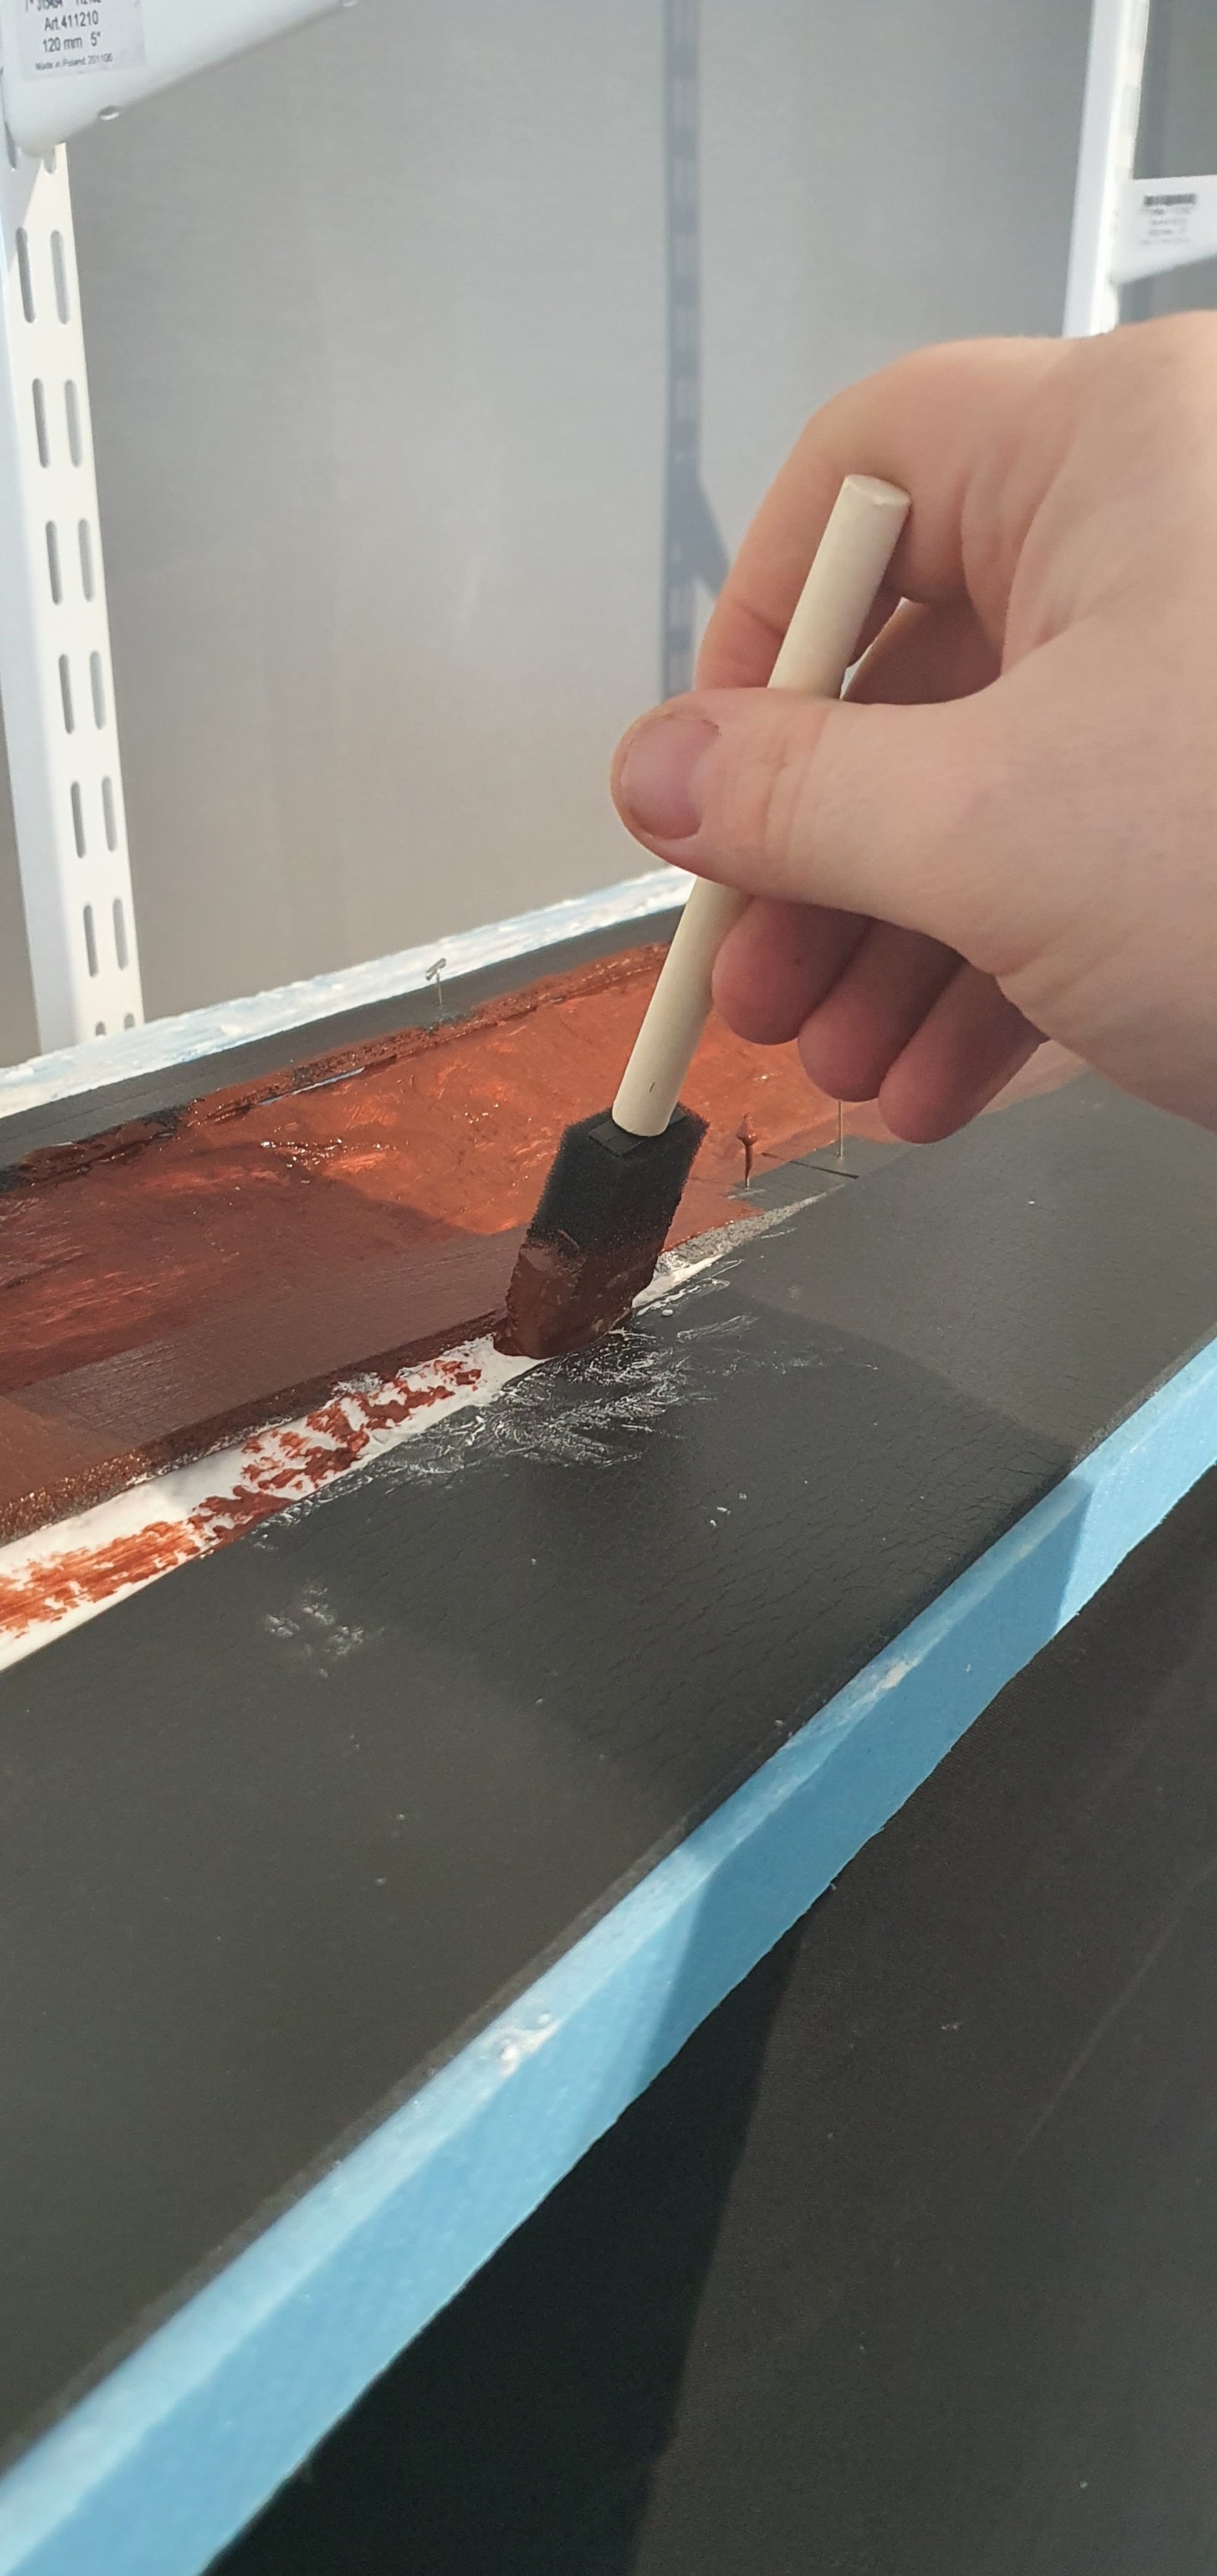
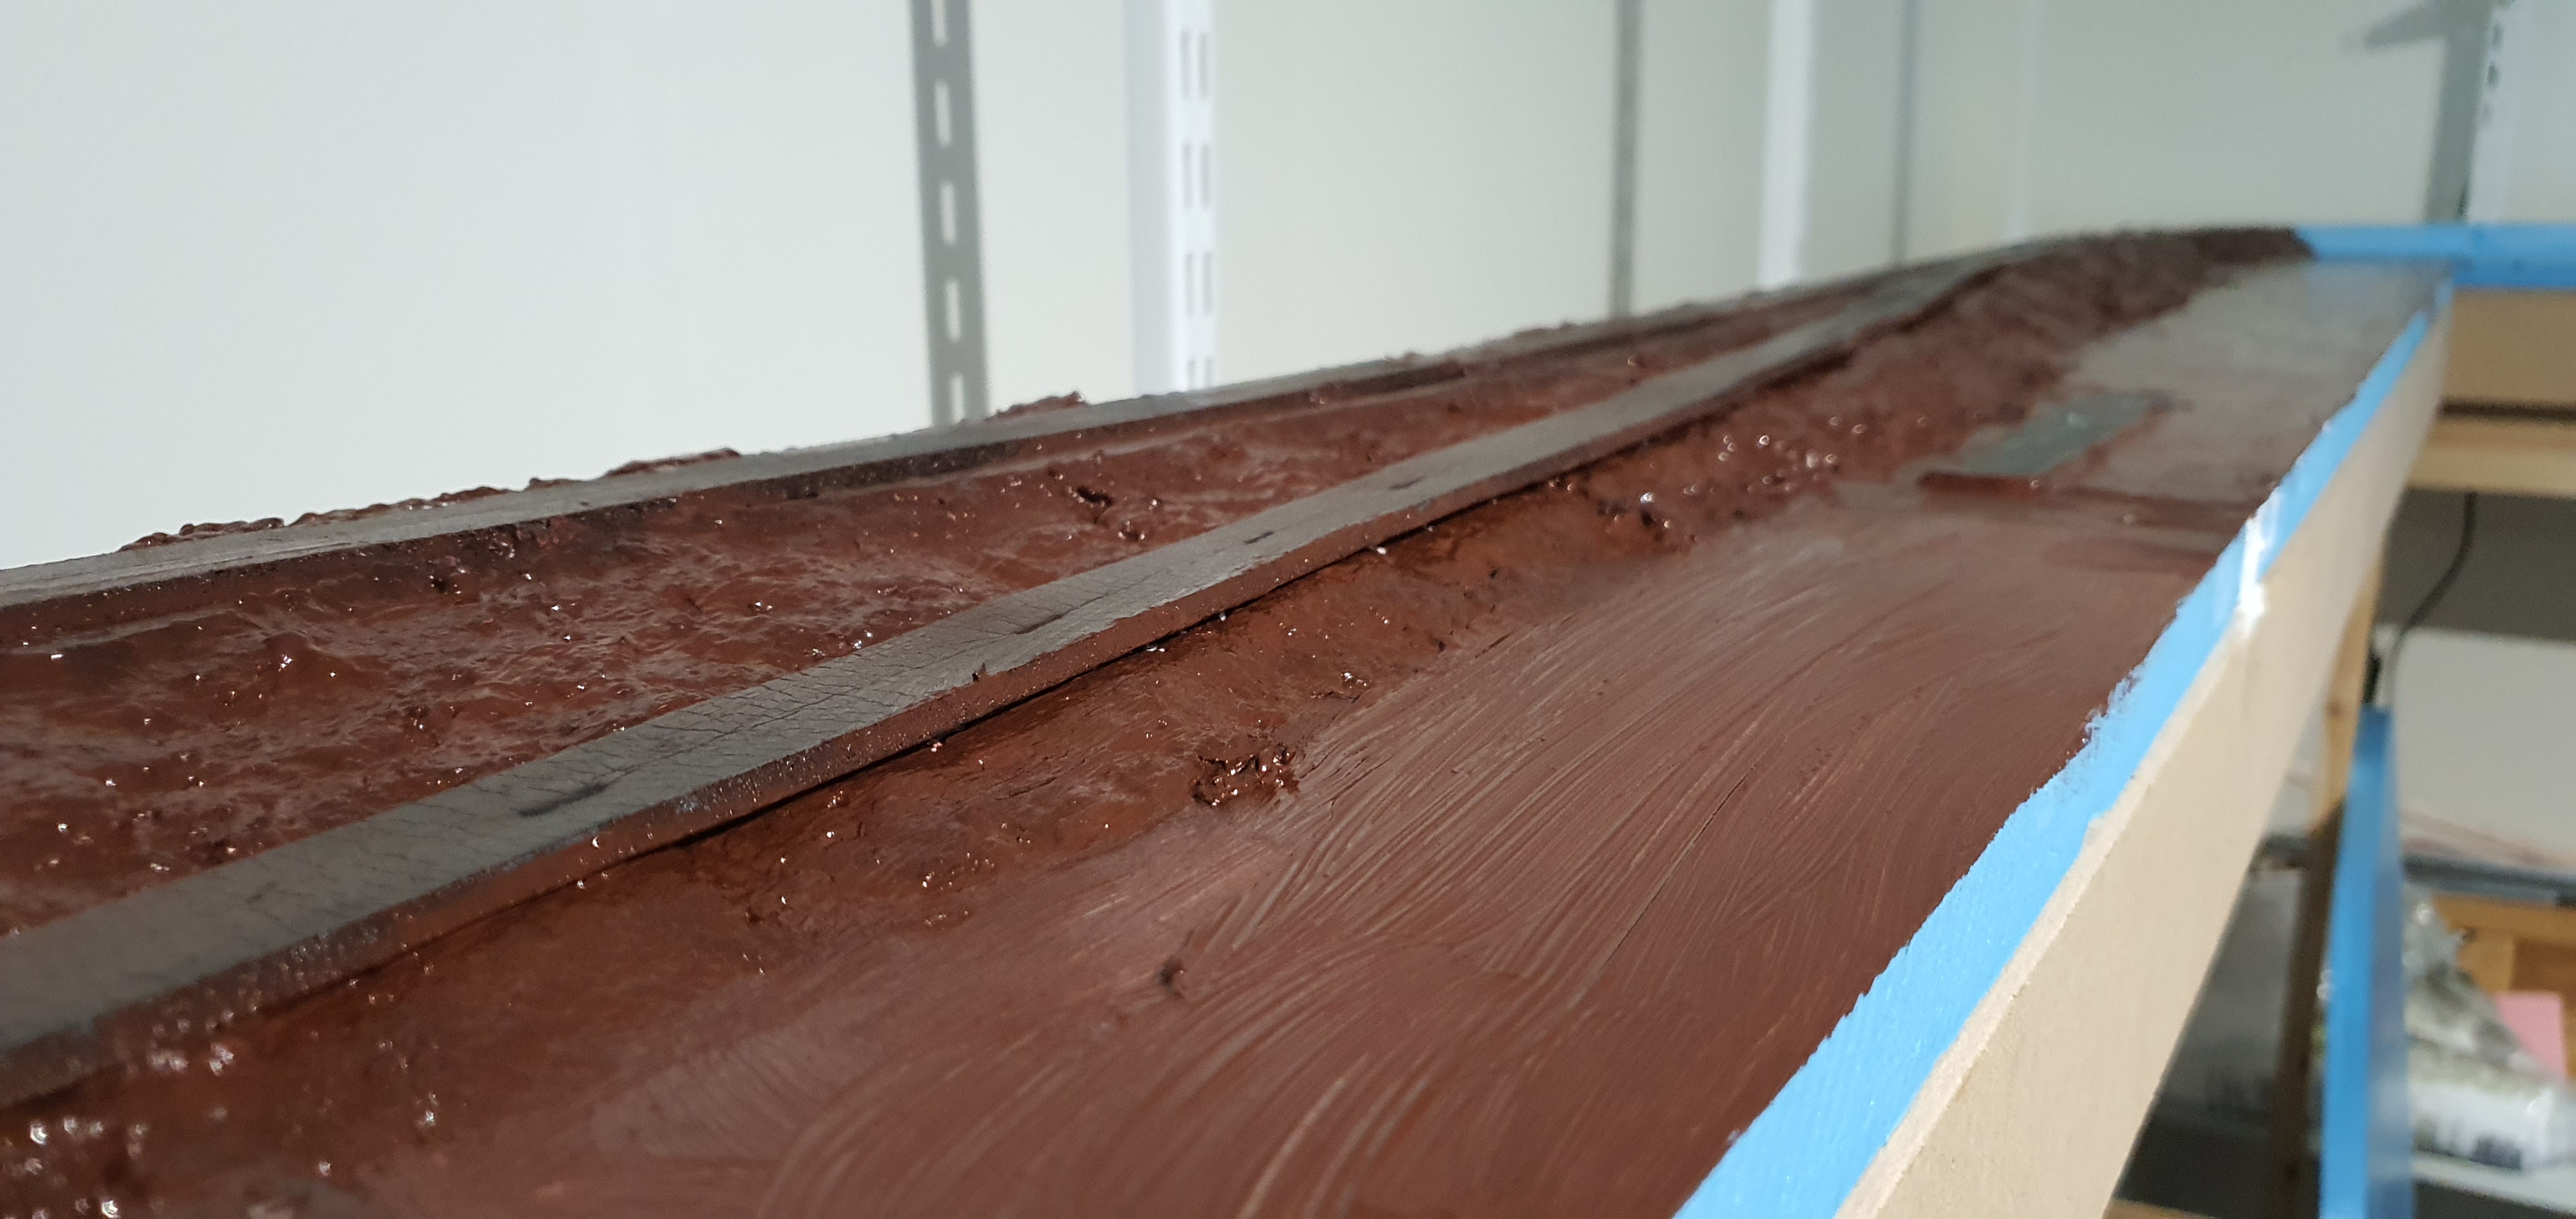
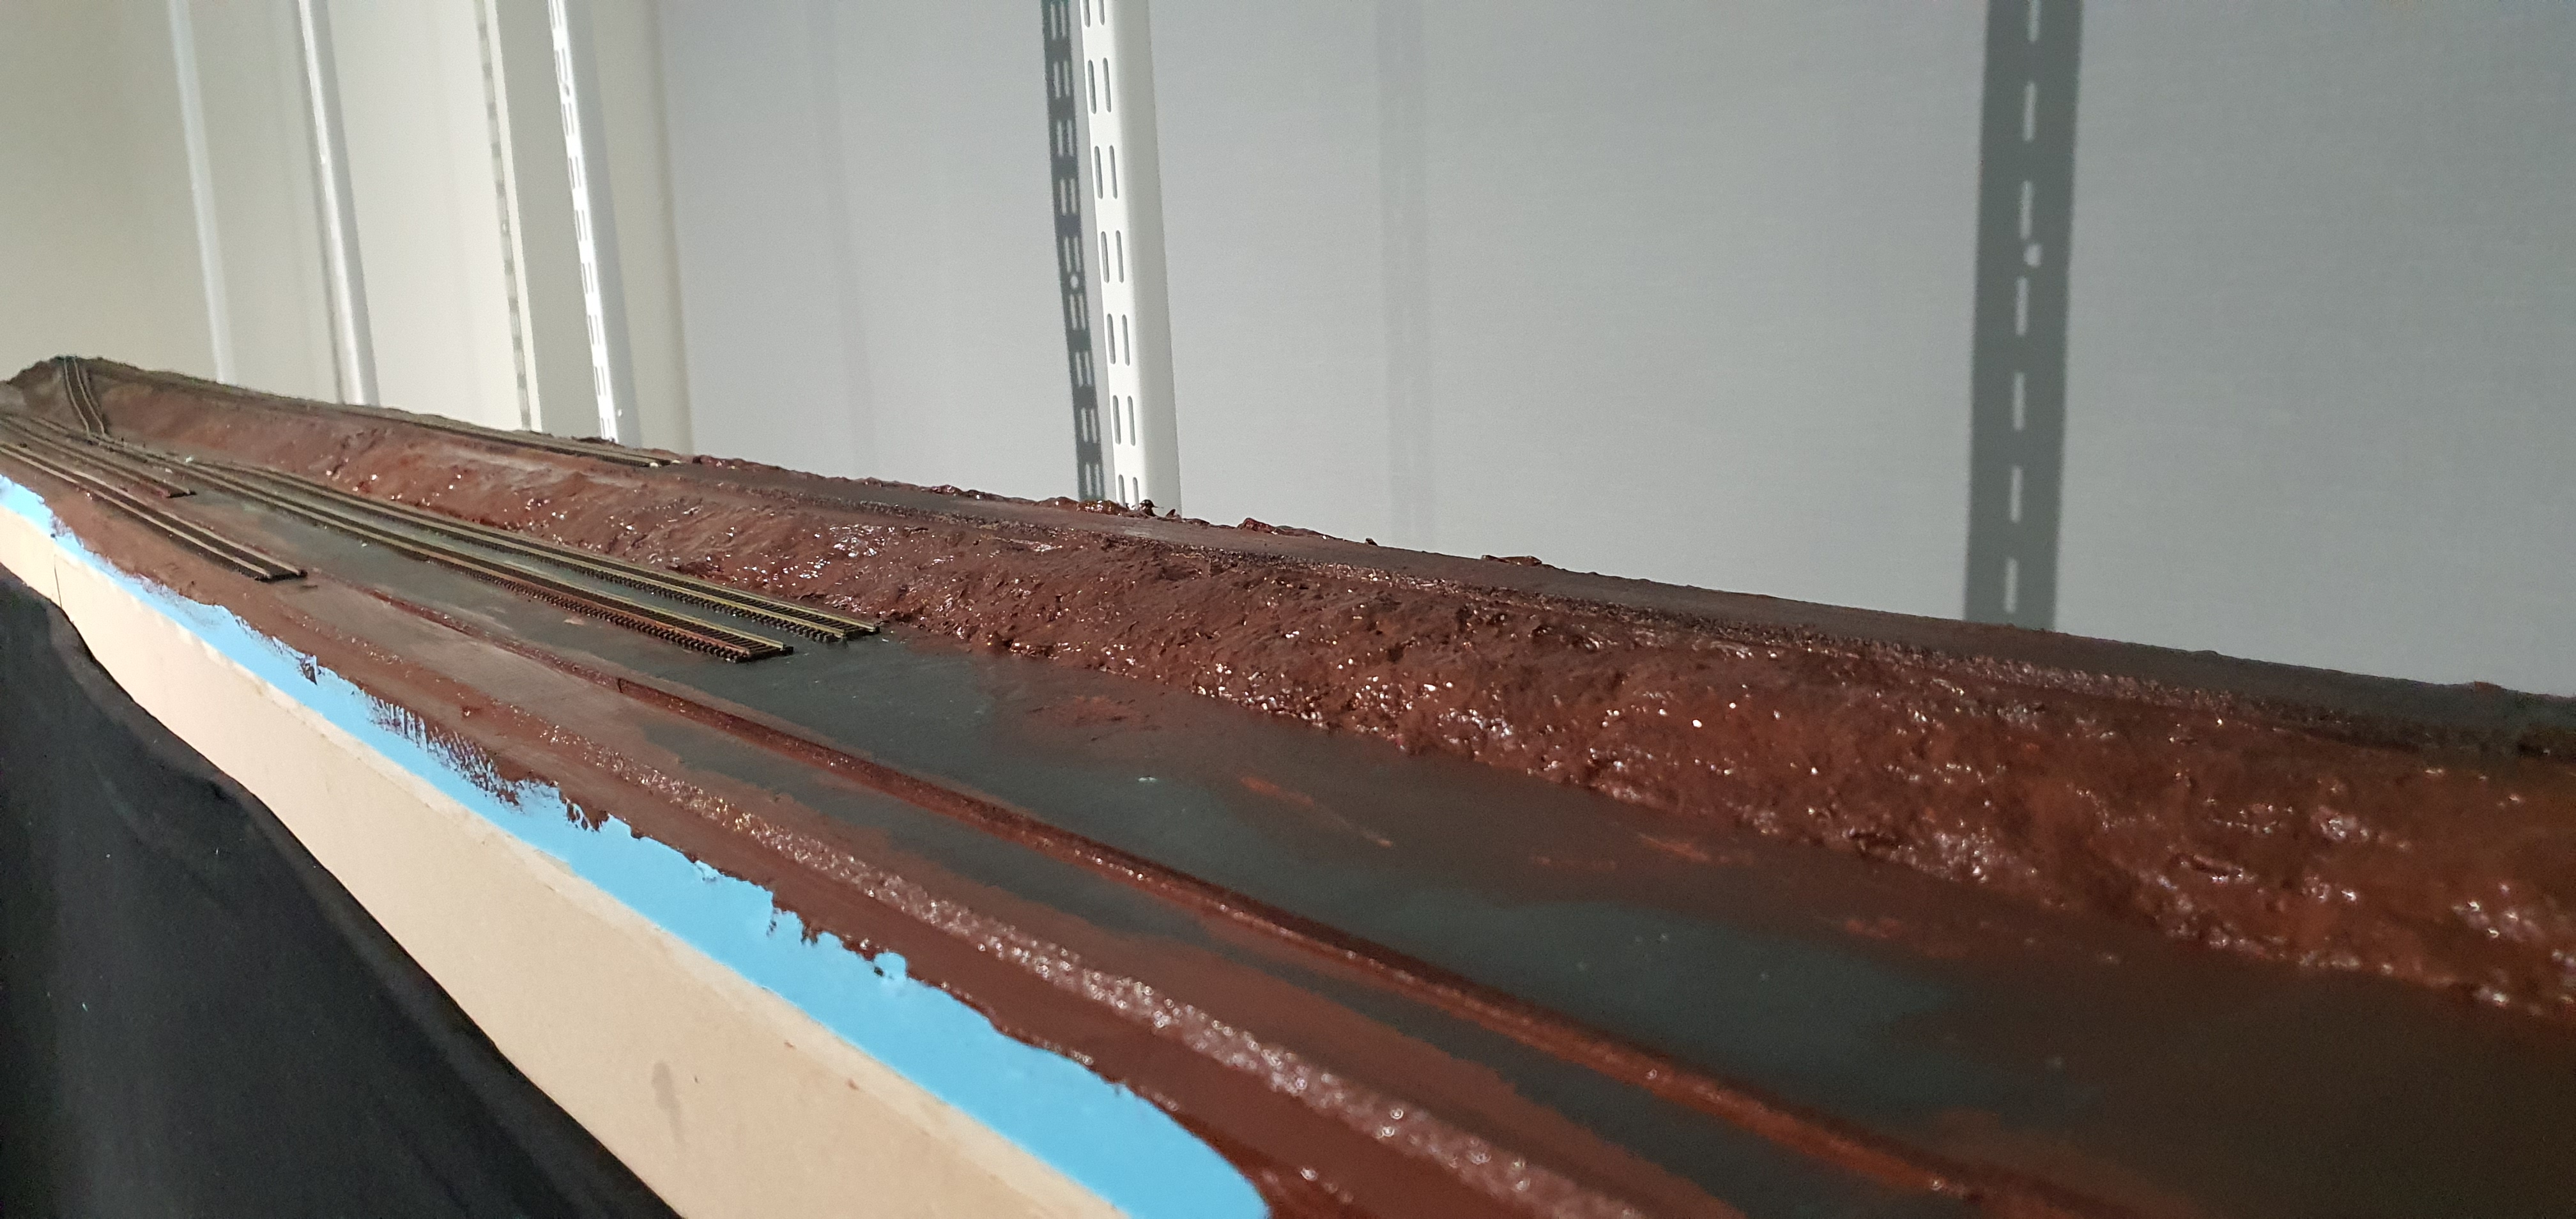
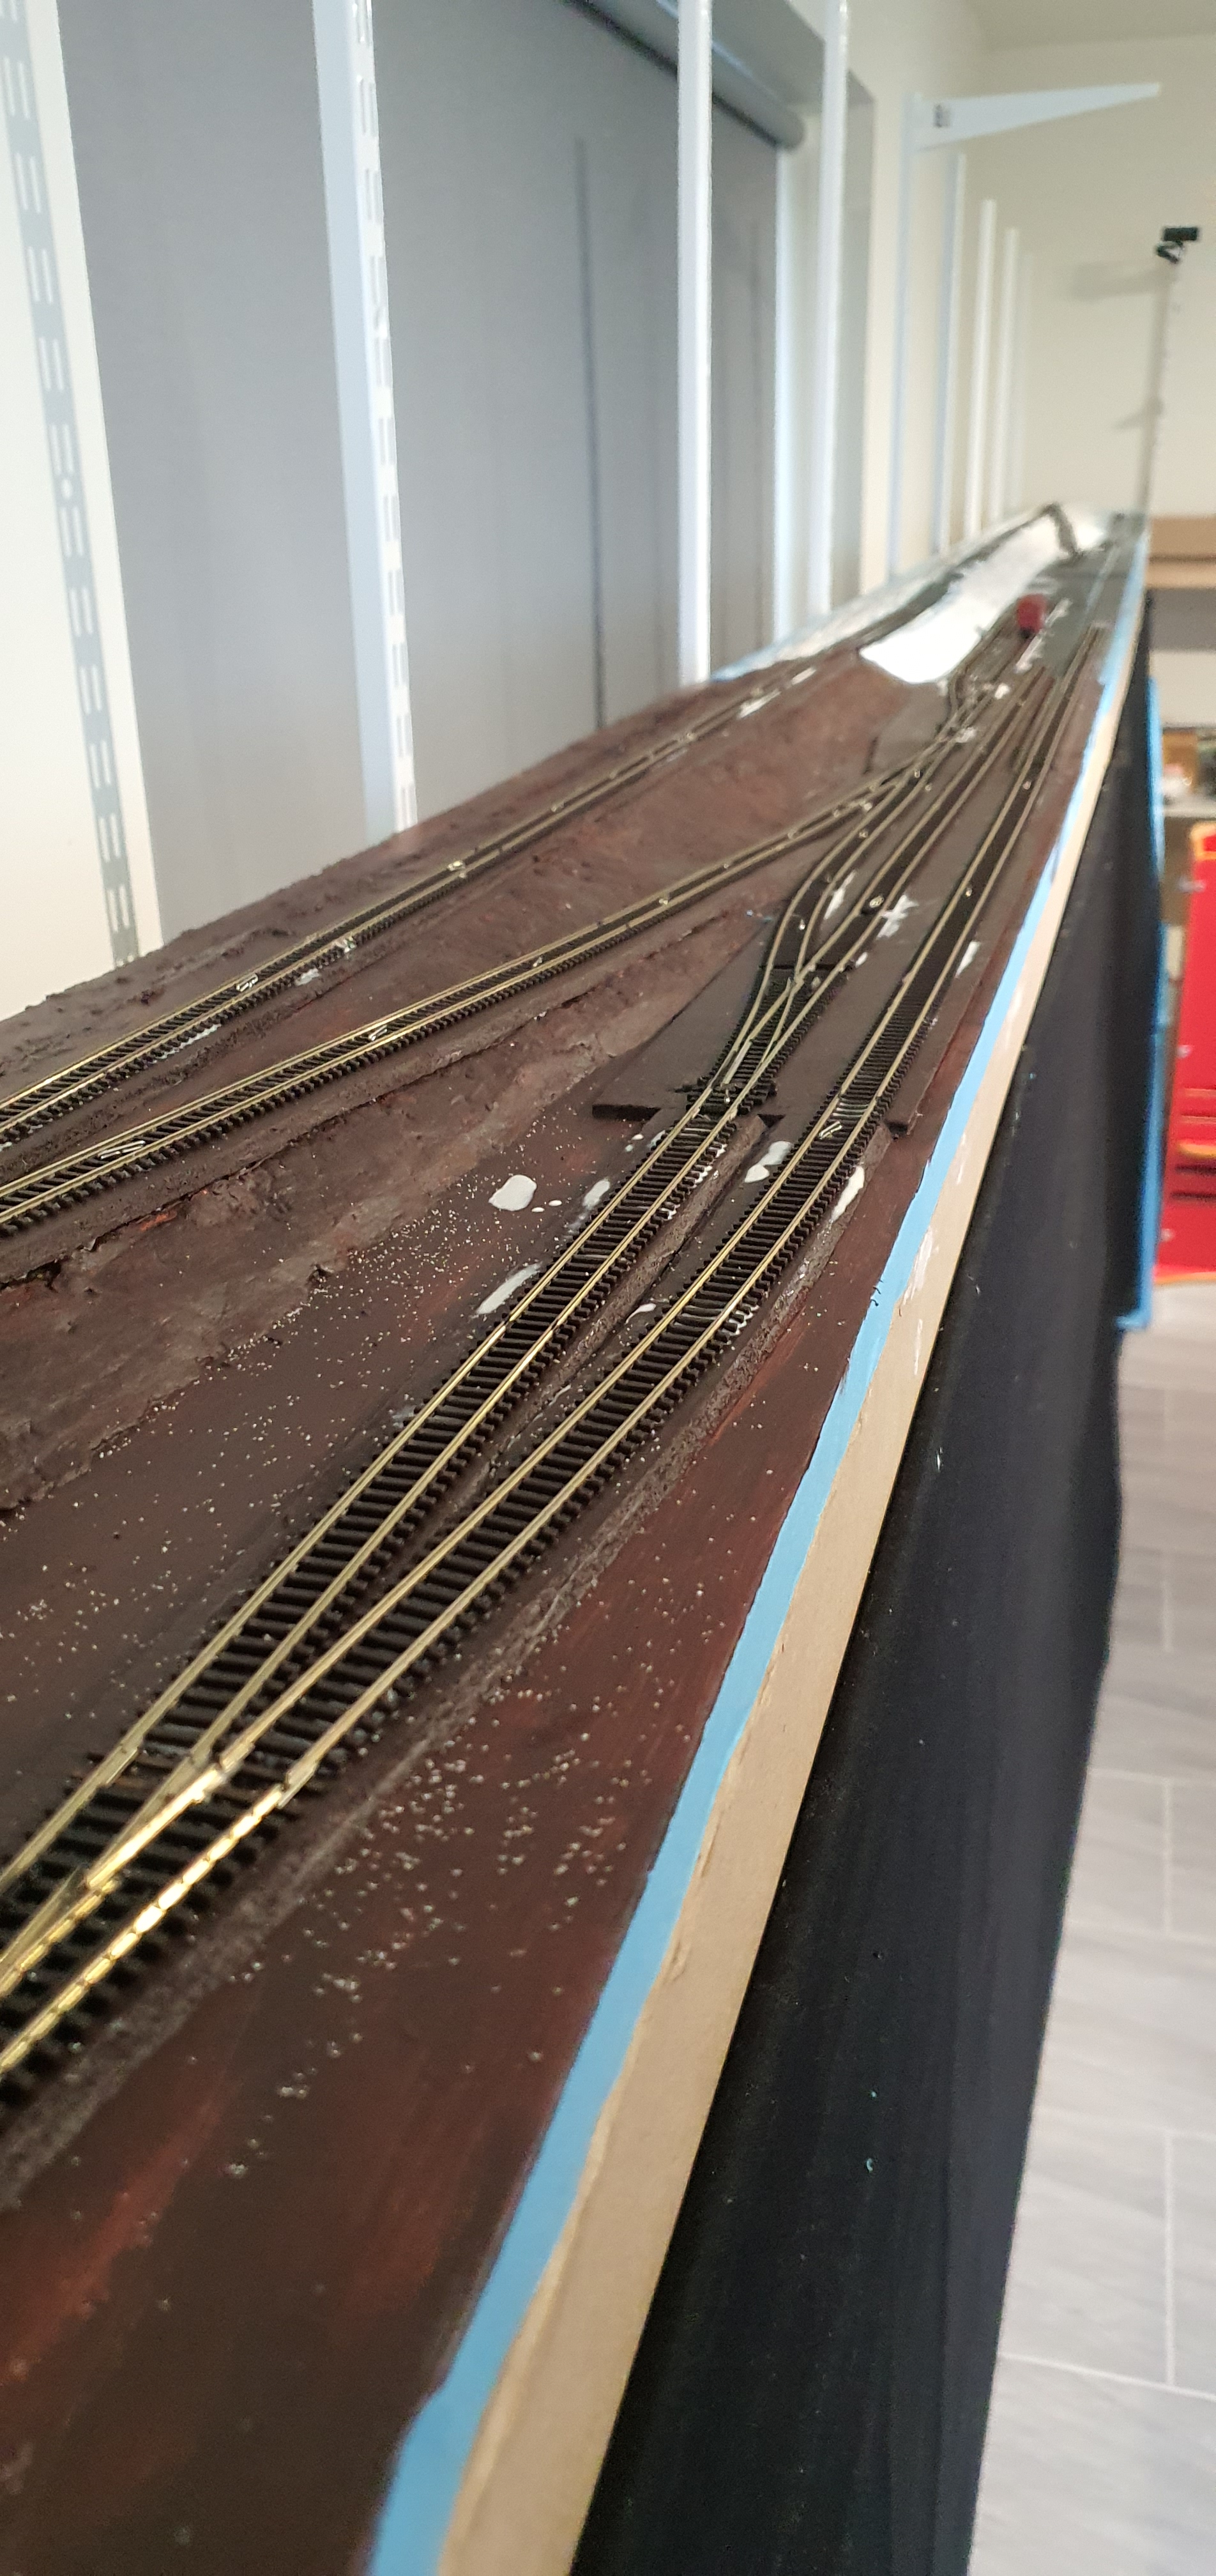
No matter what scenery you do above the base everything needs to be painted an earth colour first. And I mean everything. This is really important because you don’t want to see blue if some scenery material becomes dislodged. My scene will be snow so thats all thats really going over this base layer except some places where the snow has melted to reveal the ballast.
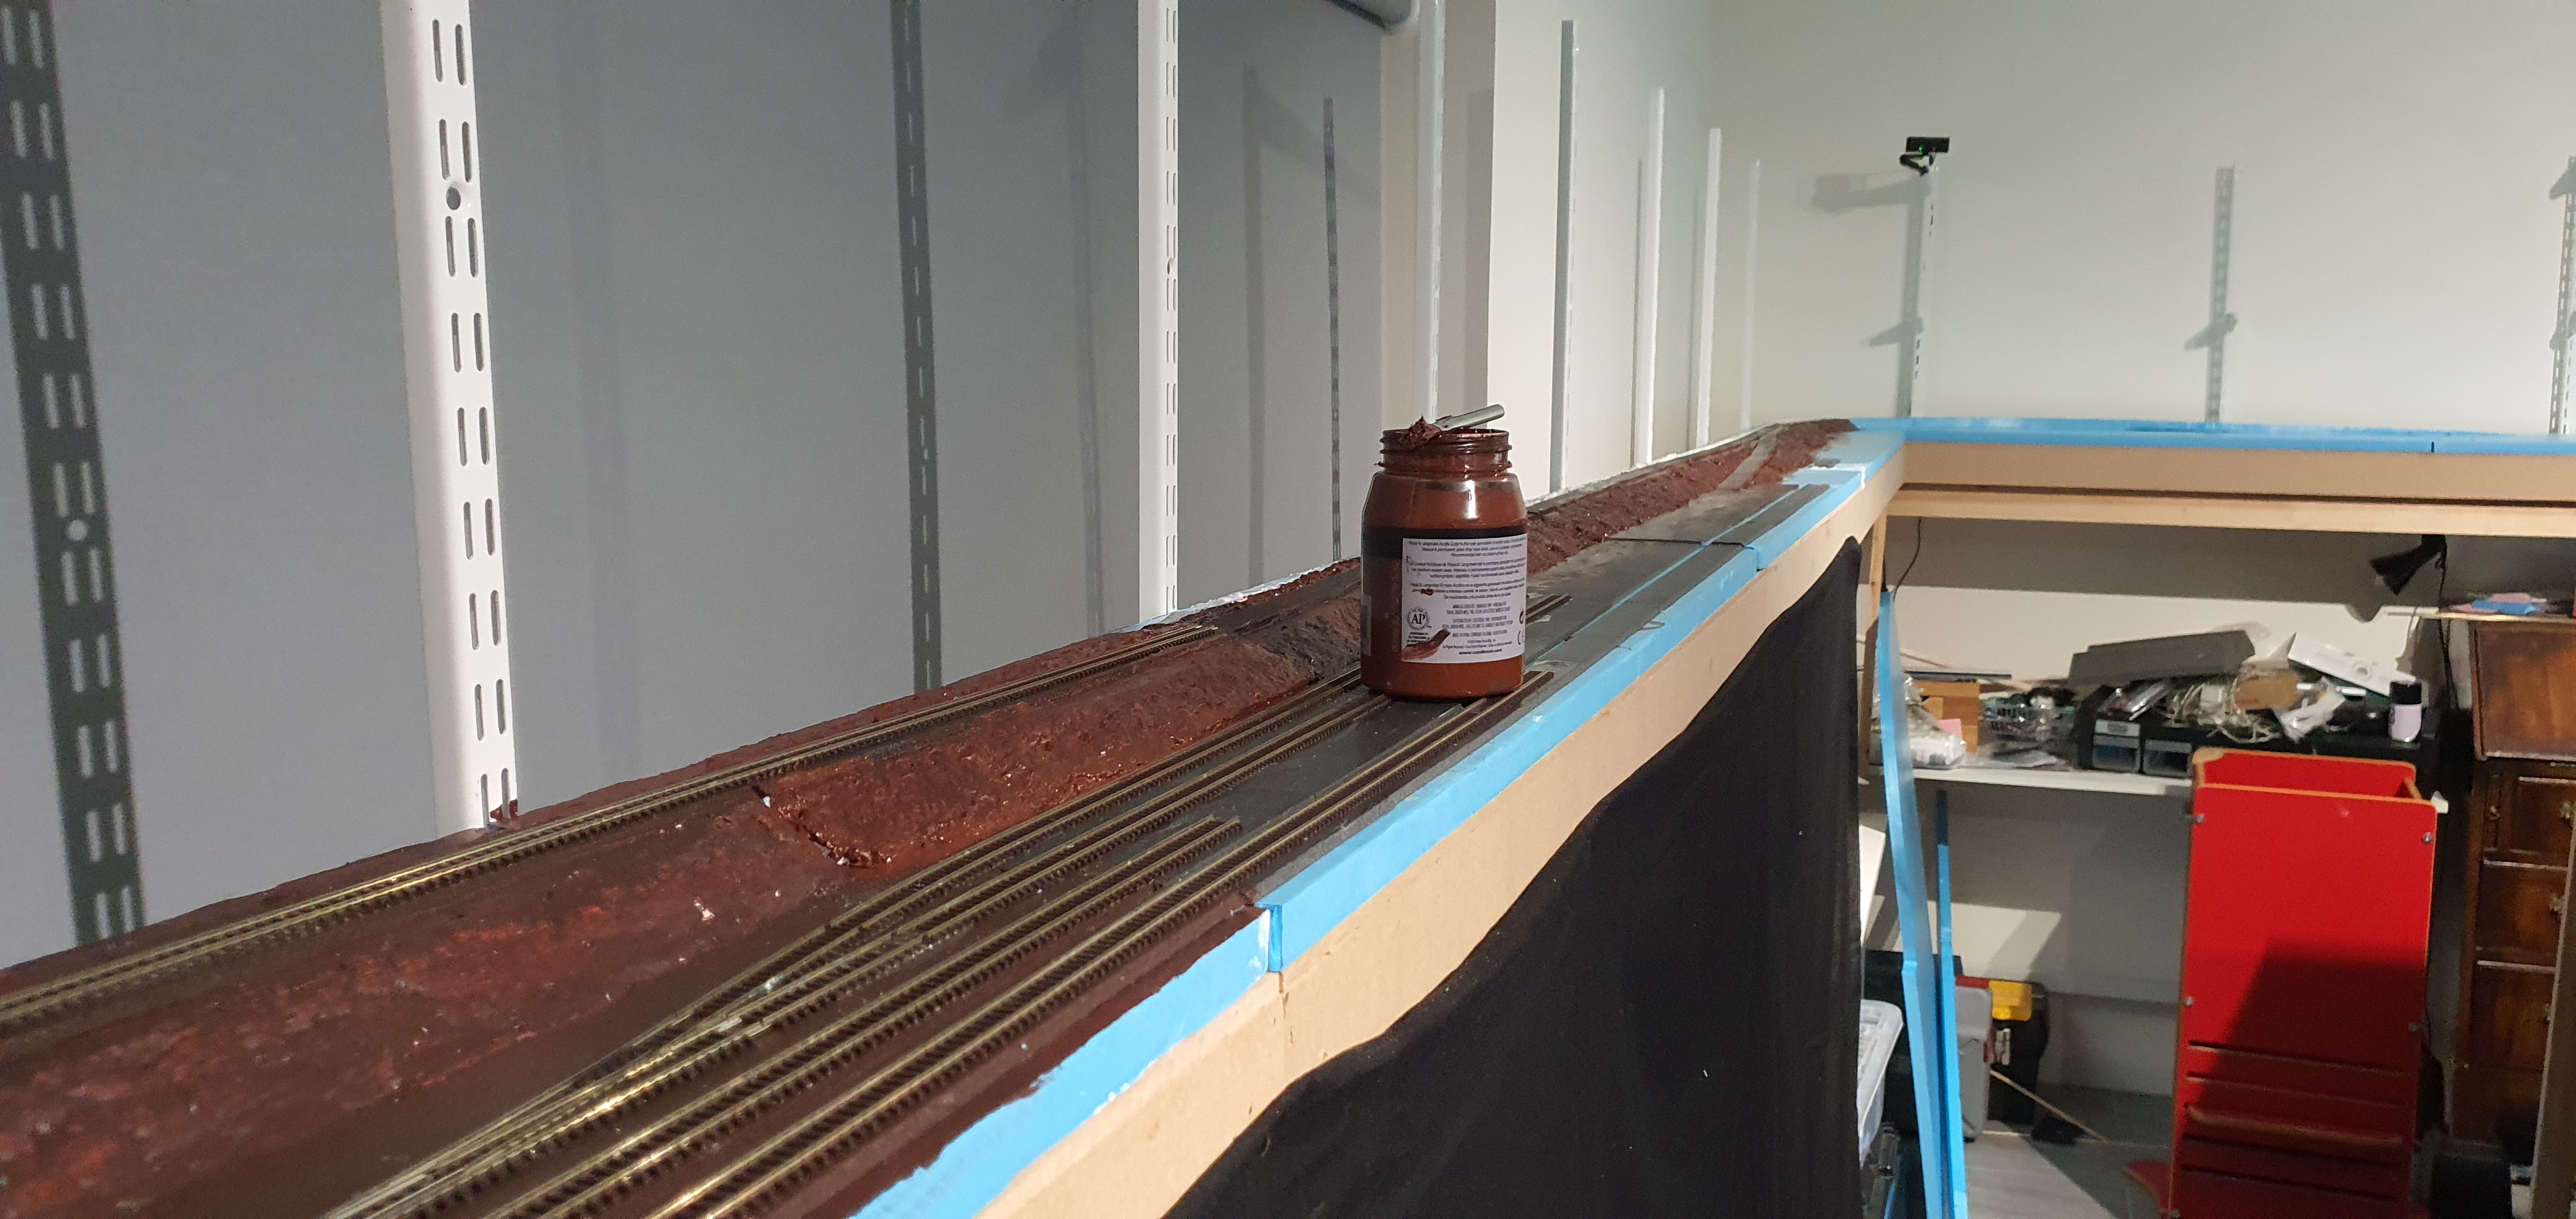
Everything here is getting a few coats of burnt umber acrylic paint. Its just some stuff from an art store nothing fancy and slapped on with a foam brush. I had to stipple it into a few stubborn places where the brush missed.

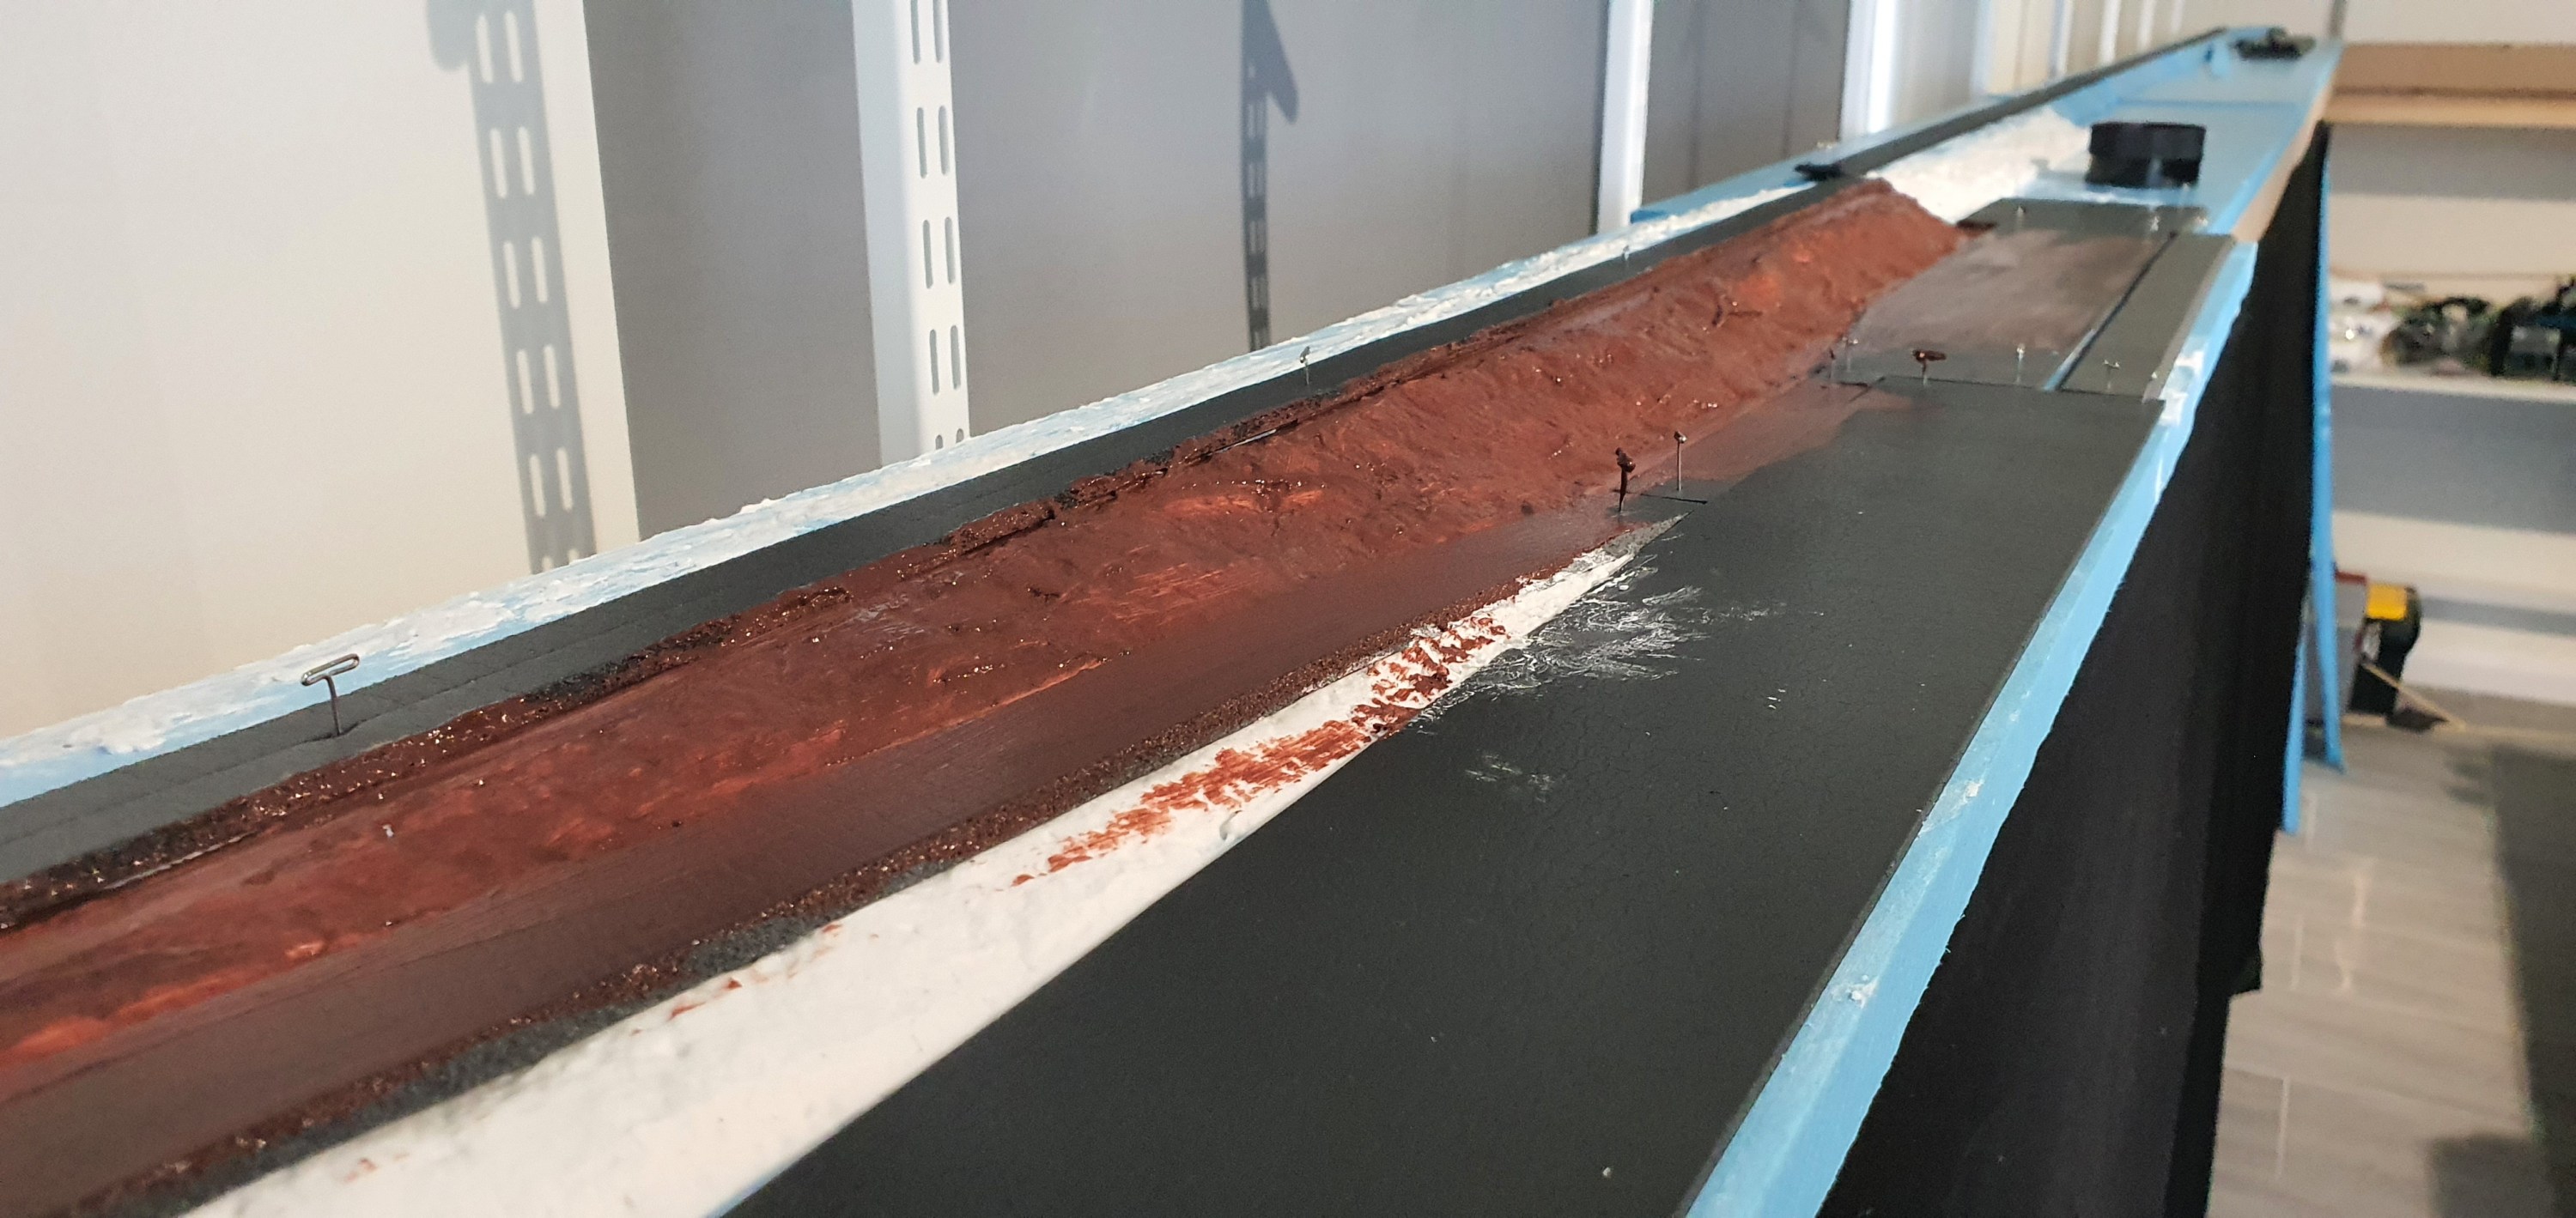
I can still turn the module round so doing the rear side was a breeze. I am actually really glad I decided to do this before fixing everything down.
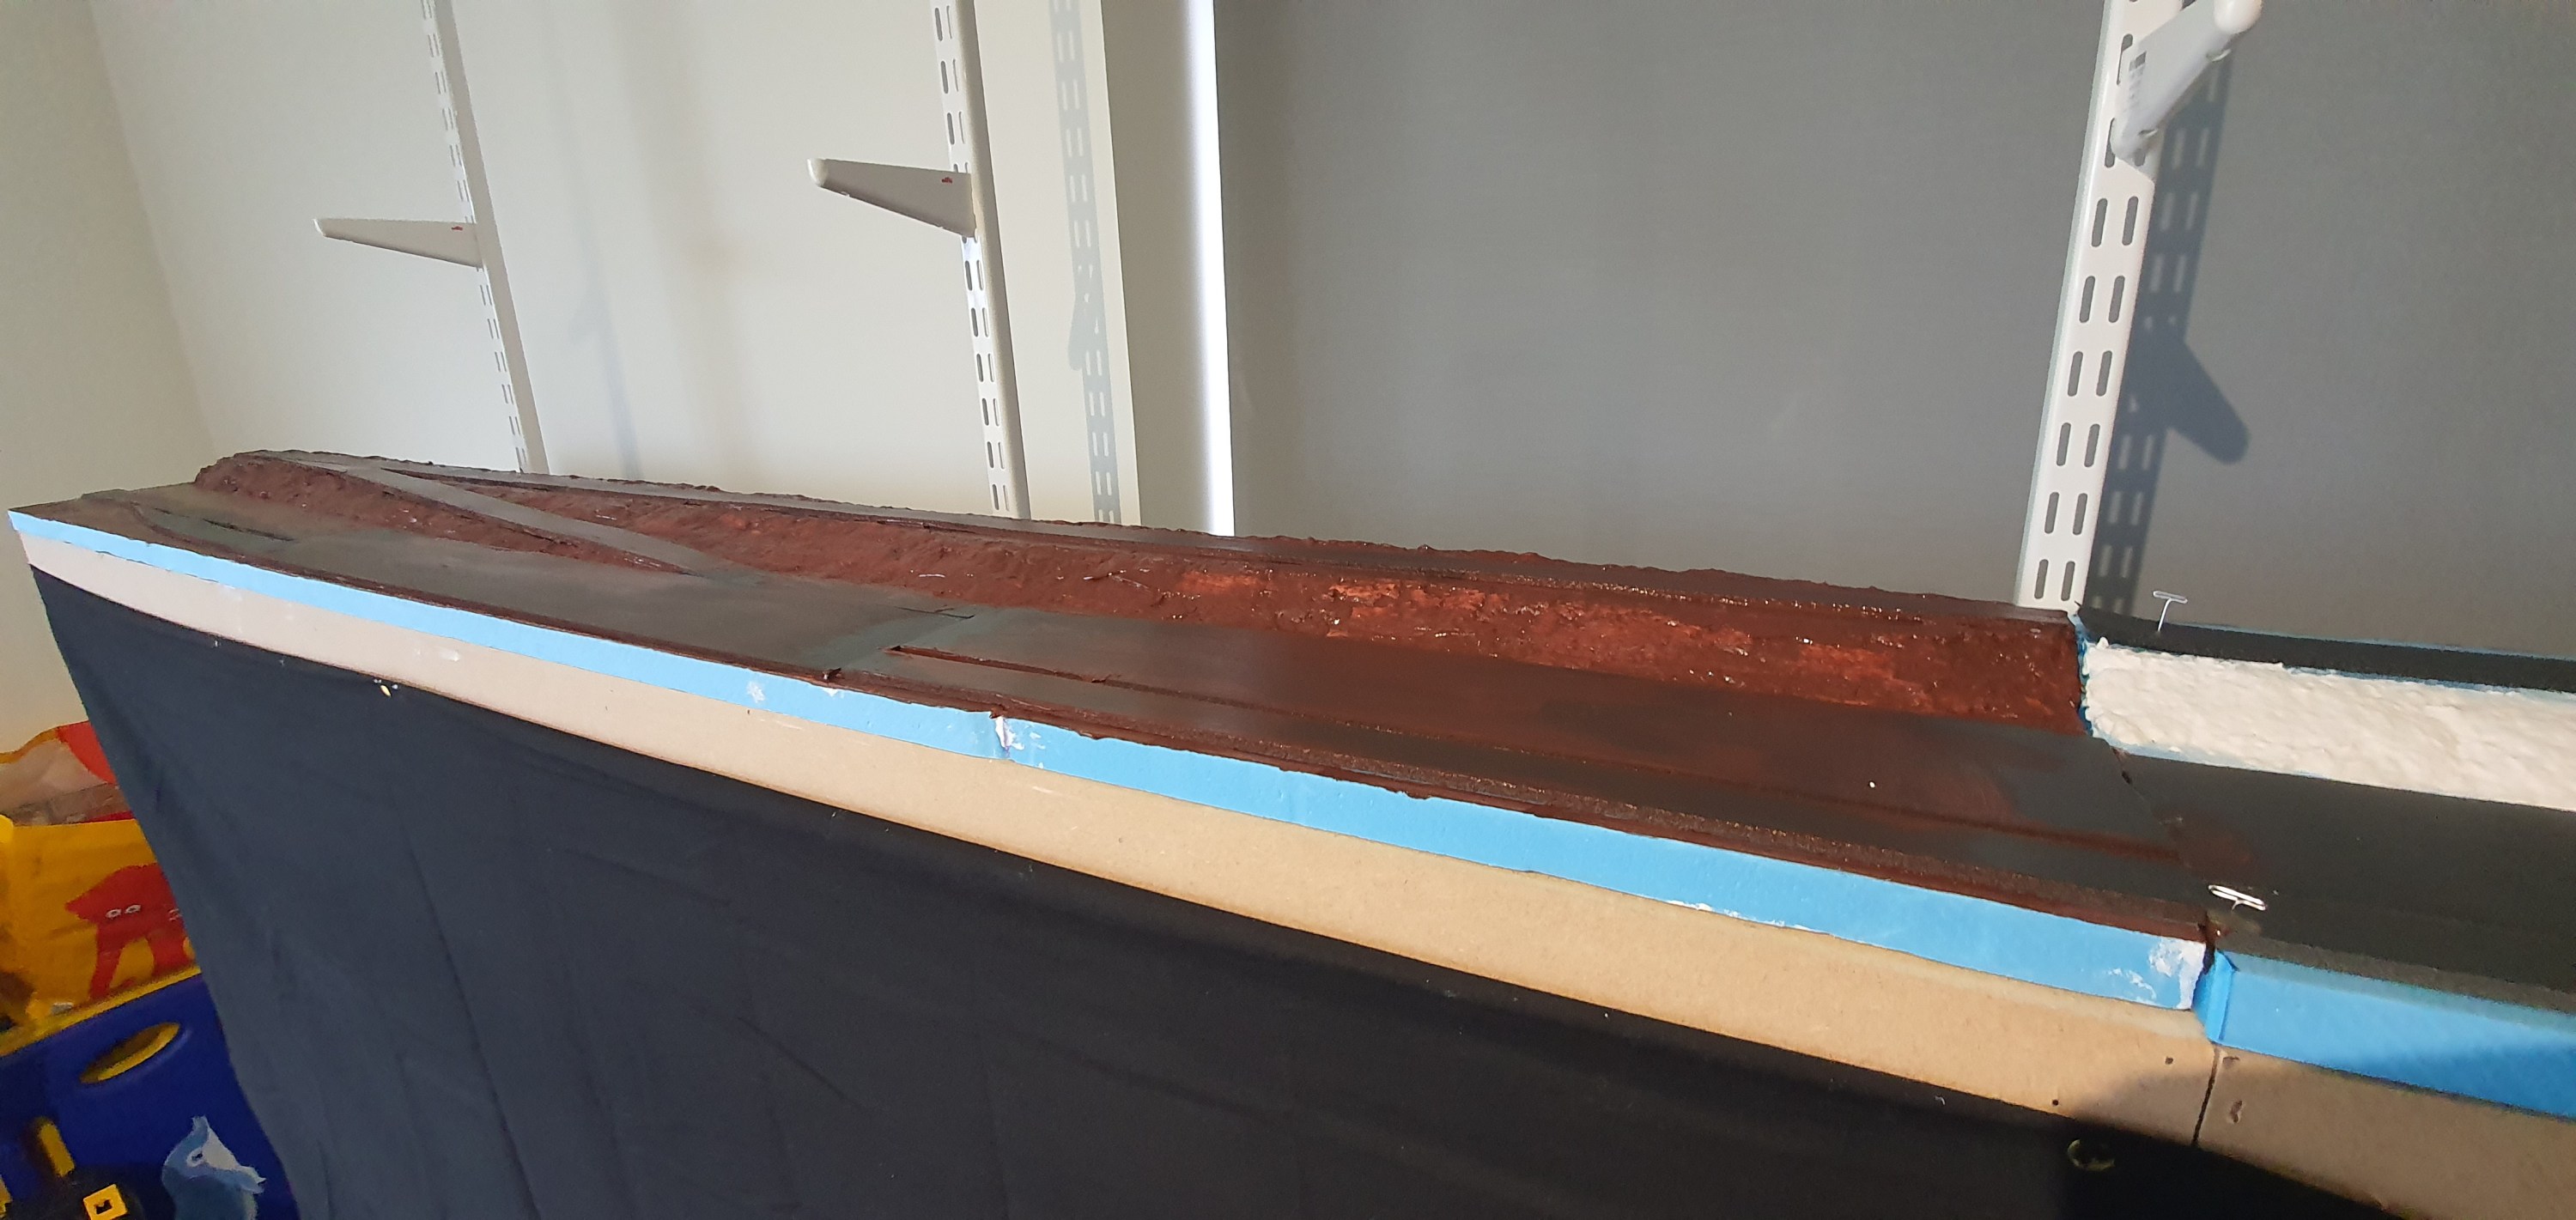
Back around the correct way again. You can see I have even started on the next module so I didn’t waste any sculptamold that was already mixed.

Ah so whats next well track I guess thats scary! but best get to it everthing needs to be down before I can apply the snow & get the trees in place.
Till tomorrow!
Gordy
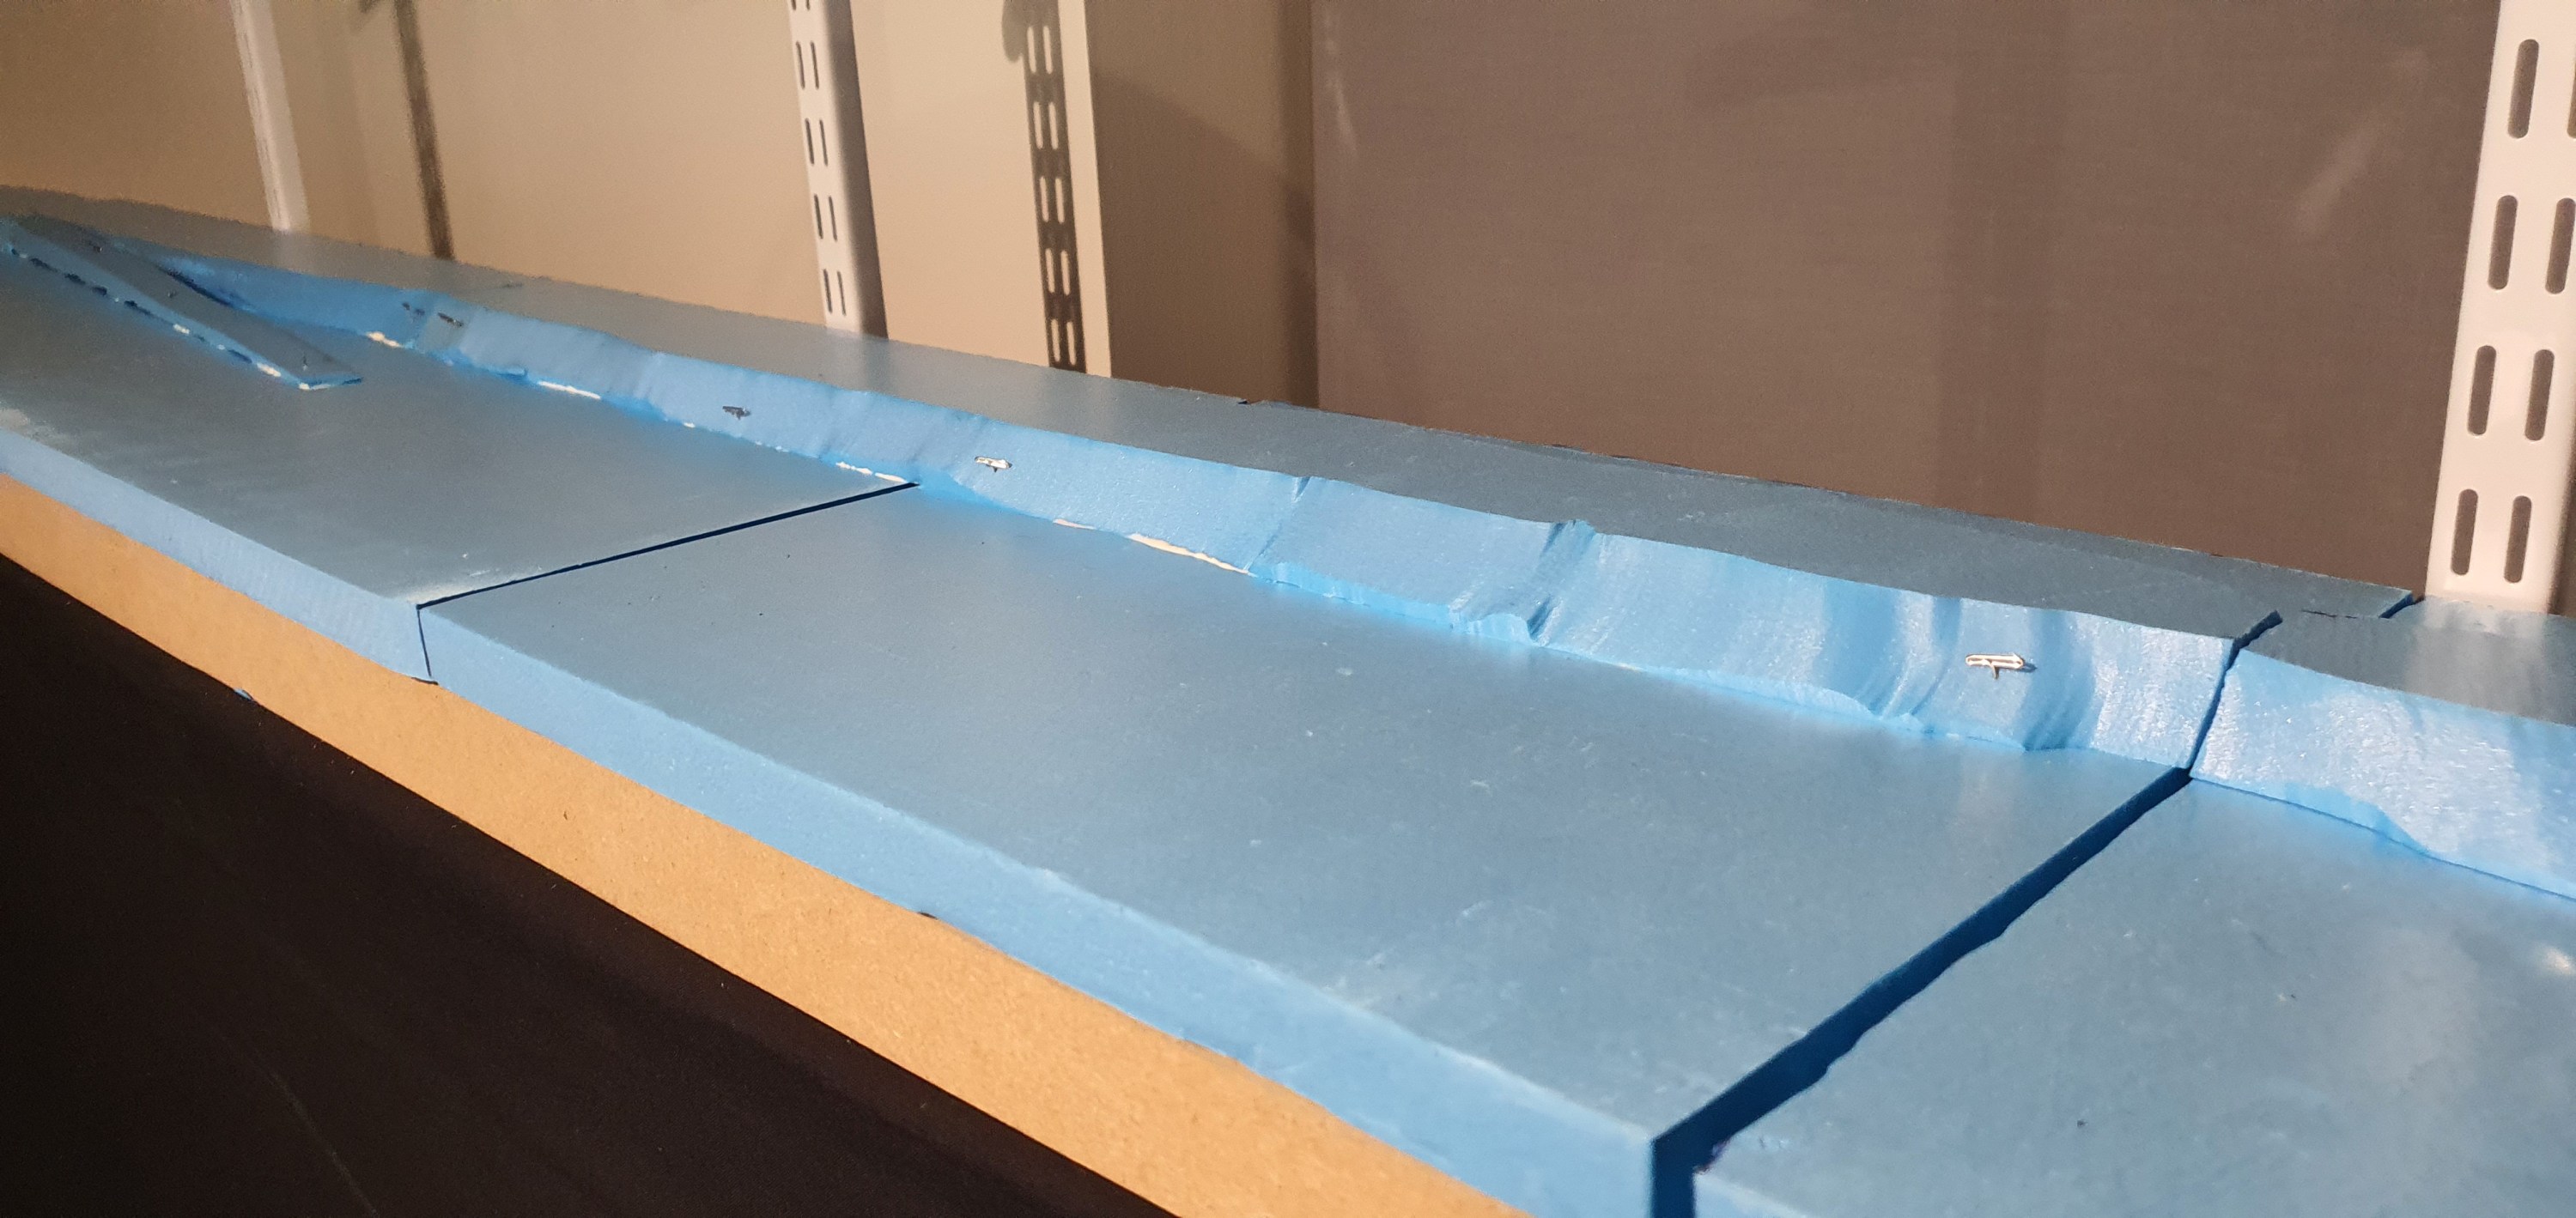
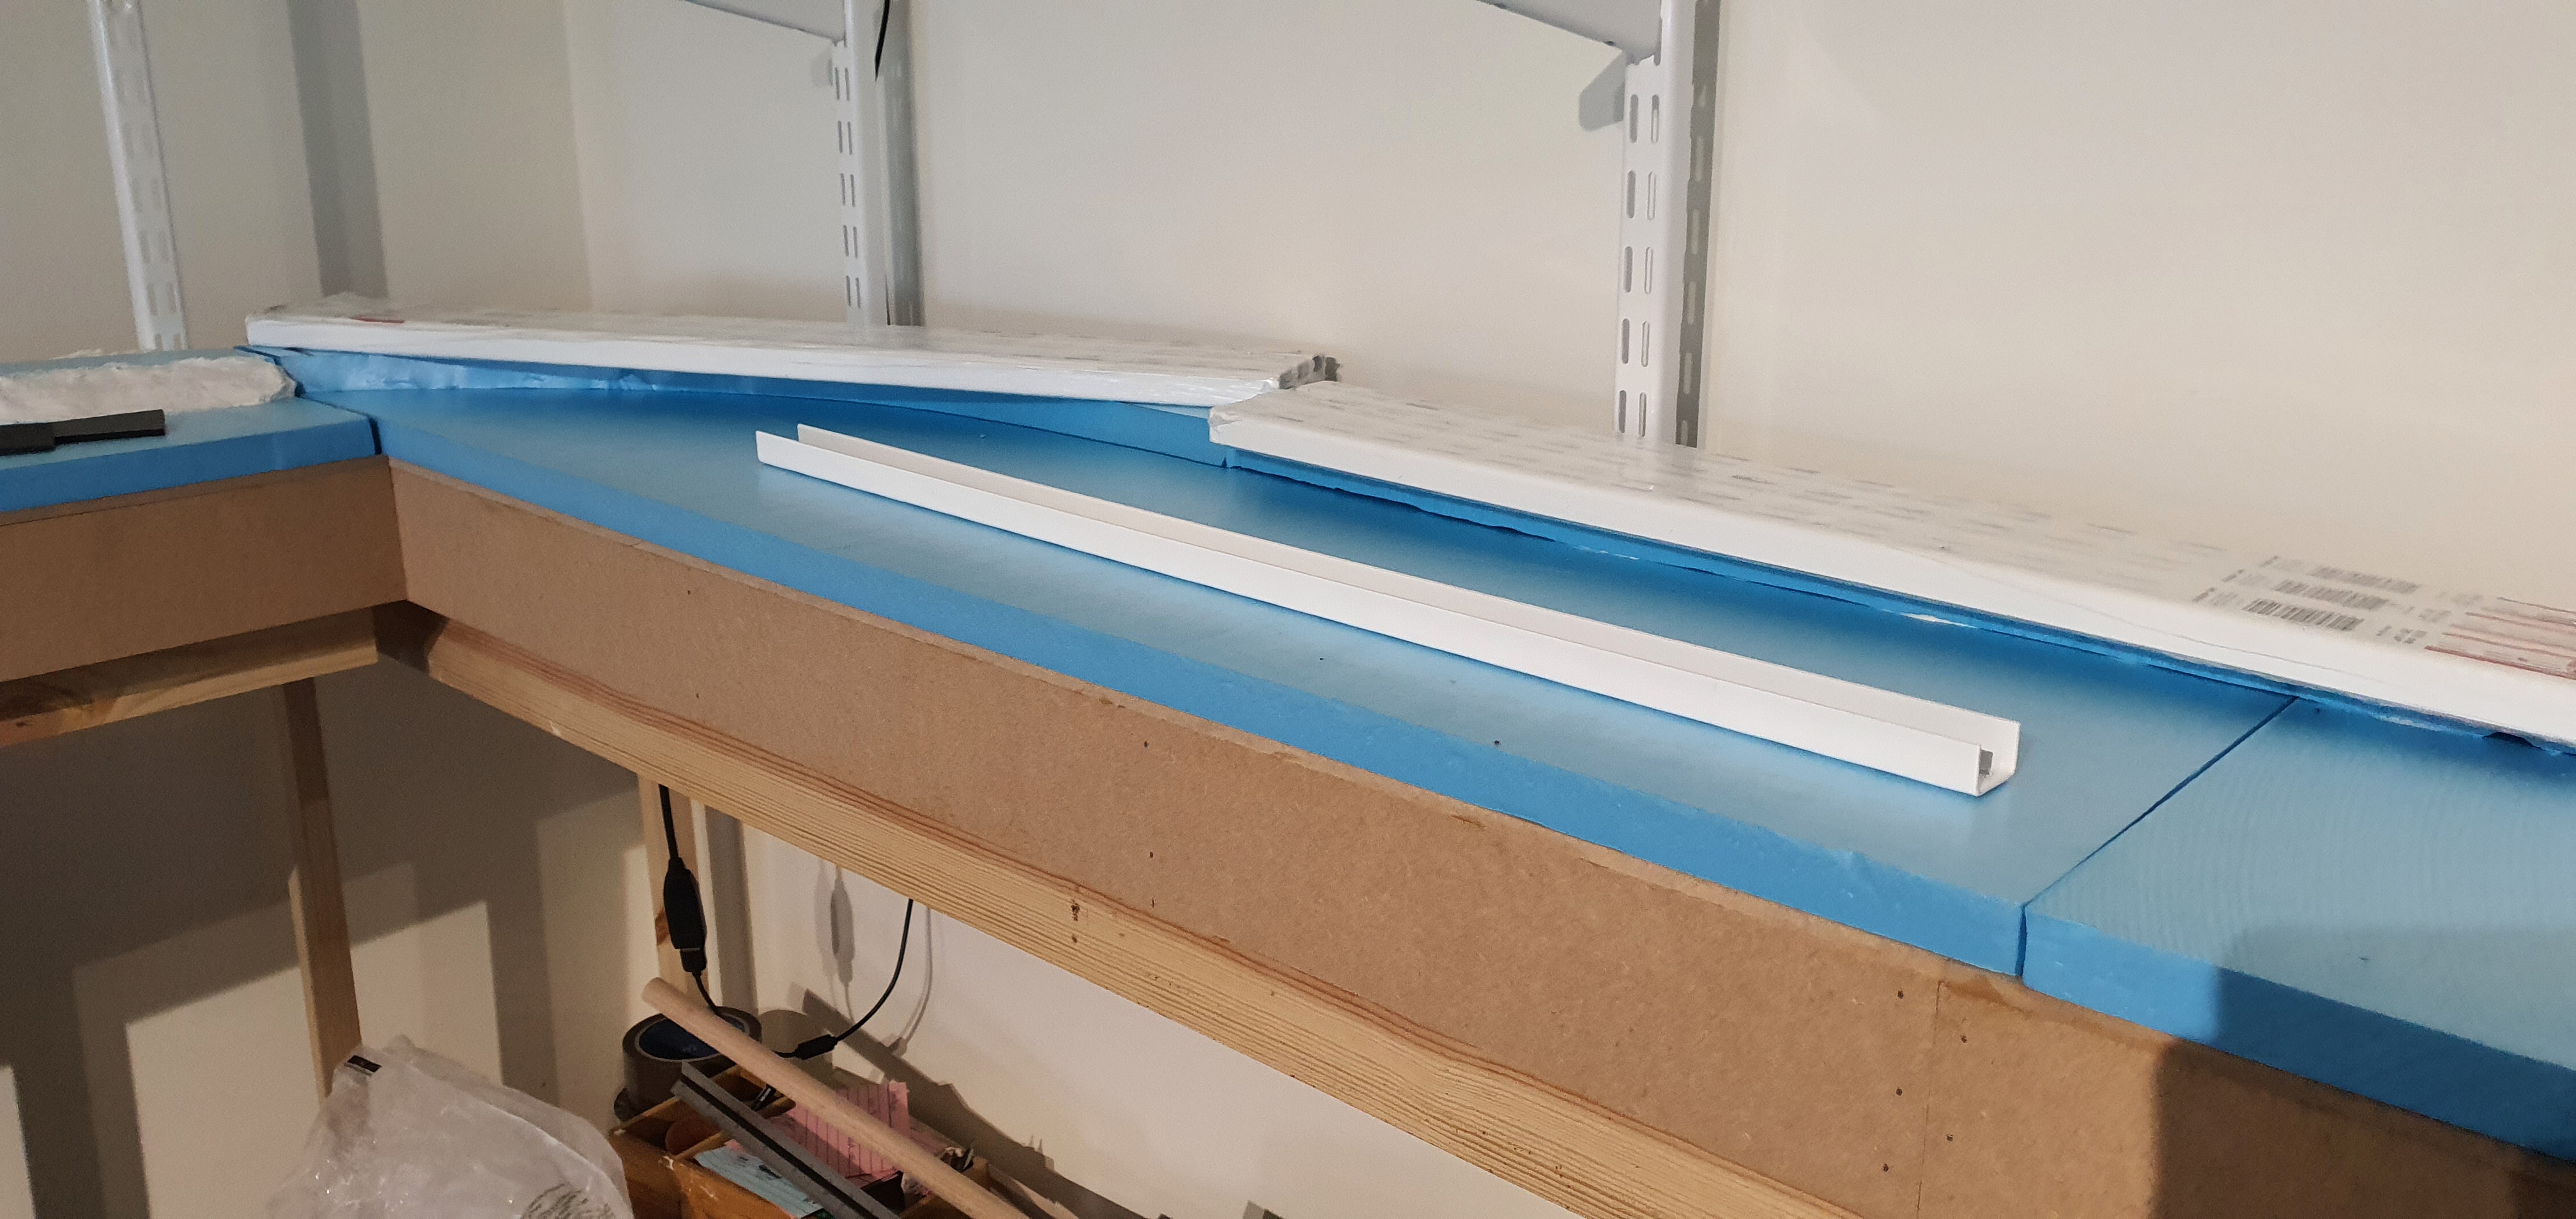
Before the sculptamold dries its really important to make sure that the road bed will fit. Mine didn’t so I had to cut away some sculptamold to fit the roadbed to it. Fortunatly the height of the roadbed and the height of the section that was left matched so you can’t see that this happened. Although the purists would notice that the drainage is missing from the side of the sub roadbed.
For the Waukesha sub I am using Woodland Scenics foam roadbed. Really becuse 1) I am not spiking so its not an issue that there is little resistance and 2) in my opinion this stuff deadens sound much better than cork.
I started with the roadbed on the incline using a 24″ straight section of roadbed you get 30 in a box.
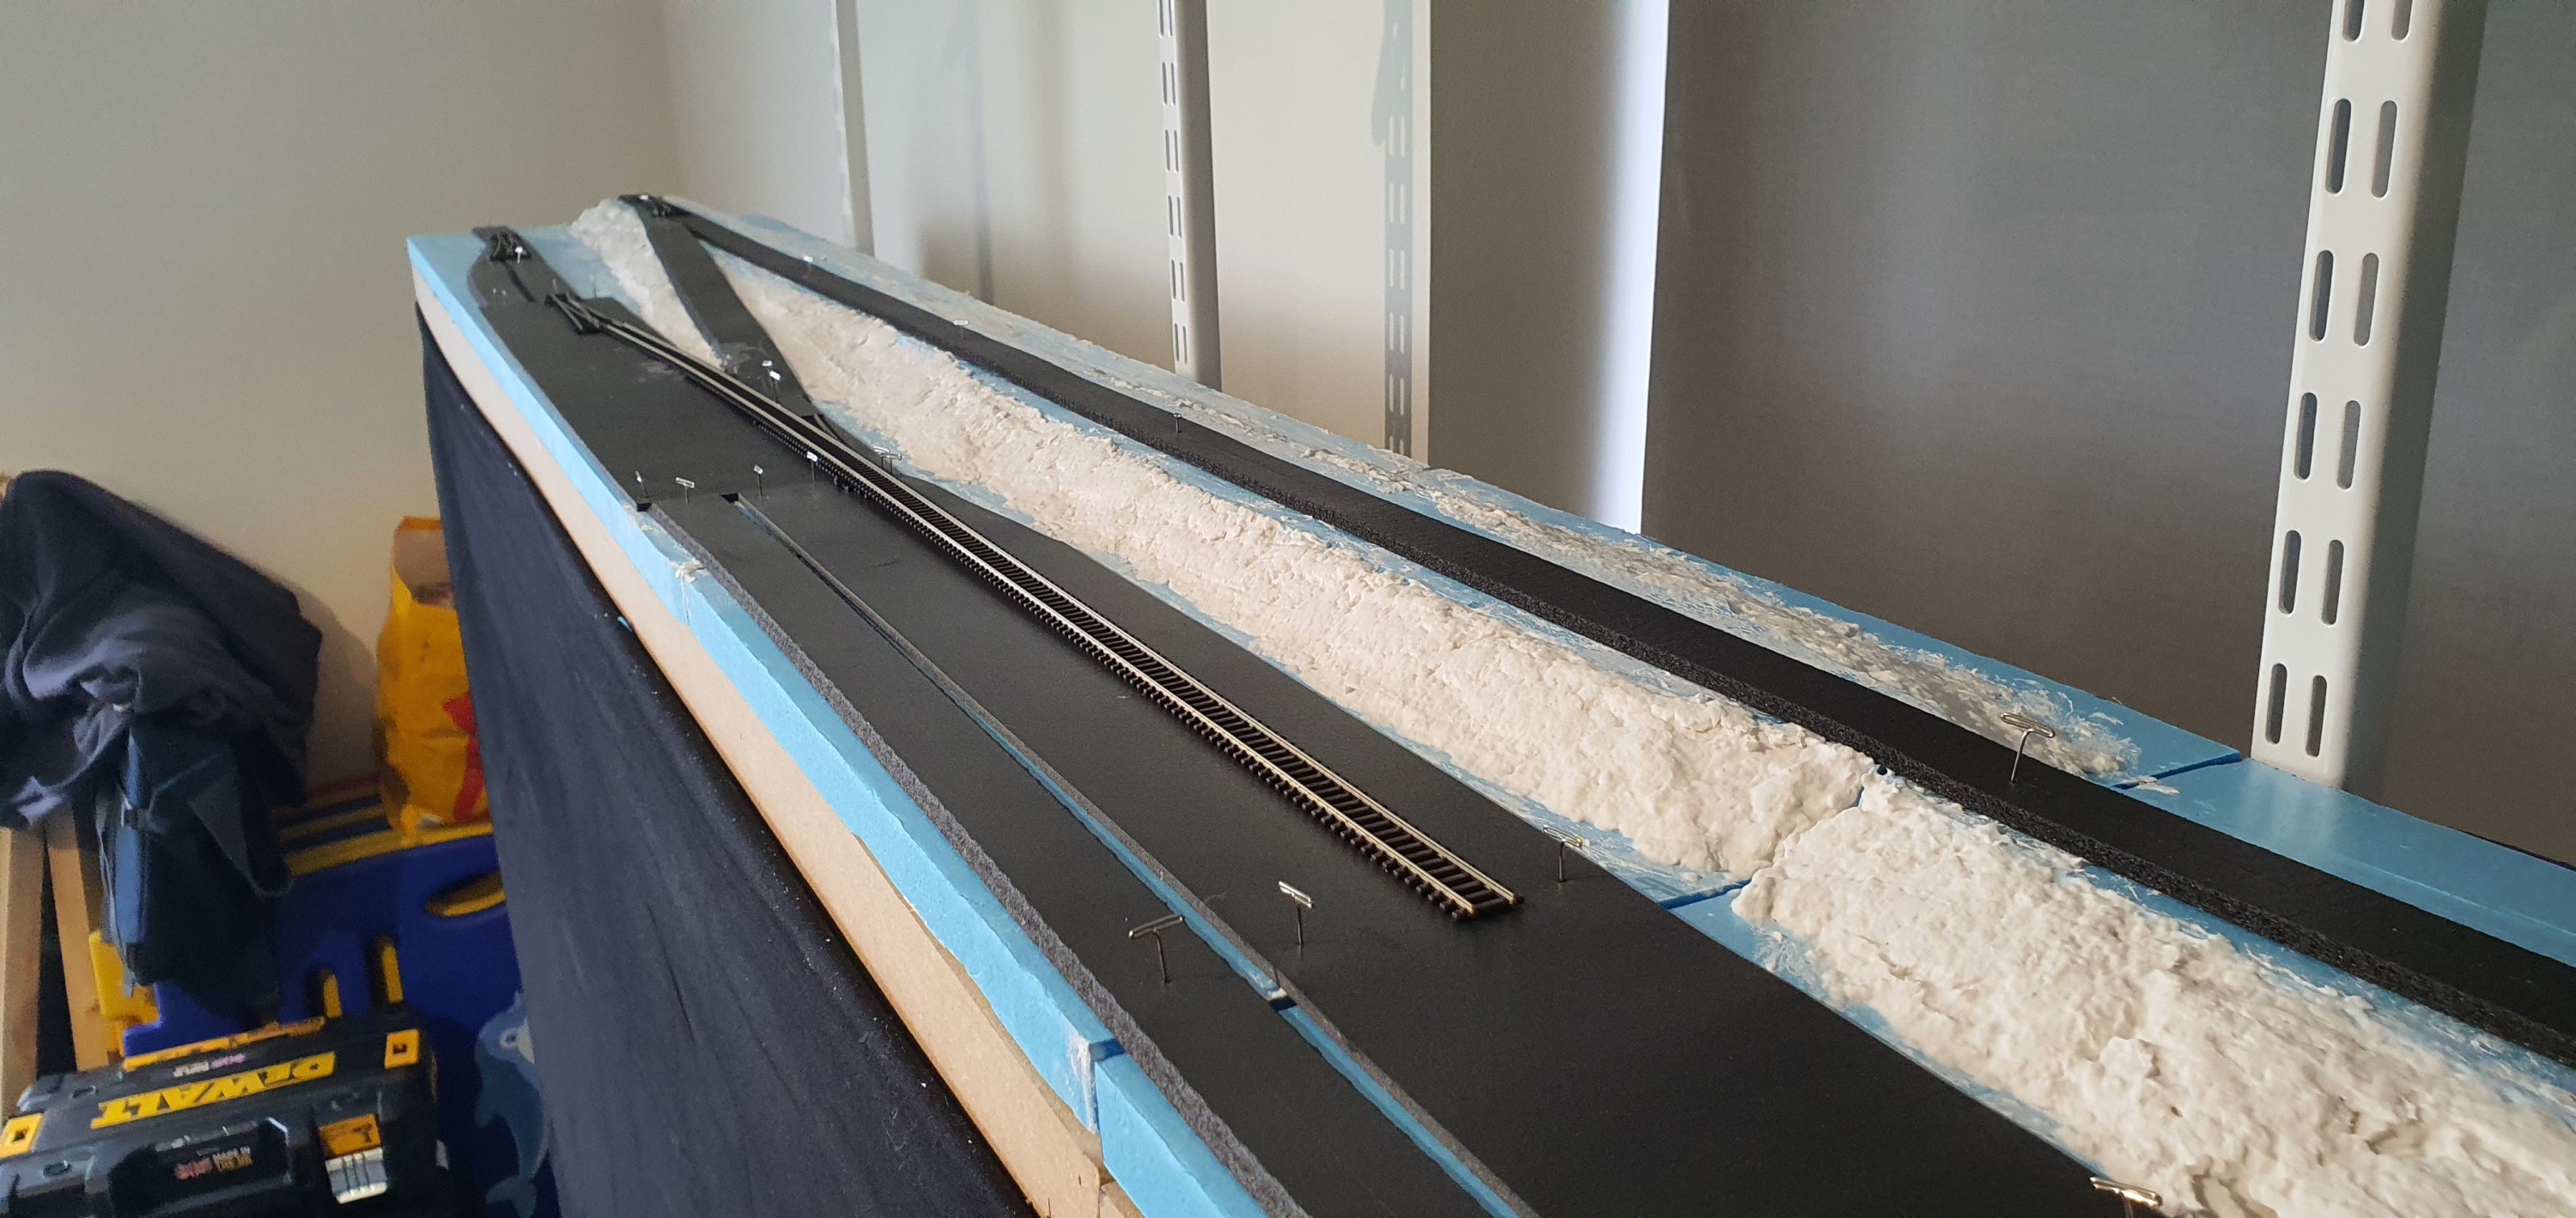
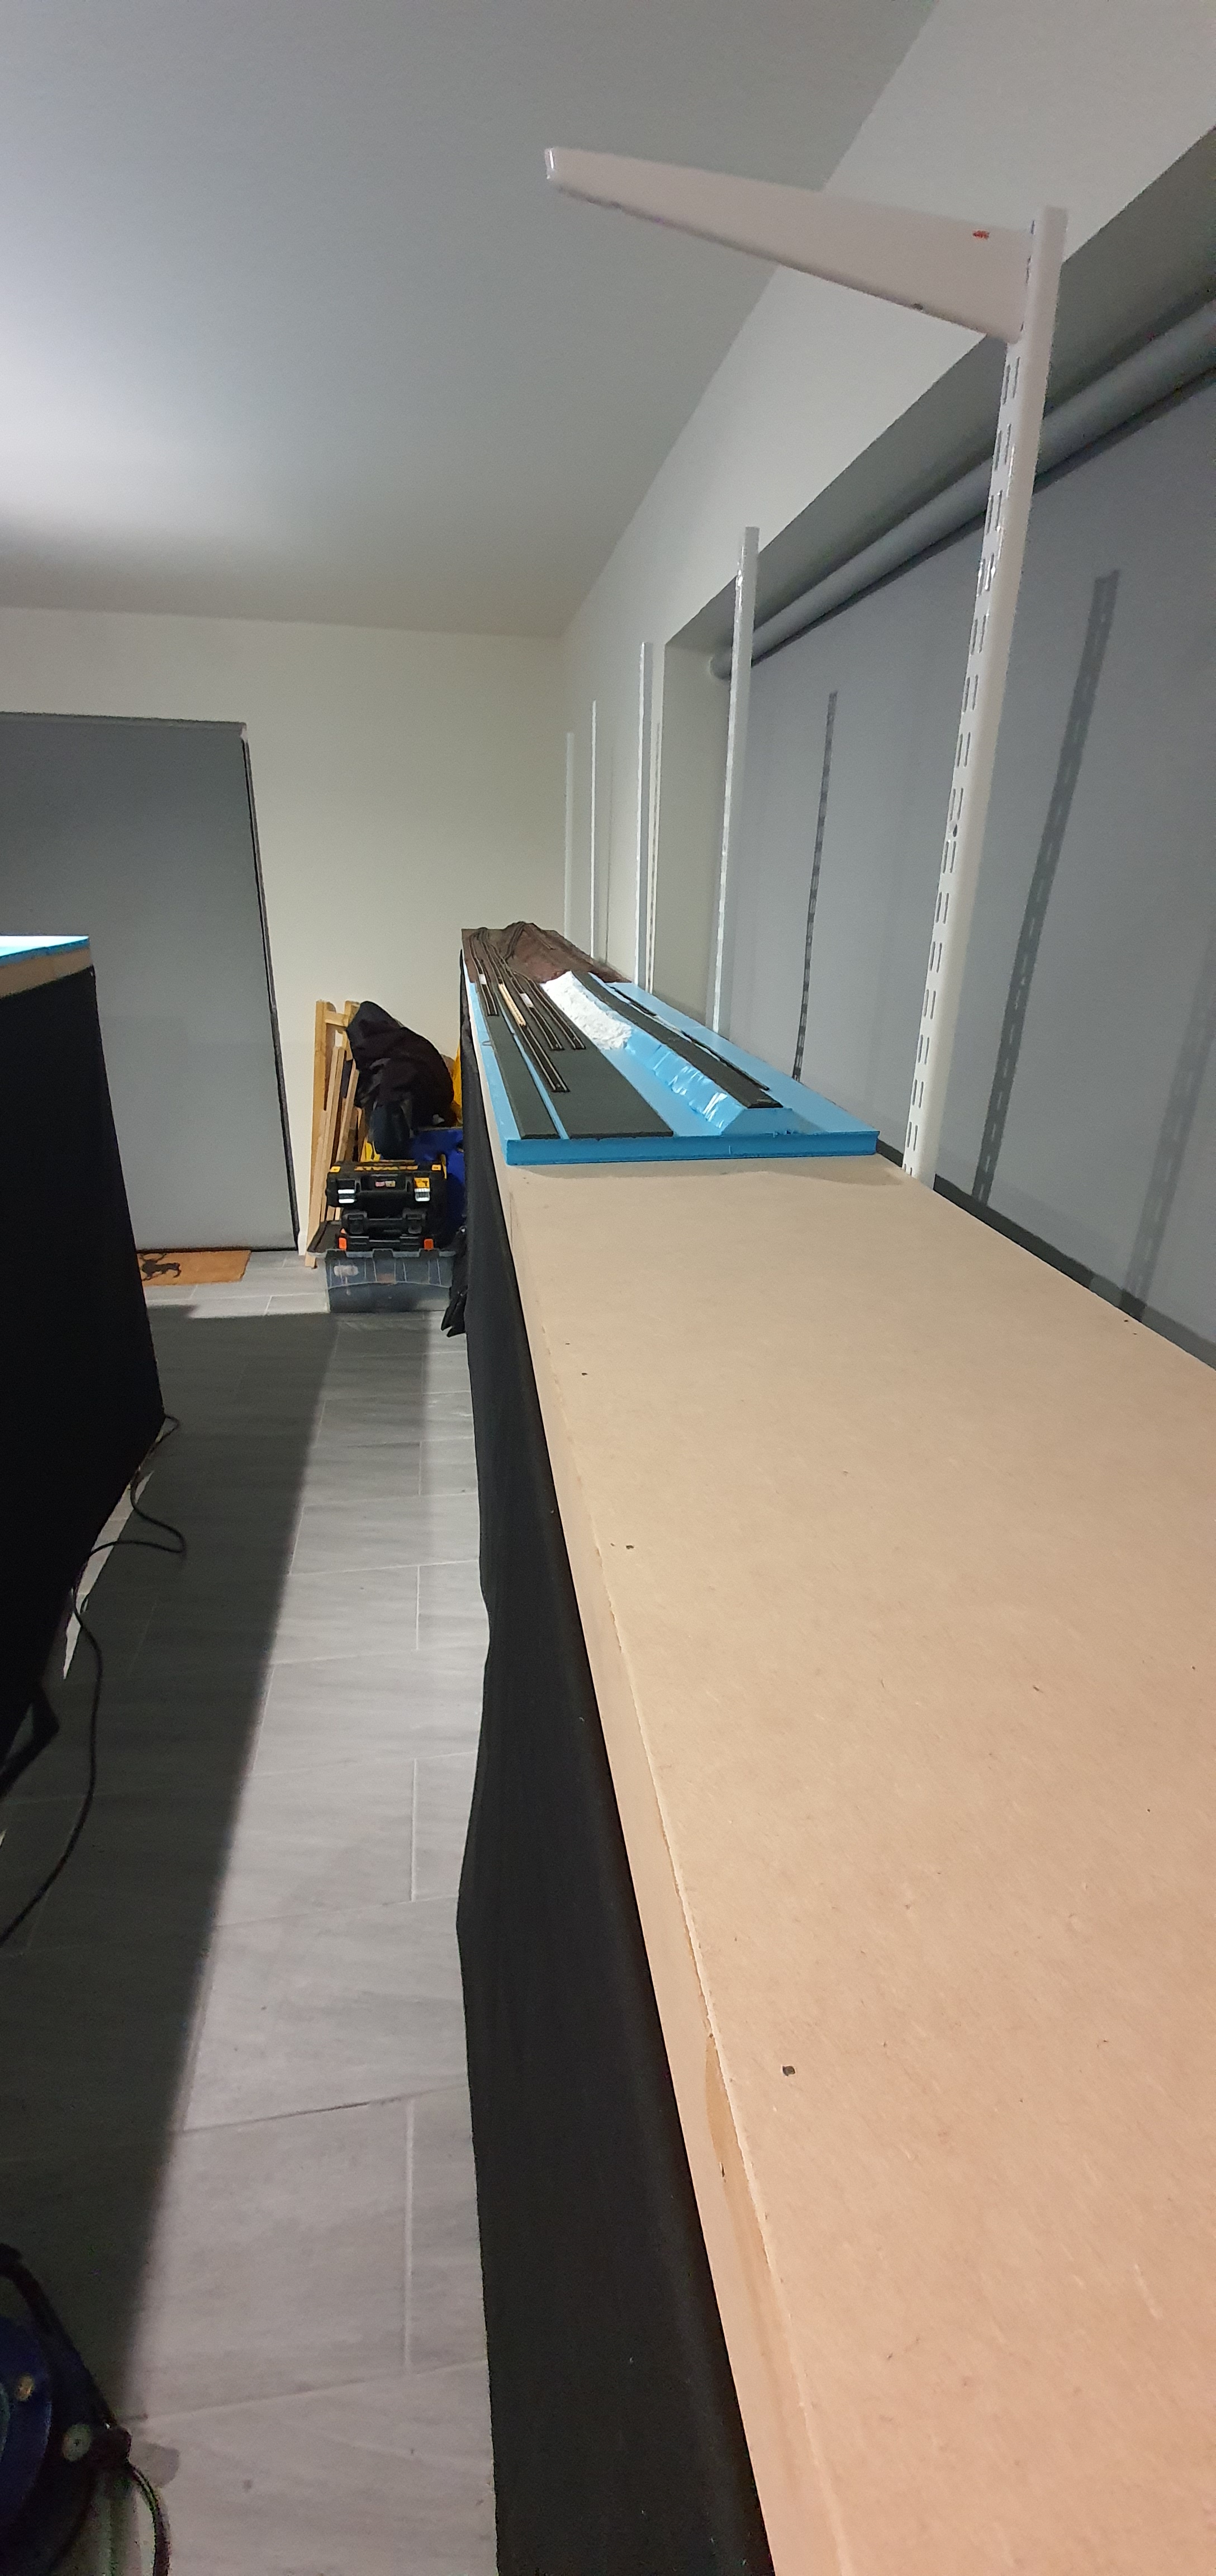
The WSOR roadbed, thats the bit thats at the rear is cut from a continuous 24′ roll of roadbed which is pefect for long straights such as this. The ackerville yard area is made up of flat sheets of roadbed and some straigh profile sections for the main approaching the yard and the siding which was added when the yard was built in 2001.
Once all cut to shape the sub roadbed was glued in place with PVA and held with Tpins while the glue dried.
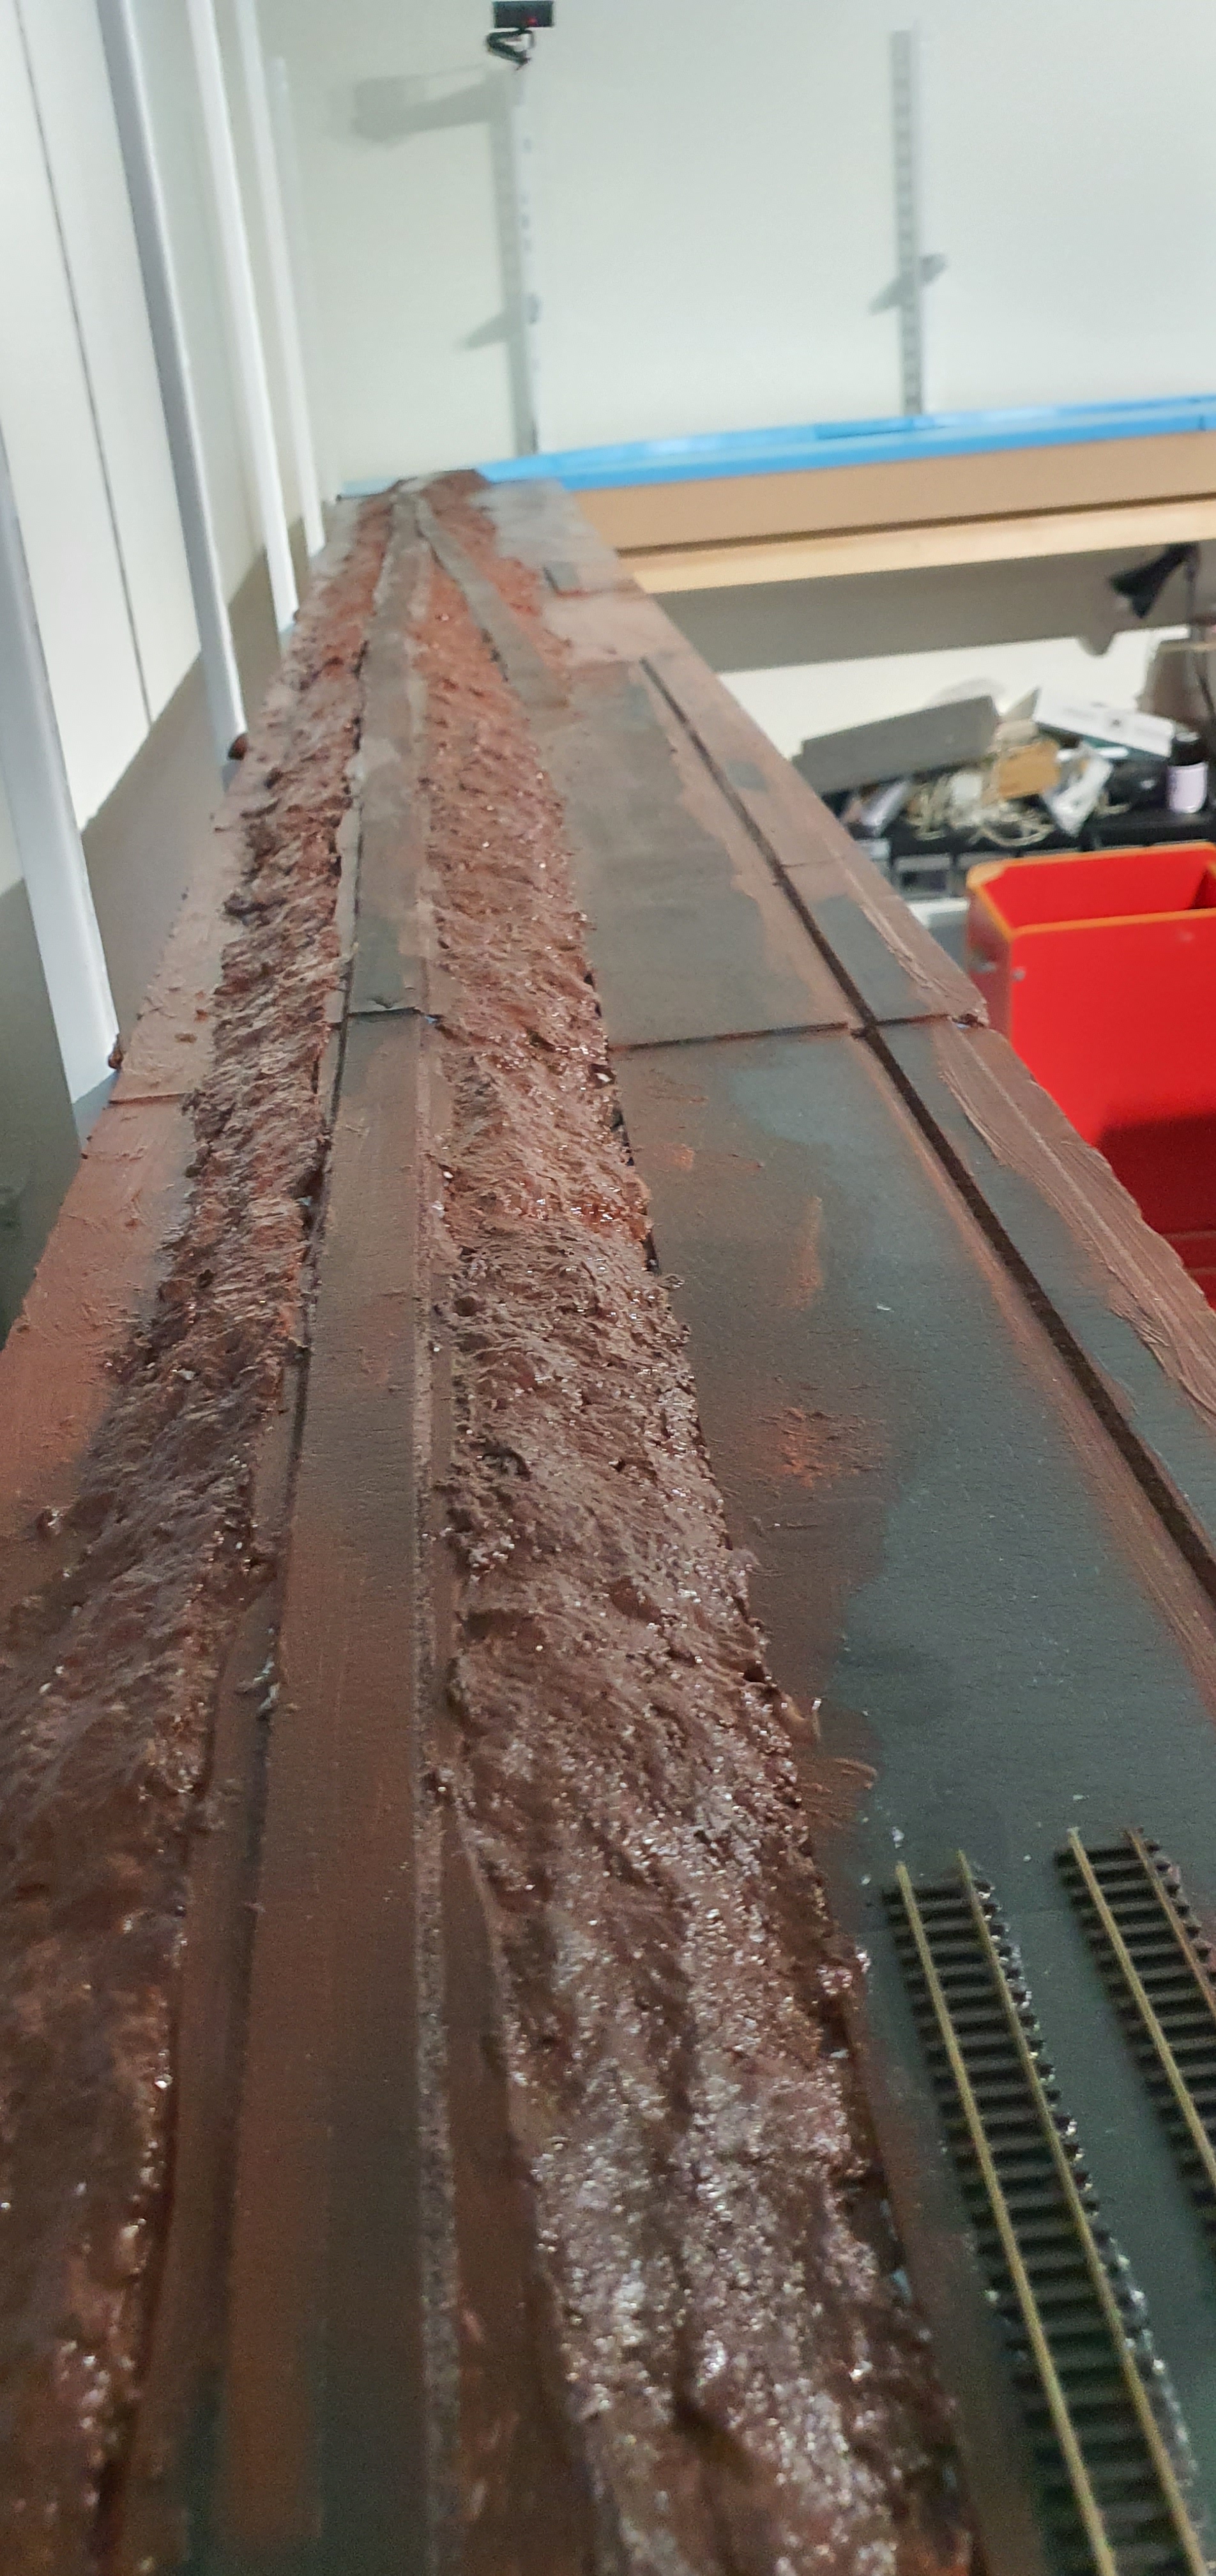
You’ll have about 45mins working time with sculptamold but as we go through the process you want to get it on the layout and then after leaving it for 20mins come back and smooth the surface with a wet finger. Otherwise your scenery will look like dried cottage cheese rather than a sub base that is mud or clay.

I just popped it on the layout with my hand as you can see its not really smooth at this point but that doesn’t matter. Also because nothing is secured to the base I was able to easily spin the foam sheet around to work on the otherside.
Here is the backside before applying the sculptamold
Before we finish this we need to check that the roadbed will fit, but thats for tomorrow.
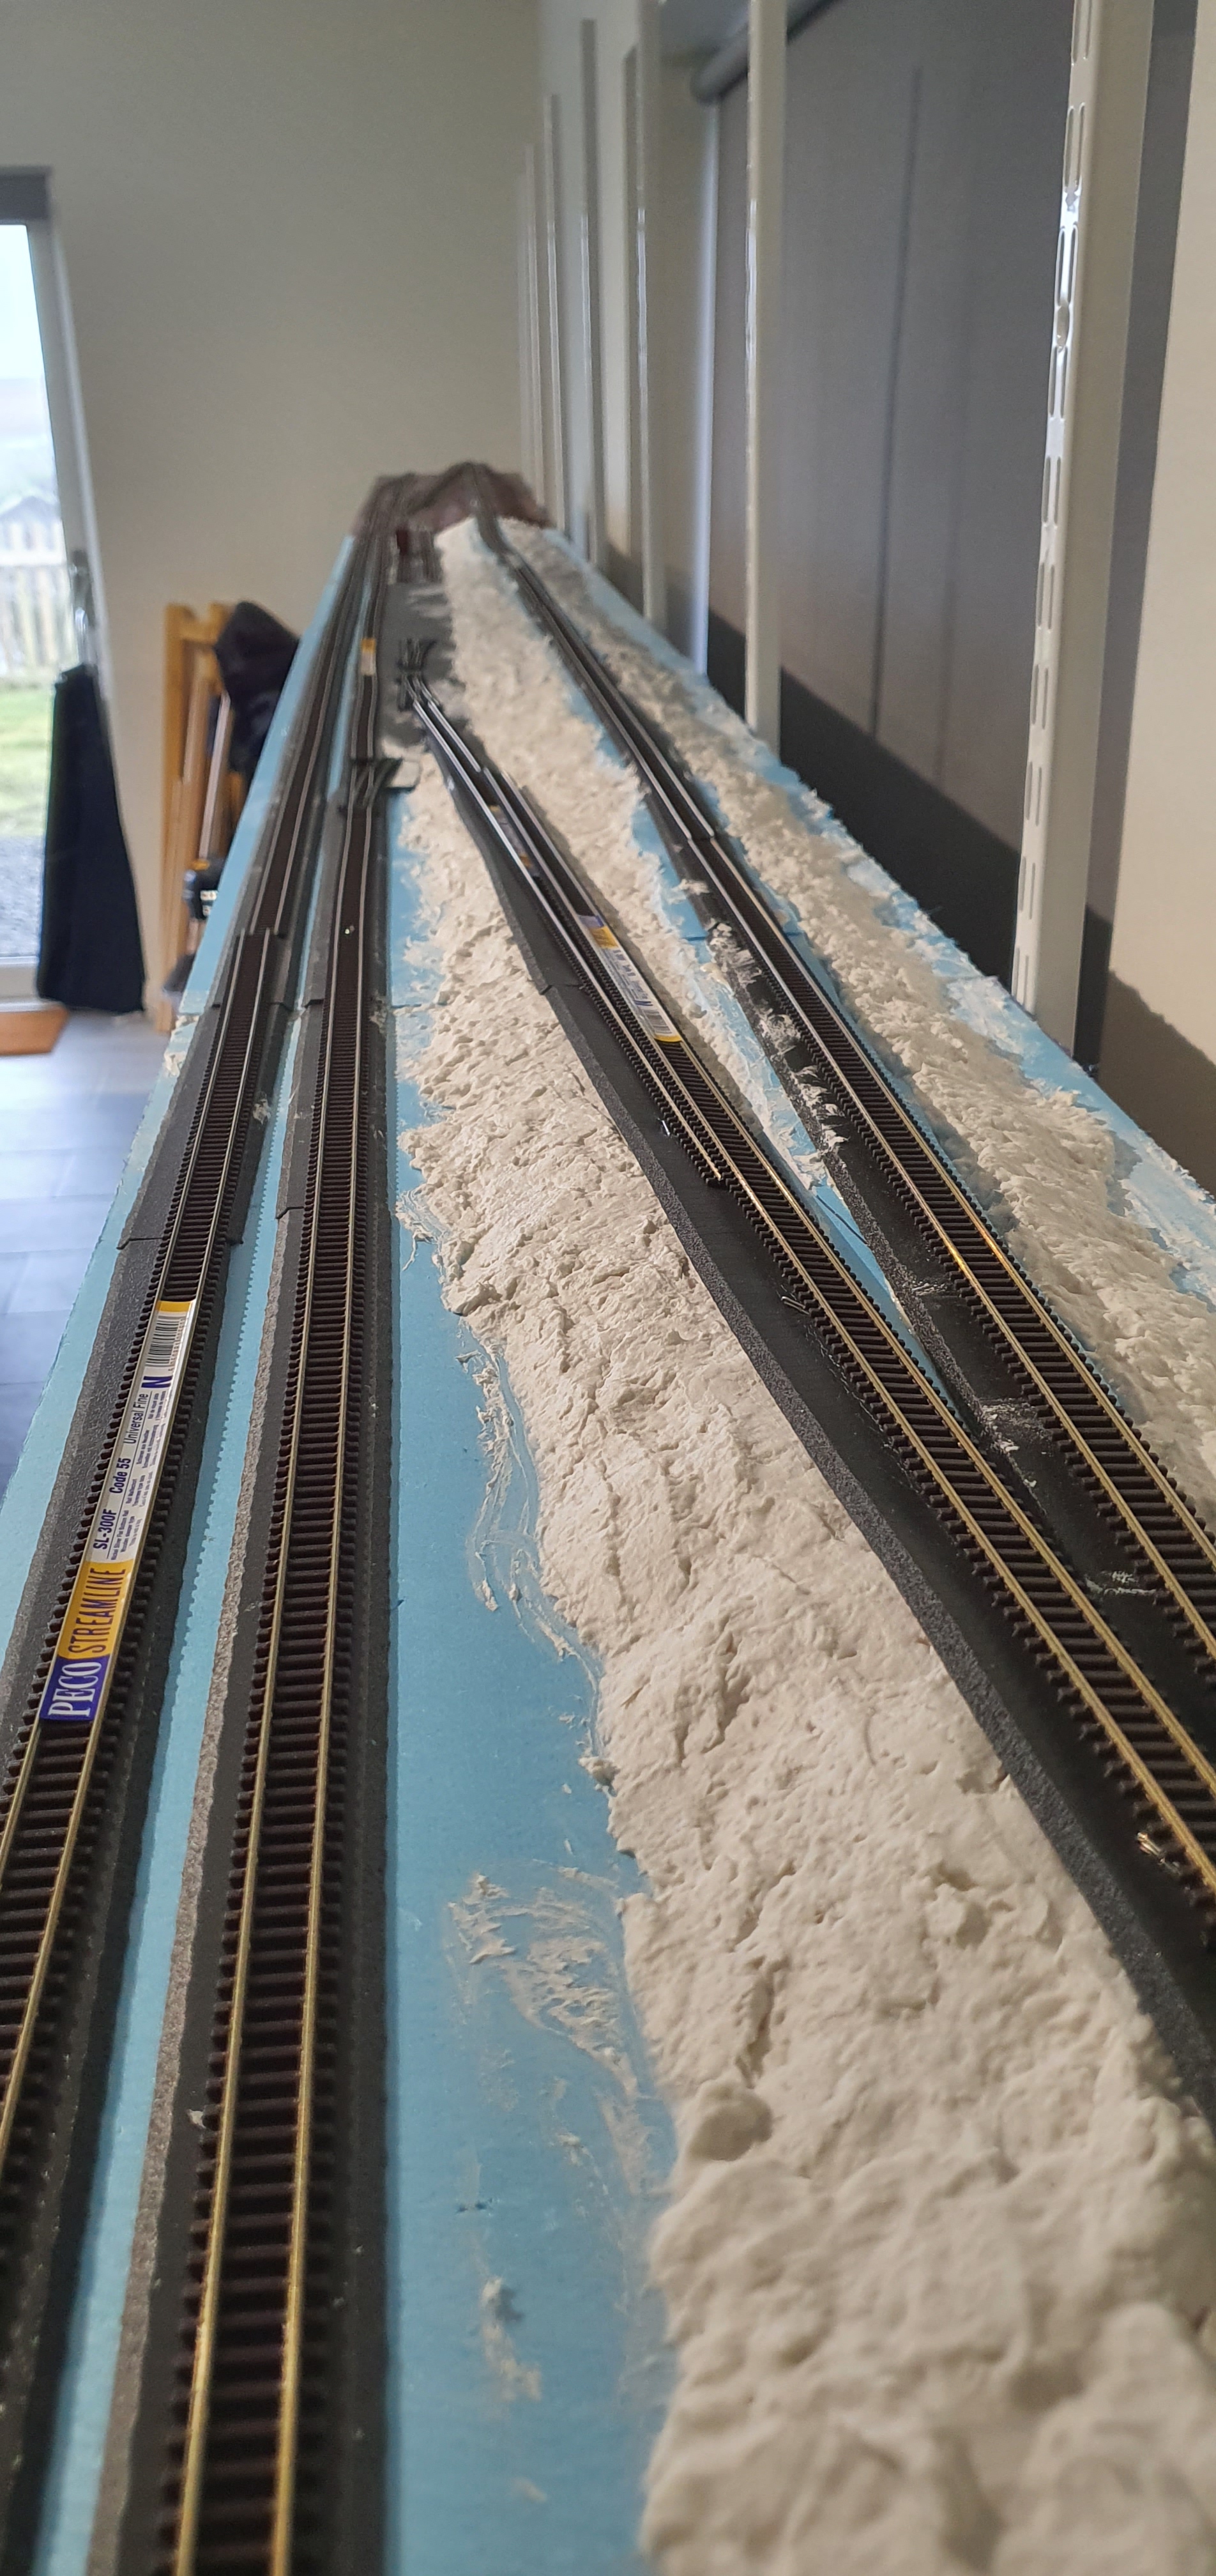
Following on from yesterdays post were we fitted the foam its time to add the next layer which will smooth the land forms. You know making the whole thing look less foamy and more erm Wisconsin. Anyway lets start with a prototype picture.

The prototype photo from above makes all this look flat but we know its not. the track on the left being higher than that on the right.

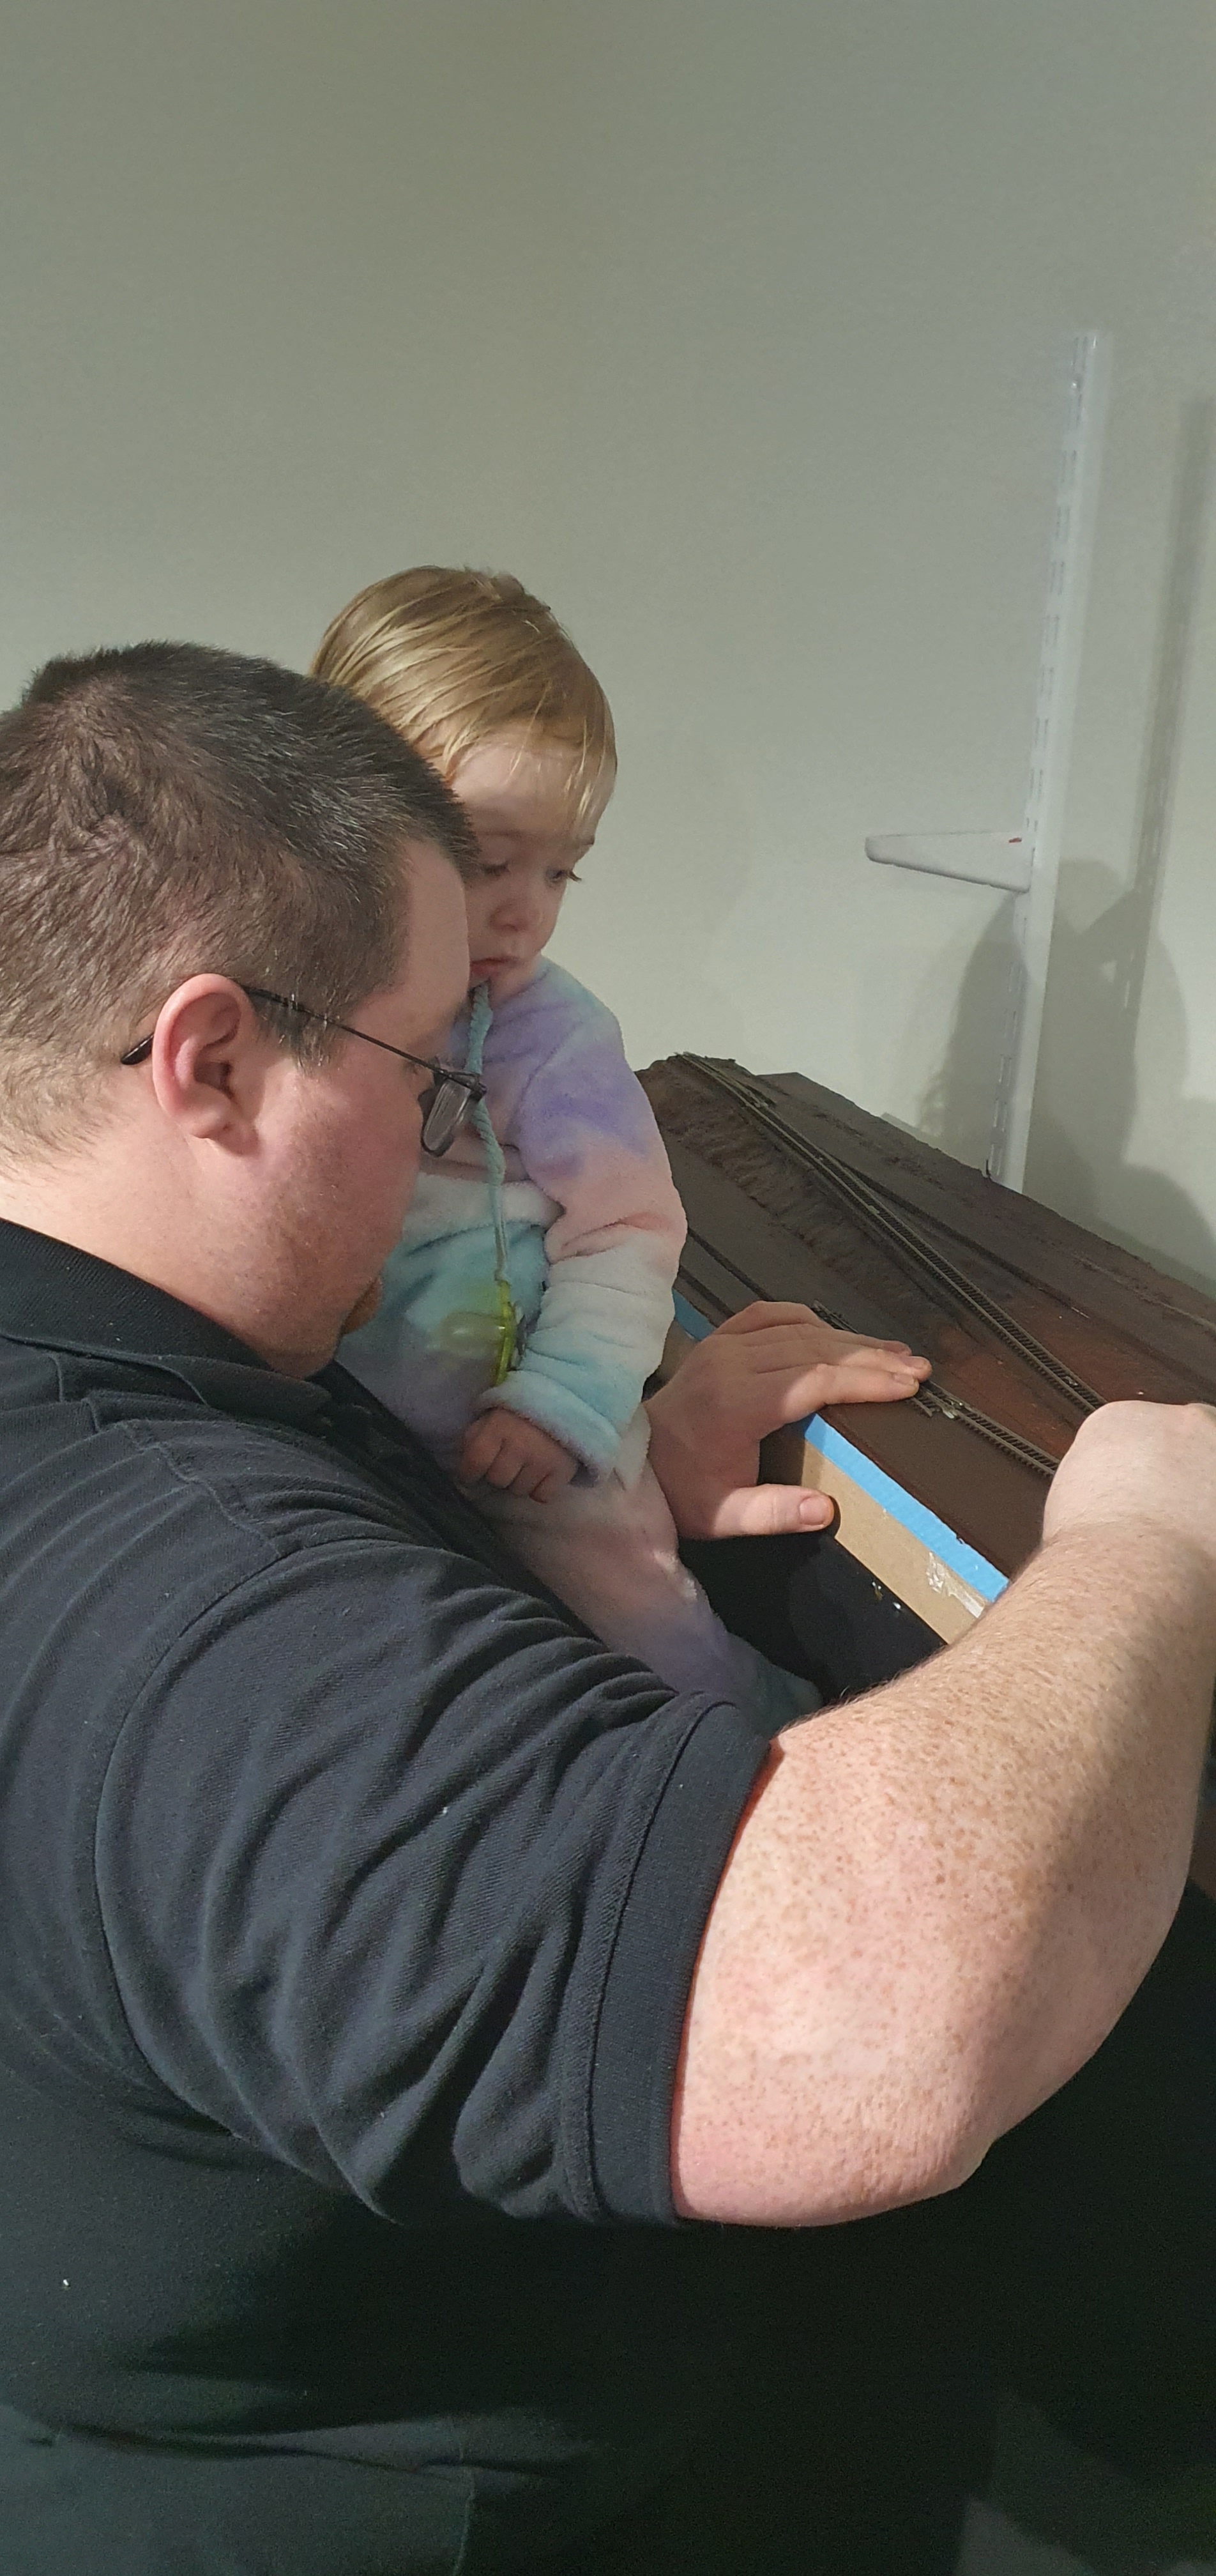
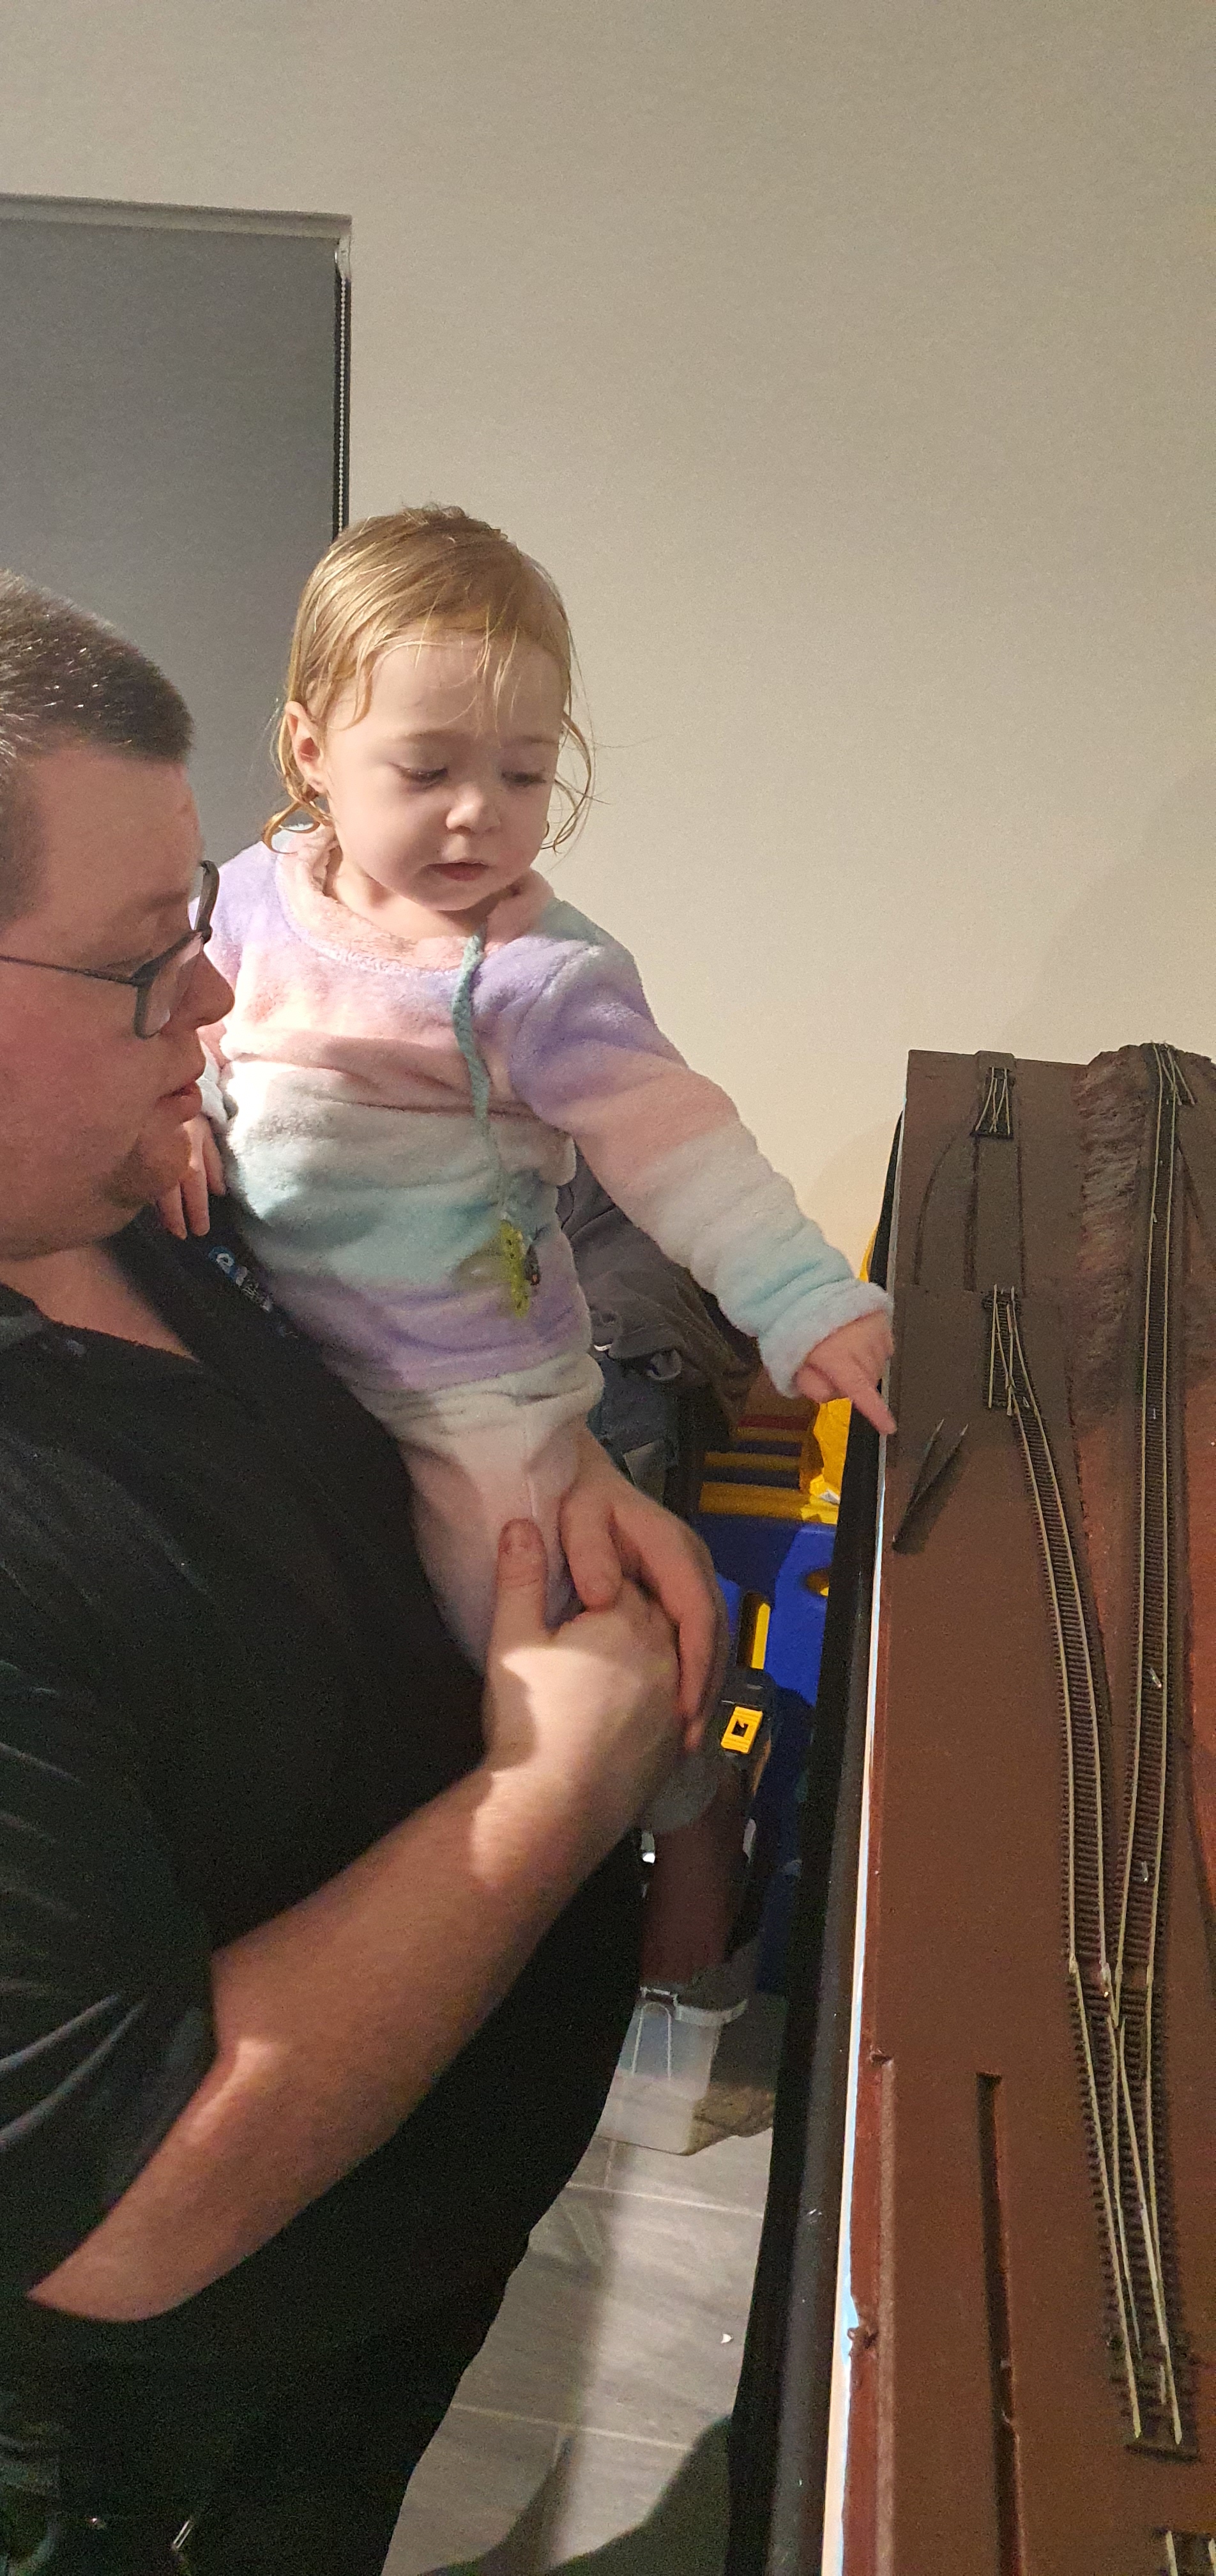
So here we go, as usual I was catching up with the Aussie NMRAx team whilst doing this and Annabel wanted to lend a hand. Unfortunatley they don’t make toddler sized gloves so we had to make do with a daddy sized one.

Mixing the sculptamold is pretty simple its about a 1:1 mix of compound and water. You want to add more of one or the other until you have a mixture thats the consistency of cottage cheese.
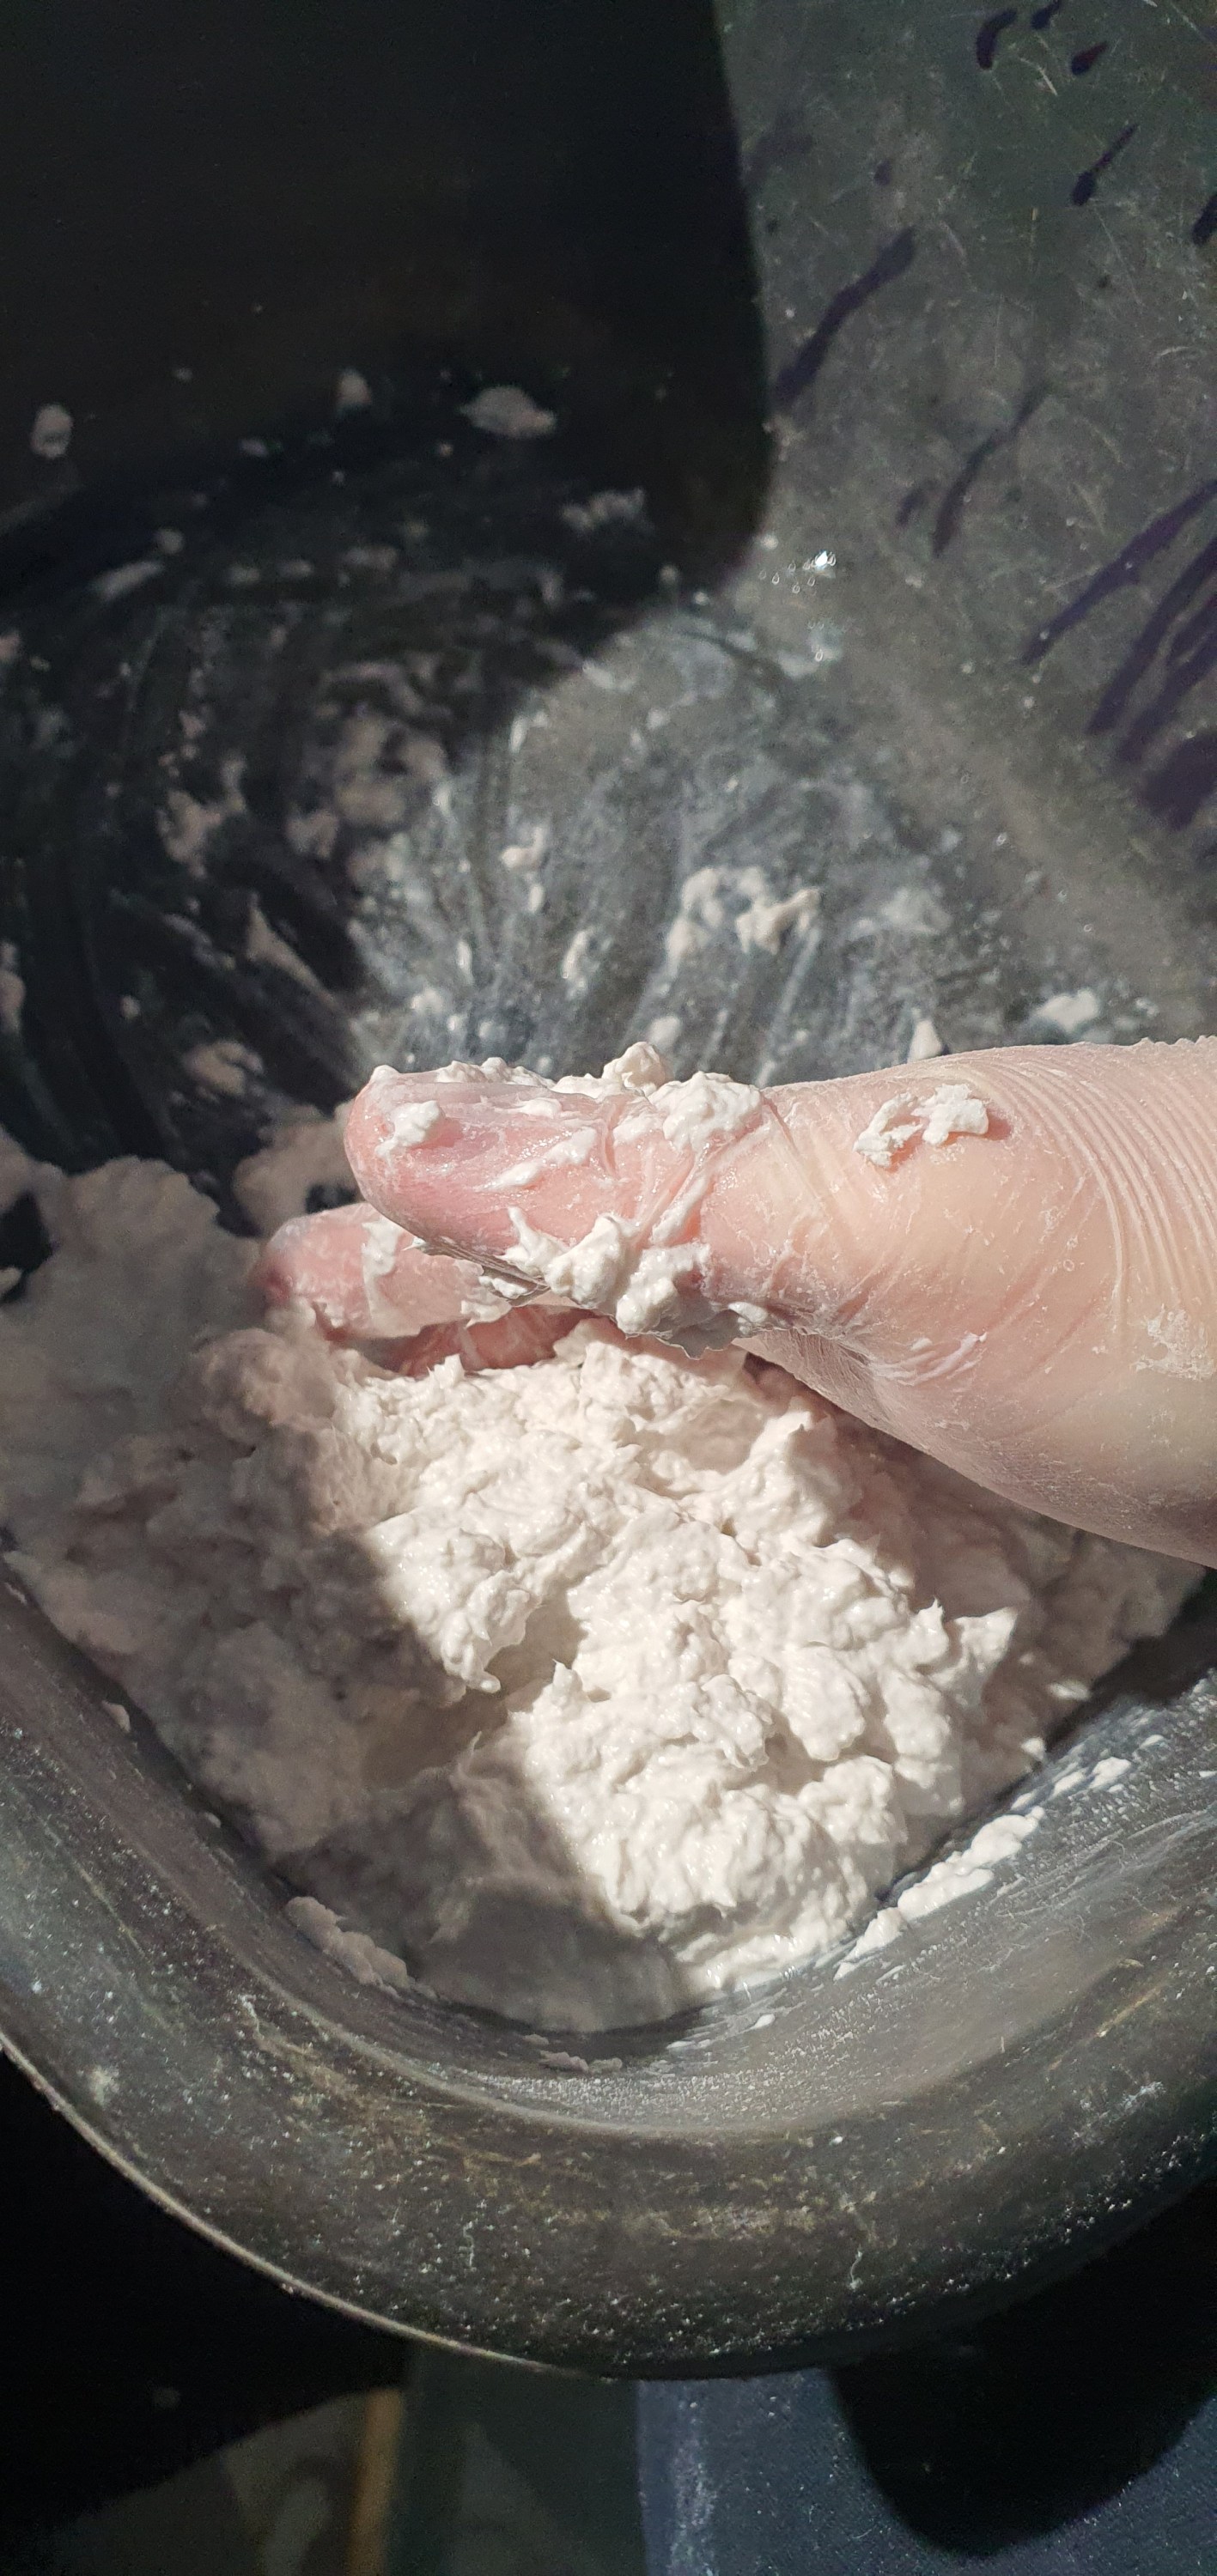
You have to mix it for about 3/4 minutes to make sure the water is absorbed into all the dry compound. Tomorrow we’ll start getting this onto the layout.
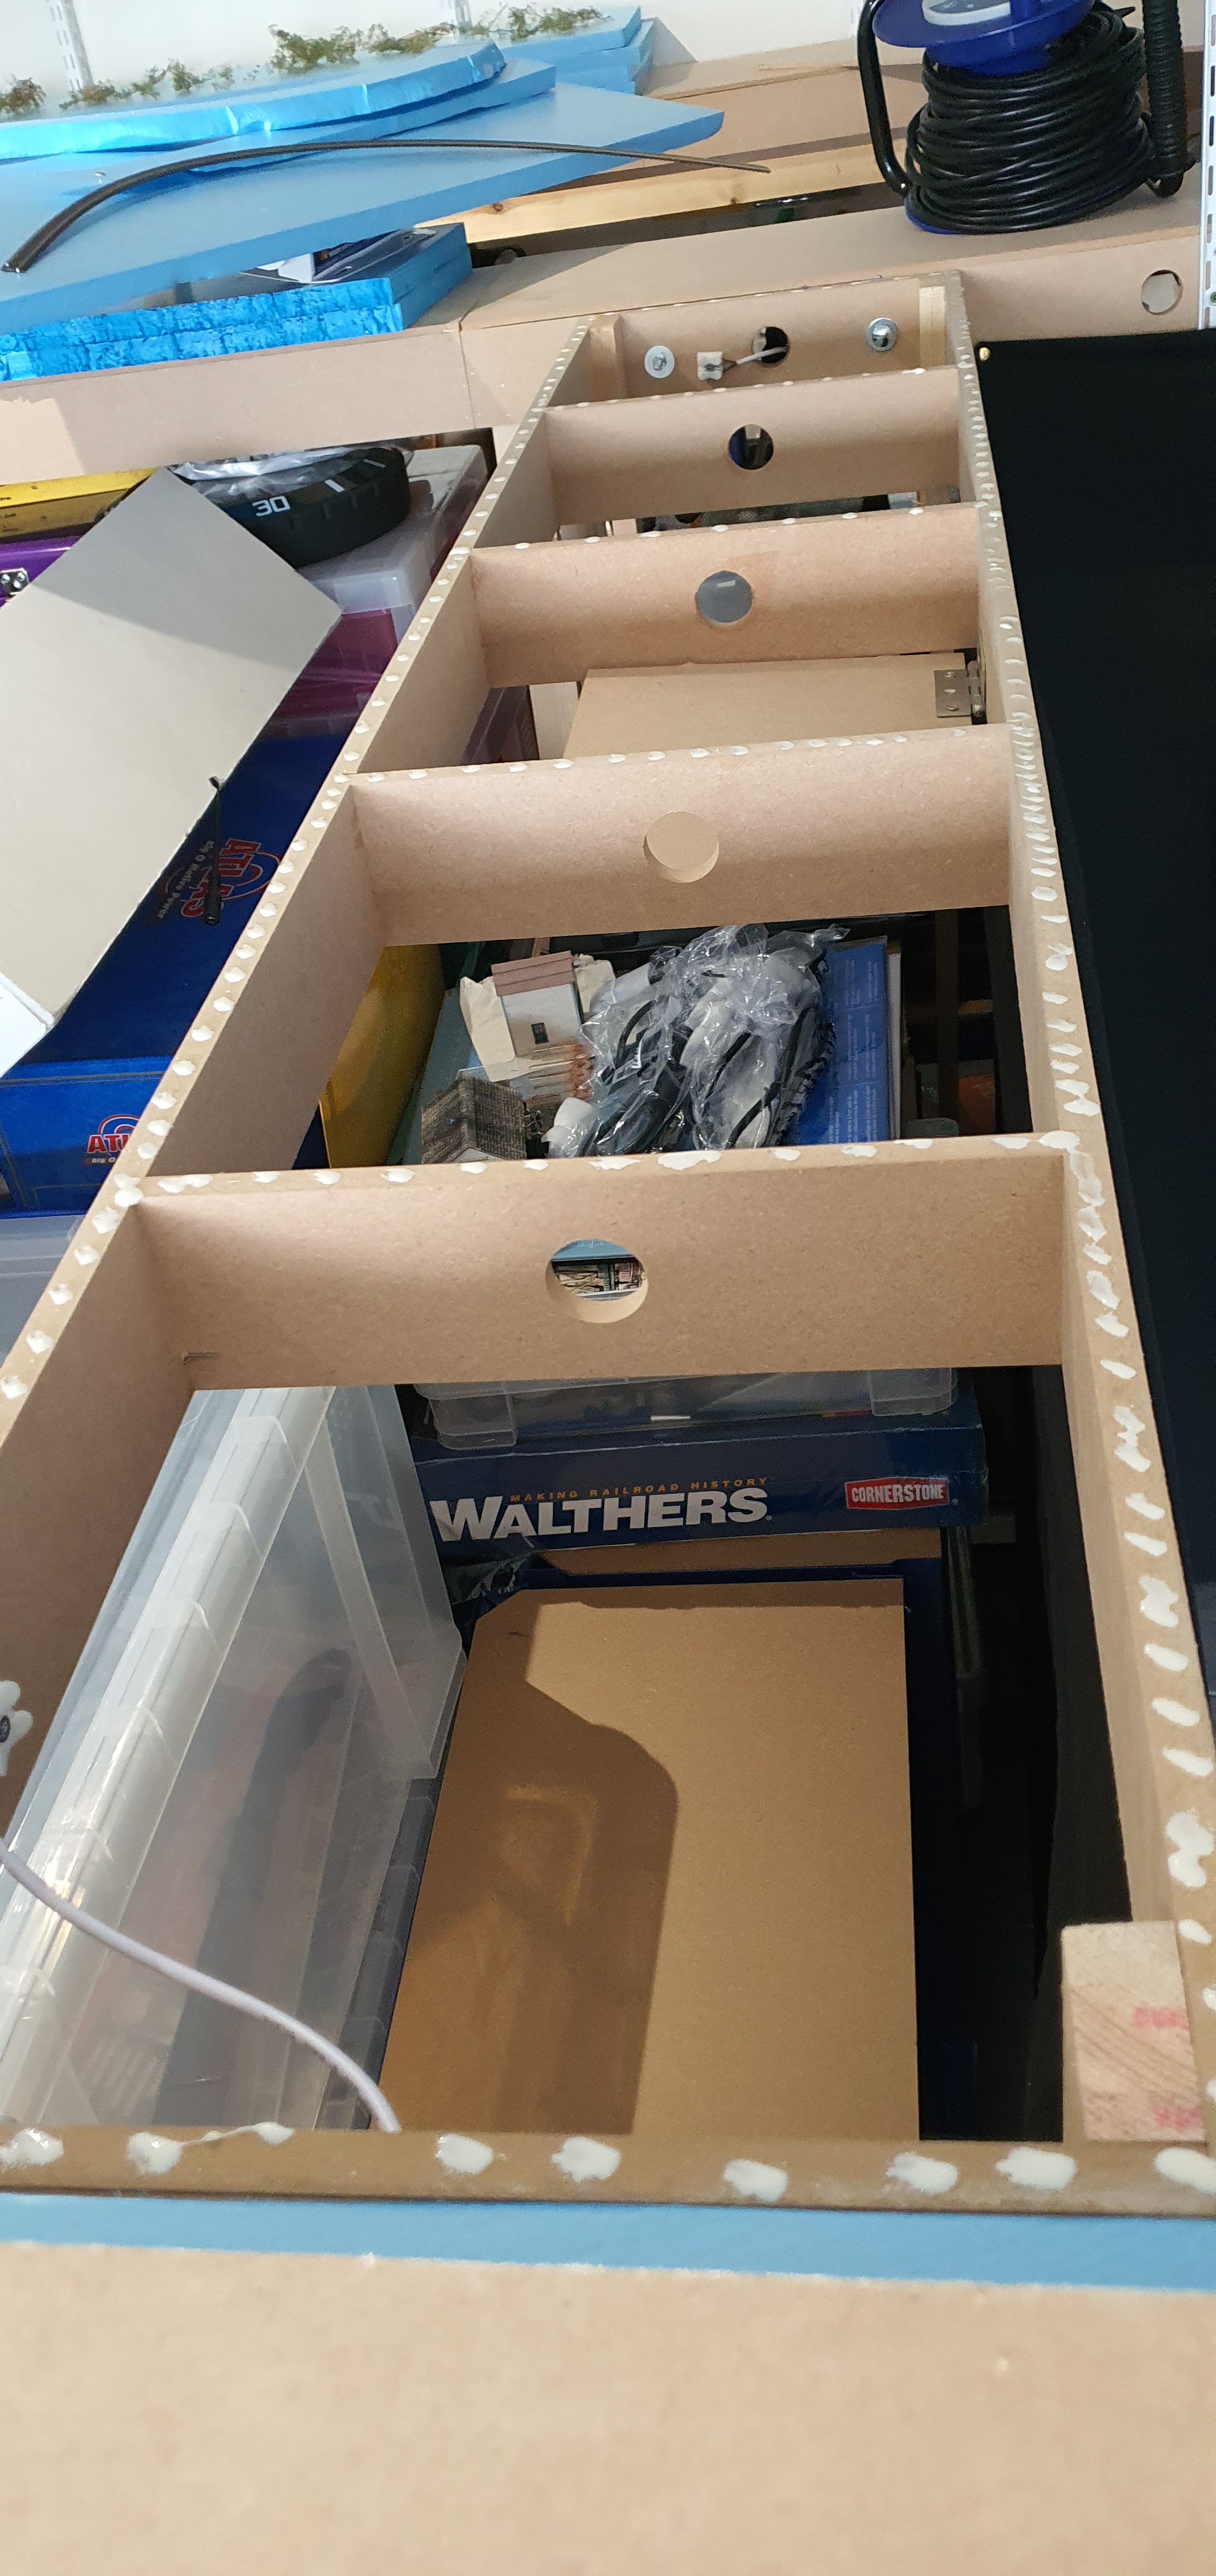
Yes I am still waiting for a saw to finsh the benchwork but after spending the afternoon staring at the layout, just like Rob Clark says I had a spark of inspiration. Yes! it hurt I had to have a lie down afterwards.
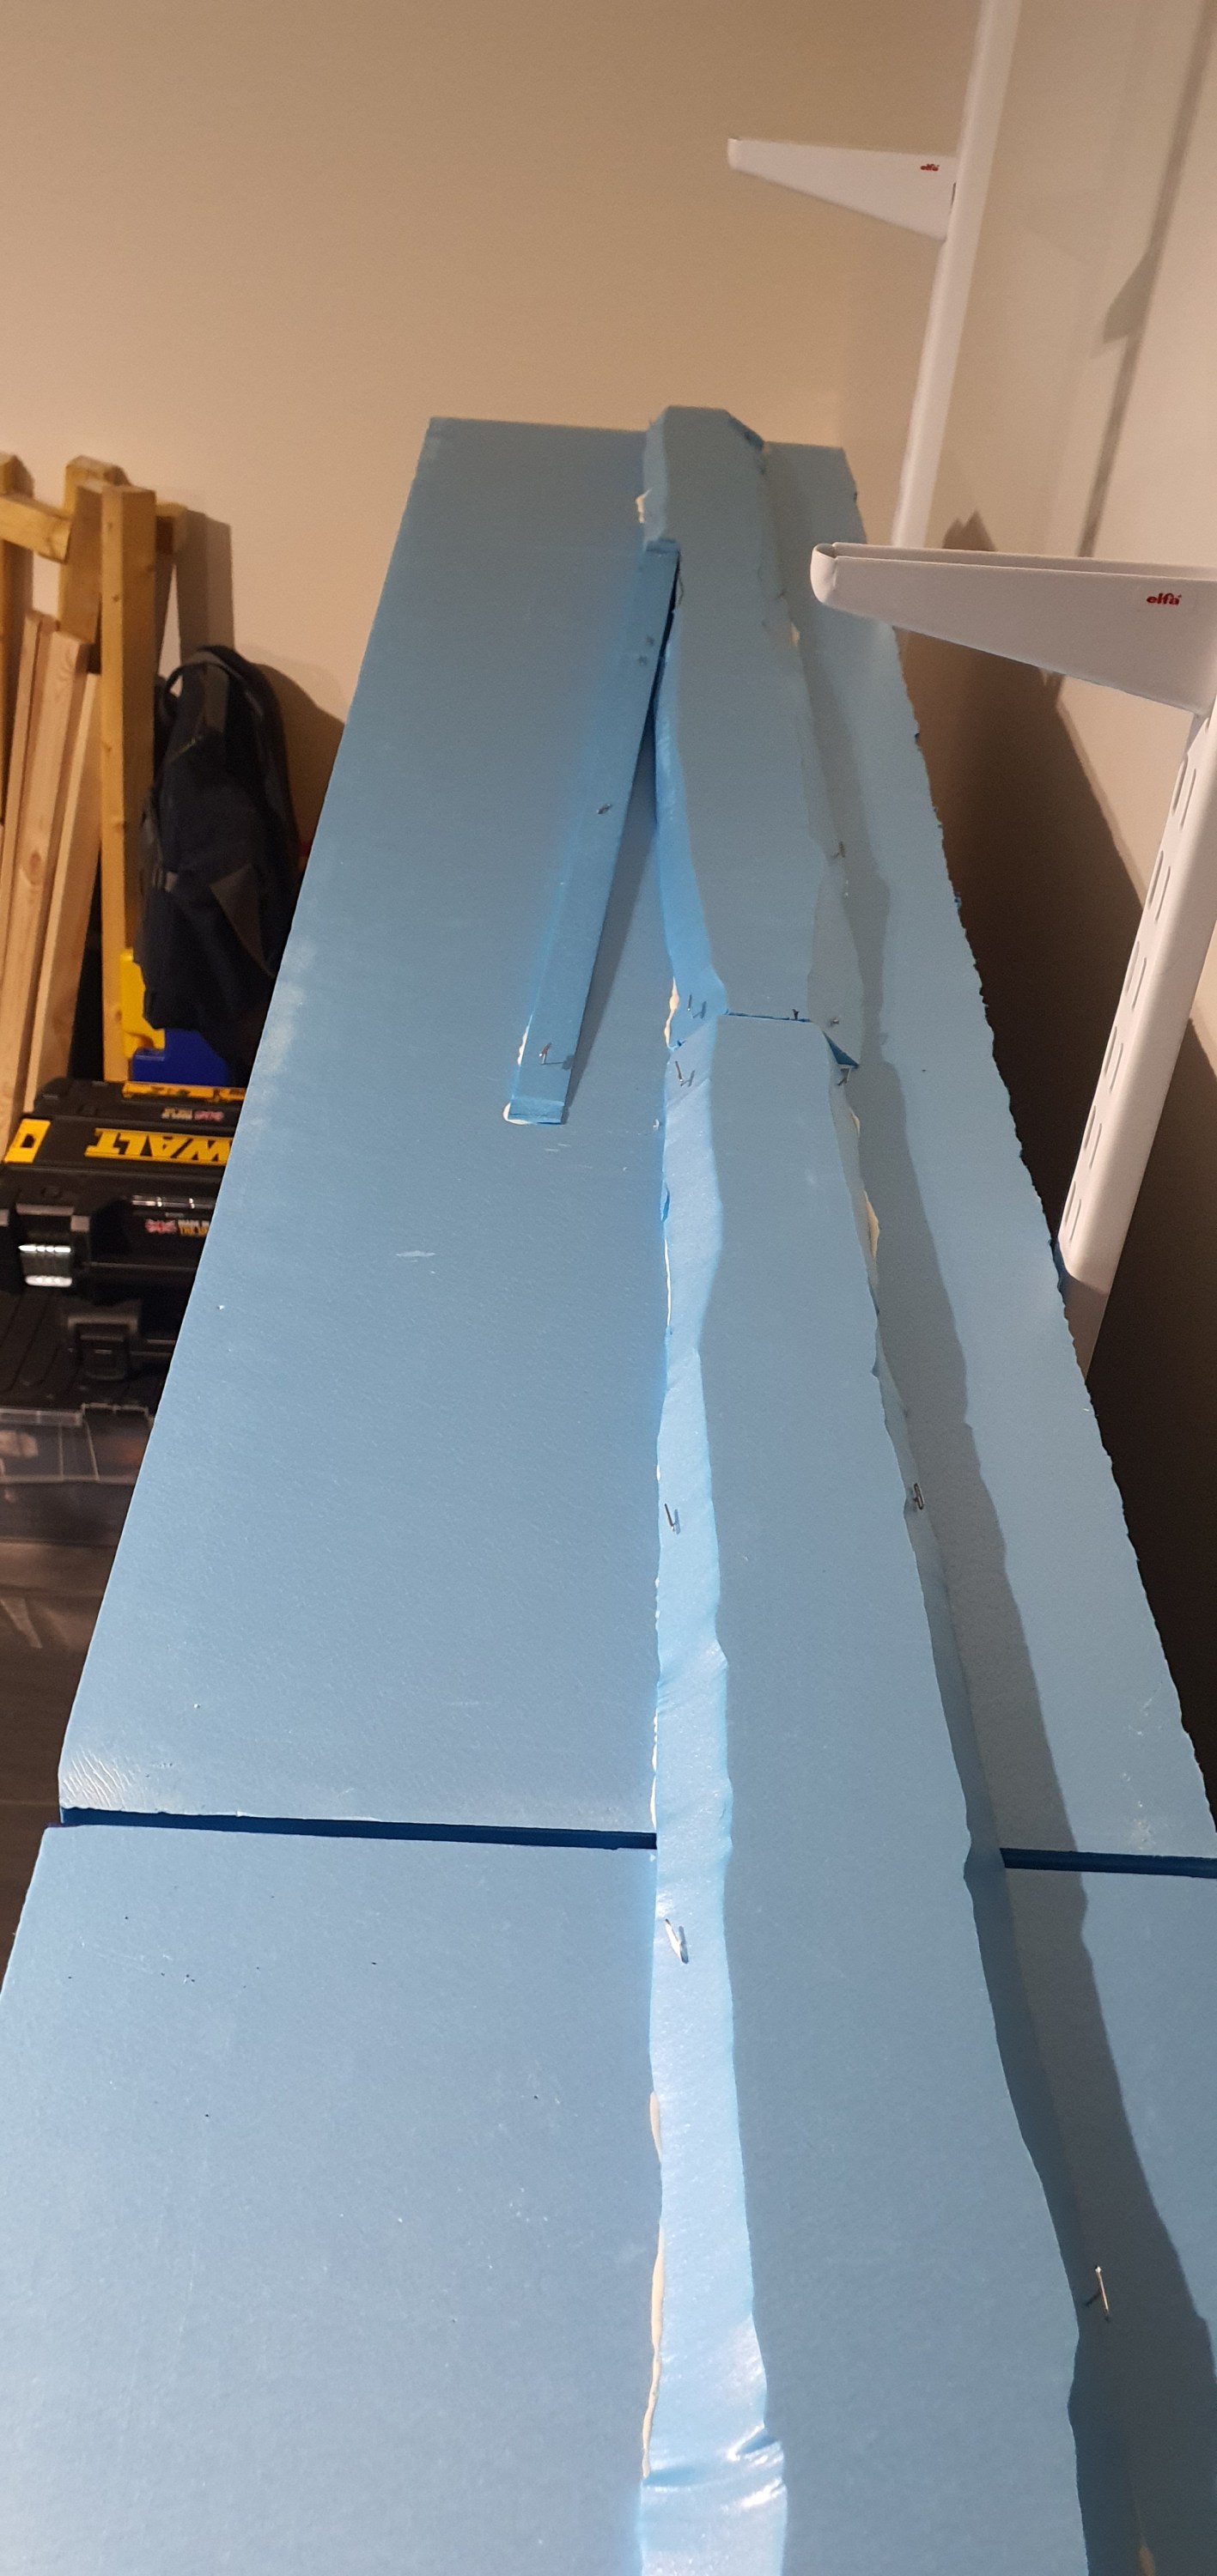
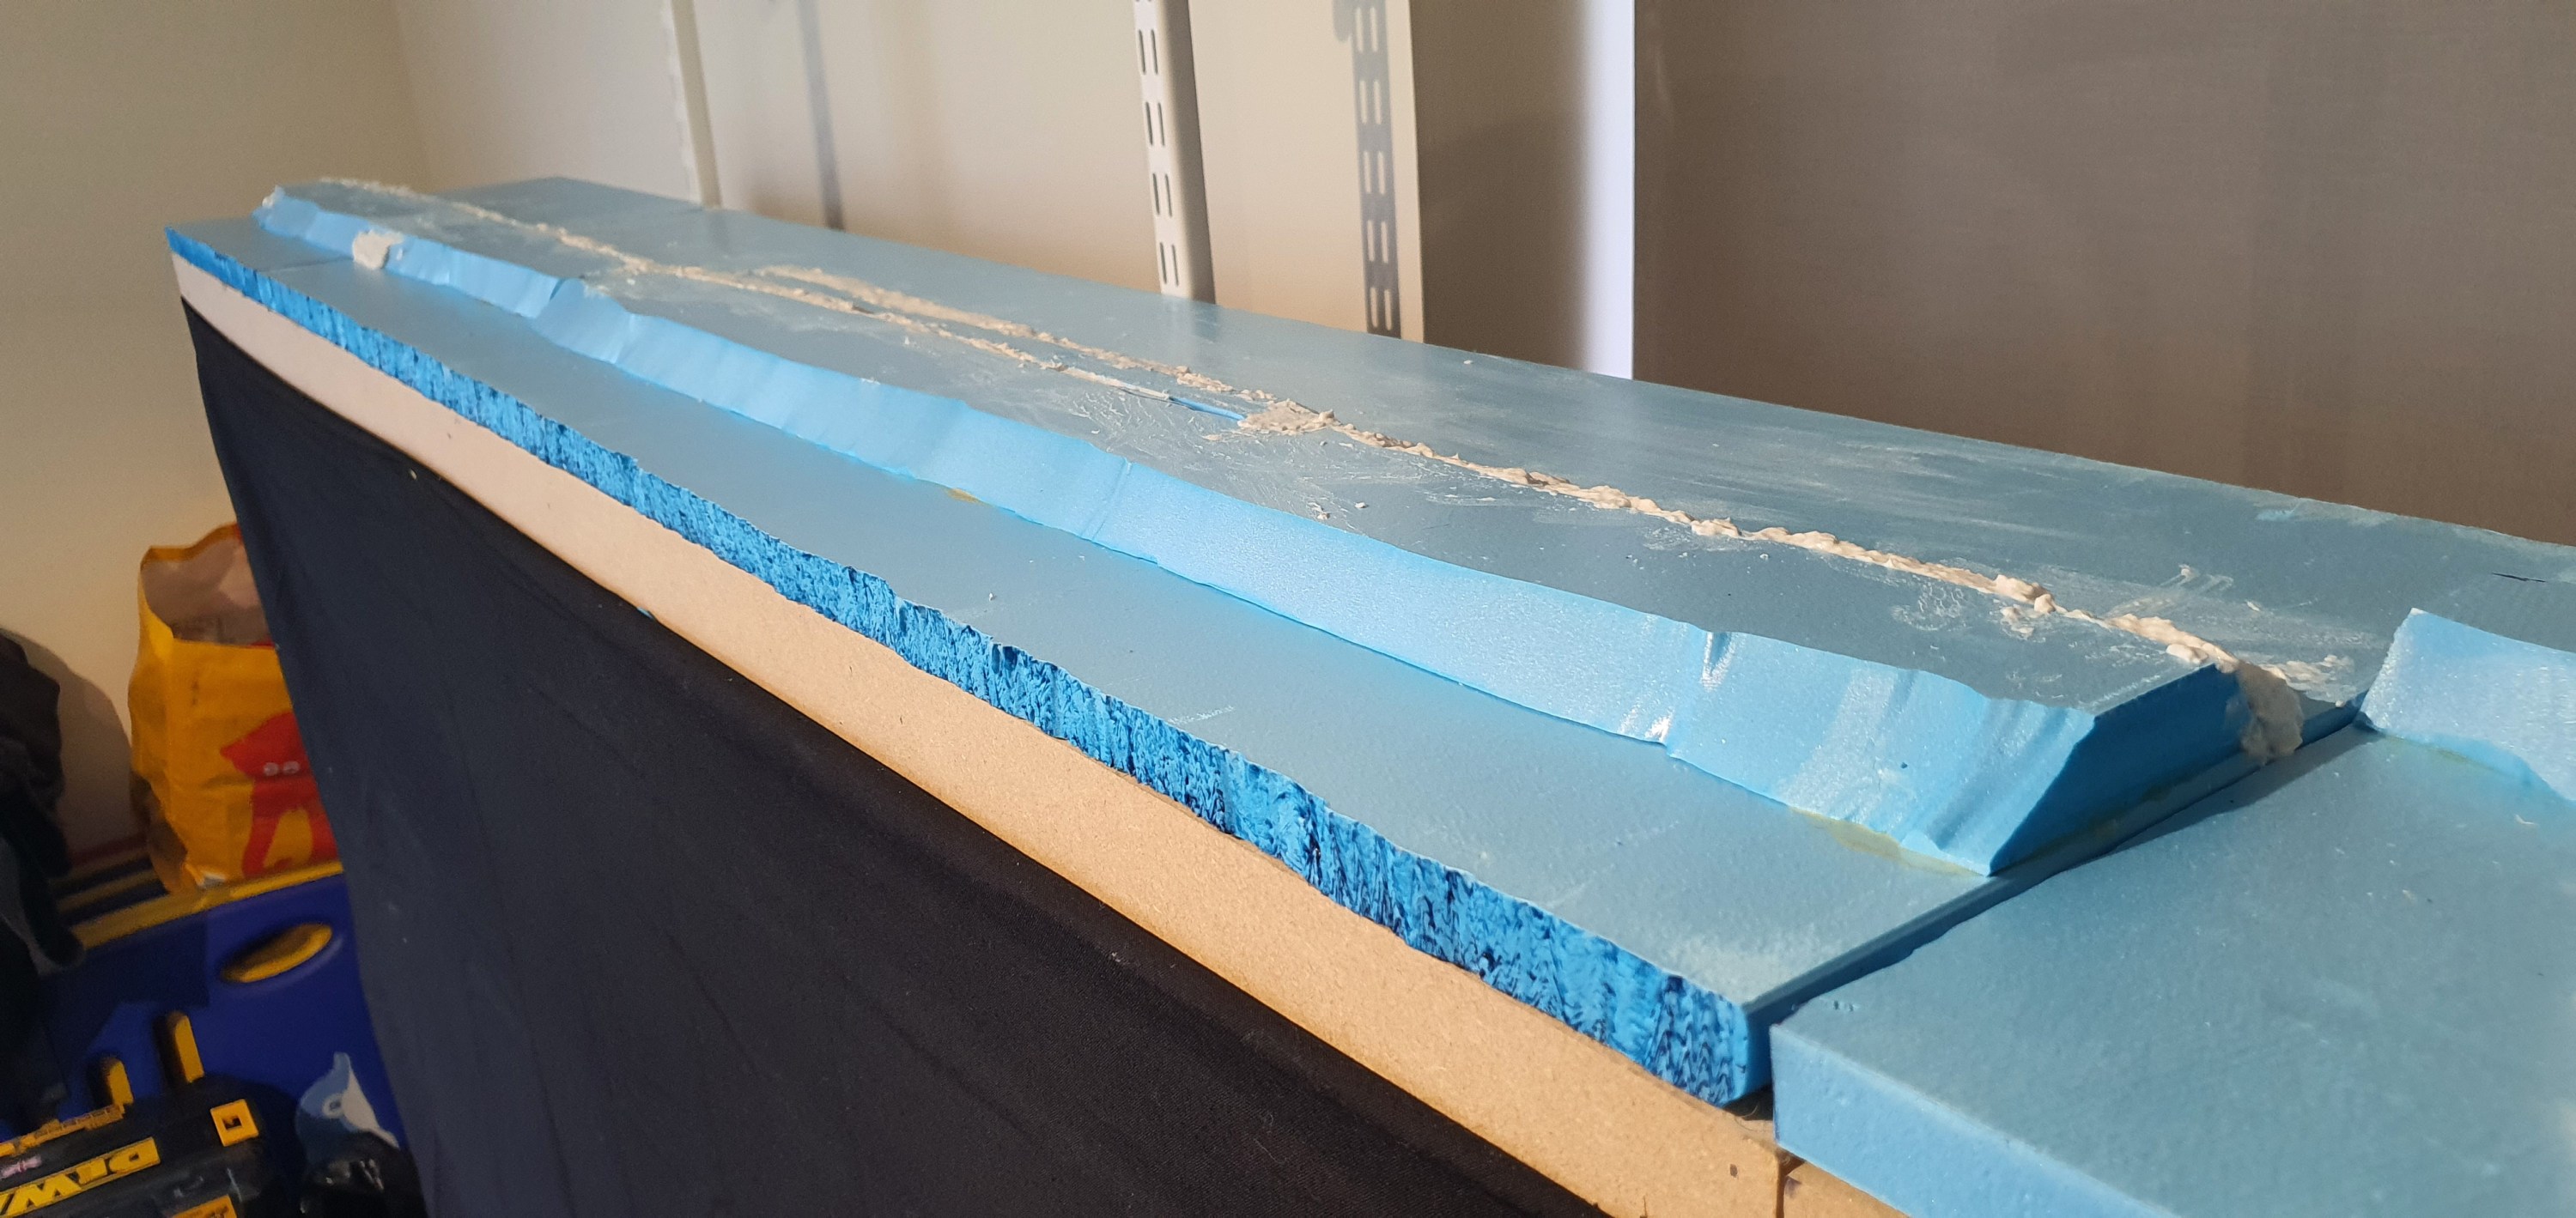
Anyway back to the model, Basically I decided i can start on the scenery without the MDF sub bases being in and slip those in at a later date. The foam for ackerville is already cut so the first part of this is going to be gluing down the foam to prepare the base for sculptamold. That messy job will come tomorrow but now lets get this going.
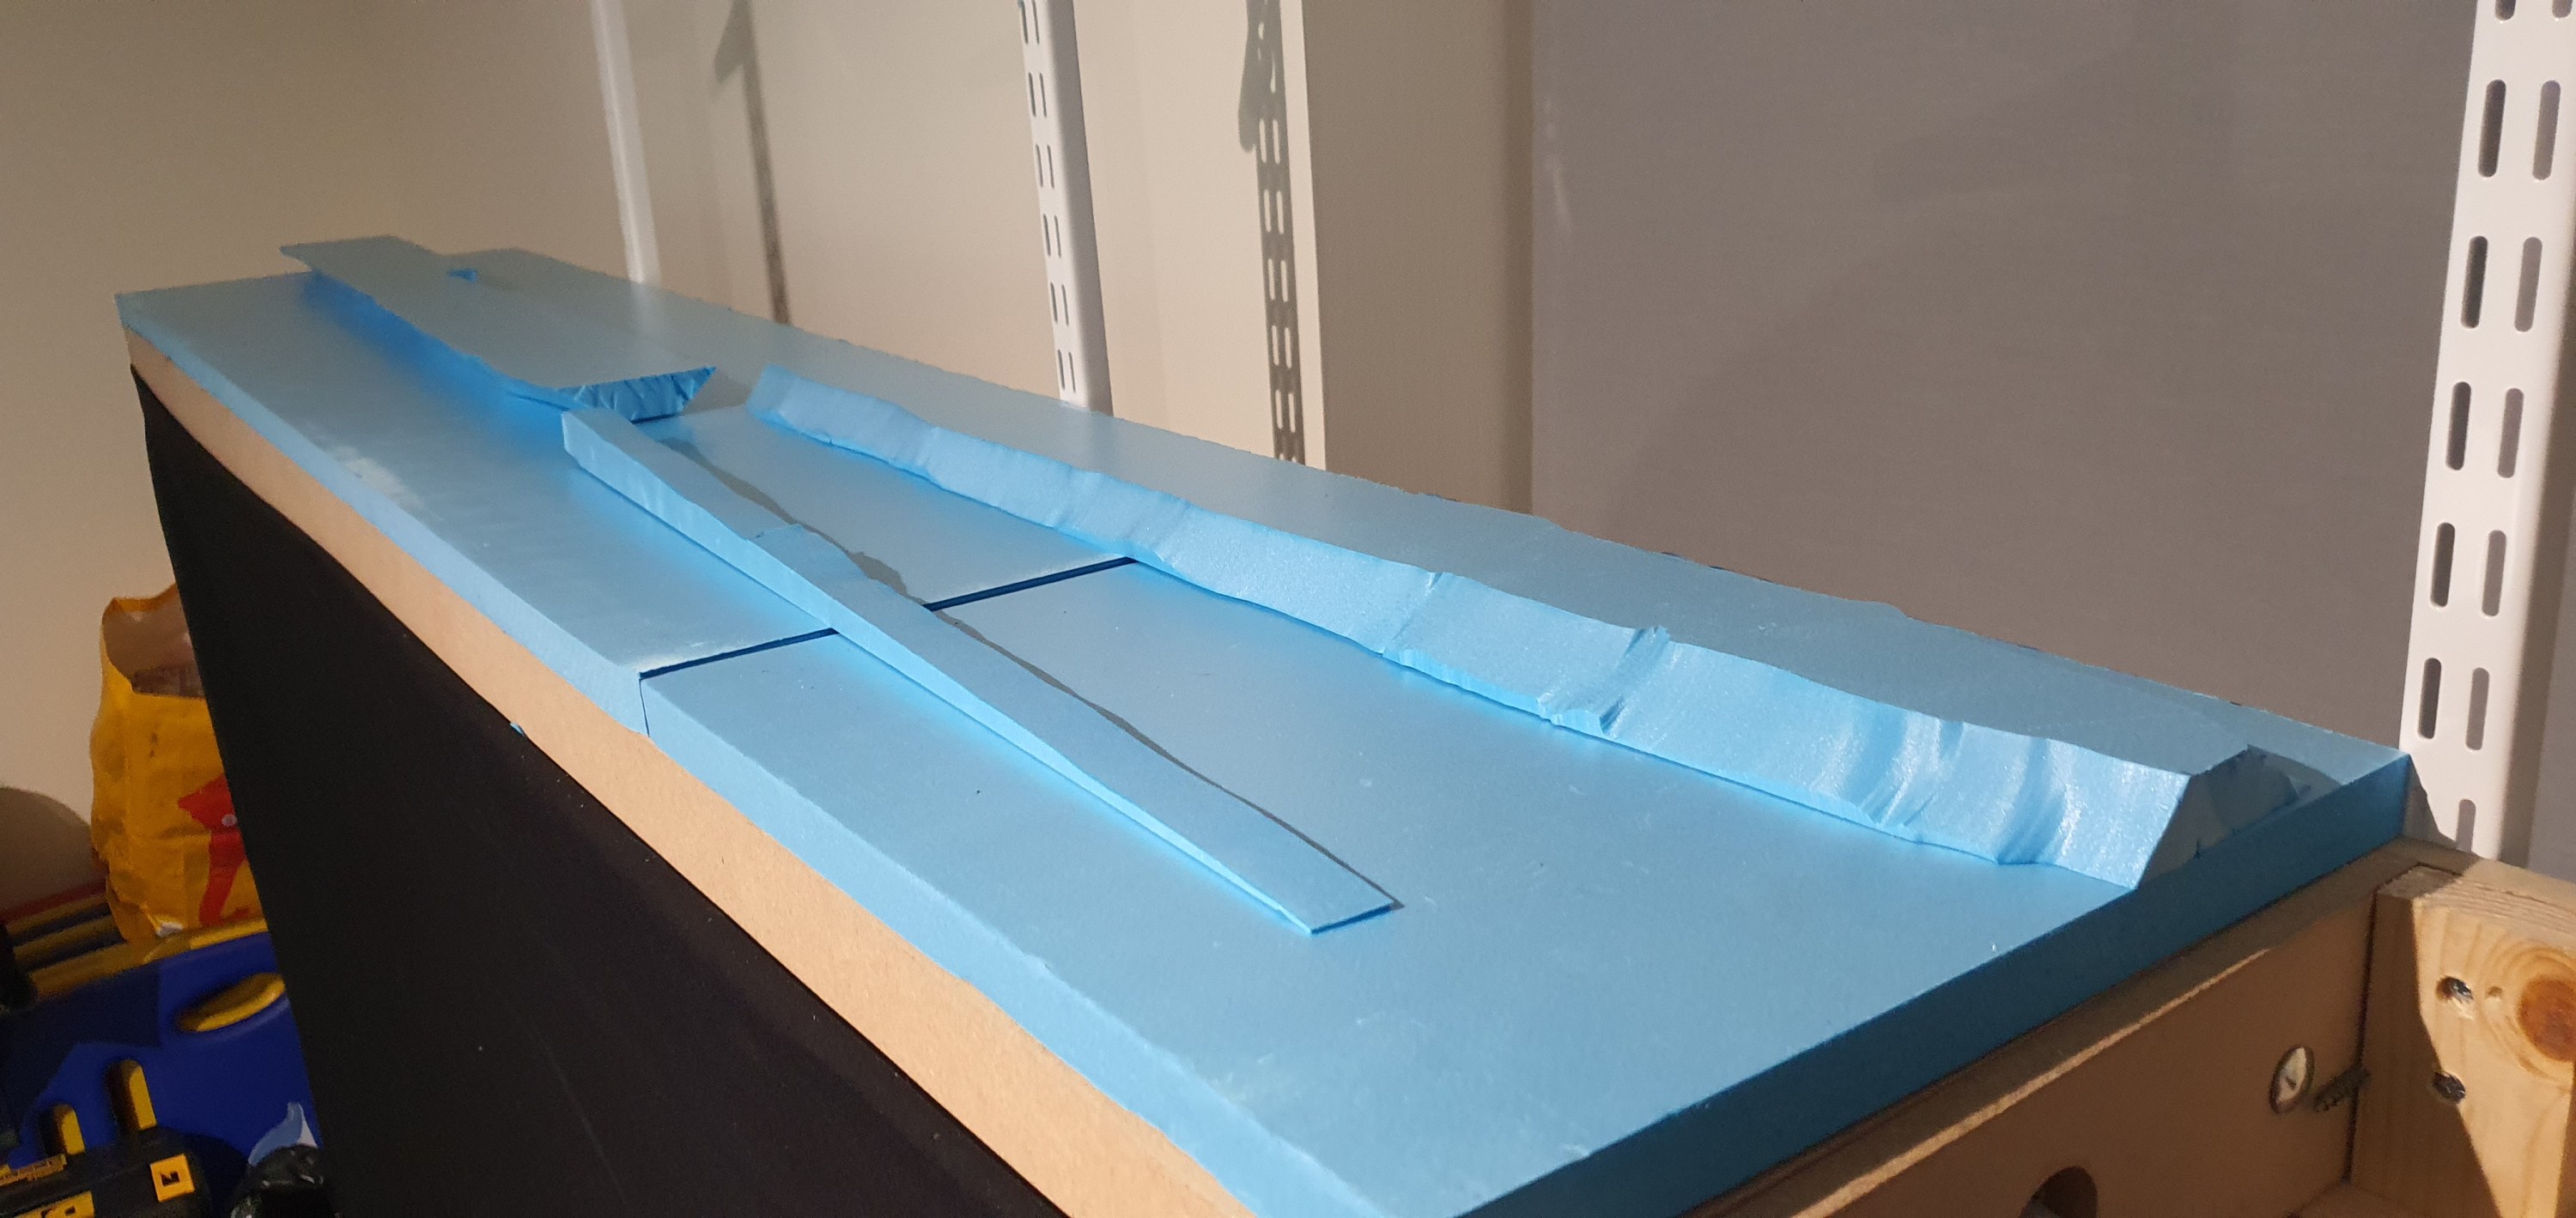
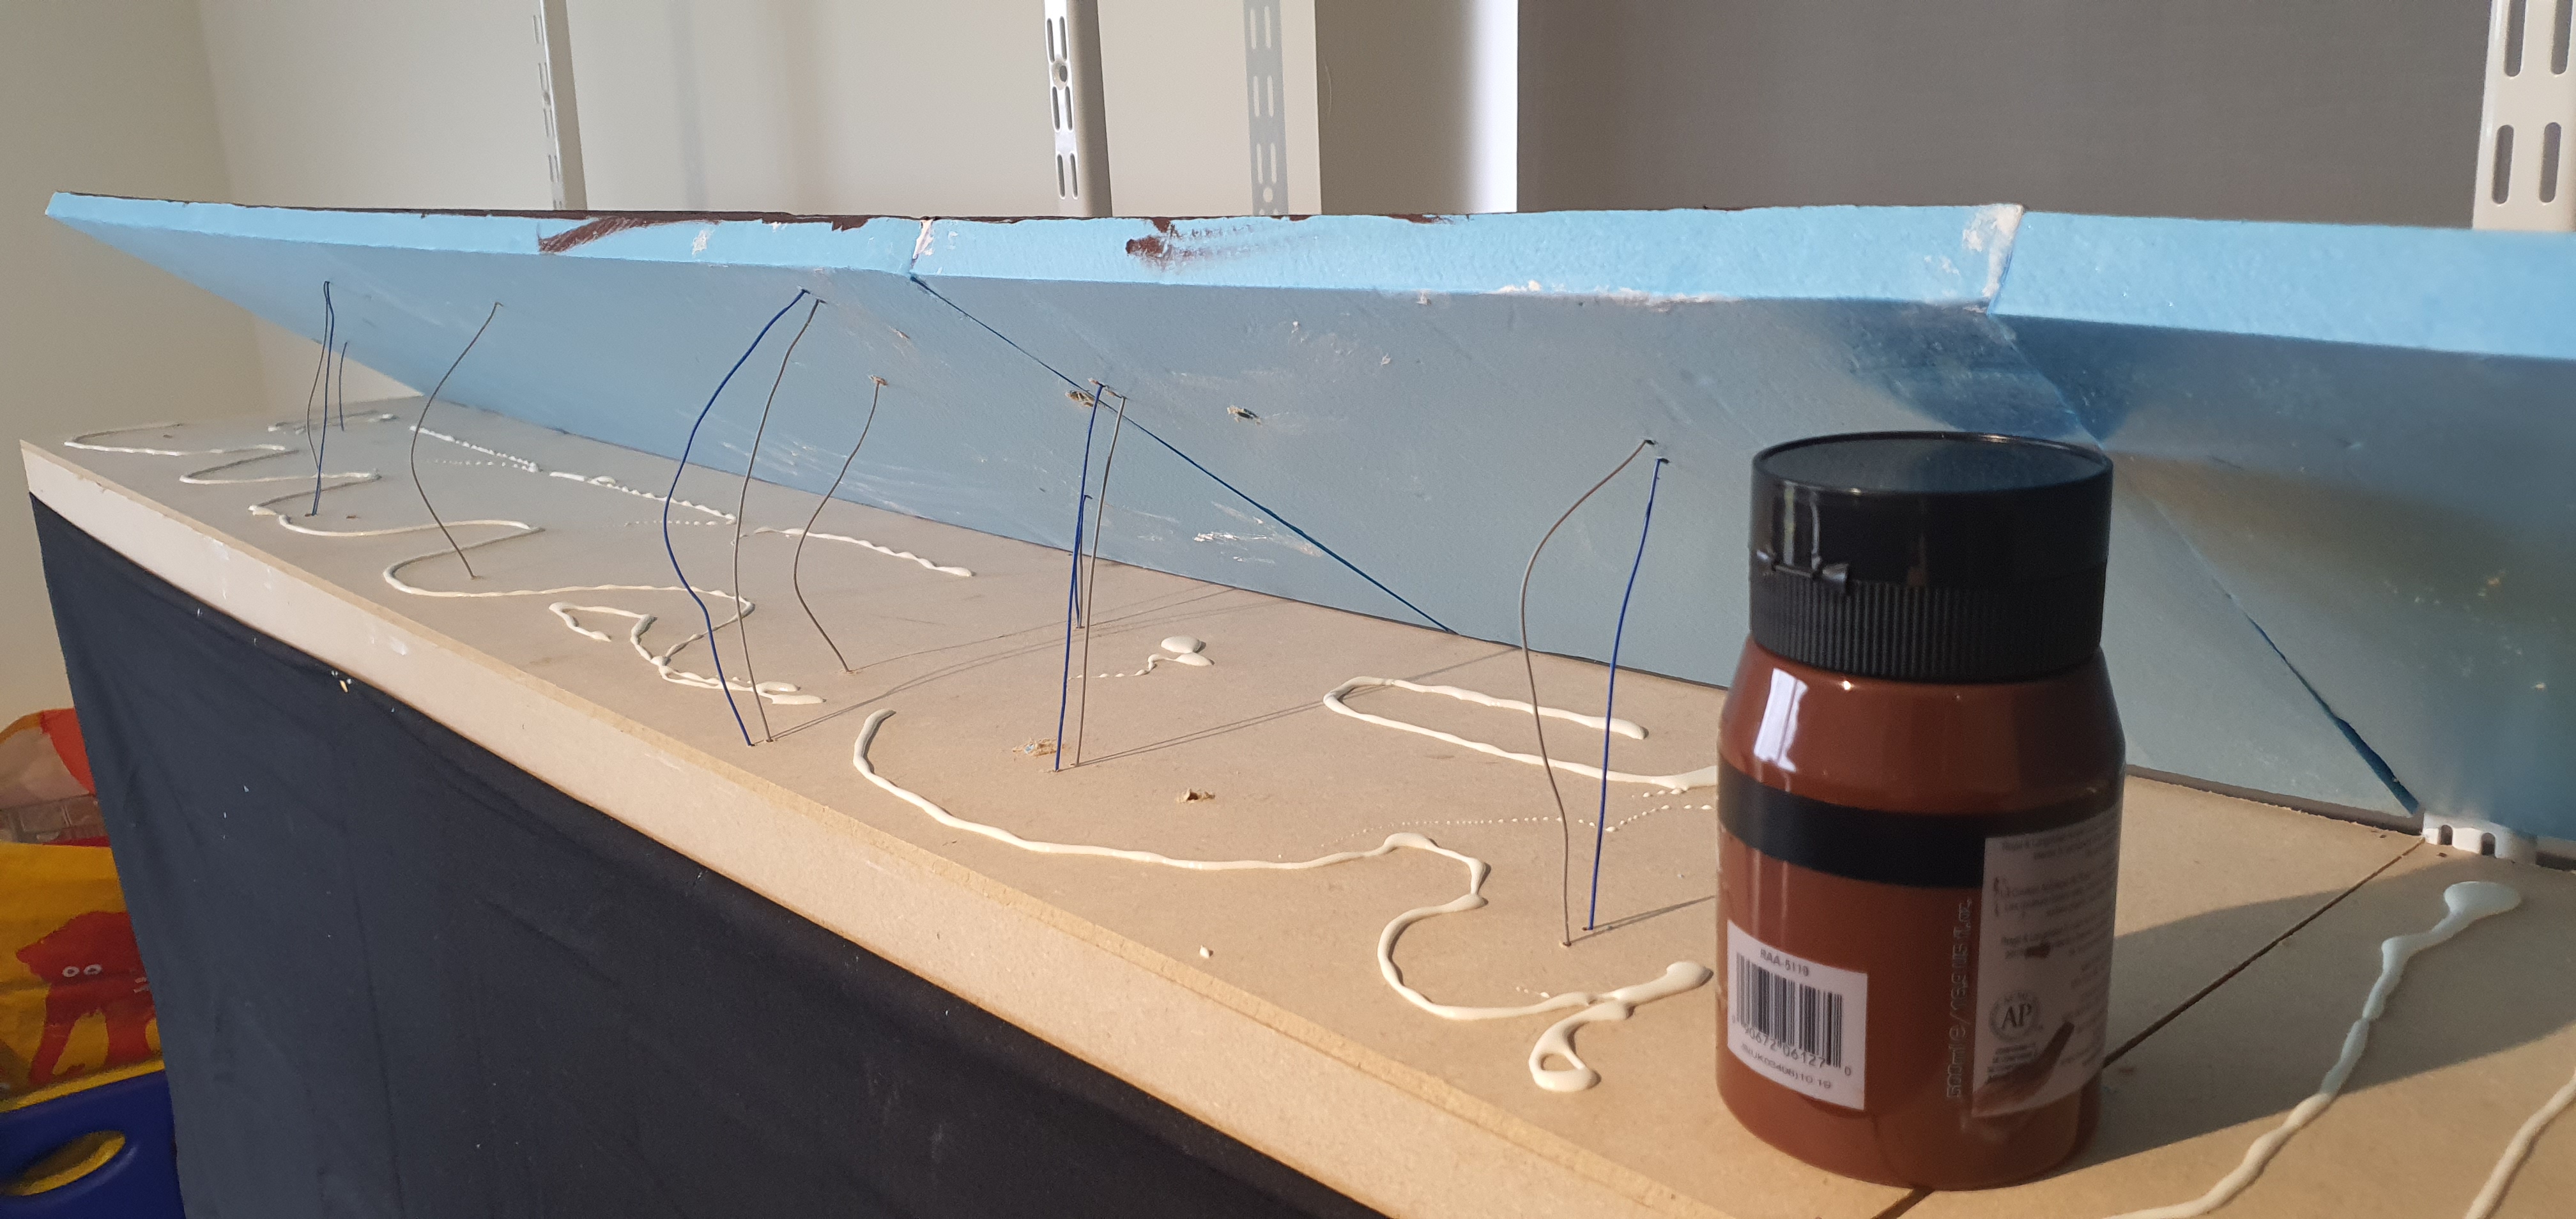
We all need to start somewhere and this is the North end of Ackerville this embankment will continue along the length of this aisle. The embankment will carry the WSOR above the Ackerville yard so it continues along the whole length so getting it square here matters. There is nothing scary or even smart here so long as we use a foam safe glue. I use gorilla wood glue, its a very tacky PVA that wont melt the foam it also doesn’t expand so is perfect for this.
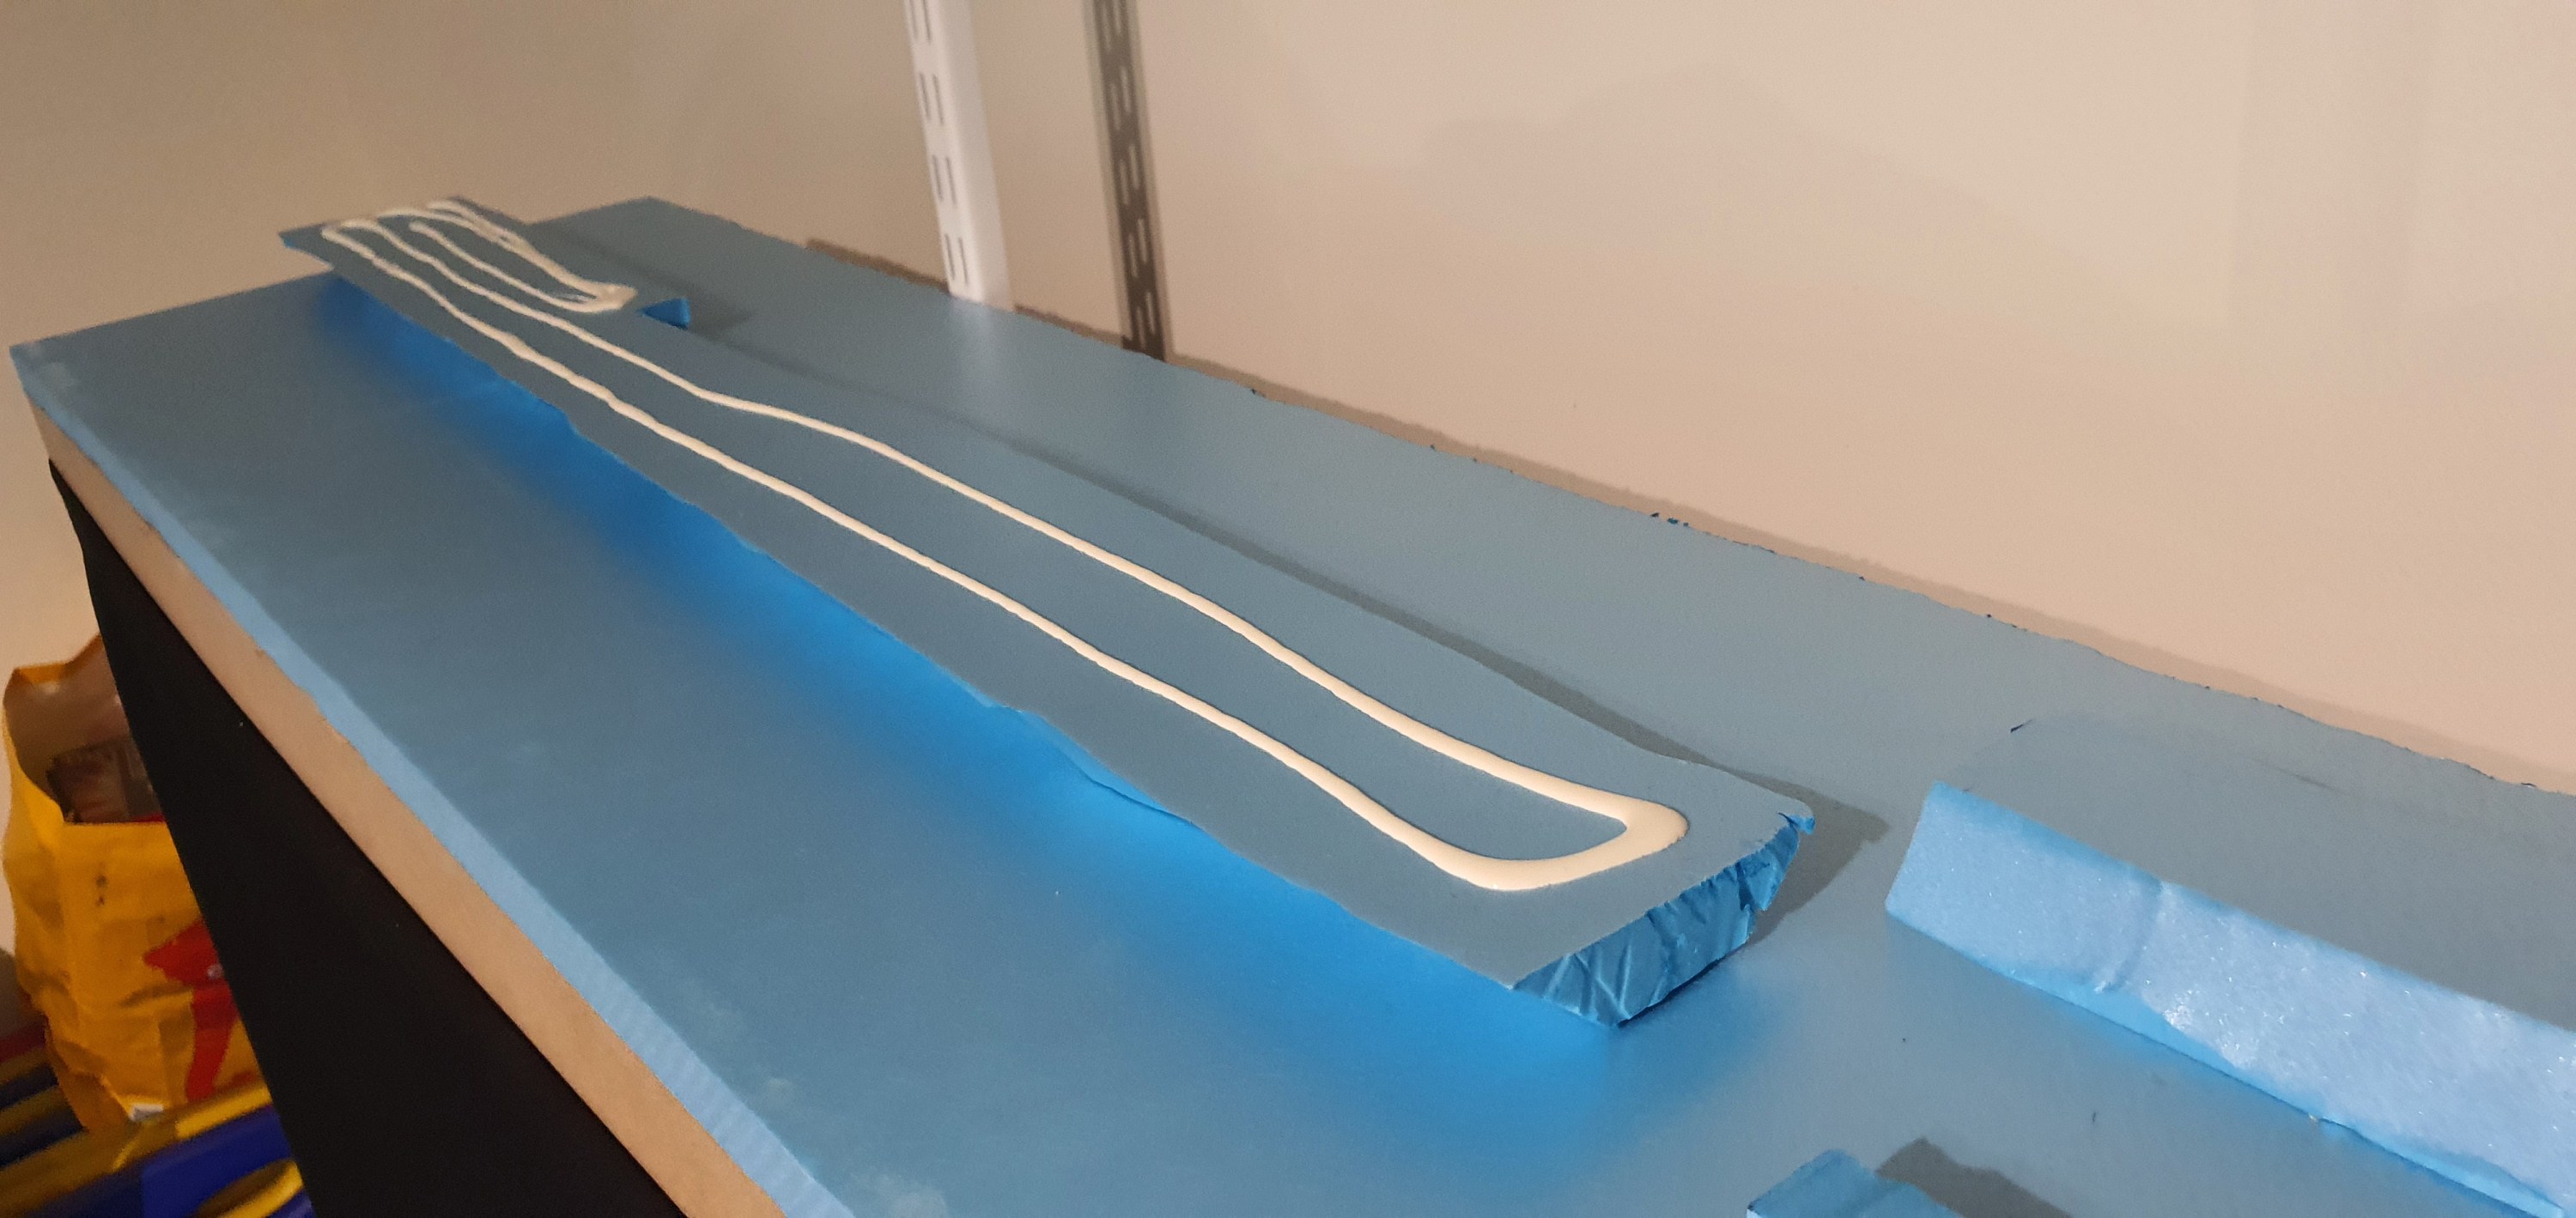
I got a nice bead of glue under the foam blocks and smoothed it flat before placing it on the foam base.
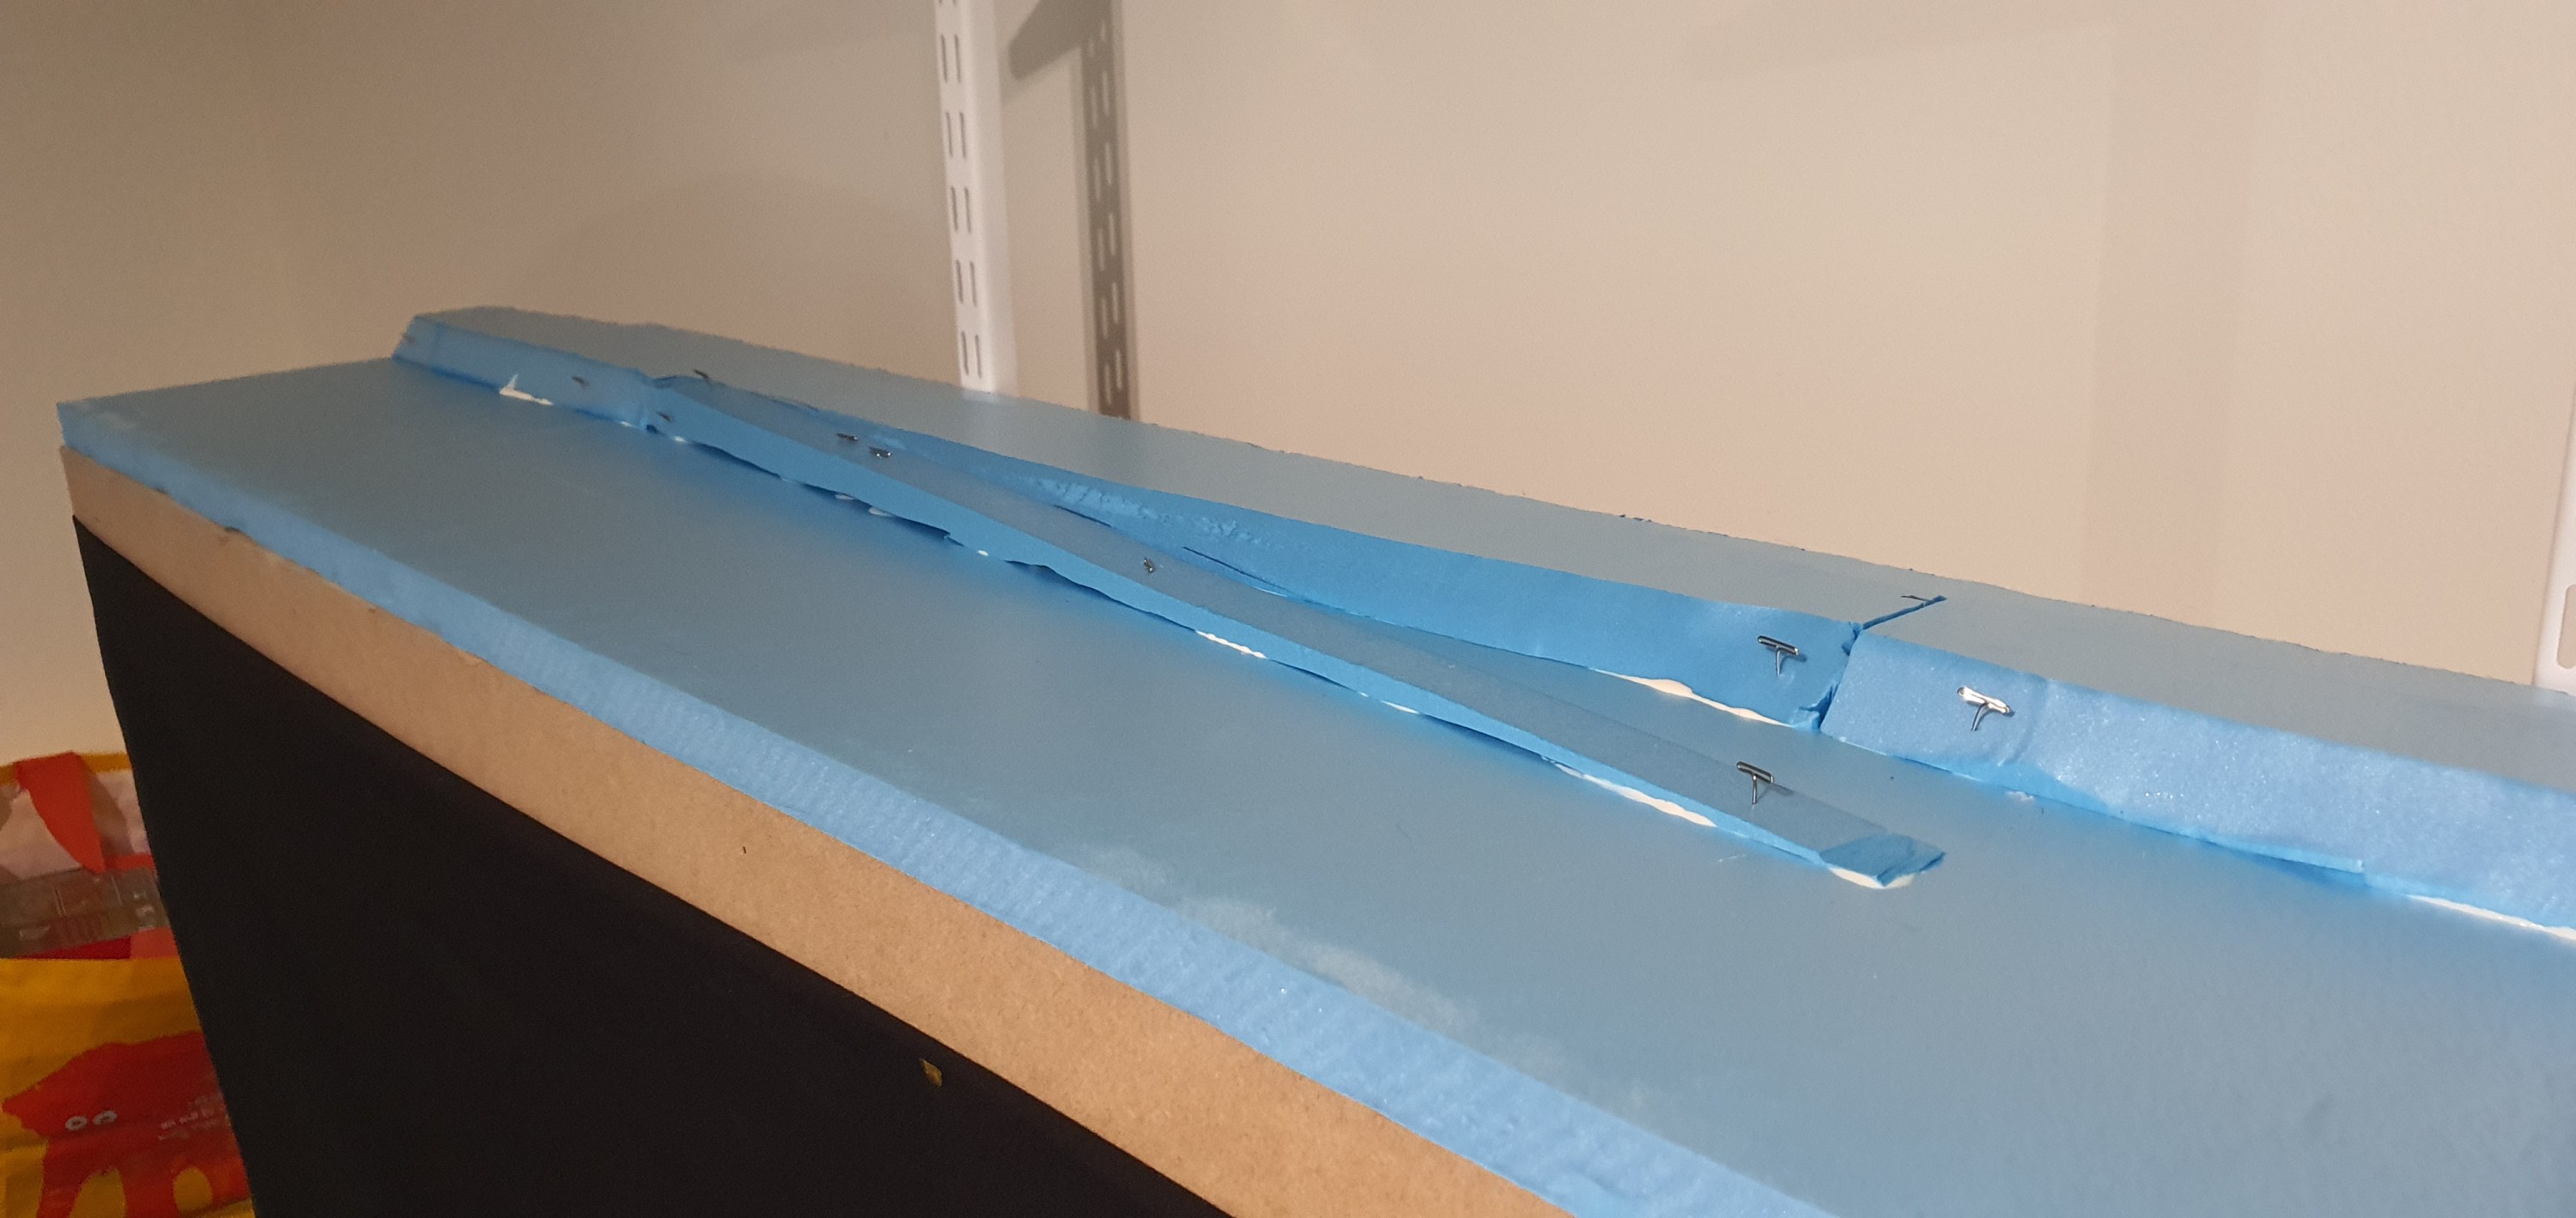
The gorilla glue is really quite tacky and would hold the foam in place. However, I used some 20mm T-pins just to hold this in place while the glue dries.
A few more pics of the foam, hopefully tomorrow we’ll have some sculptamold covering all this and we can move to the getting the roadbed down.