Snowmen!! N scale Snowmen

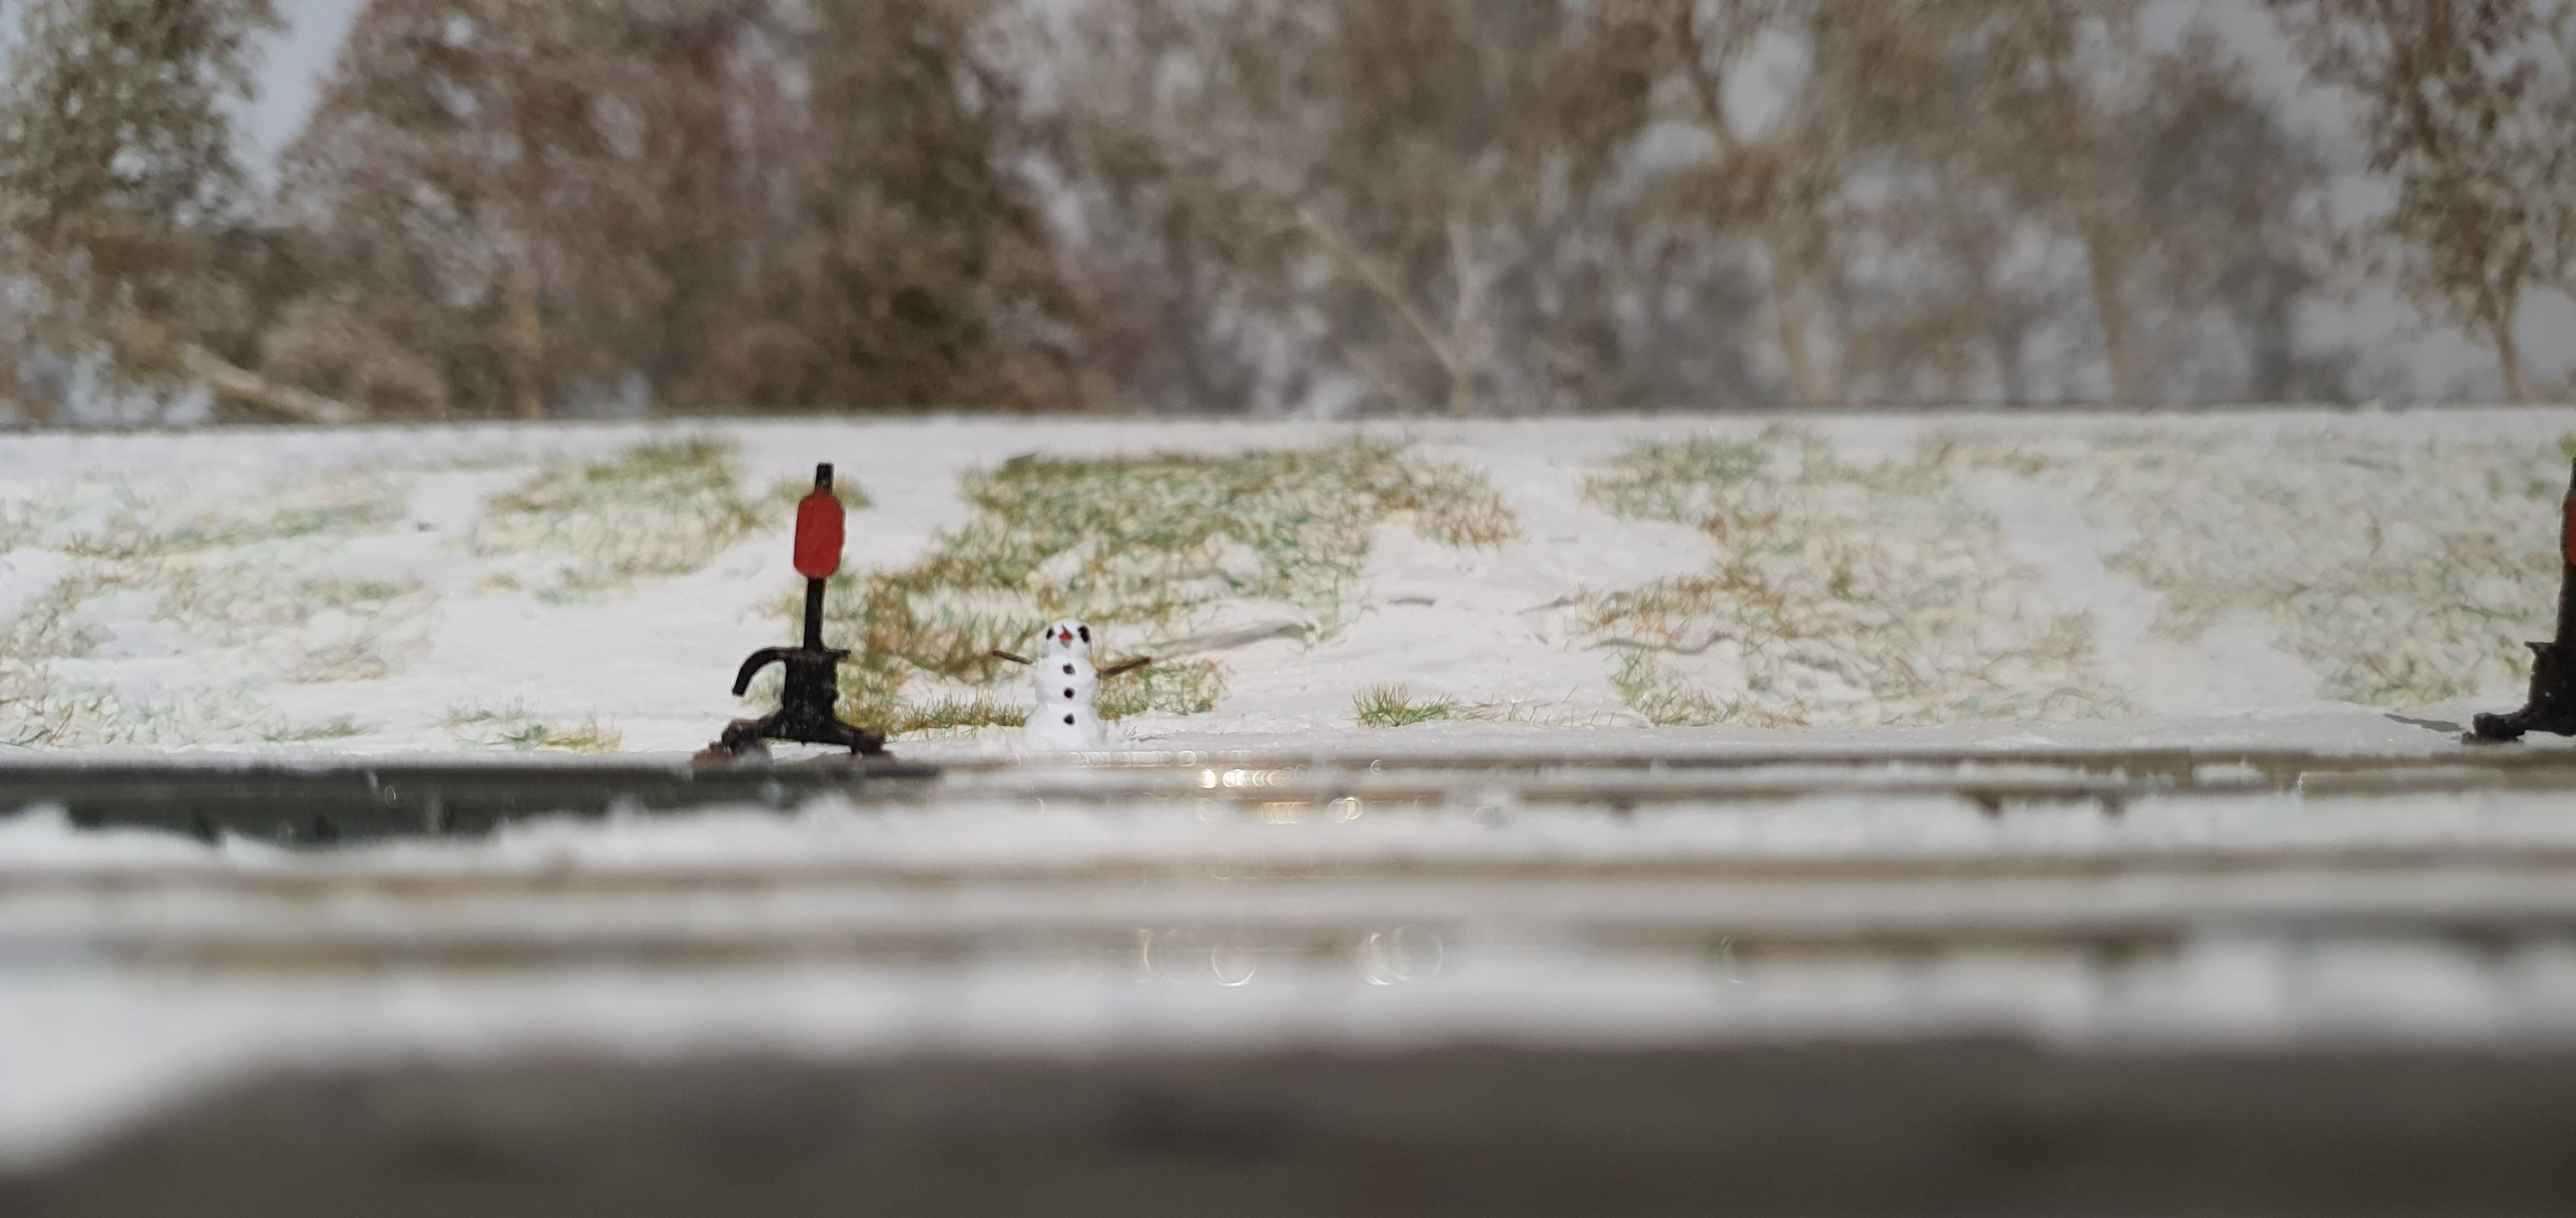
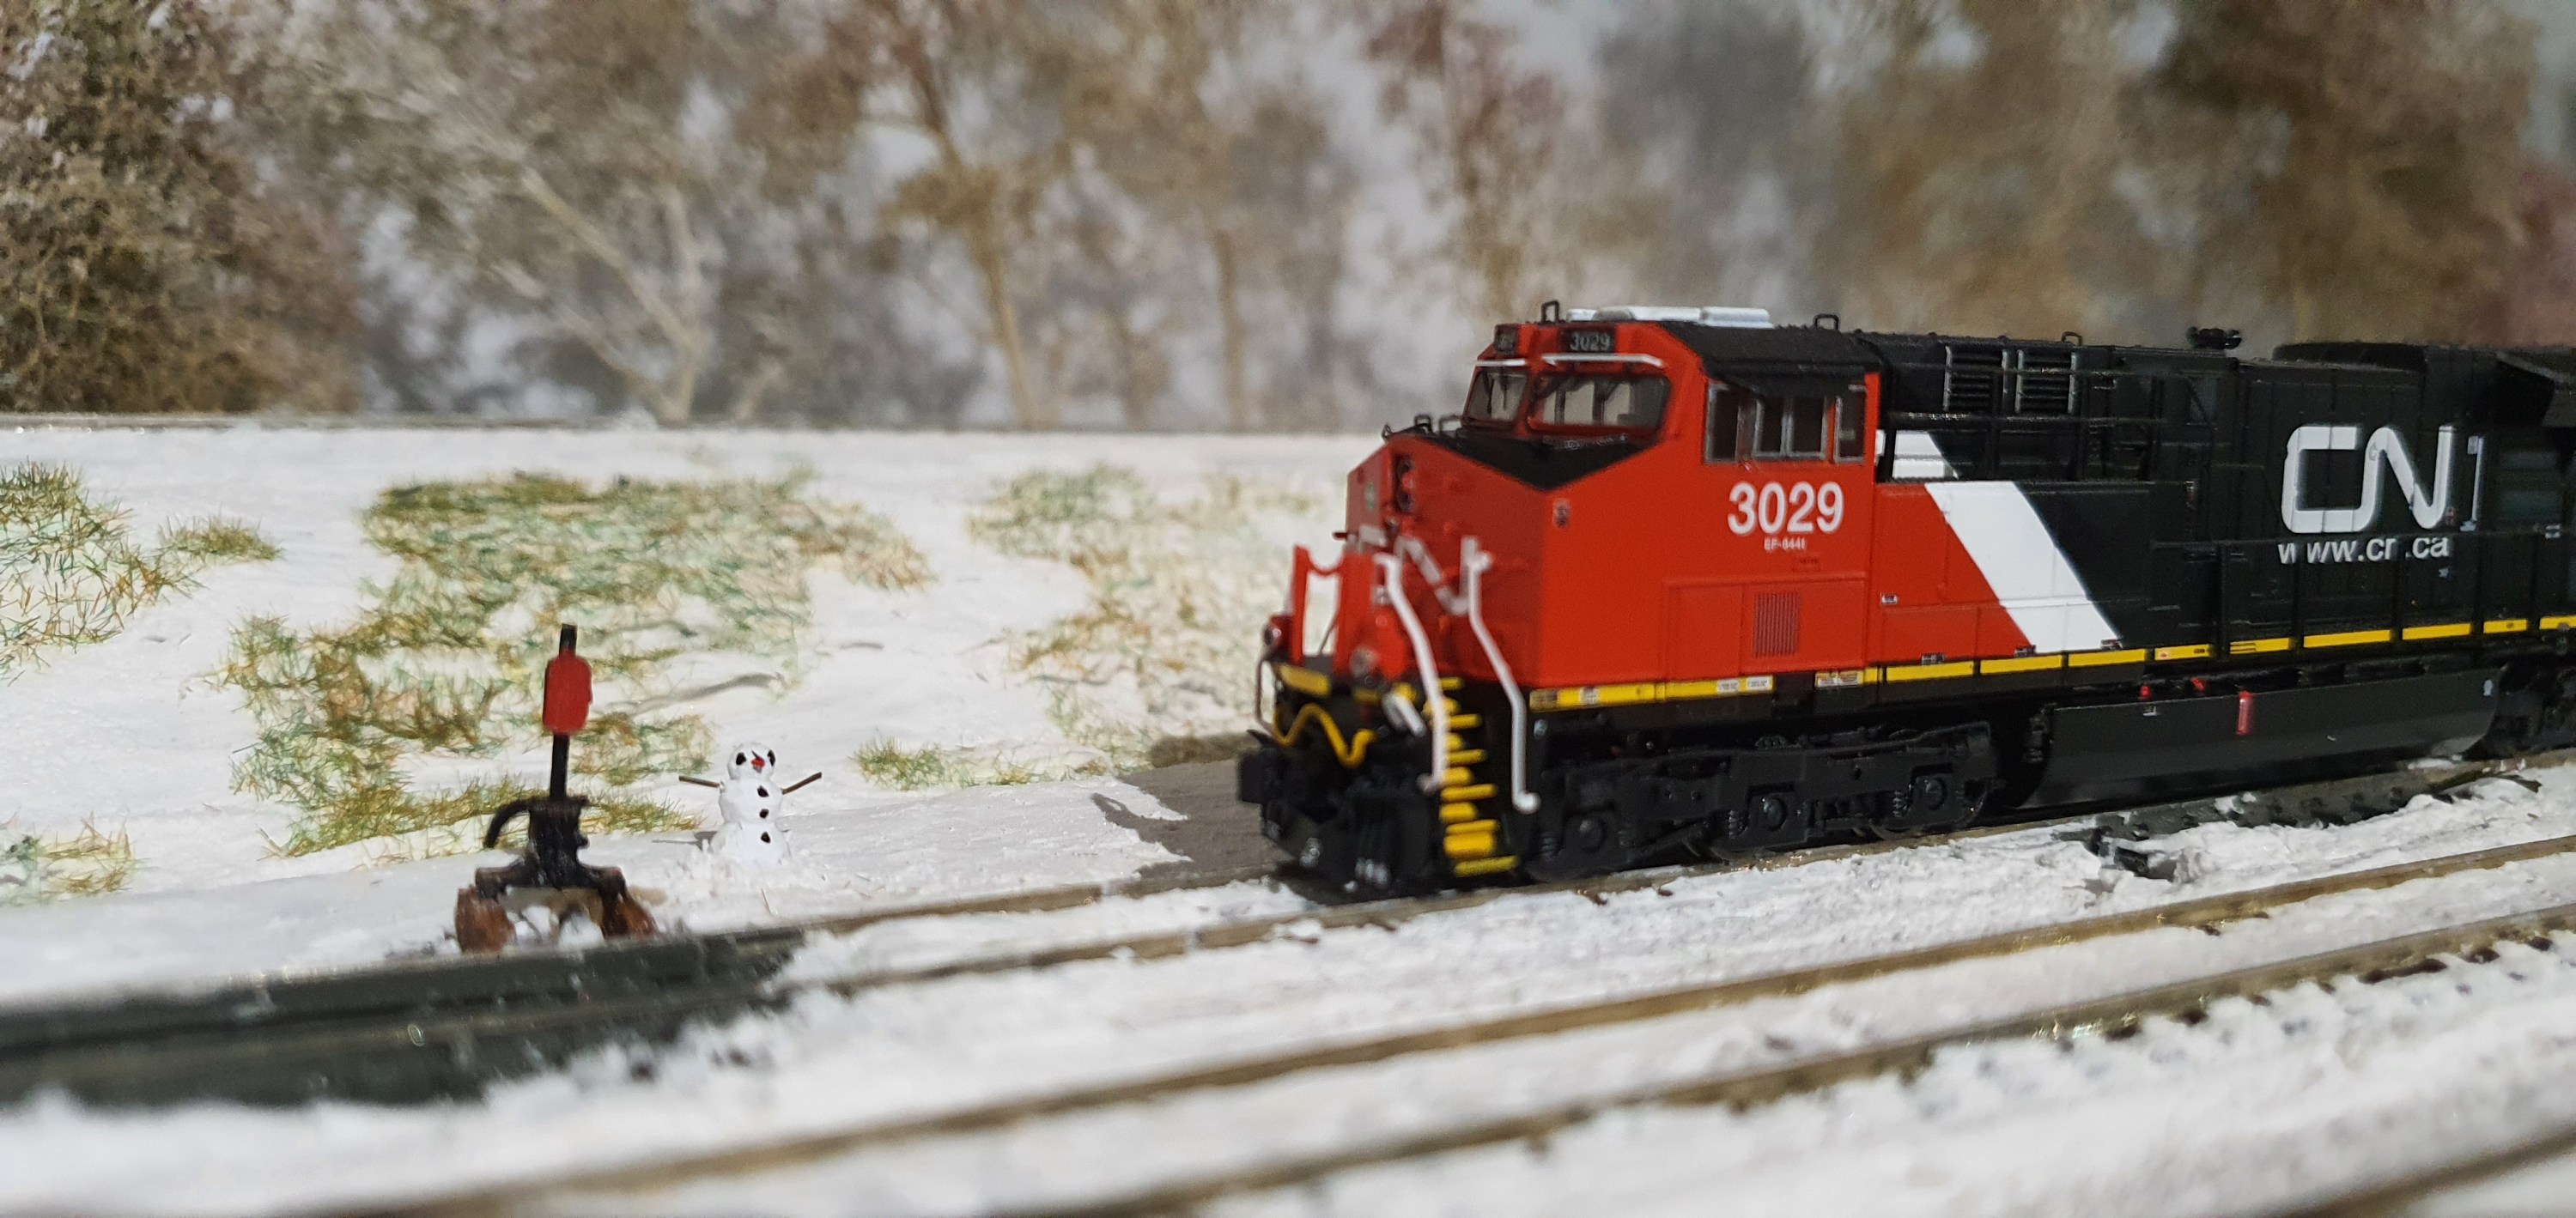
A couple of weeks ago I sent a message to Bernard from Miniprints asking if he thought N Scale Snowmen were possible. We’ll to cut this story short, within the same day, they were designed and printed in three different sizes.

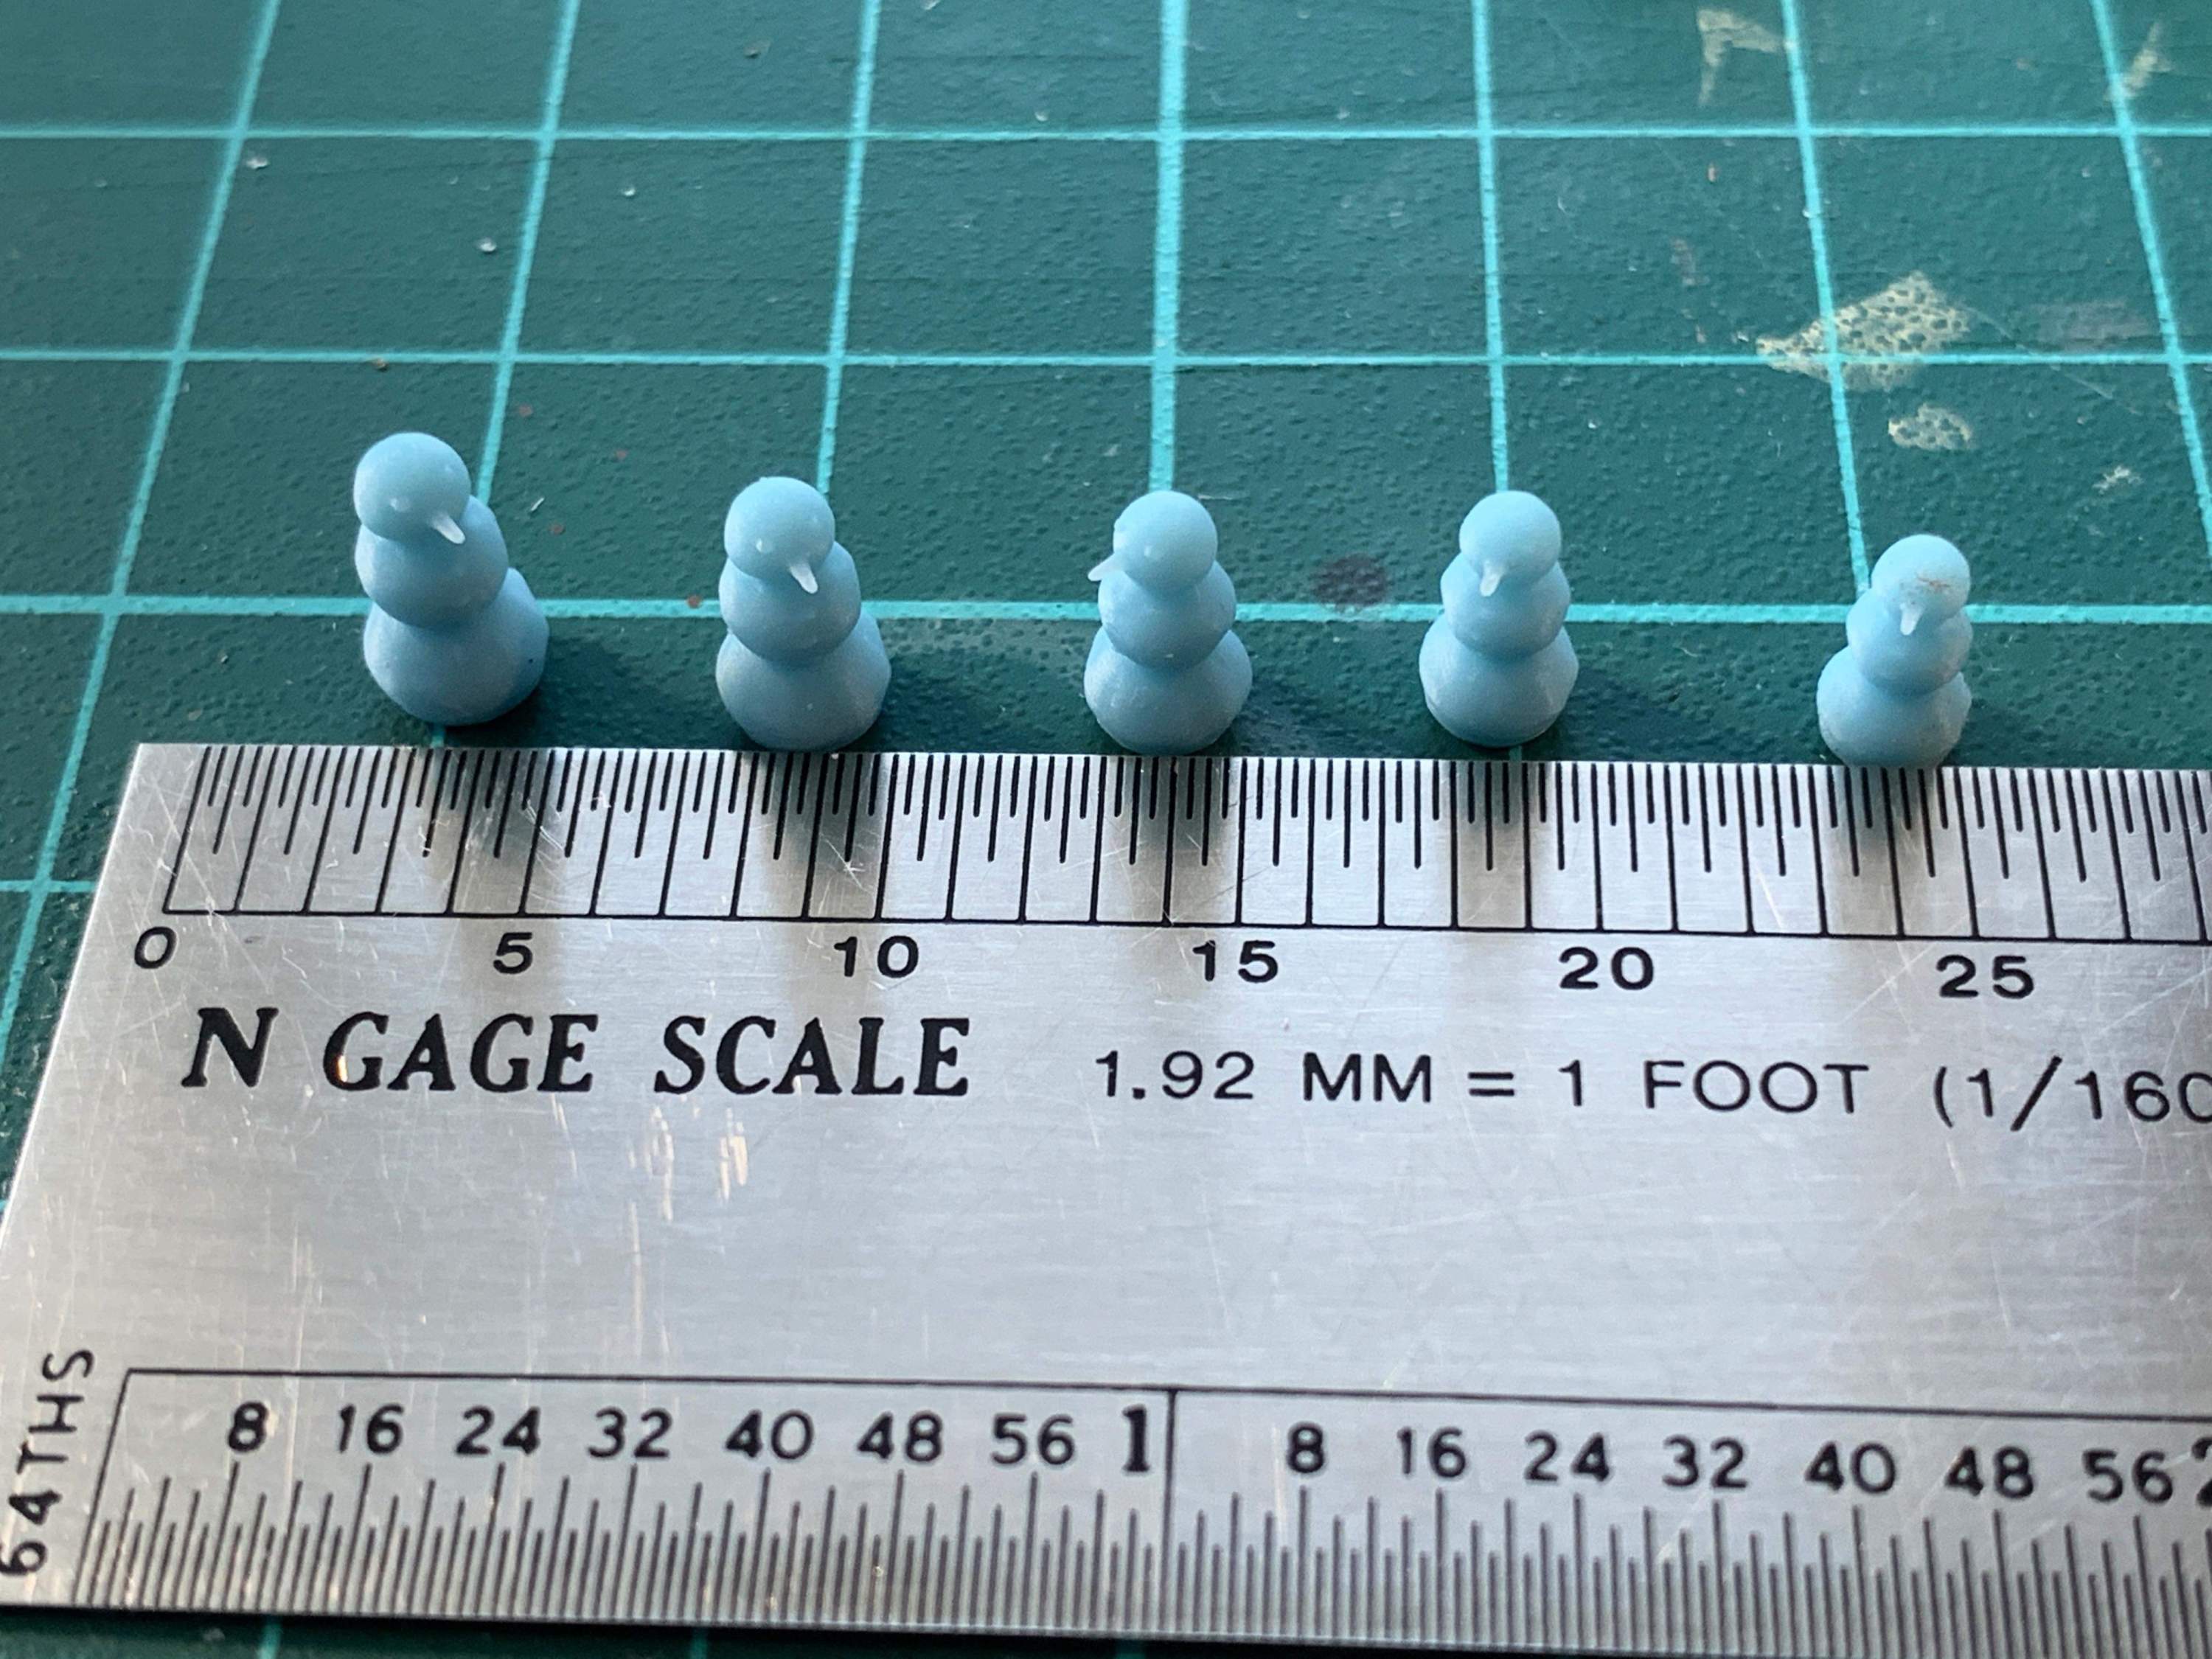
They arrived from Canada today so u had to get the first one painted and on the layout.

These are small!!

I just painted these with acrylics the base coat being white about 3 coats but not an over all coat to build up texture. Snowmen are not smooth.

I drilled out and added wire for arms the noses are printed to the snowmen

Then I got the arms painted and the snowmen are ready for the layout.

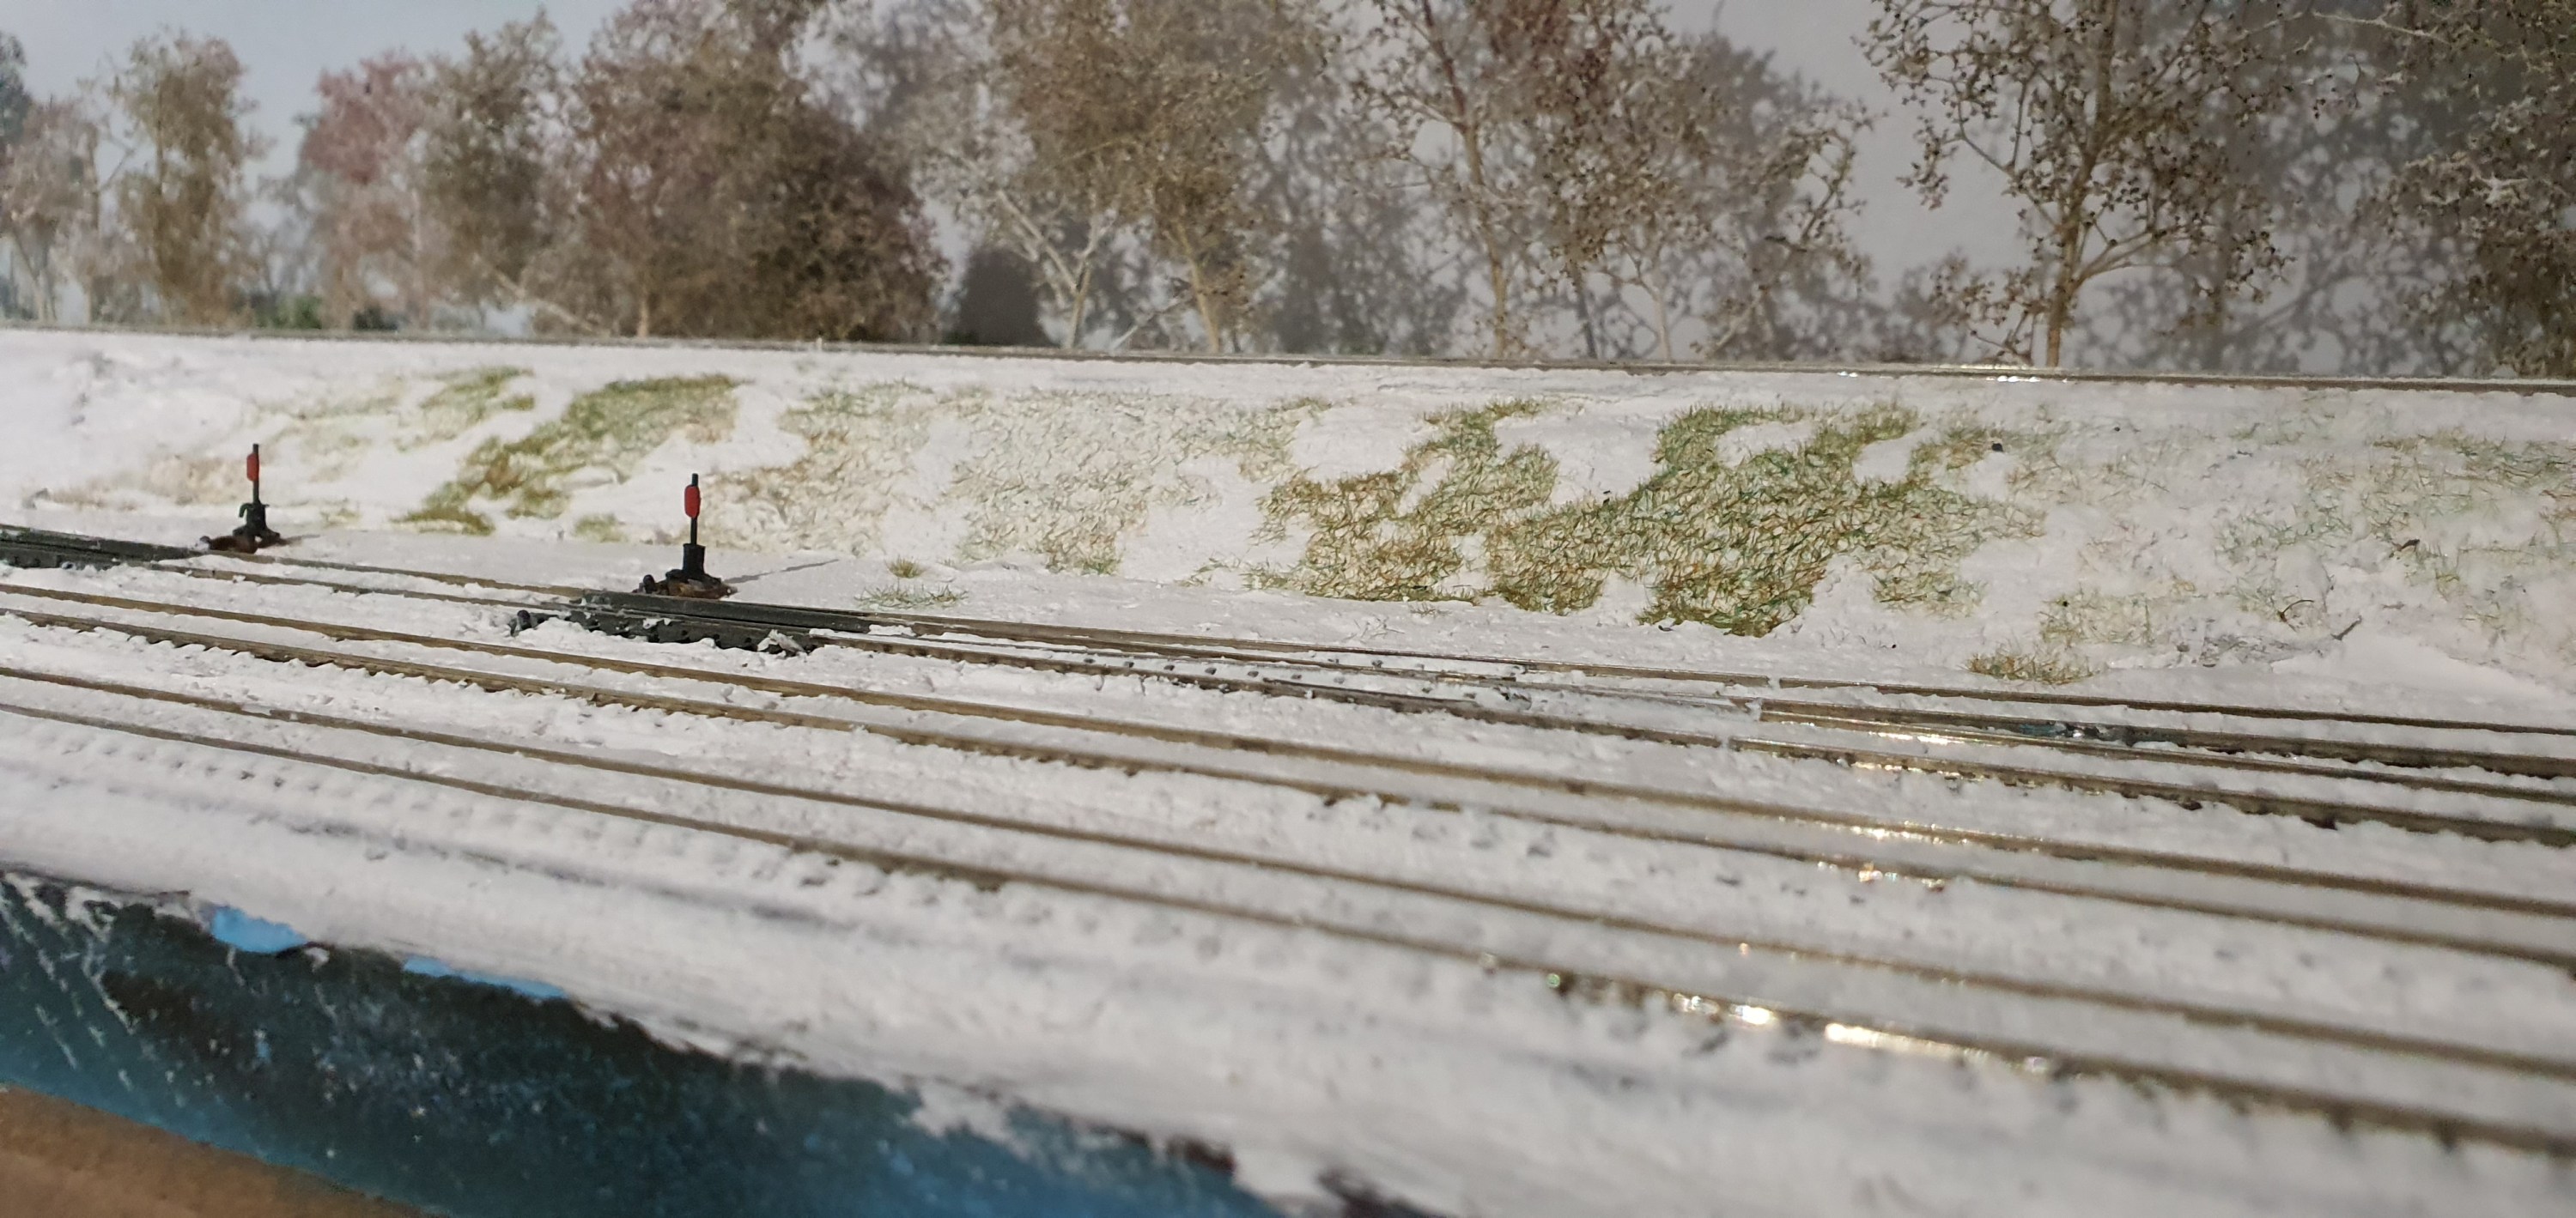
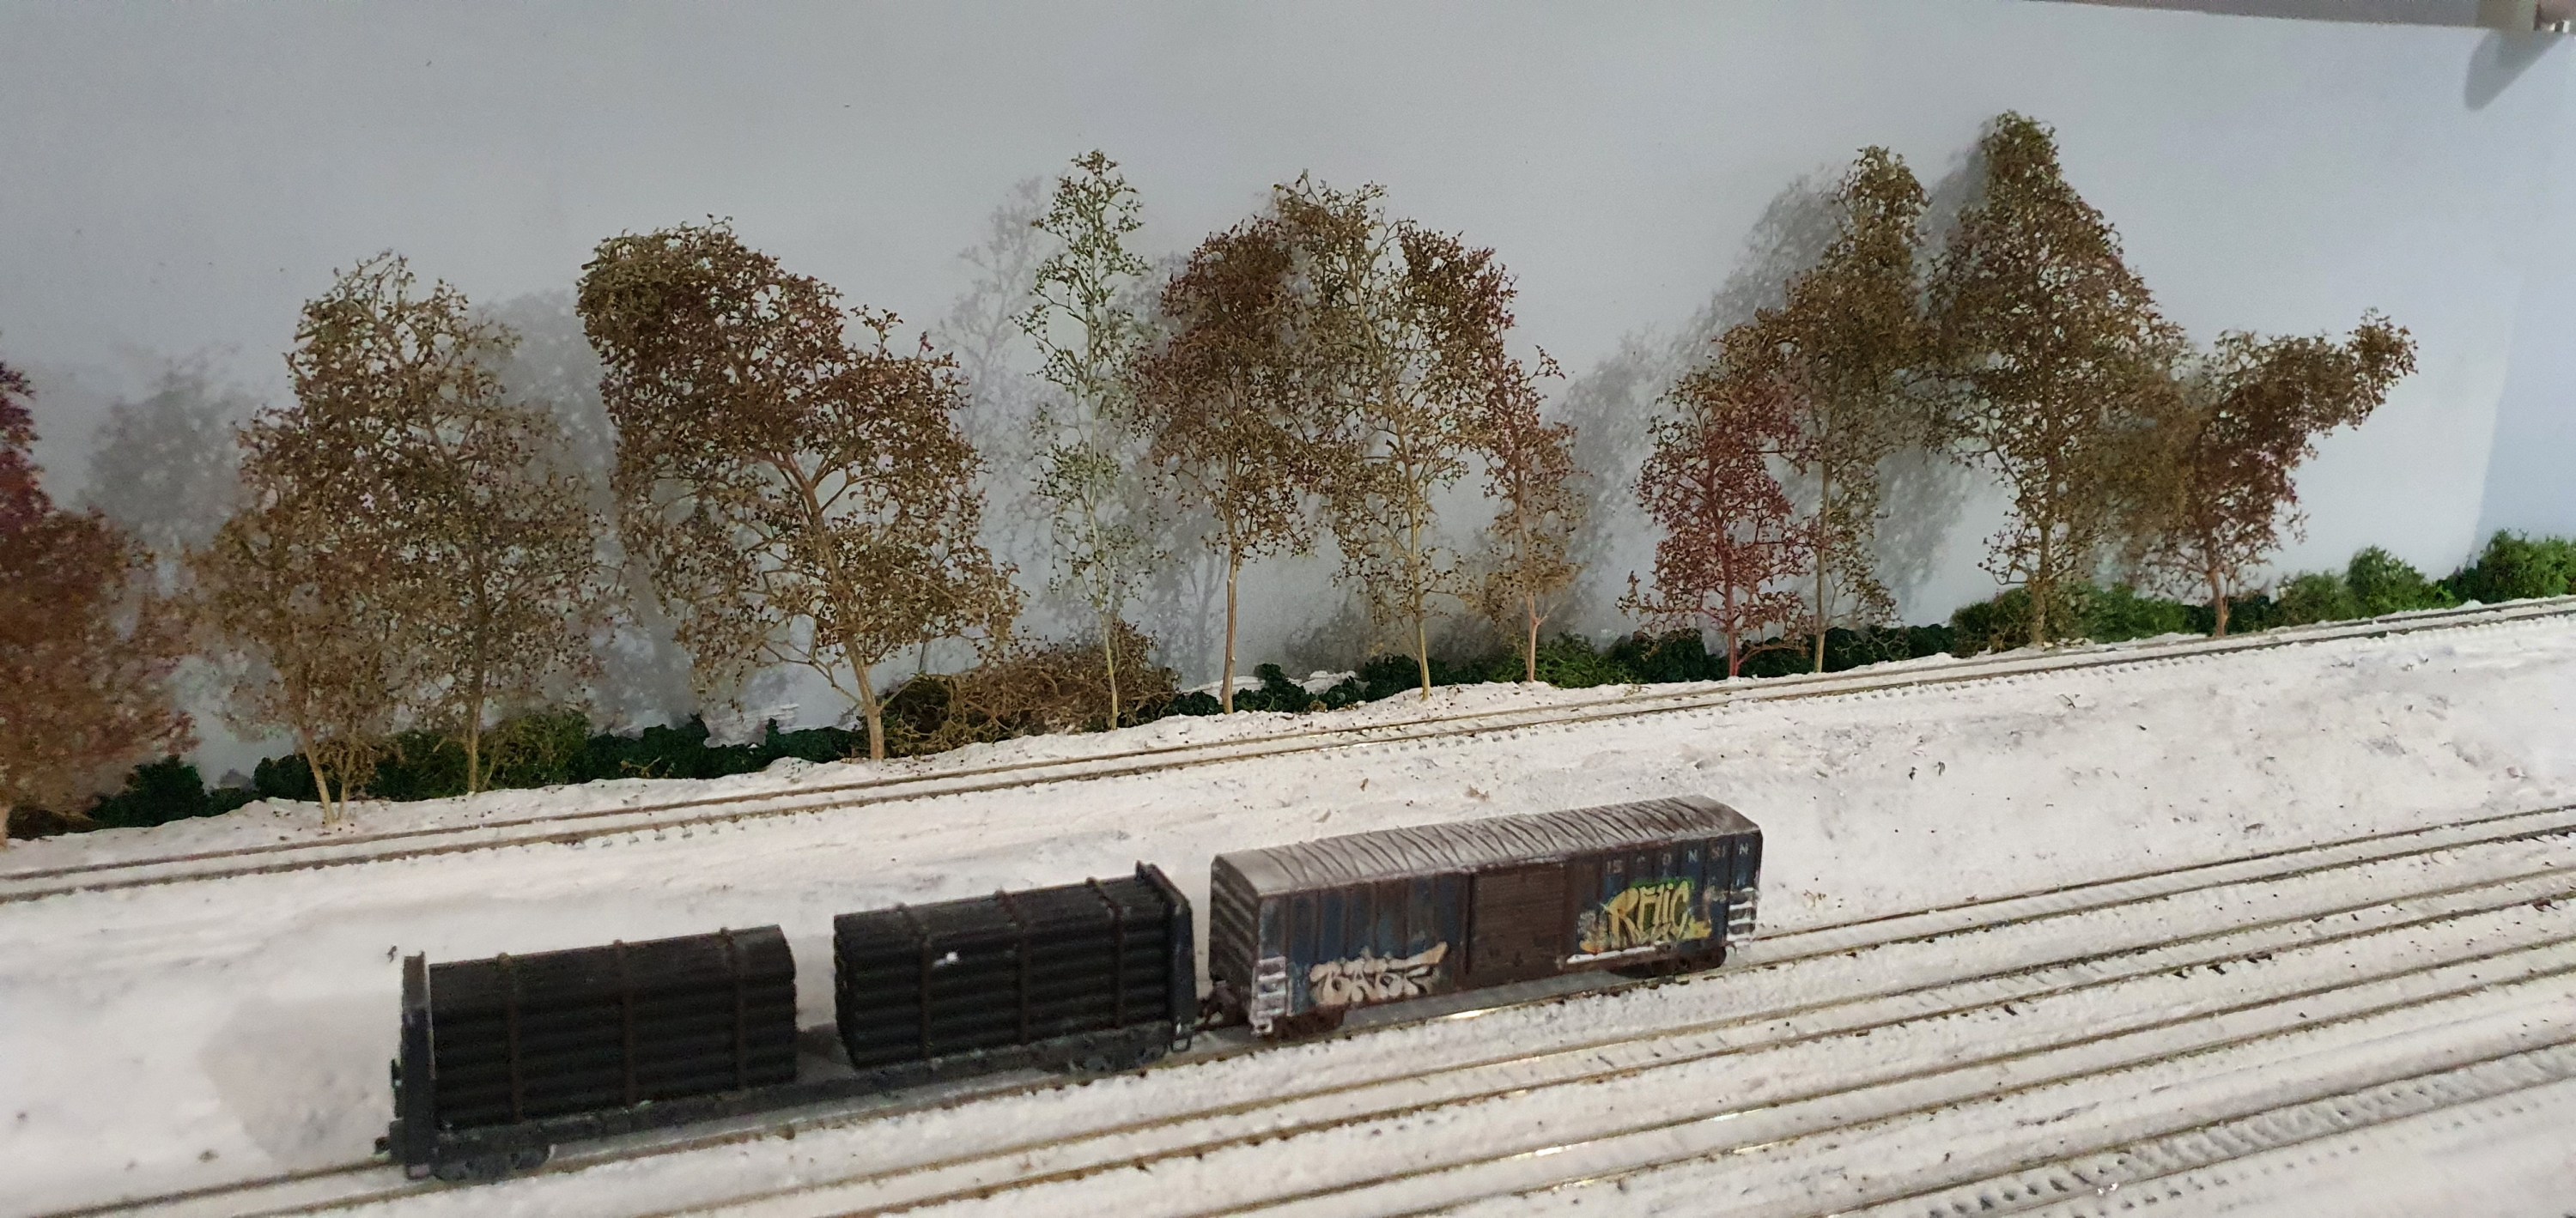
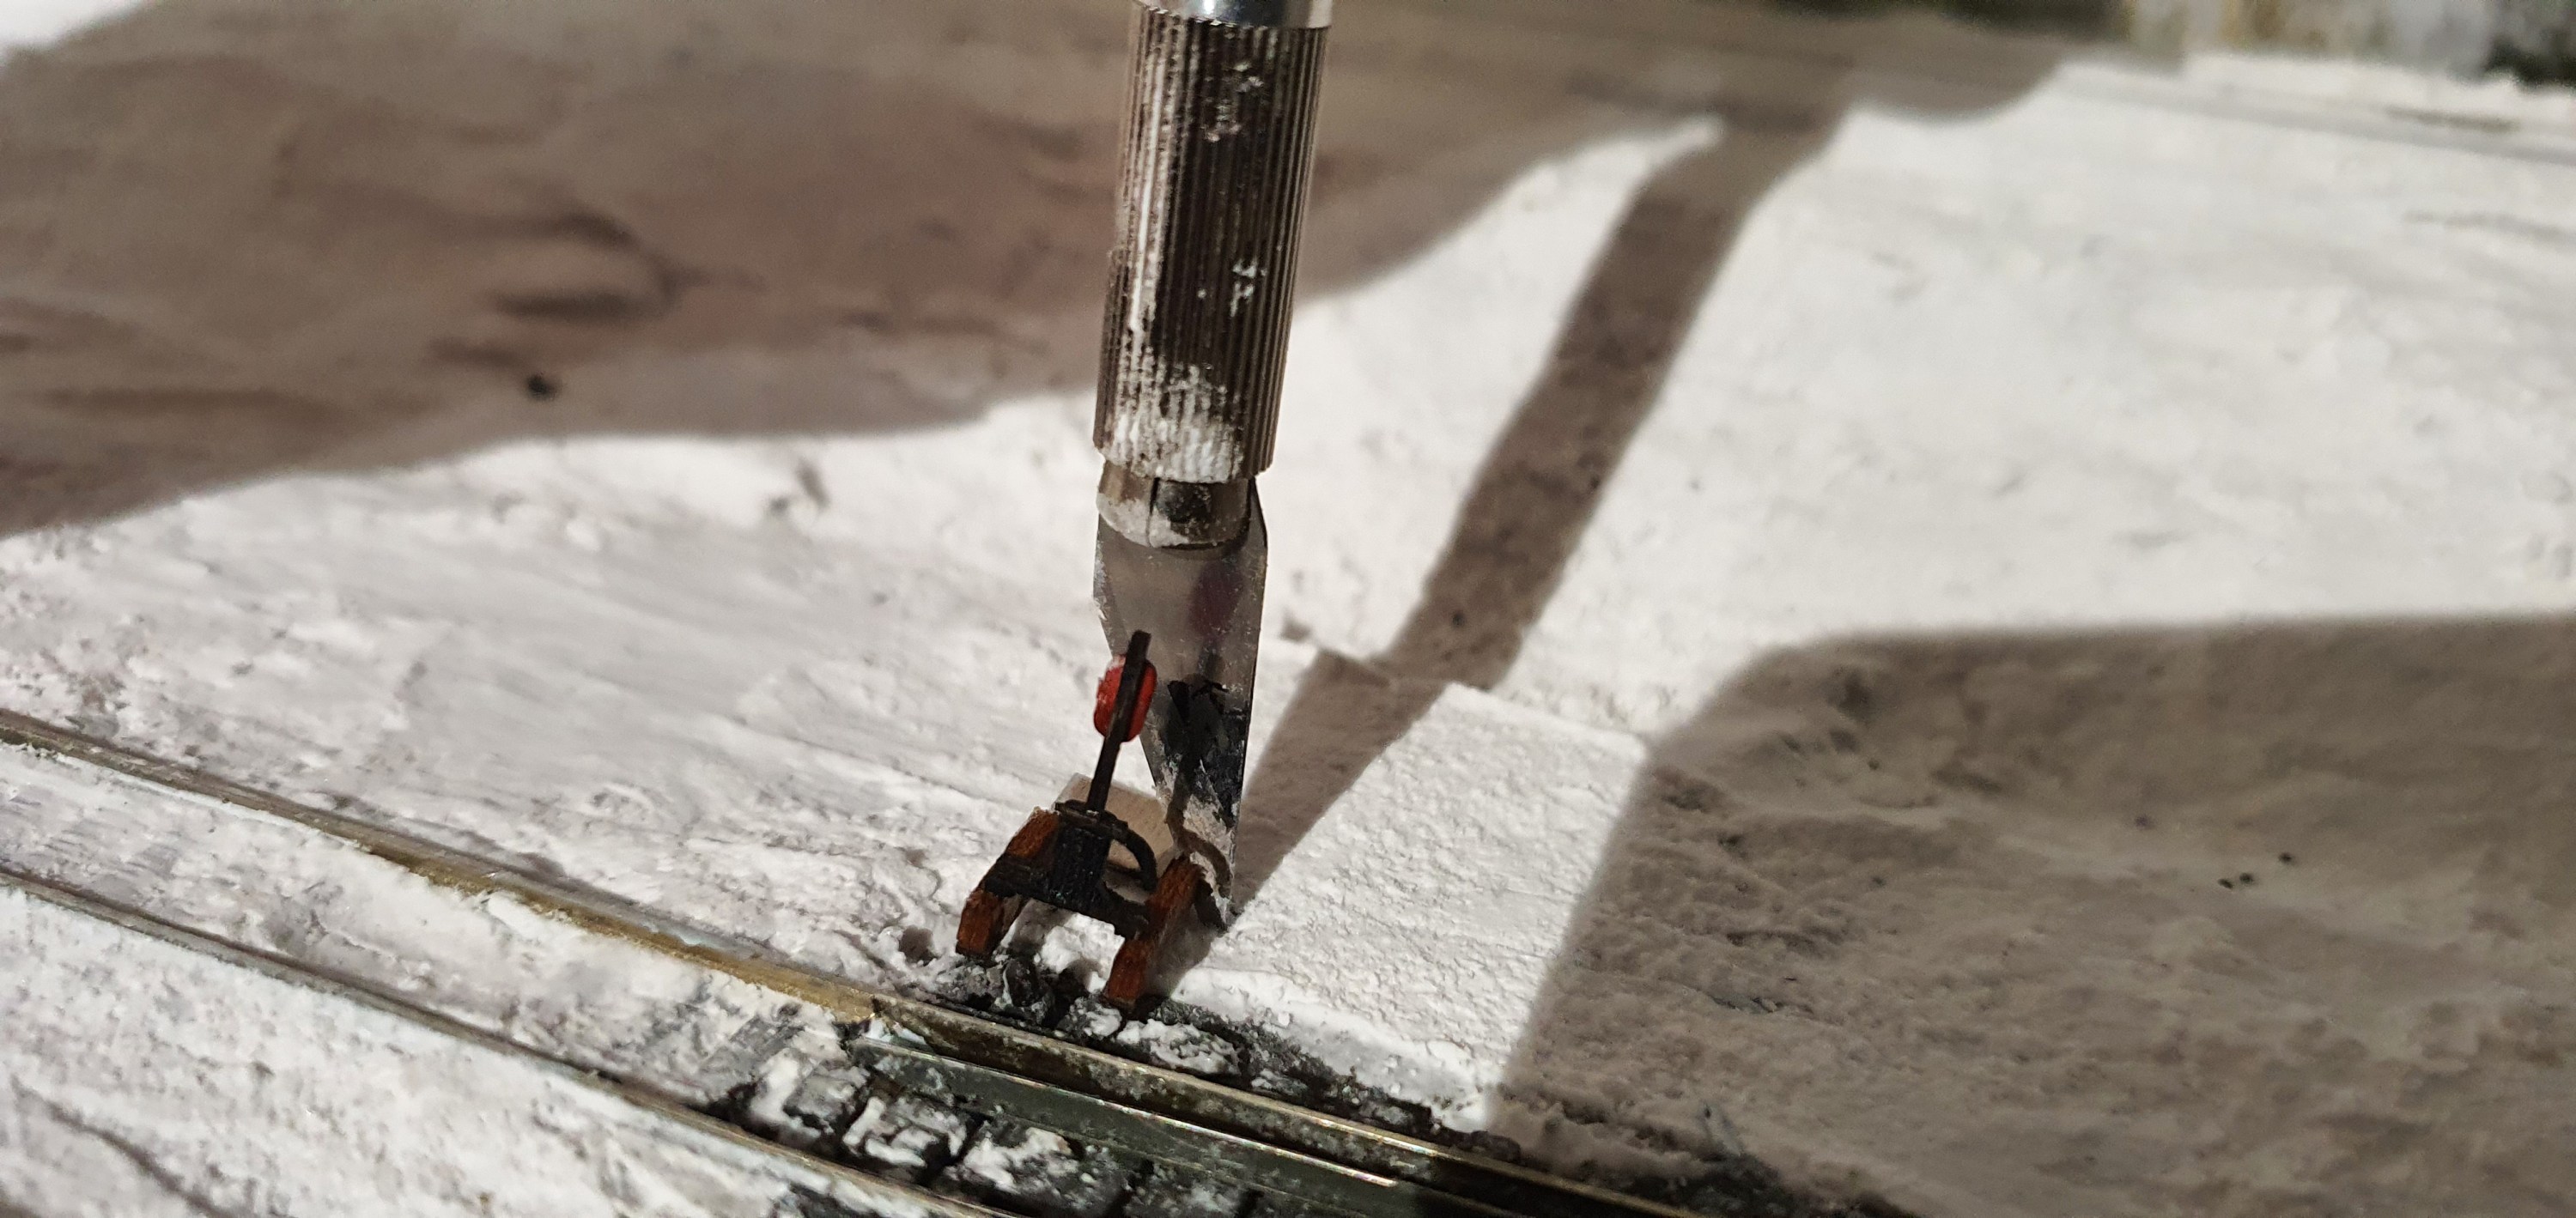
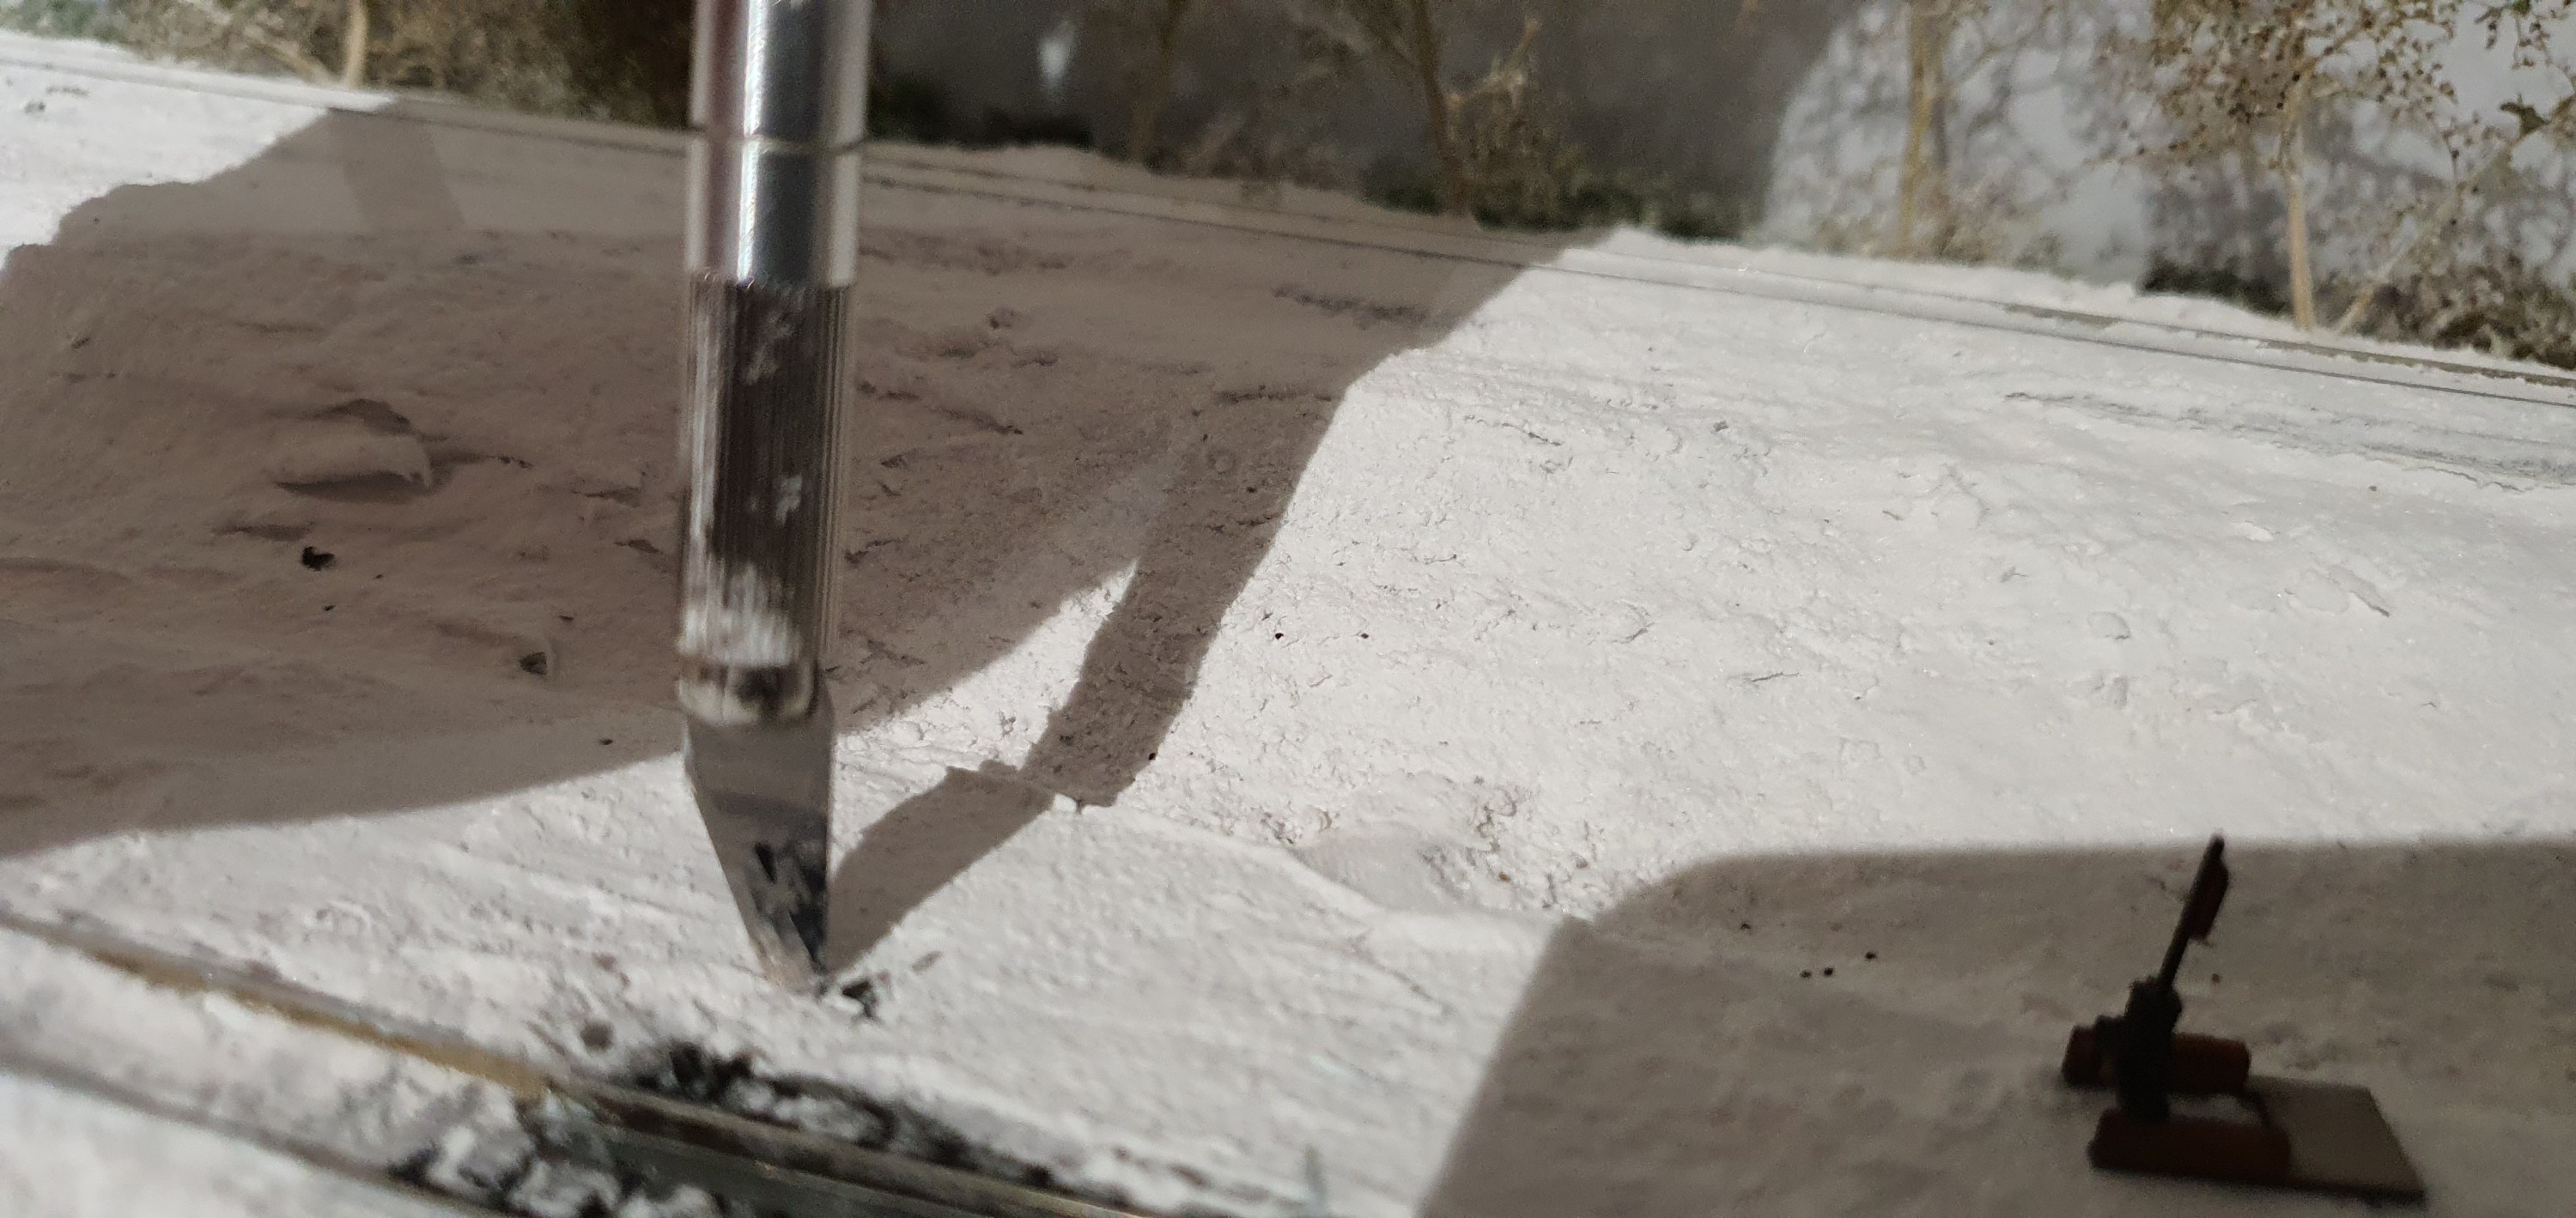
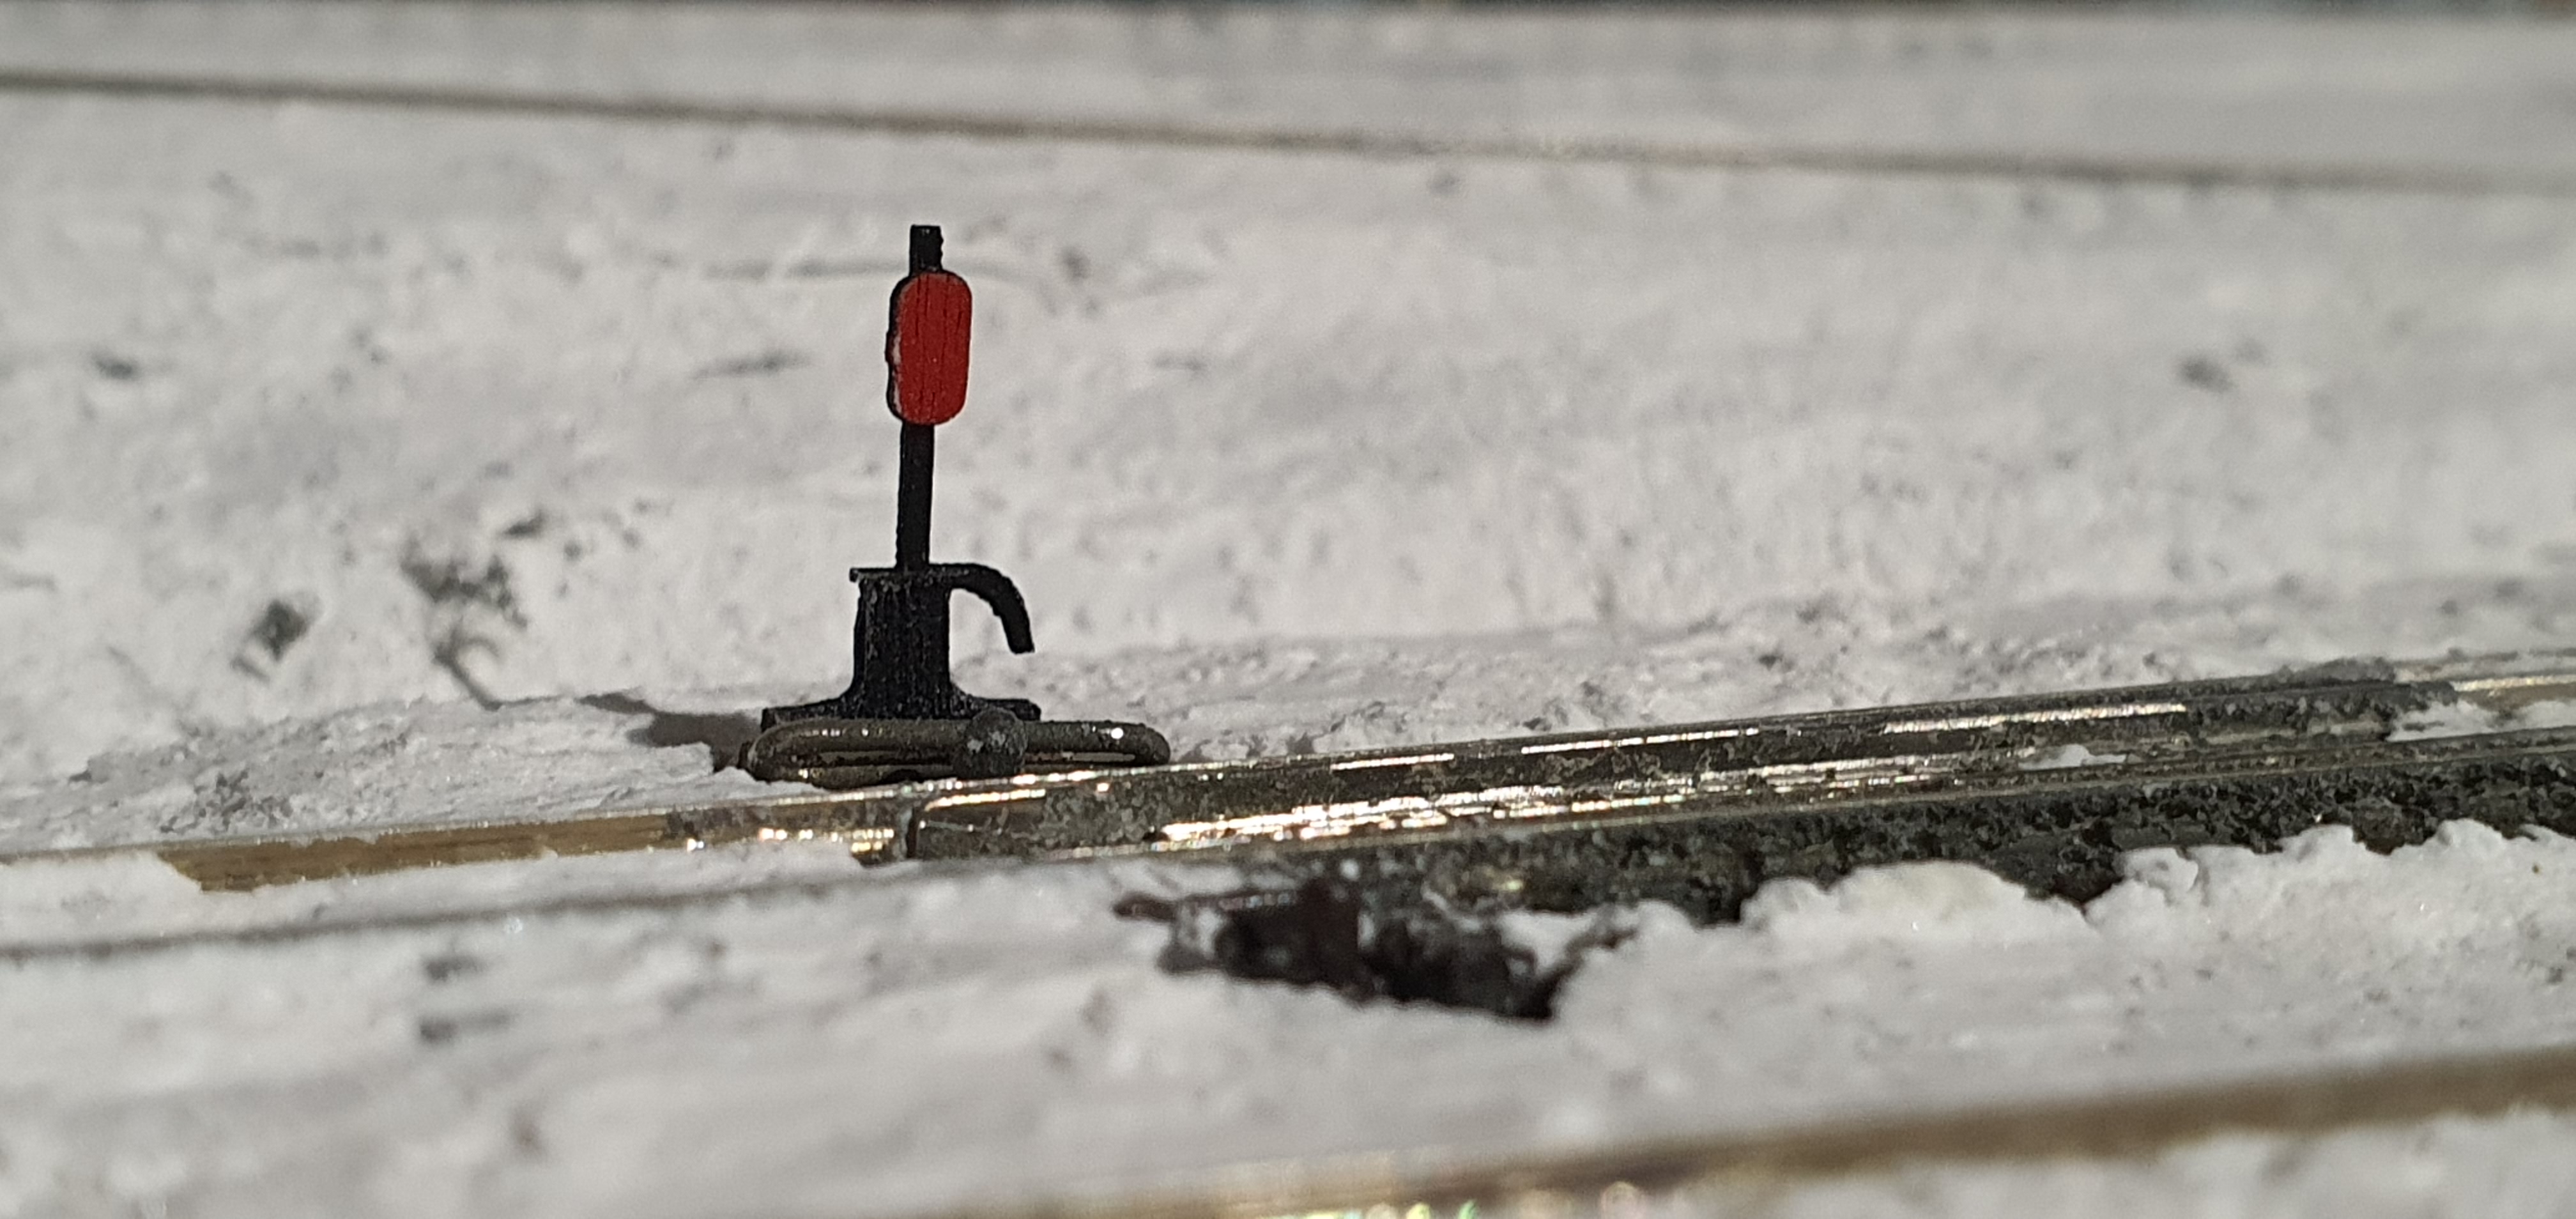
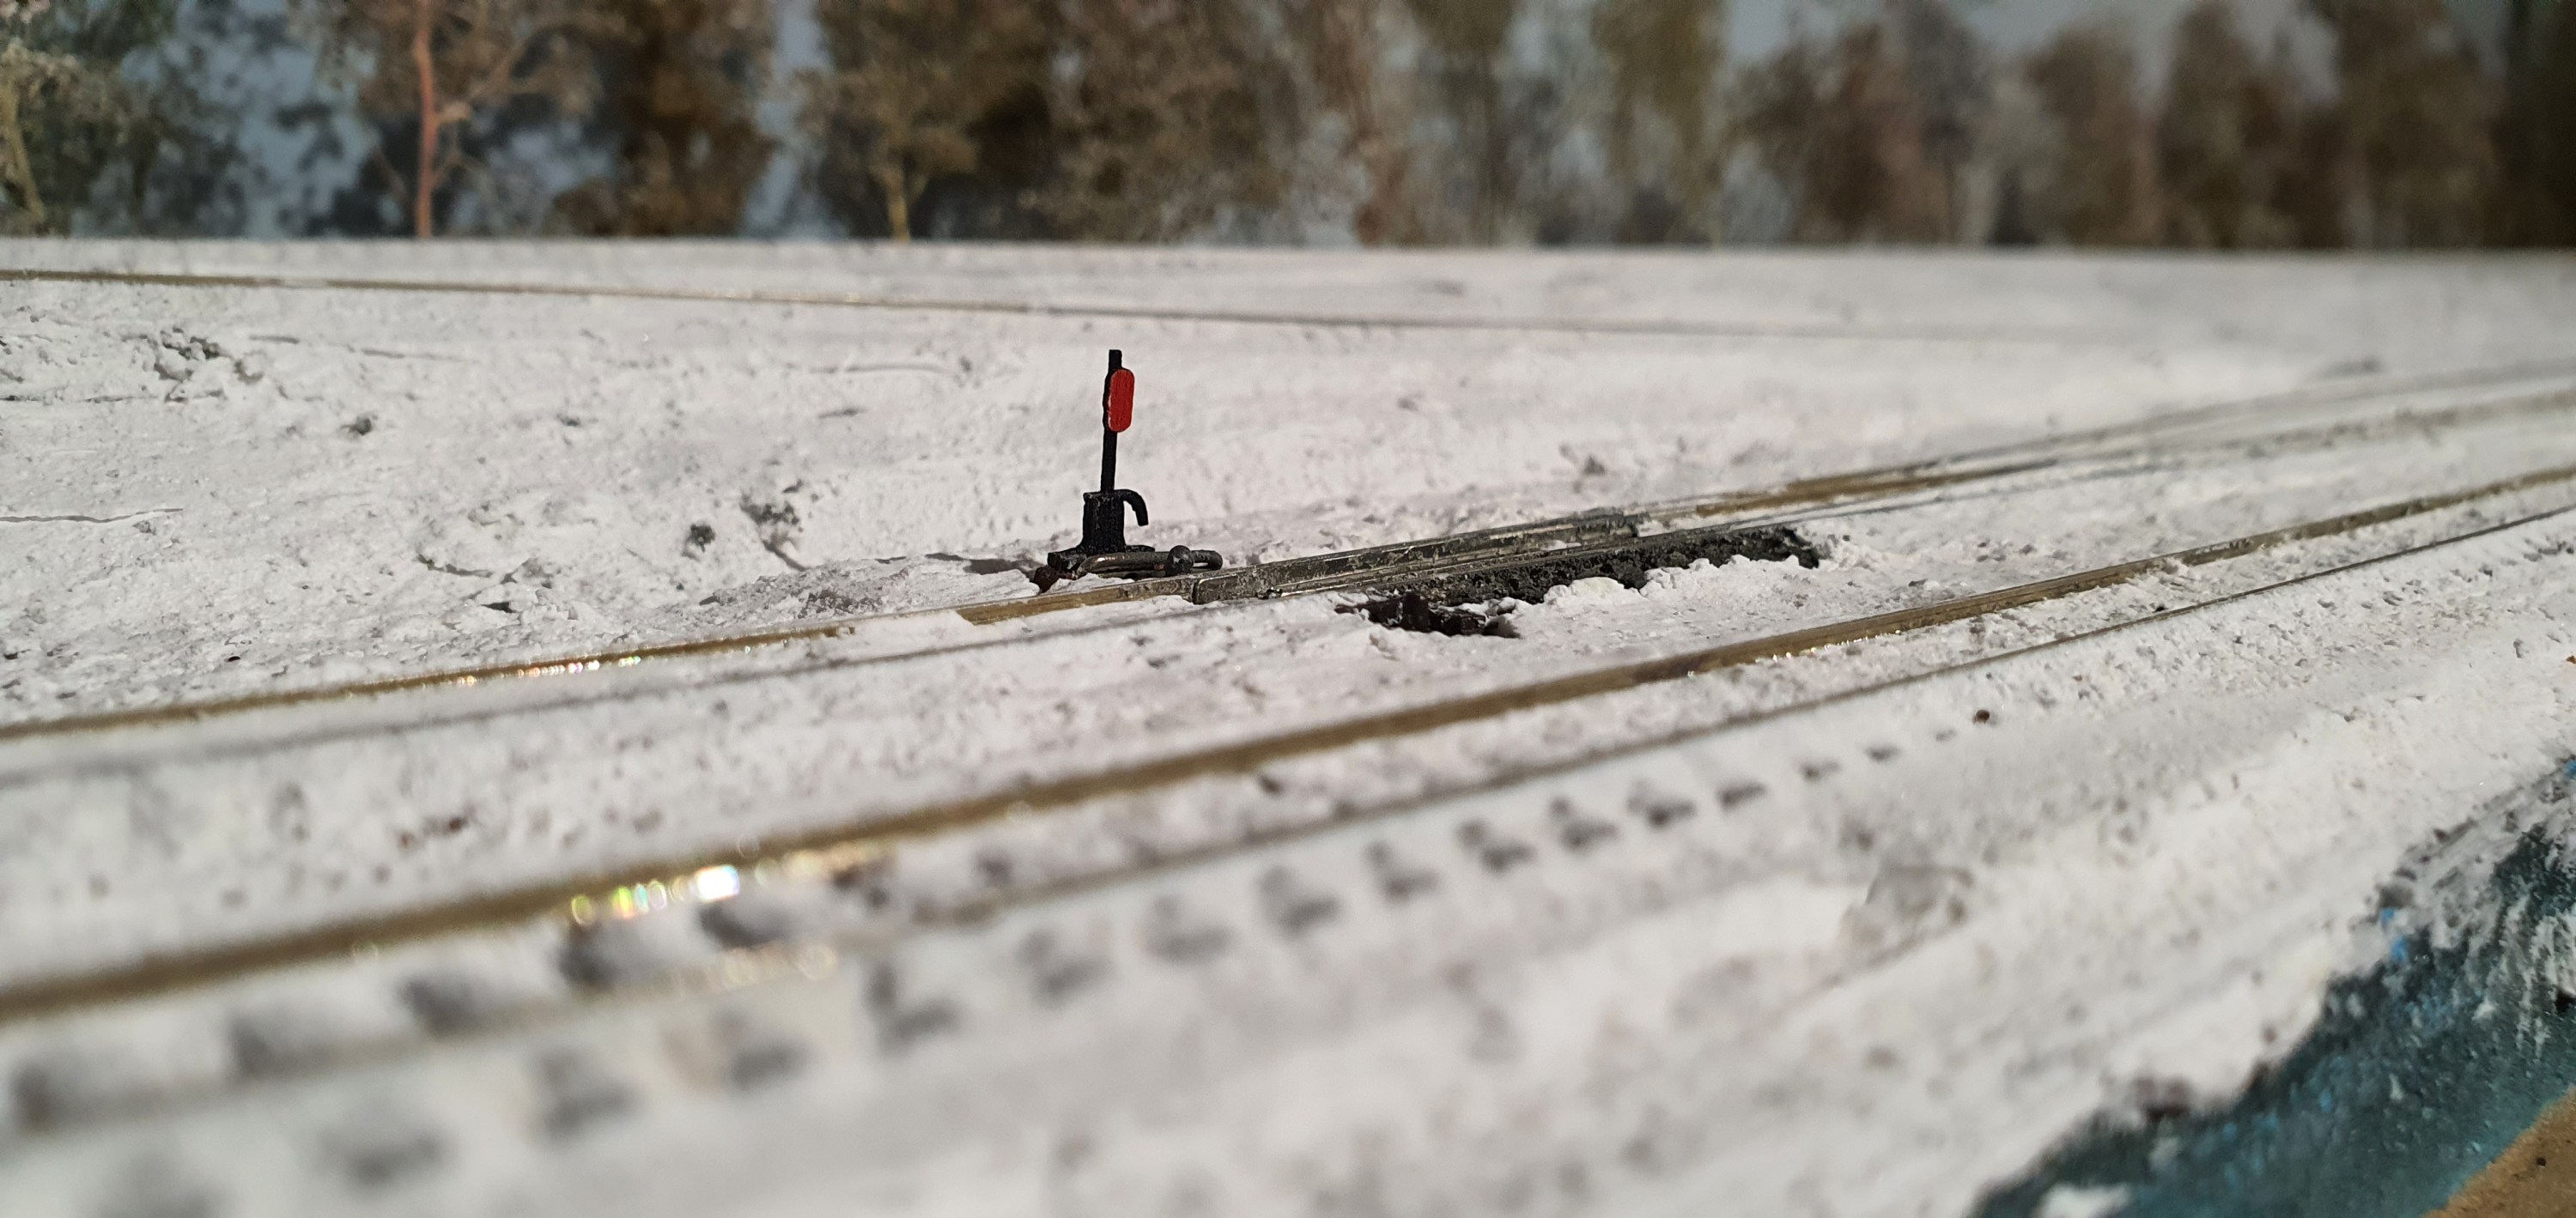
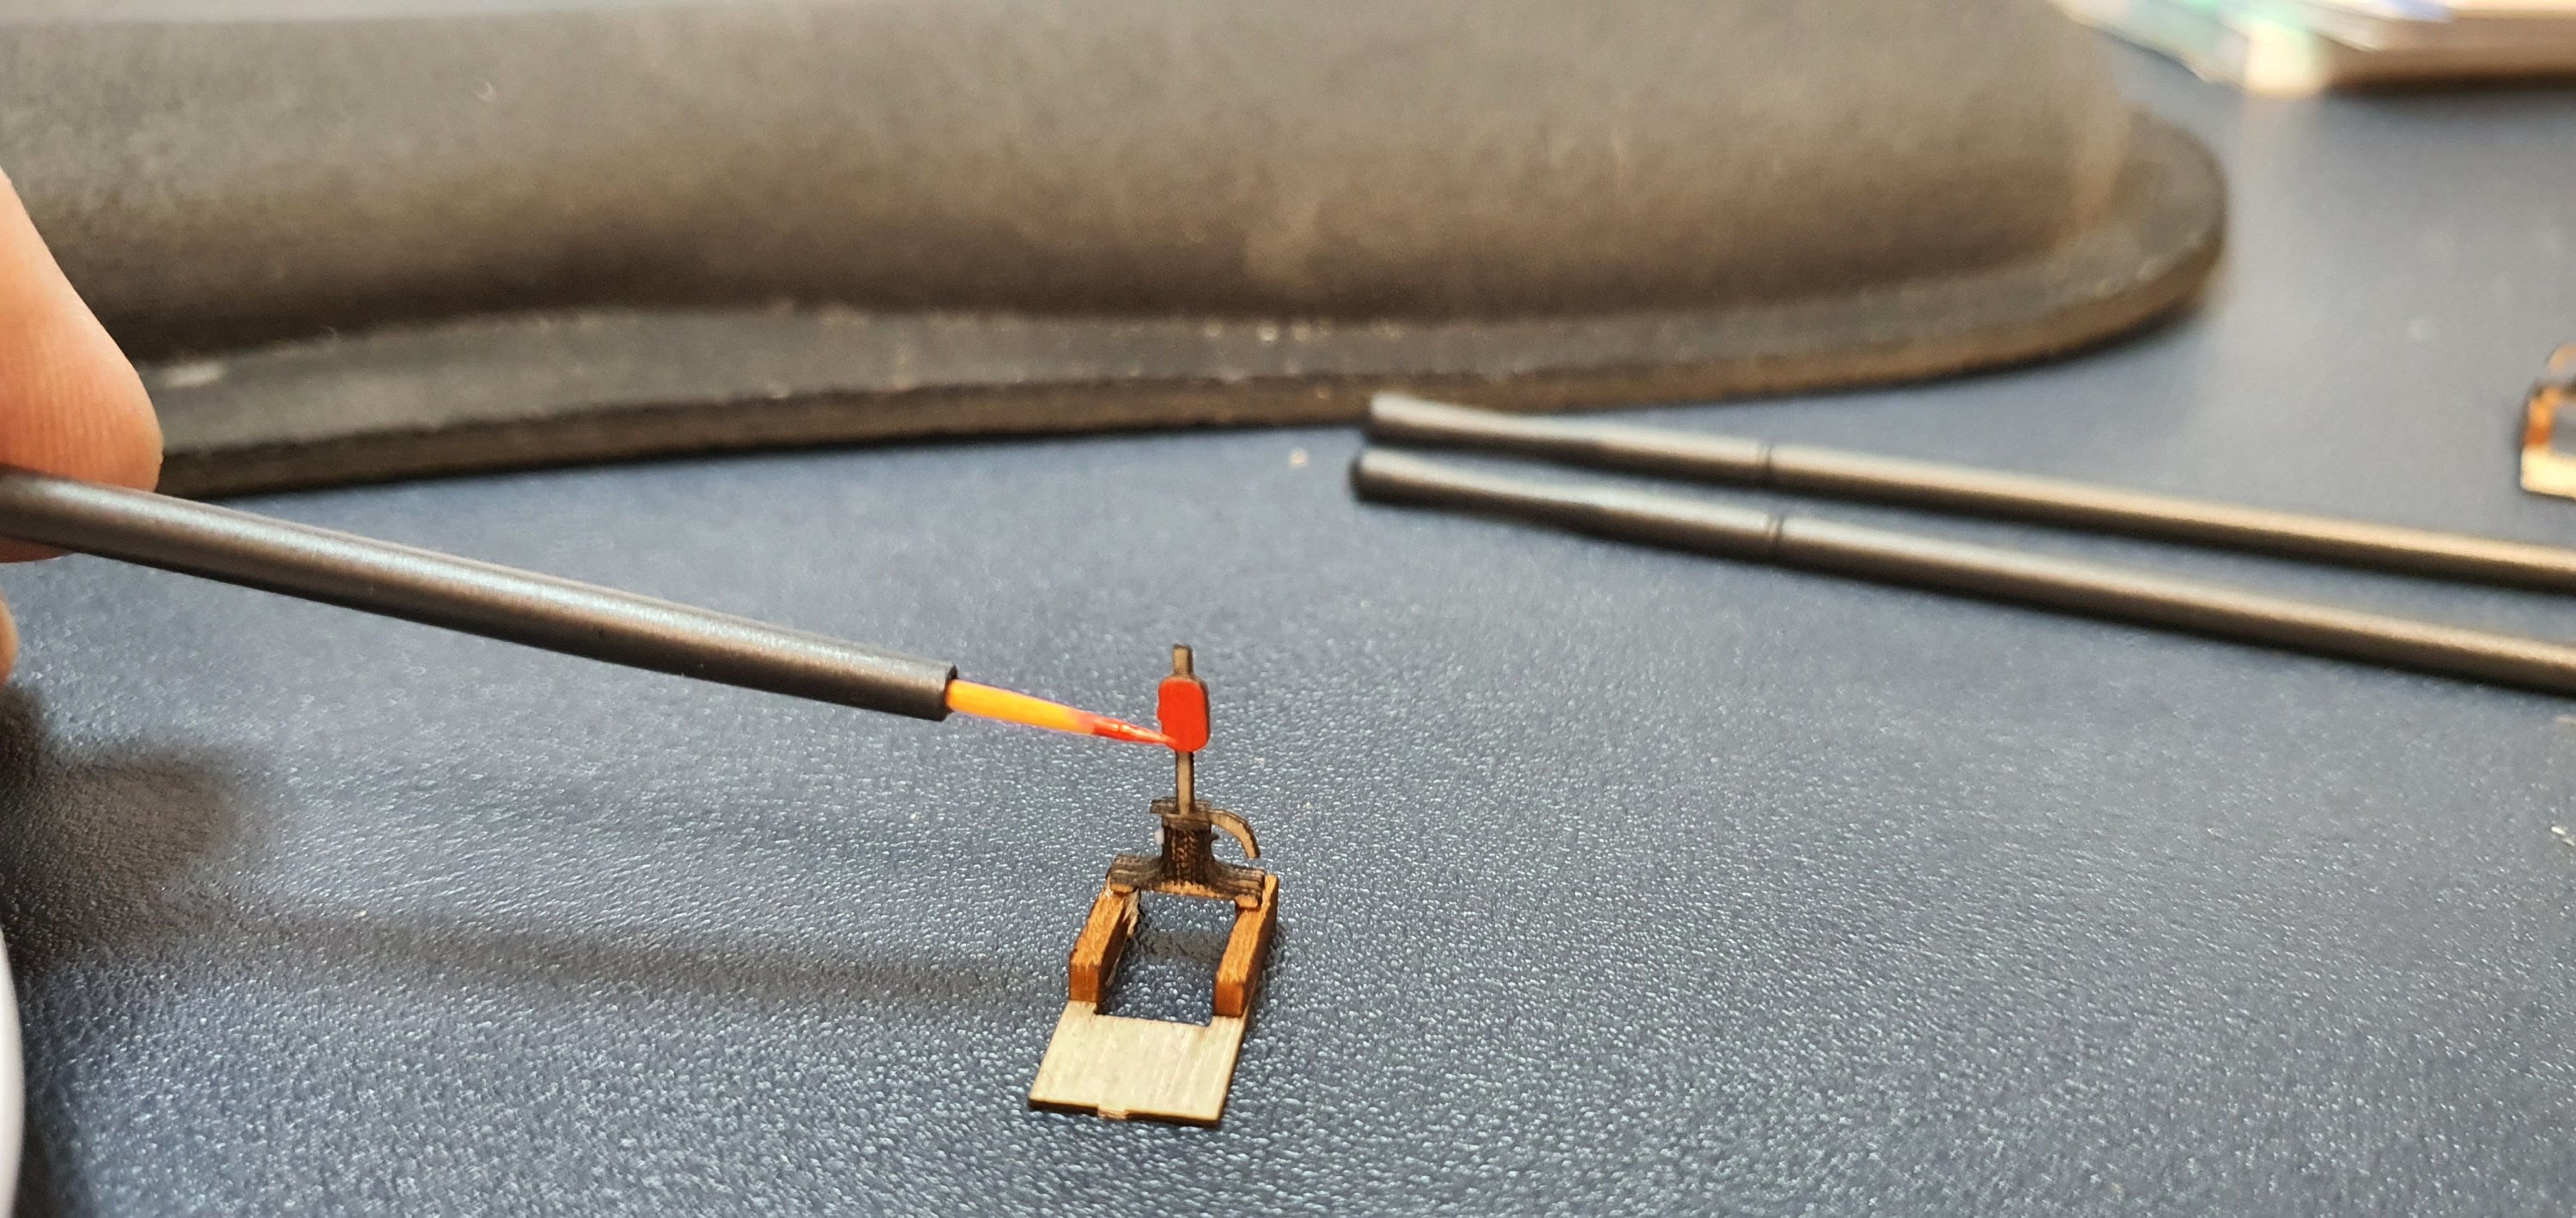
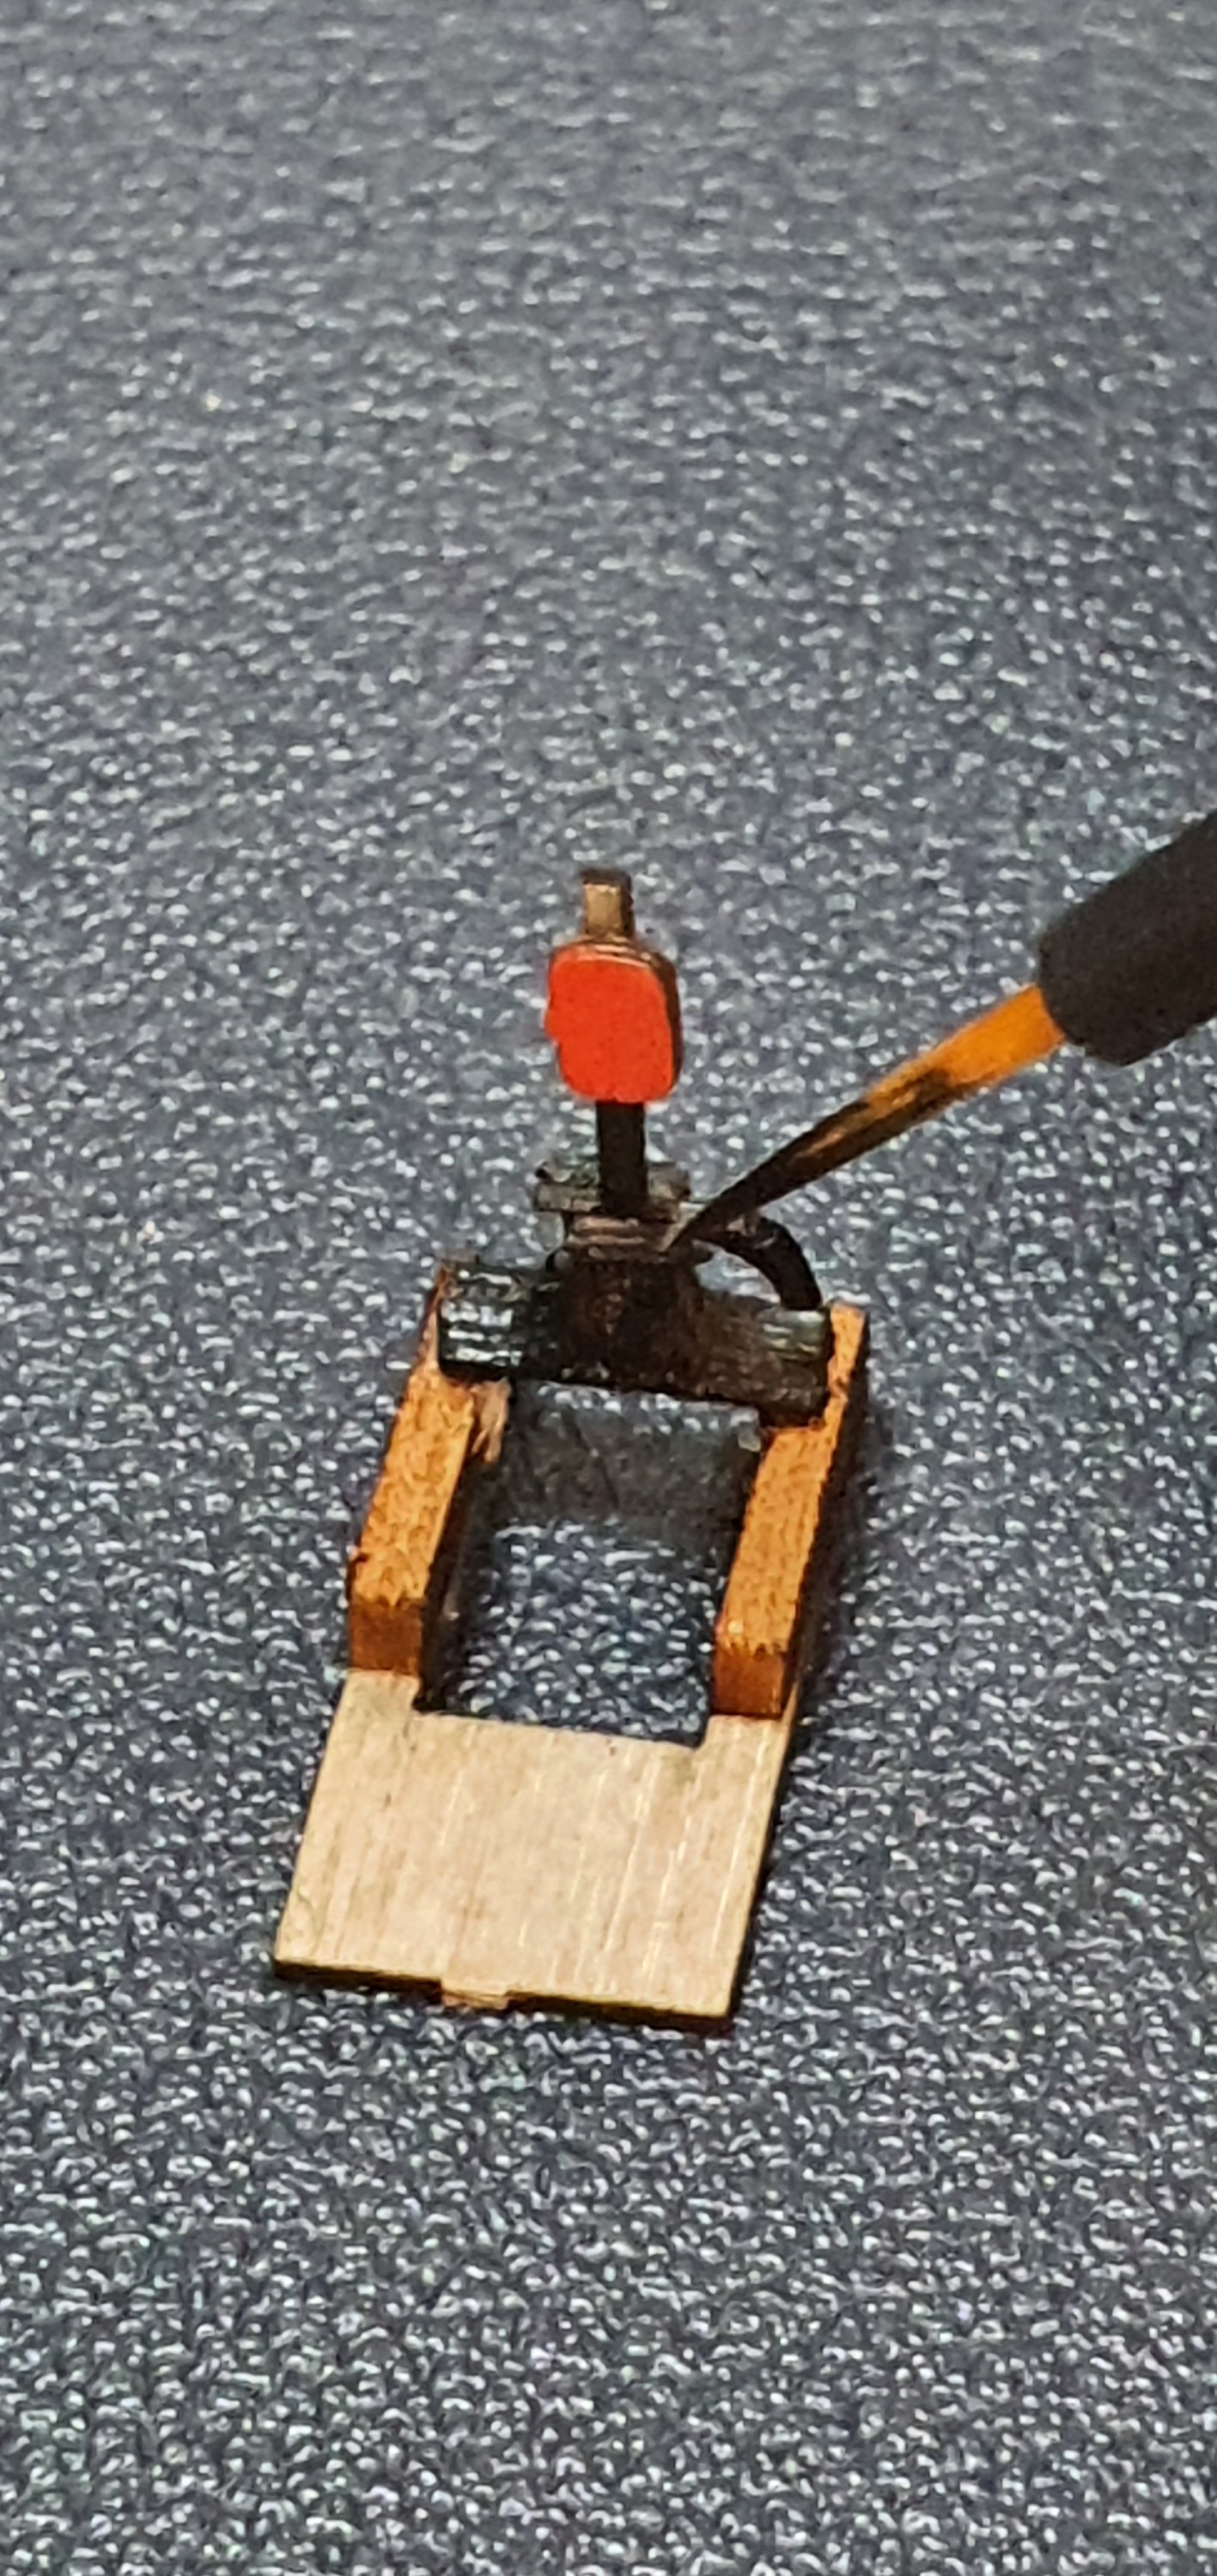
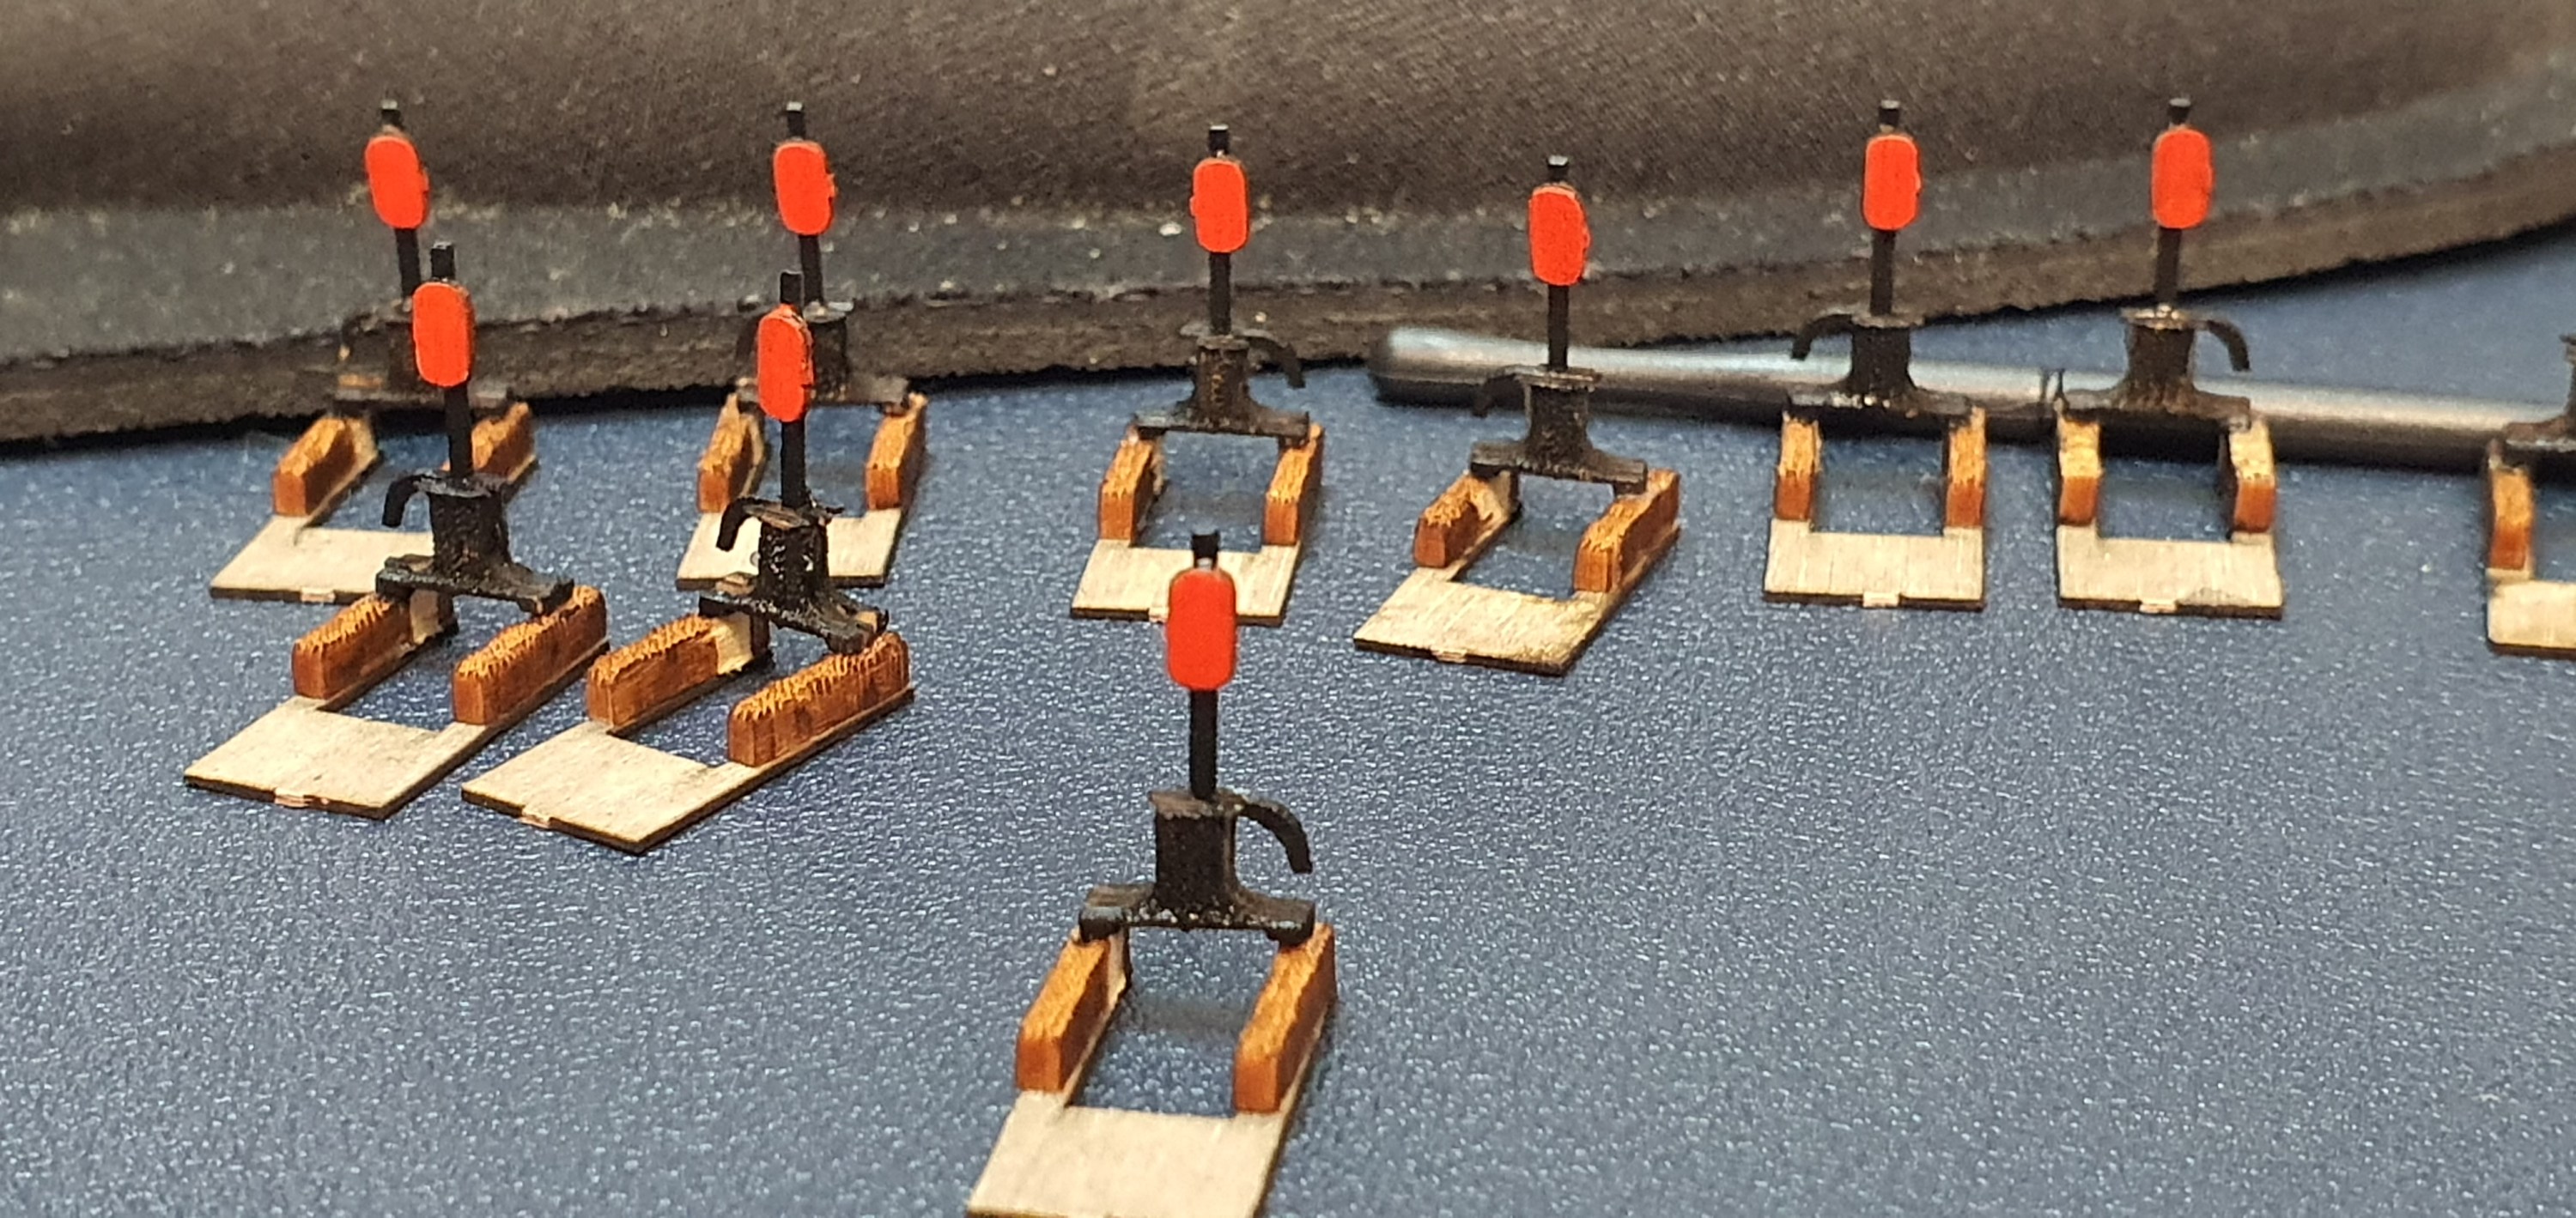
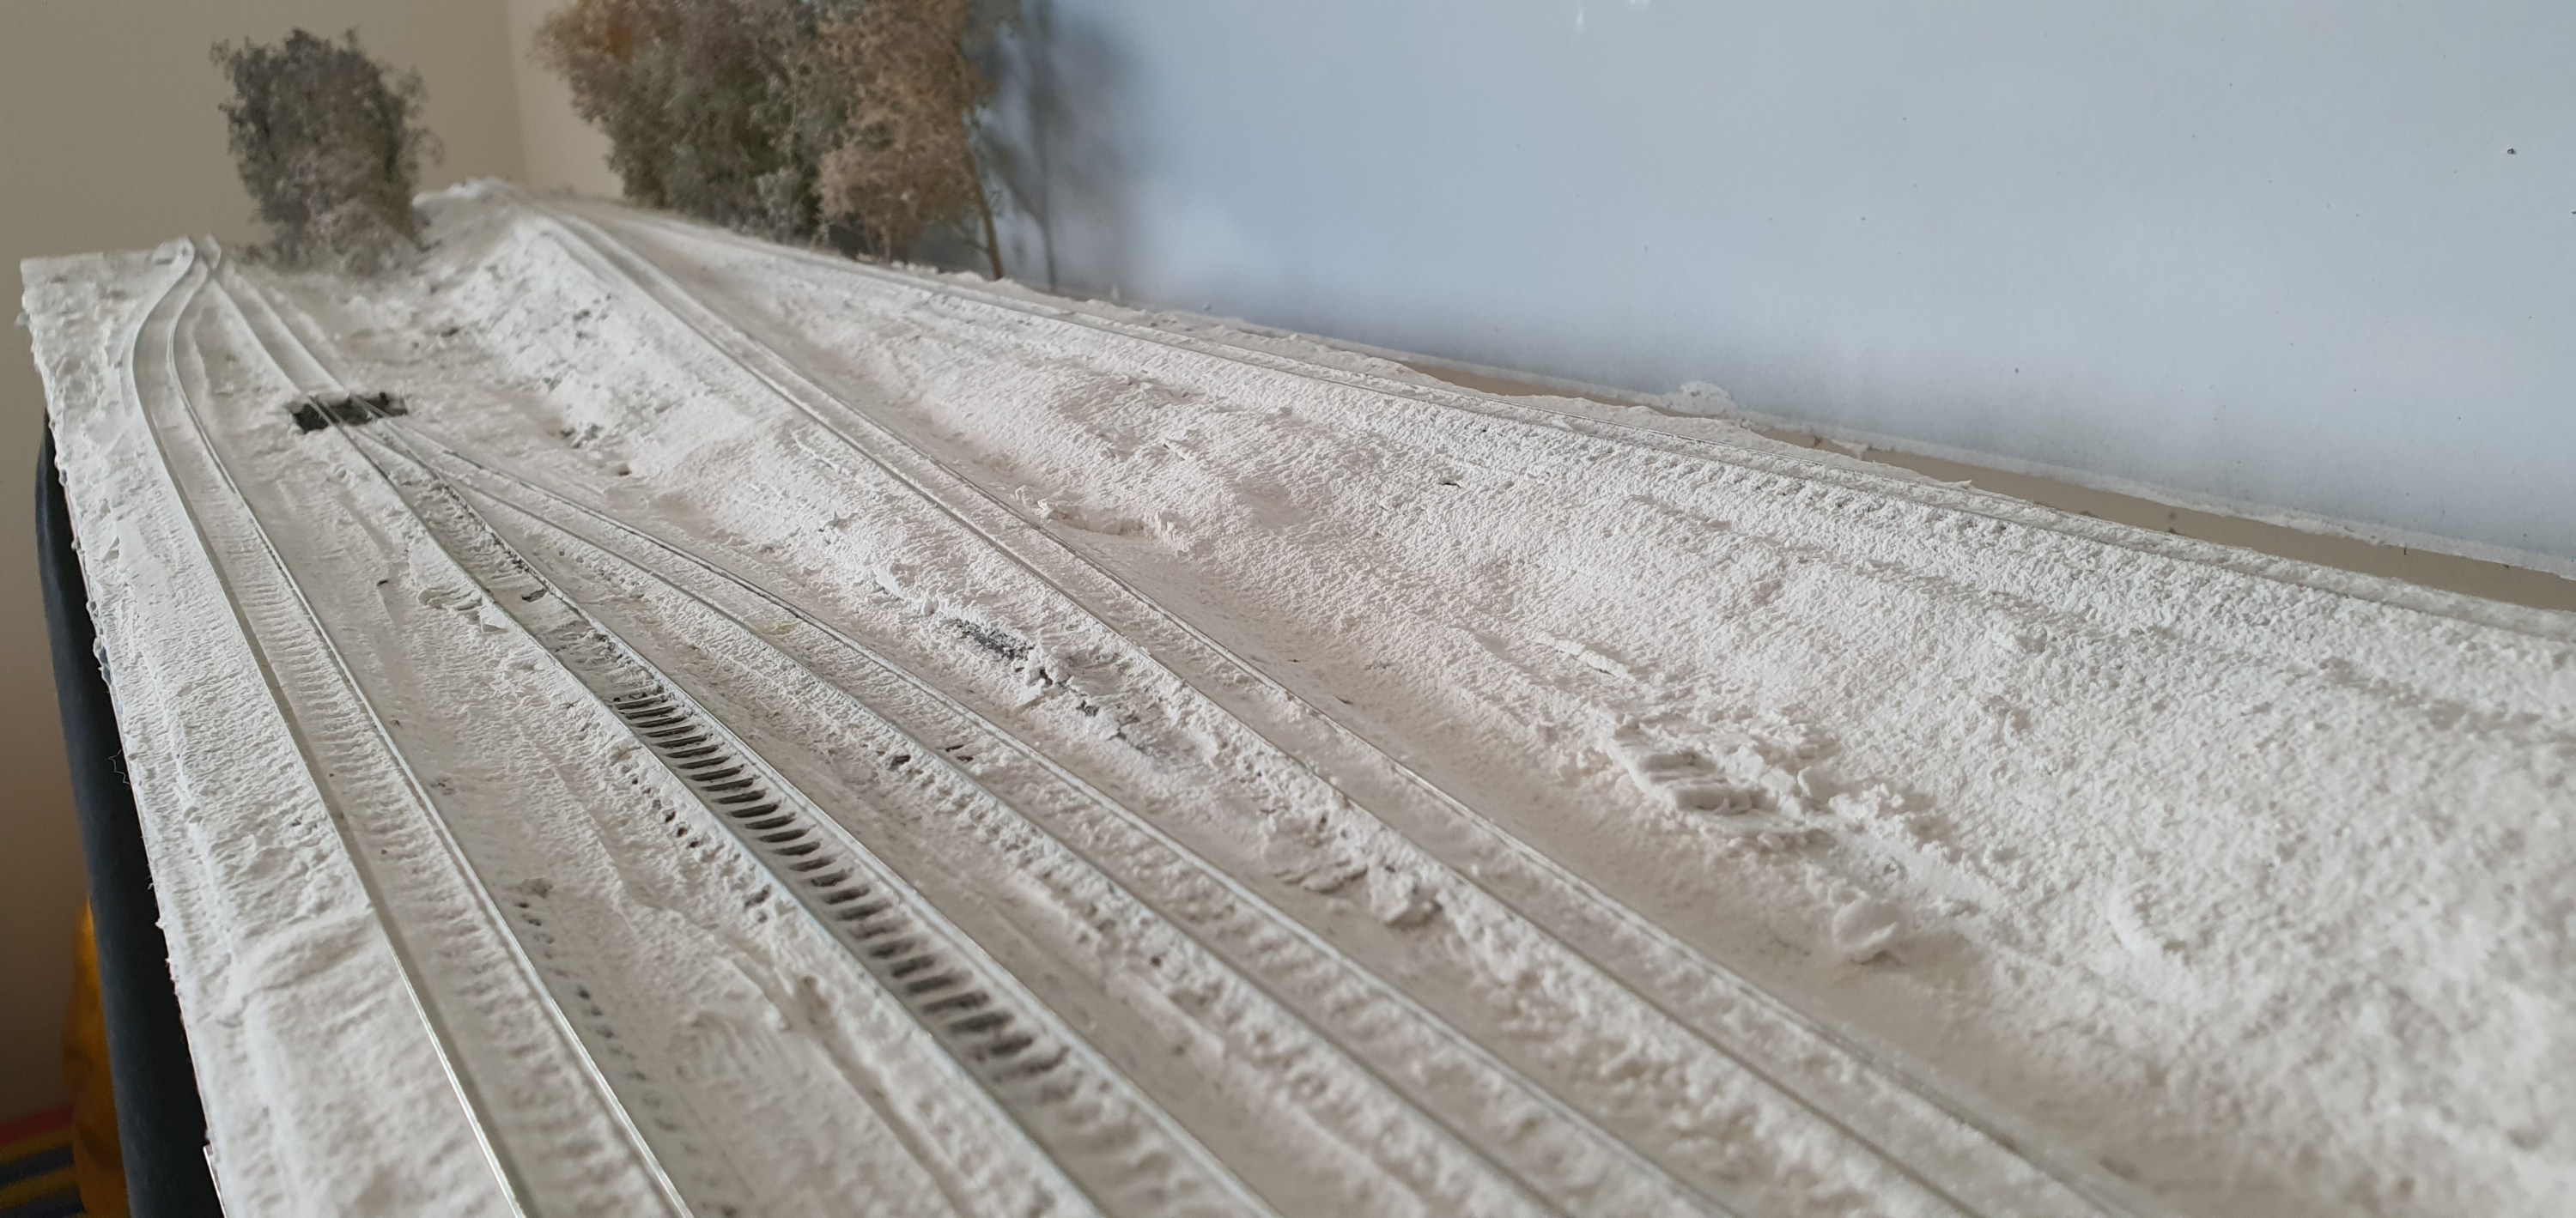
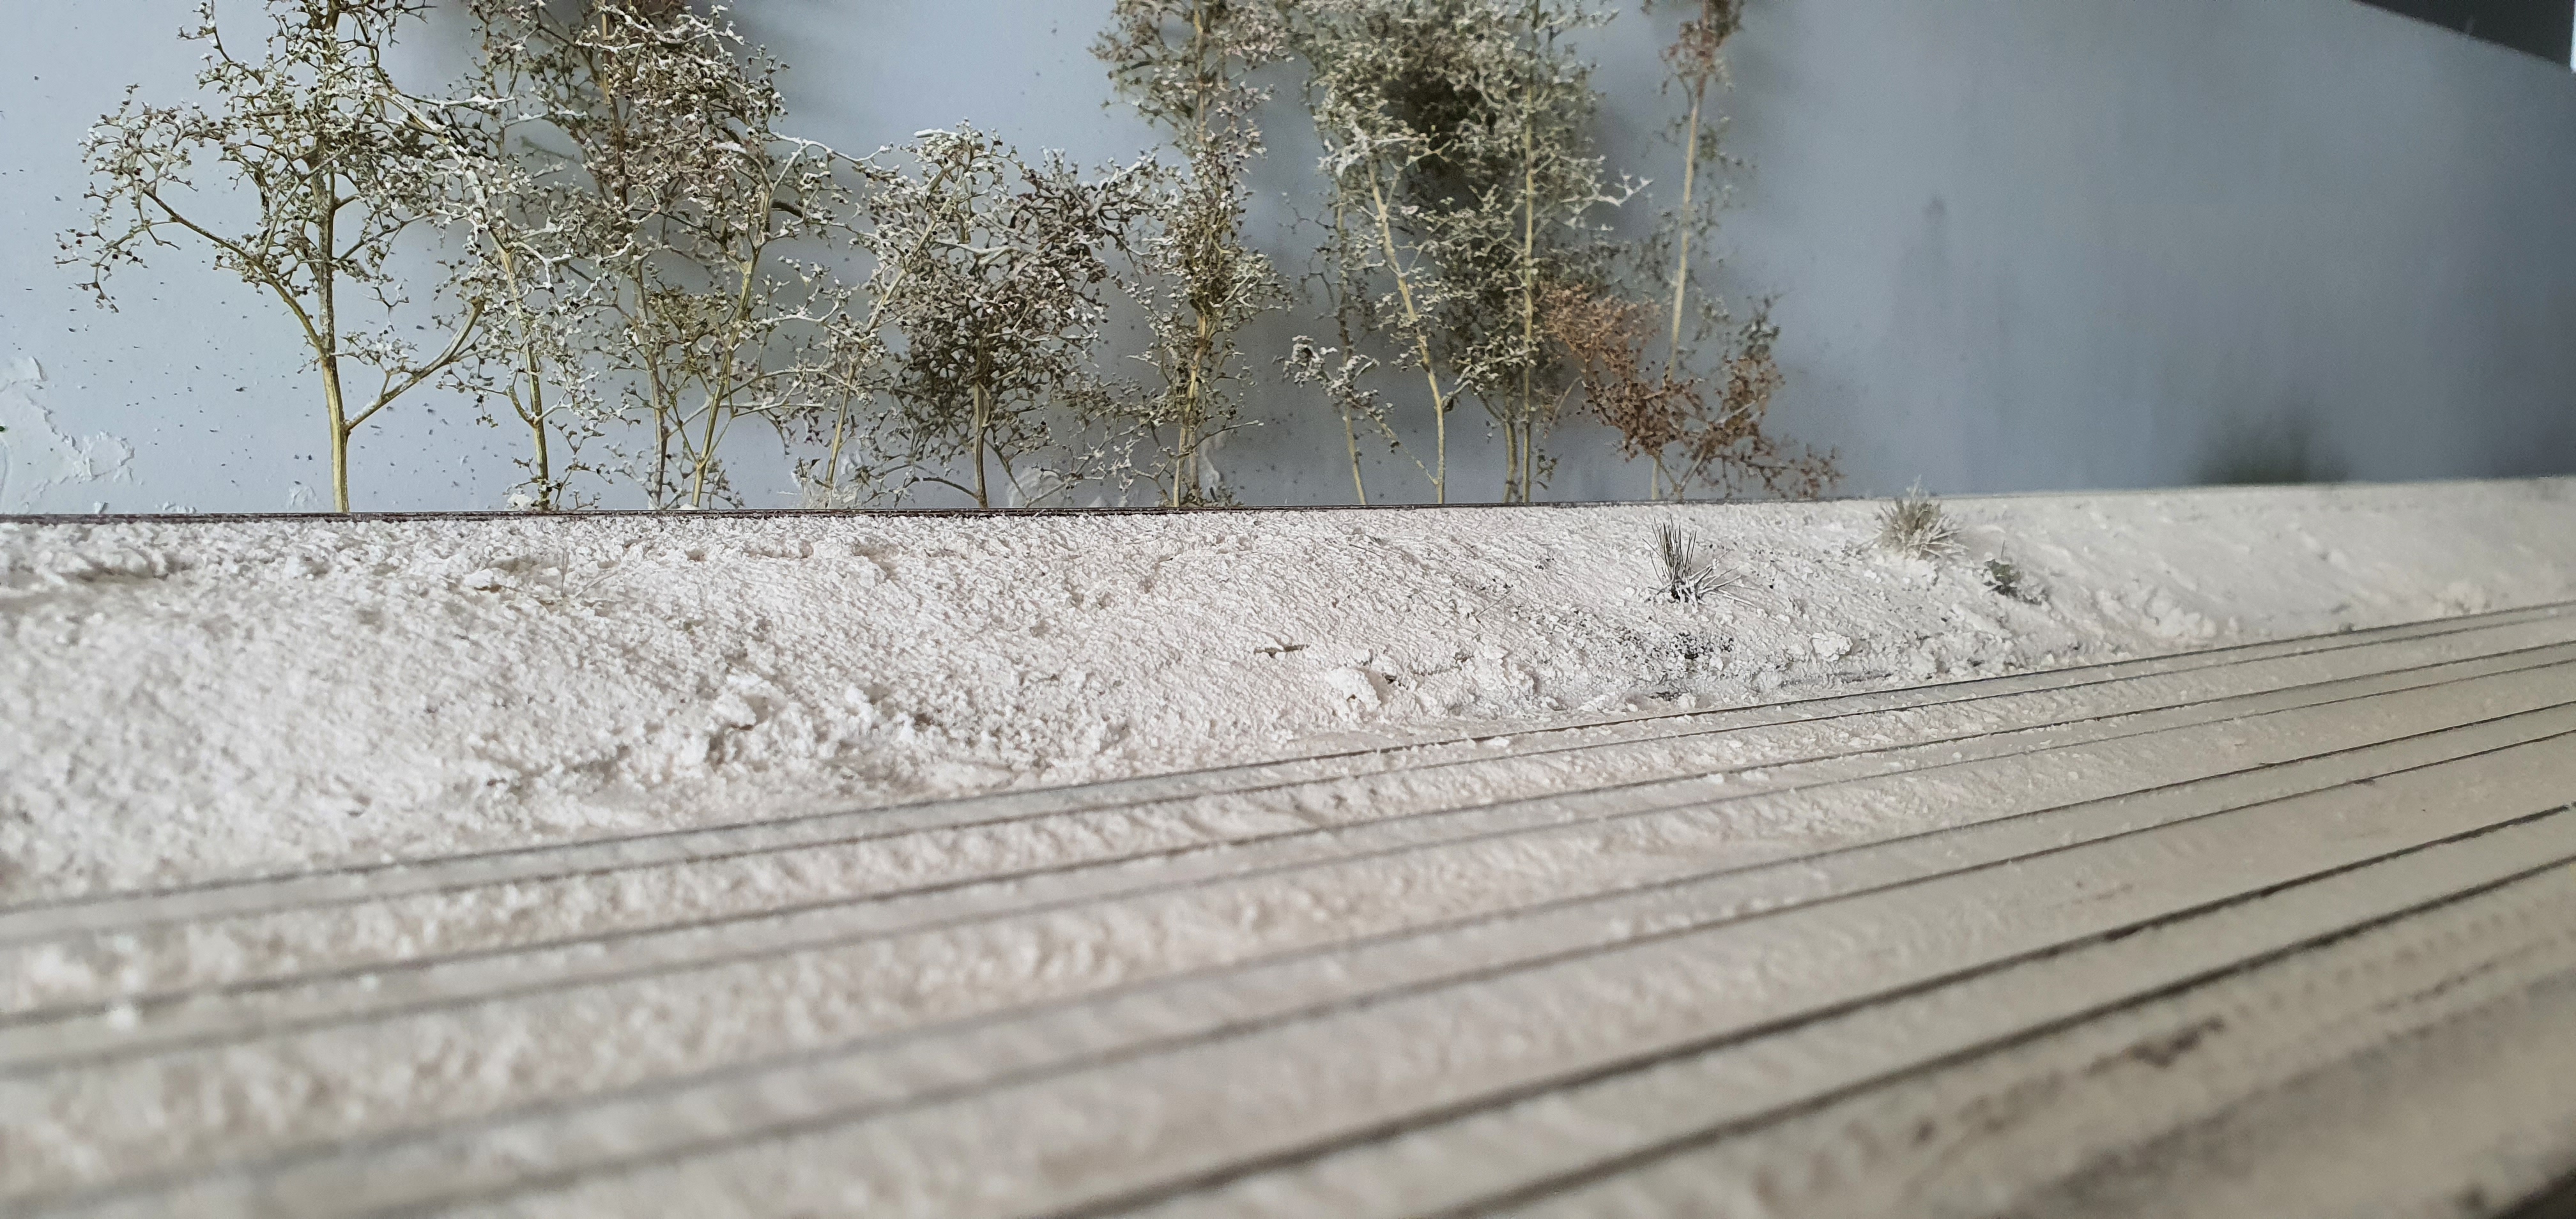
I decided to add a snowman to the side of a switch stand, you know its boring being sat in the siding lol

Its snowed again!!

If you have been following the blog you’ll know this process now so its a rinse and repeat.

1. Apply Flex paste/matte medium

2. Apply snow powder

3. Spray glue

4. Clear flangeways

About 16ft done now.
Flangeways cleared

So what’s next we’ll come on, it’s foliage, trees, snow, switch stands, grass and more snow.

Probably time together the wiring finished on this section I guess.

Switch stands part 3

Right time to get some switch stands onto the layout isn’t it!!

That means some snow needs cutting away. It can always snow again lol

Once the area is big enough a dab of glue and a T pin and the stand slips under the turnout.

One more shot

Now to get some ballast in there and a wee bit of static grass between the WSOR and the CN.

Switch stands part 2 – paint

After standing for 24hrs to dry (the glue says 20mins) it’s time for paint. Red for the boards and black for the stand itself. I’ll leave the ties natural.

Into my limited paint stash I got Ferrari Red and black – perfect lol.

I use make up brushes rather than micro brushes for two reasons. 1) they are cheaper 2) the tips are finer.

Black for the switch stand this is 4x zoom on my phone !!!

And there we go ready for installation on the layout.

Adding details – switch stands part 1

Its time to add those details to complete the scene. One of those details is a means to move the turnouts. At Ackerville the main siding switches are set by the dispatcher everything else is hand thrown.

Switch stand base

My switch stands are a Canadian laser wood kit from Osbournes. Each switch stand has 7 parts, it’s a pretty simple kit that’s just a case or wash rinse repeat until you have built them all. All I used to build these was a knife with fresh blade, pva glue and a cut mat.

Once the top and bottom are assembled the metal part attaches to the ties.

Well we are Done, the assembled switch stand it’ll get some paint in the next part of this series.

Completing the scene with foliage and trees

Ok so we have snow down and now to complete the scene along the back scene anyway we need some trees and foliage.

First the foliage goes in its a mix of clump foam and lichen. Lichen is a natural mods product that needs some excess leaf material removing before placing on the layout. This is all held in place with a layer of PVA glue.

In goes a layer of super trees each one trimmed and glued in place. Yes they are tall but so are trees in real life these are all 40-100ft tall trees which is perfect for the prototype location.

Then its out with the spray glue and another short snow shower in Ackerville and we have winterised trees.

There are still more jobs to do to finish this area, we need dummy turnout motors and some electrical boxes. Switch stands and then we need some ballast on the turnouts and static grass to represent those longer tufts of grass and scrub peaking through the snow.

Tomorrow we will probably tackle the dummy turnout motor first.

Cutting flangeways

Snow & ice on the real railroad is great for derailing trains and it’s the same for Model Railroads. After the weekends snow I had 3 out of 5 turnouts stuck with snow and lots on the rails. In real life the first train takes the snow away and that’s the look we want.

The rear two tracks have been cleaned of snow from the rails the front two are un touched
One very gunged up turnout

Fortunately I have a pick in my toolbox for just this scenario and so I started to scrape away the snow from the rails and turnouts.

Its got the snow off but also the rail weathering so I’ll need to go back with my small brush and touch that up.

The snow was hoovered up and you can see here how strongly the snow has adhered this time around. Its much better than it was.

Before
After

It might be hard to see but you can see alot more of the rail in the after pictures. Its subtle but its vital for a smooth running layout.