Backscenes for Ackerville

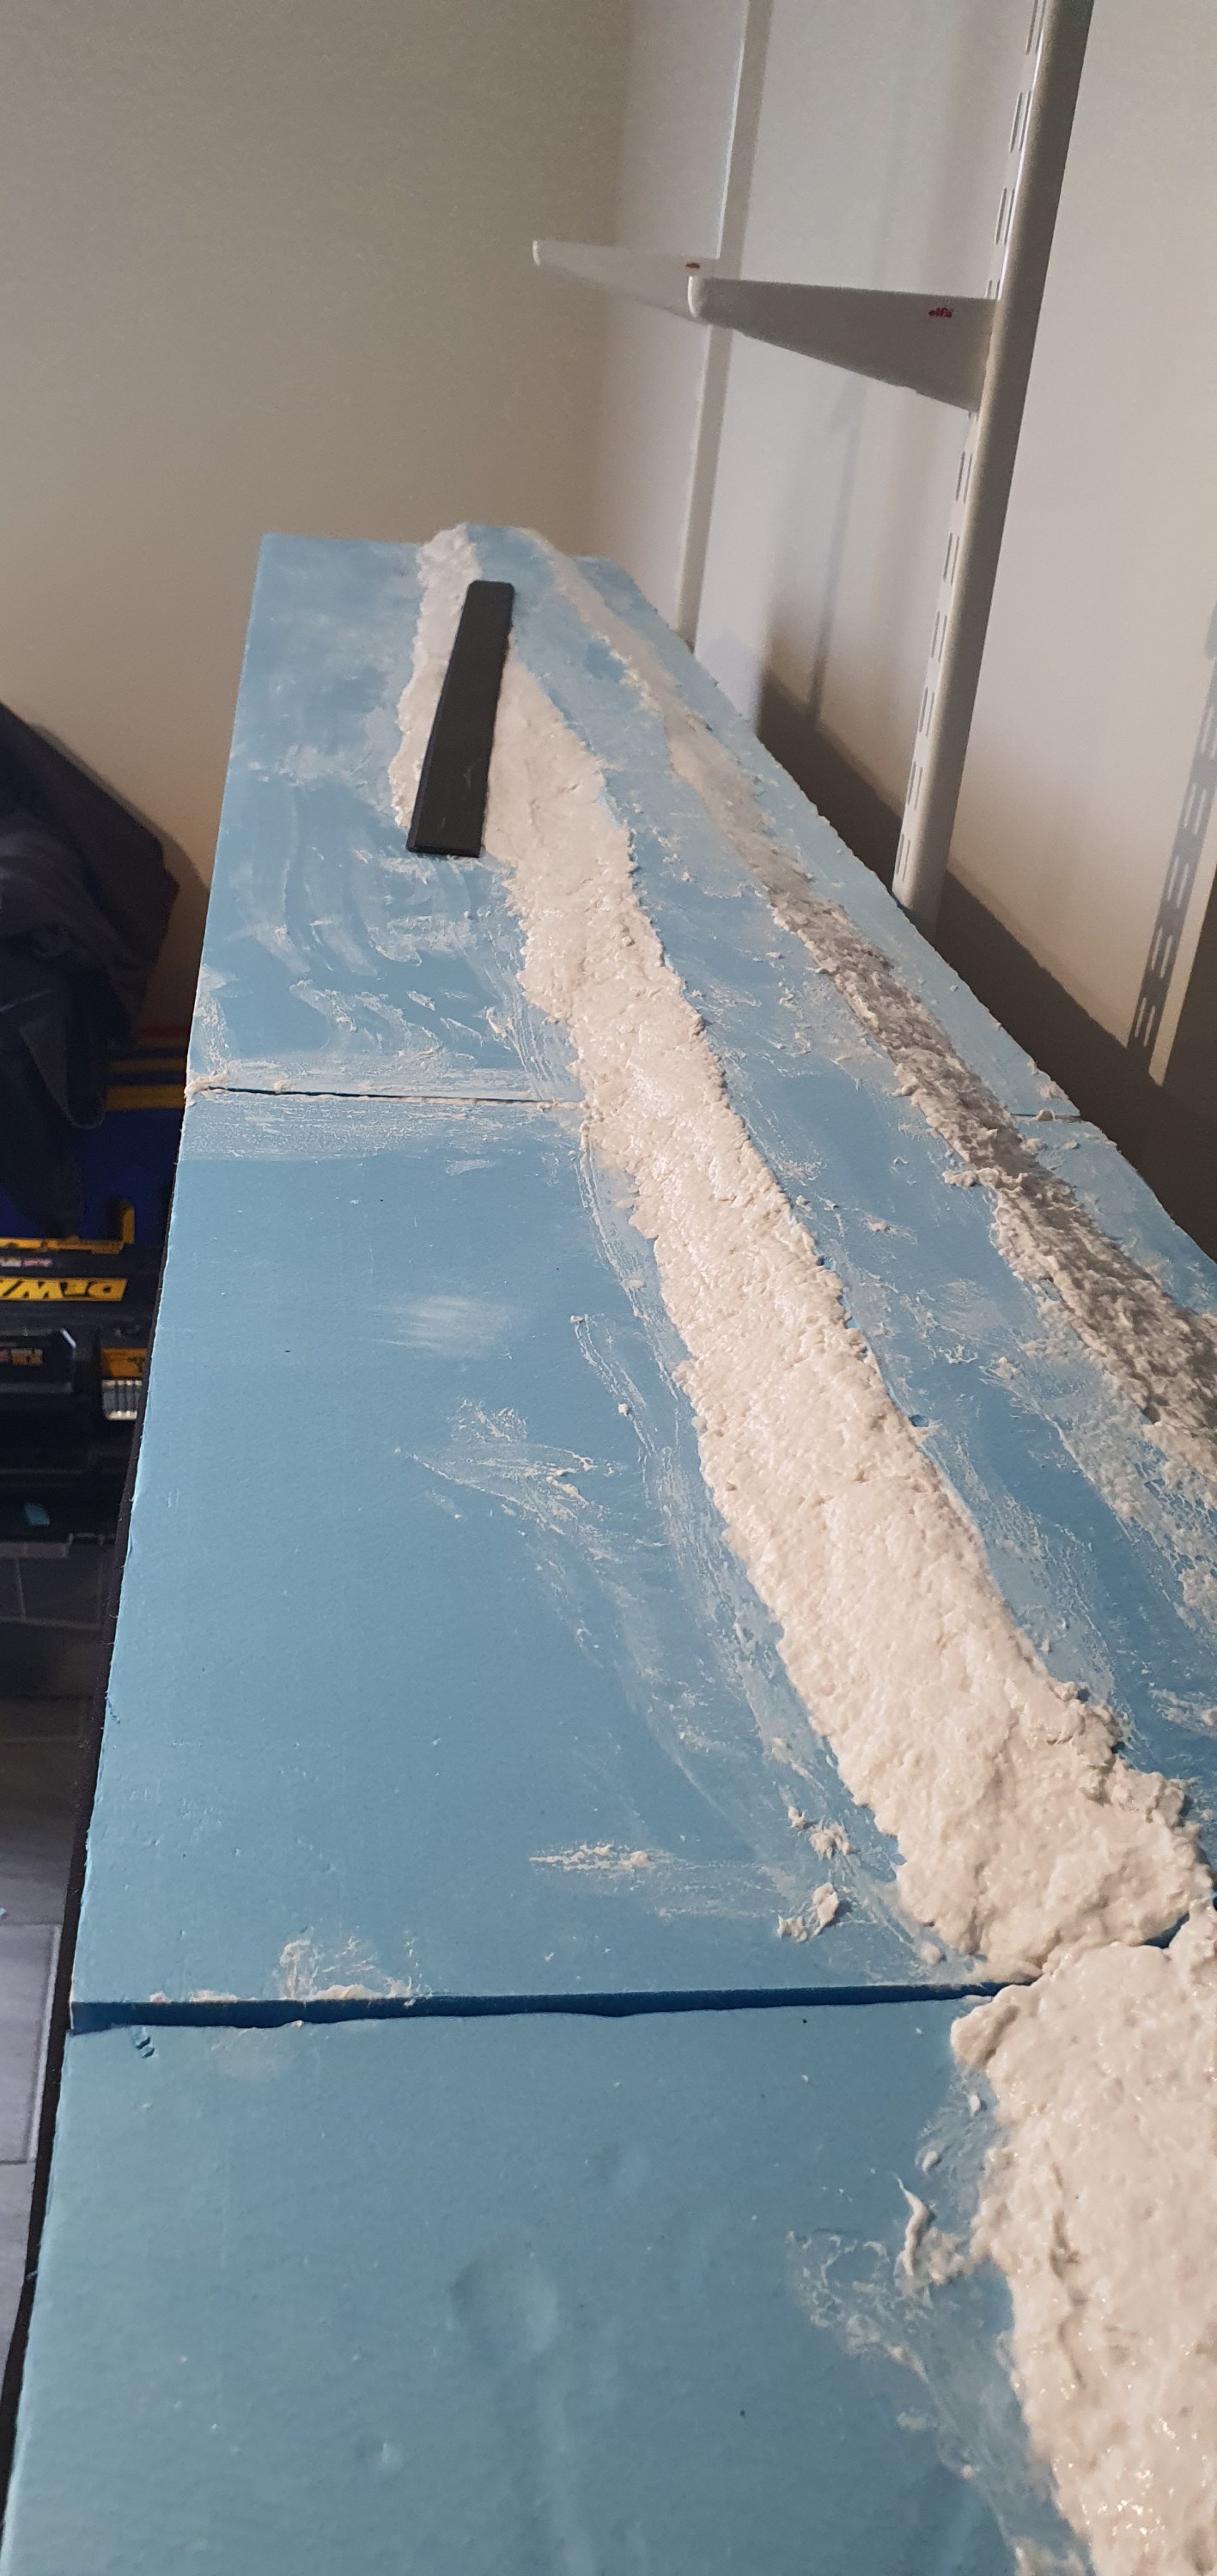
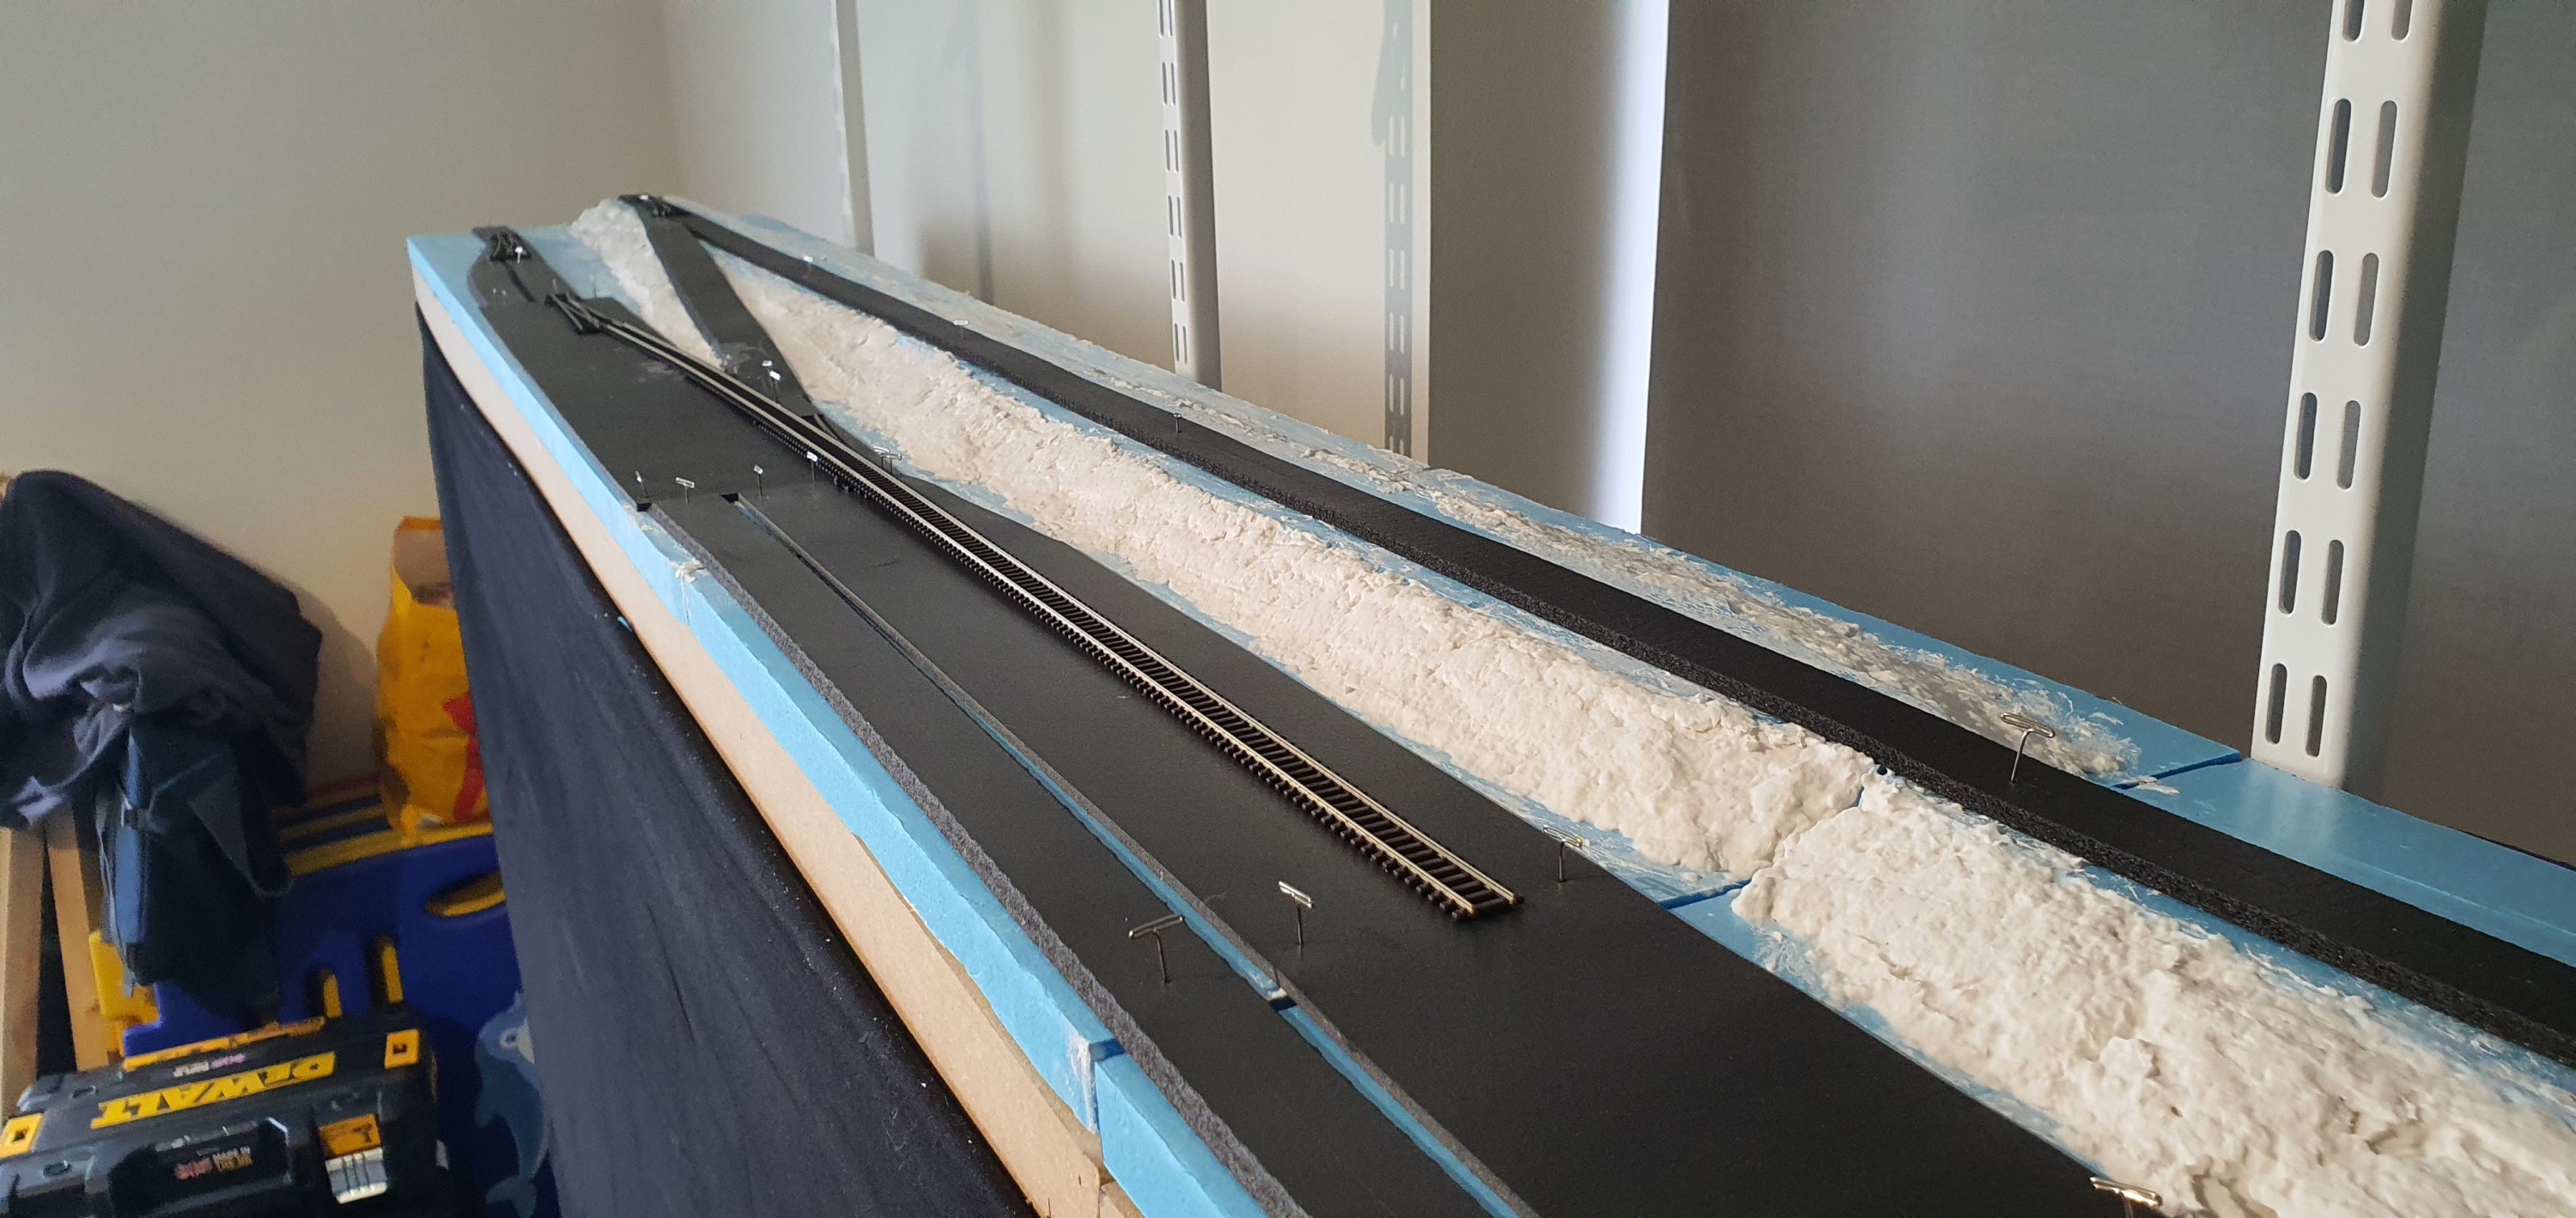
After a weekend of Train meetings I took a couple of days off to recover so that of course means time in the train room. I’ve had the wood in the garage for a few weeks and after playing with the snow I decided to add the backscenes to help me with the tree colouring issue we spoke about yesterday.

I used 3mm plywood and mounted an ID backscenes over cast sky photo backscene using a spray adhesive. But they come at 15″ tall which is good and bad because I needed to cut them but good because one pack now goes twice as far. There was a little excess that was removed with a hobby knife.

cutting on the underside of the table 😉

The boards are held in place with self adhesive magneting strip that is attracted to the supports for the upper deck and are just strong enough to stay in place but also be easily removed.

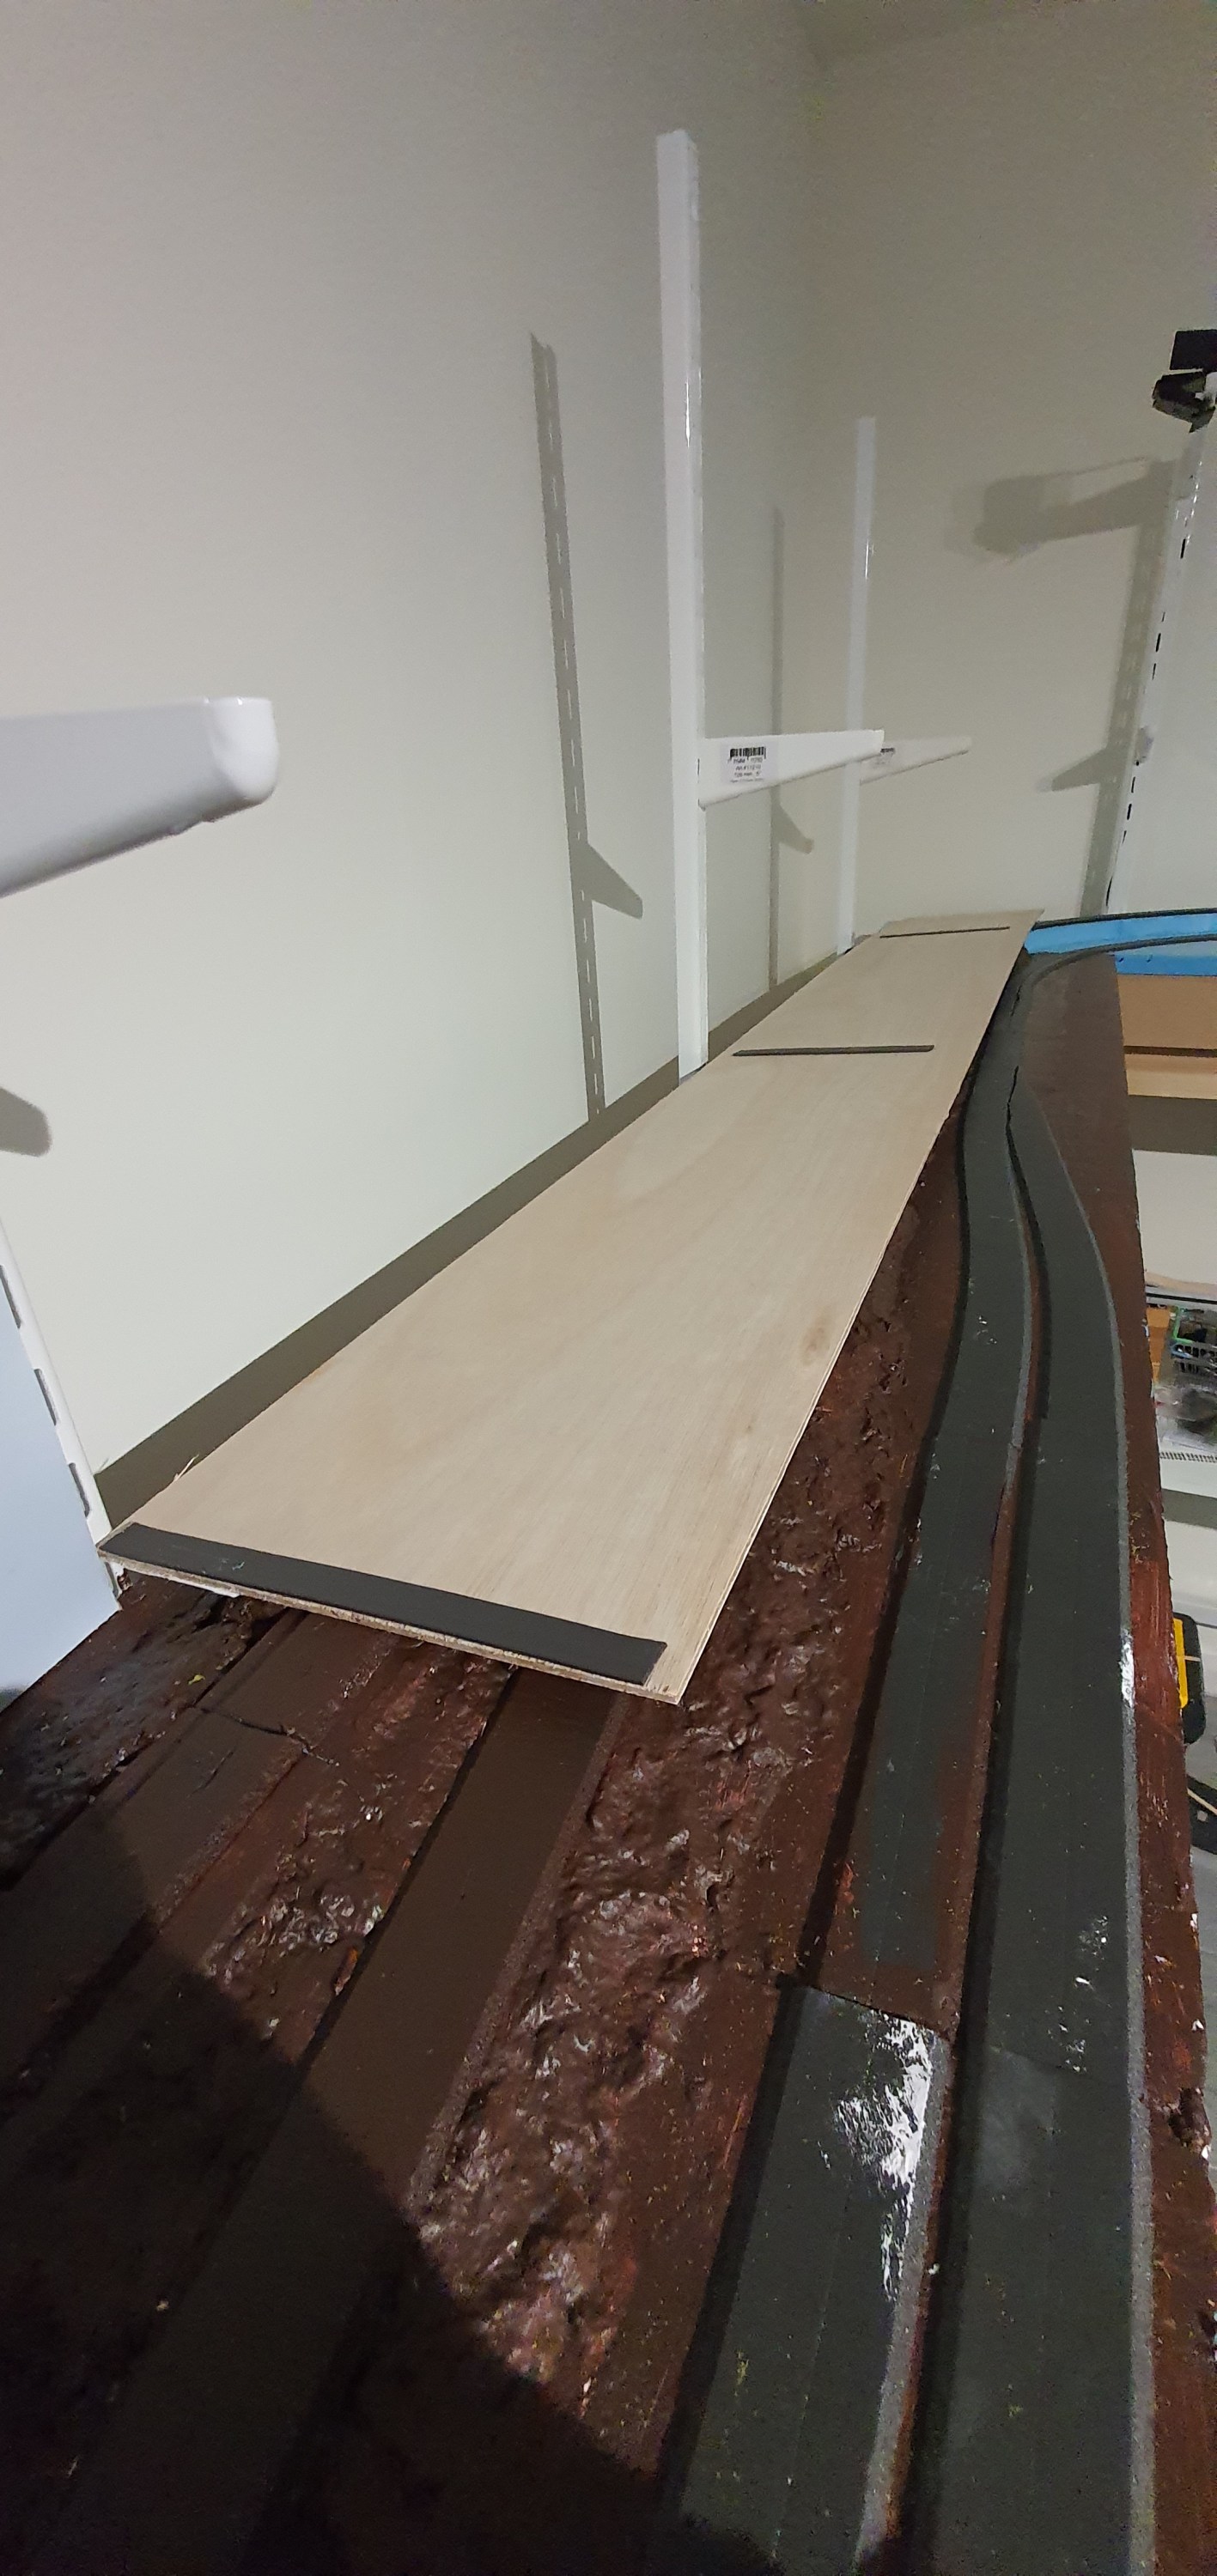
Its honestly easy to just remove and put back into place.

Then back to the trees, I haven’t done anything else to them but here they are with backscenes behind them.

I have however spotted a nice looking bush growing into my garden that might be perfect for N Scale armatures I’ll be having a look tomorrow to see if it will work.

National Model Railroad Association Achievement Program – Golden Spike

This weekend its the NMRA board of directors meeting, time in the train room is likely to be limited or well none existant, but I will do my best to get more track down for you guys. This morning though I presented to the NMRA British Region about the introduction to the NMRA Achievement Program known as the Golden Spike. The NMRA Achivement program is a set of 11 certificates covering a broad aspect of skills and techniques someone would use to build a model railroad. Upon obtaining 7 of these certificates across 4 sections you earn the title of Master Model Railroader. It usually takes multiple years of work to achieve the standard necessary for this award.

https://www.nmra.org/education/achievement-program

The Golden spike is an introduction to the program, its about doing the work rather than being an expert in it. If you complete the award you will get a certificate and are probably well on your way to completing one or two of the more in depth AP awards that exist. Below are the slides from my presentation and a PDF version at the bottom if anyone wishes to use this for reference or to present themselves. More information can be found on the NMRA website https://www.nmra.org/golden-spike-award

You can download a copy of the presentation here:

The last of Ackerville’s roadbed

30mins a day pays off even if that’s at the end of a work day that started at 8am and finished at 11:15pm. Its all part of the fun of model railroading to go and wind down from the daily grind for 30 mins after work. Its not as healthy as a exercise but better than a pint down the pub, remember them?

Anyway on to business, Ackerville is a large section of my layout about 17ft before it curves at the southern end. I need to get this first section finished for my scenery AP certificate so I am focusing on getting that to a completed state first, then moving onto the rest of the layout.

Ackerville looking south

If you have been following the blog you’ll know alot has been done already but I left the roadbed at the Southern end while I worked out how to tackle the CN main line curve.

I want 18in radius curves as a minimum where I can get away with them. Modern stock and locomotives don’t look or perform well on anything less.

There is a turnout in this section so the mainline (left) roadbed went in first followed by the diverging (right) route.

This picture and unfortunately the glue went down before I realised I need to slew the roadbes towards the rear of the baseboard to get the curve in. Ah well lesson learnt.

The next thing was the corner. I am using woodland scenics roadbed which has a score line along it that you cut to bed round corners thats the next thing I did on two 24″ lengths for the lower corner.

You can see the gap and double row of pins in these pictures in contrast to the upper curve which is slightly greater than 18″

Still needs some sculptamold in that corner but it’s going to be cool racing the WSOR round that corner
Looking northbound CN (left) WSOR (right)

18 inches is an OK radius but I am still going to super elevate the track on these corners it’d going to be tough to run longer stock through them otherwise.

Well its Friday, have a great weekend. I’ll be doing what I can to create more content for you but its the NMRA Winter Board meeting and that will take up alot of my time.

Gordy

Thursday Update

Well today not alot of modelling has been done, in fact none because I have spent my modelling time reparing and assembling a standing desk for work and my NMRA work.

Don’t worry the beer fridge survived and the home office layout. I might even squeze a few extra monitors to the right there.

I did manage to complete reading the NMRA BOD reports pack though tonight and thats the life of a Director that people don’t see. However, the best way to connect with model railroaders in 2020-2021 is of course Zoom and so onto the AML Patreon Wednesday Night Chat to catch up with modelers from around the globe.

This was early in the night but the conversation soon turned to Yellow snow!!!! Anyway if you haven’t listened to the AML Podcast you should check it out here: https://www.amodelerslife.com/

Keeping the layout tidy

One of my pet peeves is people storing materials on their layout as they build it. Trust me one day you’ll either not finish a section of your layout or you’ll run out of space for the junk.

So today I received a very cheap and nasty tool cart from ebay. Its very rough intact I think I’ll need to file some of the welds on the handle or need a tetanus shot really soon. It’s all cool though as my scenery supplies for ackerville and airbrush and compressor are all on there now and off the layout/workbench.

In other news it’s still really really cold so that 45min drying sculptamold is yes you guessed it still not dry. Hopefully tomorrow I can get some dirty brown paint on there and we’ll have all of the ackerville area ready for the tracklaying to get finished.

Keep working on your layout folks 30mins a day goes a really long way!!! Now where to hide this cart from Annabel 🤔

Waukesha Sub Division – Ackerville module 1 – Sculptamold smoothing

Adding the roadbed gave enough time for the sculptamold to start to set so before it does that we want to smooth it out.

Its a really simple process just using a wet finger drawn along the length of the compund until its smooth and even.

Here we go all smooth and roadbed down with more wood glue (PVA). I am not sure if I am really happy with the edge of track being so close to the edge of the layout. In trying to make more space for trees before the background I have probably put my rolling stock at risk of running down a wee drop before returning to kit form. I think that some padding is going to be required behind the fascia to allow me to prevent this, but atleast the mistake is spotted now before something goes for a nose dive.

Come back tomorrow as I did get a wee bit further with this before calling it quits for the weekend.

Starting on Electronics – the DCC BUS part 1

we have had quite a few deliveries this week, unfortuantley the weather has delayed the cargo boat so I am still waiting for the tools needed to cut the rest of the benchwork items. Thats not going to stop some progress though so a quick hour of work saw Ackerville tidyed up and the track, subroad bed and foam used to plan the scnery for that area was all tidyed away.

I really don’t like these connections I think i’ll end up repalceing them with screw terminals
Ackerville DCC bus with girder frame that allows me to suspend the modules over some work areas

That exposed the module frame which allowed me to install the DCC Bus wire. I am using some seriously overkill wire here at 2.5mm but its got to carry alot along the DCC Bus so its not the area to skimp on. The Bus will be connected to the electrical boards we prepared earlier using T-tap connections so all I needed to fit is a bus along each module. I am focusing on getting the first part of the layout finished so that means about 29 feet of layout needs to be worked on to a finished state first. Anyway enough explaining here is a wee timelapse for you I know how much you enjoy them.

There wil be a follow up to this when we move onto the yard area of the lower deck (the bit still with loads of stuff on it. There is lots going on this weekend so who knows what will be posted tomorrow. Stay Tuned.

Gordy

Train’N’Camp with the Piedmont Division of the NMRA

On Saturday me and my little helper Annabel helped live stream an education program from the NMRA Piedmont Division. Aimed at beginners it covered every topic you need to know when starting out in model railroading.

Annabel listens to Walt Liles talk about the best way to lay perfect track.

If you are new to the hobby and want to learn about how to get started check out this live stream of the event by the NMRA. https://www.youtube.com/watch?v=I4y5zWiVdXo skip to 29:35 as this is the recording of the whole unedited live stream.

Snowy Materials

Finally we have some materials, first re-supply is from precision ice and snow. They make great snow/winter scenery products and this is there starter kit. It comes with some Krycell snow powder, a sieve, adhesive, snow wash and insta-snow.

I am going to give these product a try out and see what we scene we can create in the Ackerville section of the layout with them.

I am sure the snow wash will be really useful for weathering freight cars to complement the snowy scenes on the layout.

Find out more about these products here http://www.precisioniceandsnow.com/store/c1/Featured_Products.html

More Layout Design for Jordan pt 2

Layout Design, its like fitting a wedding dress. Death by a thousand adjustments. and so it was that Jordan came to me and asked if we could make some adjustments based on the module sizes he had choosen.

So this was how we left things last time. Jordan wanted to build the switching penisula first and so wanted to add to that design. There were other changes too as the module would now be in two sections one 36×24″ and the other 48″x24″. Jordan wanted me to include a run round and a straight section to allow a temporary staging track to be added so that the pennisula can be operated independantly.

I asked Jordan to find some sandborn maps of the location he wanted to model so that we could look to add some real industries based on the prototype location. This is what he shared with me: you can find a original here

cincinnatilibrary.org

There are three industries we picked out to model. The National Biscuit Company located on the left of the map just down from the center.The Gas Station which was rail served located on Elsinore Place at the top centre of the map. Then finally the coal drops or as they are called on the map ‘bunkers’ which belong to two seperate companies.

We are not aiming for a perfect representation of the prototype location here so lets look at the industries we modeled in real life and on the layout design.

National Biscuit from the Sandborn Map
o

On the layout we had to model National Biscuit as a background flat. When the layout is used stand alone the second track in front of the main loading/unloading track for National Biscuit isn’t used as car spots but in the future when the whole plan is built it can be. Thus this industry doesn;t take up alot of space but does give 4/5 car spots.

Iron Oil on the Sandborn Map at 621, Elsinore Place, Cincinatti

So on the layout Iron Oil occupies the corner and includes a Gas station and the store & workshop buildings seen on the sandborn map. The track crosses the street though to serve the oil storage tanks at the rear of the lot. This should add a single spot for a tank car with the crew having to flag the crossing of the street slowing down operations.

OK finally lets look at those coal trestles, a signature feature of any 1920’s city where most heating and cooking would be from coal fires, even in apartment buildings.

Pocahontas Coal Co & The Thacker Coal Company Coal Bunkers

On the layout we’ve been able to model both trestles but side by side. The area around them will need to be lowered so a retaining wall will be added (shown in red) to enhance the scene. It will be upto Jordan to decide if this wall is brick or stone. So more research needed to dig out some photographs to help with planning the scenery before construction can commence.

Finally we added a vacant lot and also a place for the Brick Works downtown unloading area . The vacant lot to help set the scene in 1920 when the city was still mostly under construction and the Brickworks to add another three car spots. If the Brickworks is omitted in the first iteration of the plan it will give Jordan somewhere to store his train between sessions and he wouldn’t need the switching stick.

Right well lets look at the overall plan for this section of the layout now.

Pretty cool eh! well we also designed another part of the layout in more detail but that can wait for a future post. Hopefully the postie has brought me more materials and we can crack on with the Waukesha Sub in the coming weeks.