
N Scale Yard office
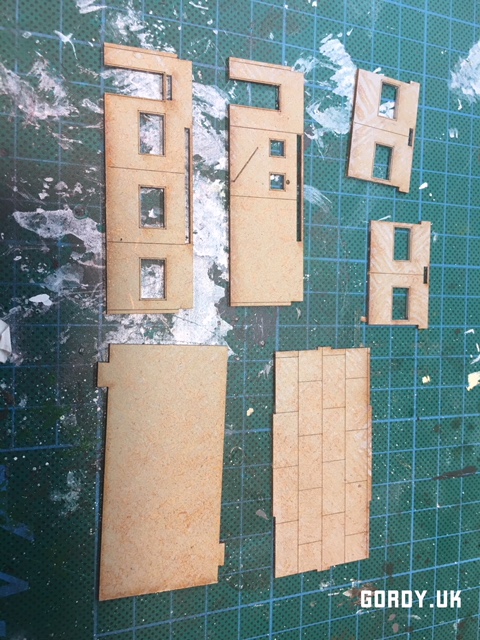
List of Materials
N Scale Laser #032 Yard Office Kit
10 thou Plasticard – Ebay
Micro LED bulbs – Ebay
N Scale Office Furniture – Shapeways
N Scale Bathroom Interion – Shapeways
Seated Figures – Ebay
Fire Extinguisher – Model Tech
Tamiya & Model Masters Acrylic paints
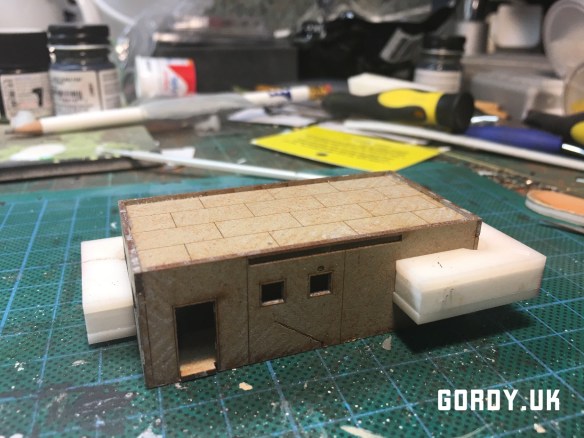
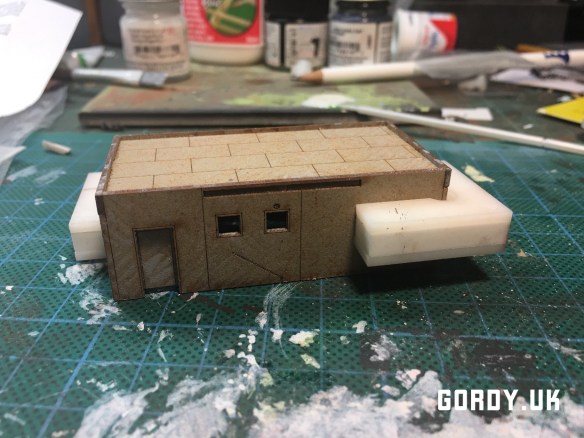
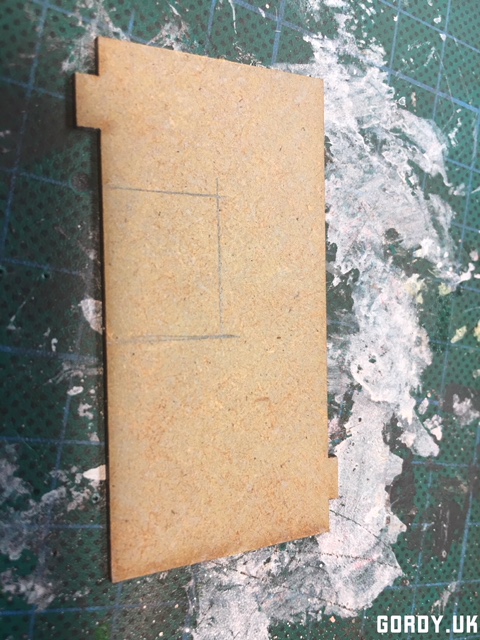
Construction
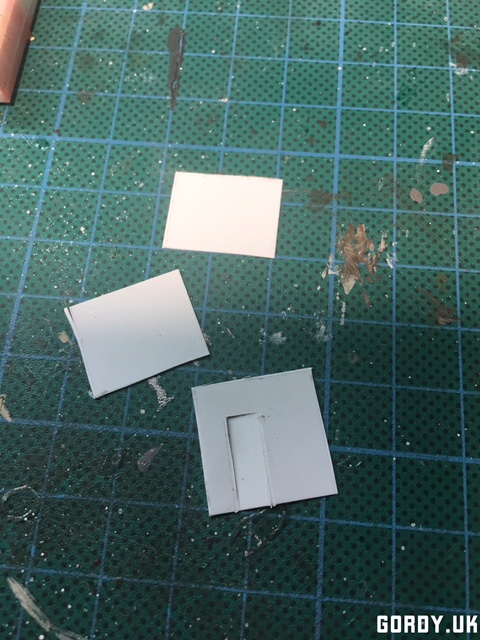
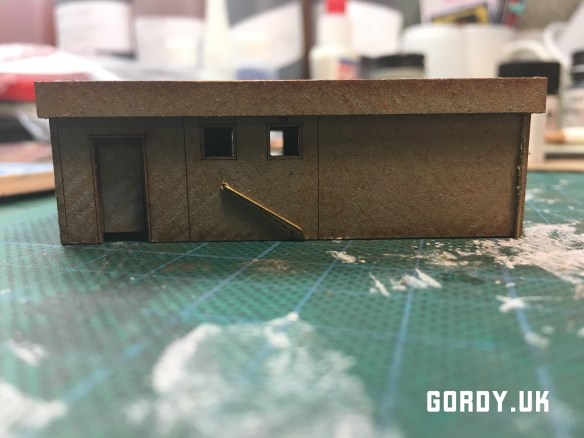
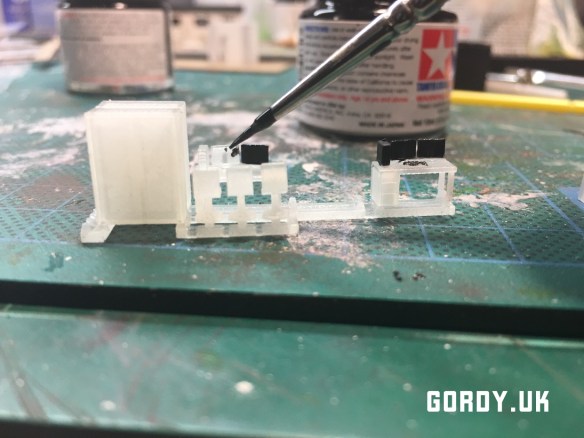
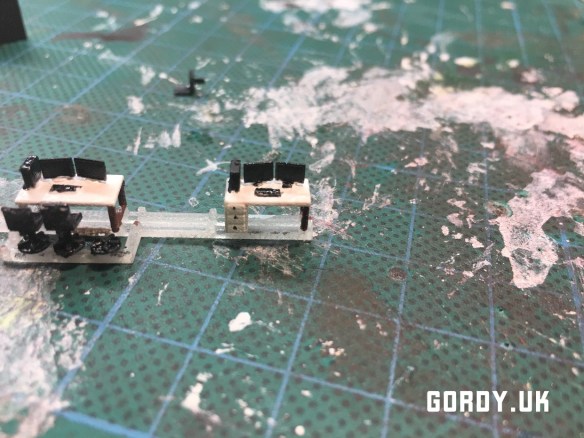
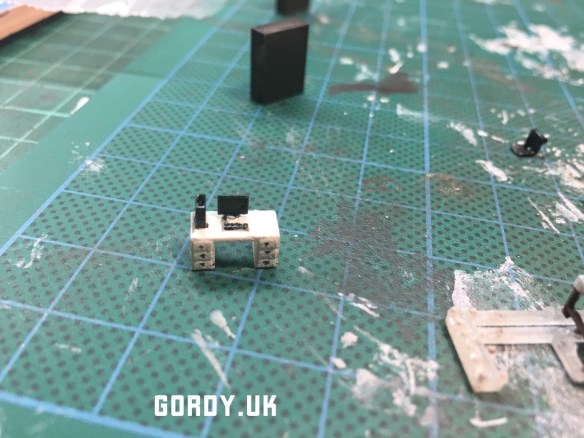
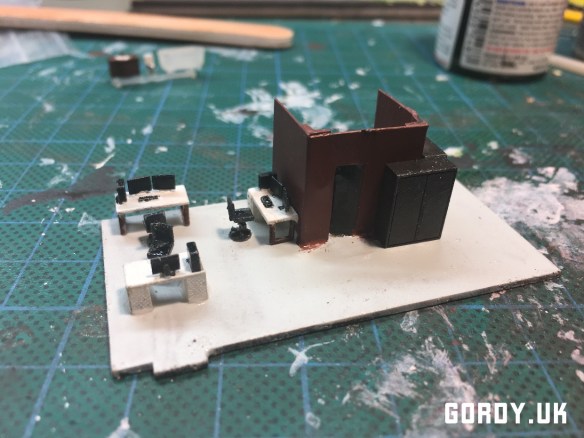
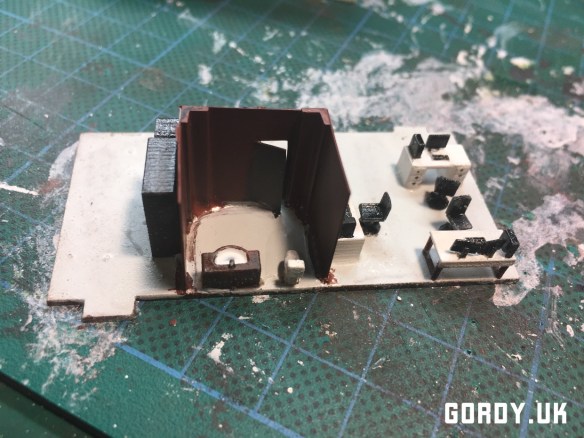
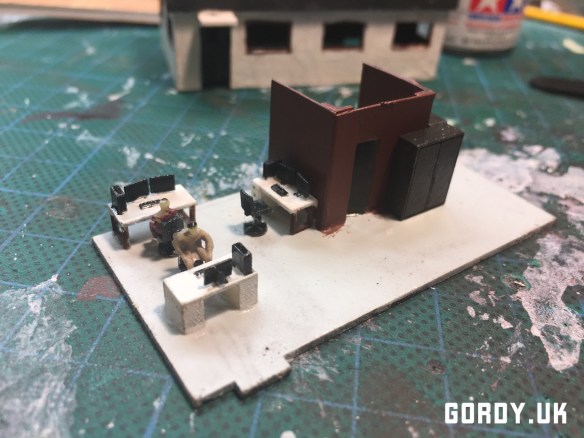
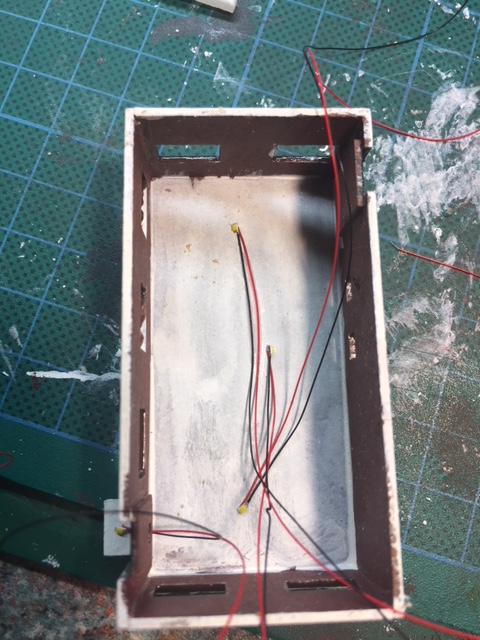
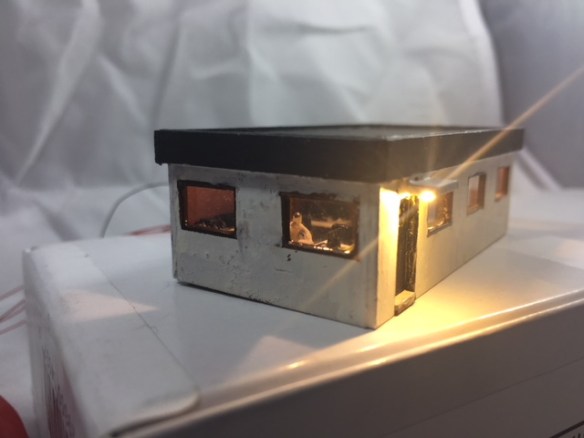
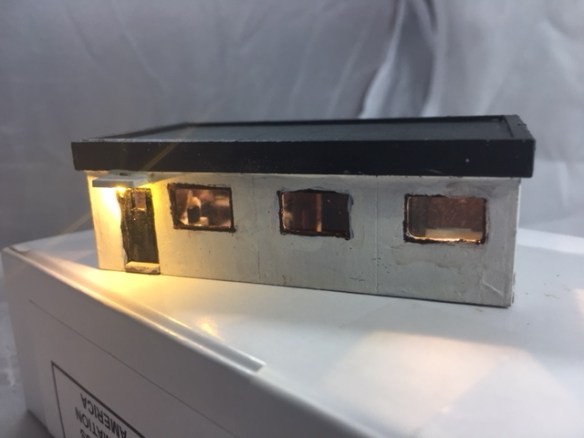
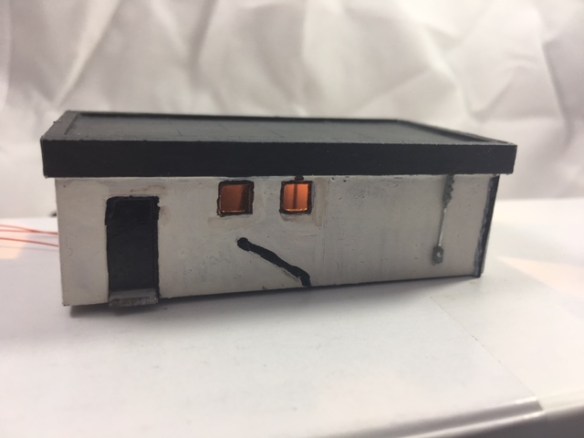
I started by spraying all the parts with a light coat of clear primer. I then assembled the main walls and roof, using the floor template as a guide. I used magnetic clamps to hold the walls while the glue dried. Once the walls and roof were in place and dried I marked out on the floor template the internal walls for the bathroom. These were cut from 10 thou plasticard and the door way was opened and scored so that the door could be ajar. I used some L section plastic component to brace the corners of the bathroom and assembled the internal walls to the floor. To the main structure I added coping around the roof and also modified the kit by adding some brass wire to form a bathroom drain and down spout. I also fitted the doors at this point. For the interior I used 3D printed office furniture and bathroom sets from Shapeways. These were painted with Tamiya acrylic paints and a 0000 paint brush. The desks were painted flat white the computer equipment flat black and the desk legs and cabinets are in dark iron. I picked out the draw handles in black. The interior was secured to the floor after I had painted the floor with Light grey model masters paint and box car red walls (the owner of the office is a railfan). I painted the interior walls boxcar red to match the bathroom walls and painted the ceiling flat white. I then fitted micro LEDs to the main building and also drilled a hole in the exterior wall to fit a light above the main entrance door. The glazing was added and then chanel attached to the inside bathroom wall hidden from view that directs the wires through the hole in the floor. To complete the exterior I painted the building flat white, the roof and coping grimey black and the doors in flat black. I picked out the window frames in brown. I used this prototype image for my colourings.


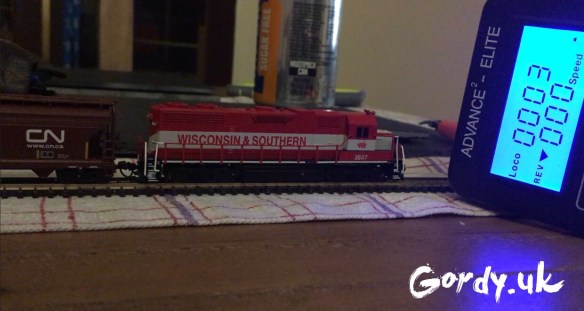

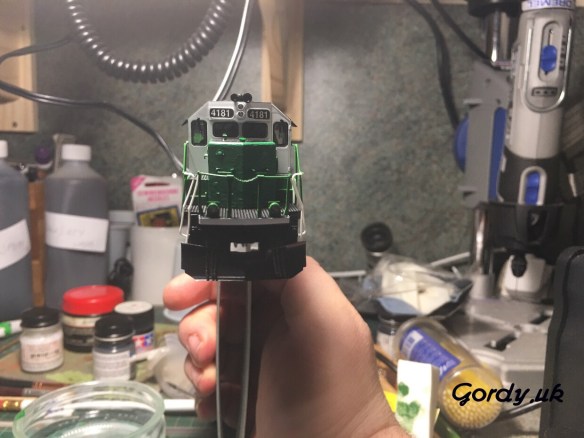
 When I came to change the number boards i noticed they were missing from the rear of locomotive so I have ordered some replacements from kato and will then start the weathering.


