
Using software to draw your layout is becoming much more common than paper. Most like AnyRail will even tell you the quantity of materials you need to build your layout and can draw your layout in 3D.
However one of the things people often ask me how to do is draw a Helix so here we’ll cover a few short steps to have you drawing a helix using set-track or Kato Unitrack pieces.
First select the radius of curve you desire and drop it onto the work area, for this example we are using curved radius 381mm (13.75″) x 30 degree pieces so we will need 12 per circle.
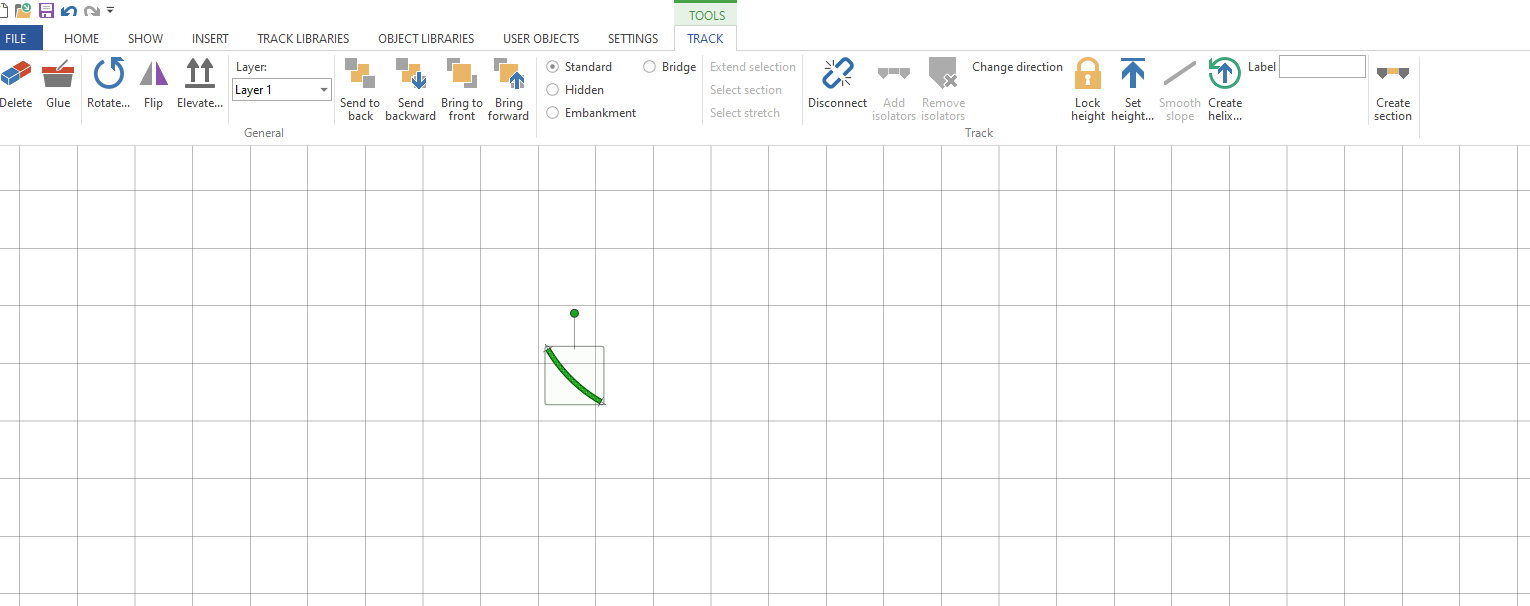
Once you have done that select the Create Helix option in the tool bar.
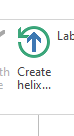
The helix wizard will open
If you have set the height of your layout then enter that as the start point height.If you haven’t then set to 0 if you enter a height thats different to the height of the track you are trying to connect to then AnyRail will prevent you connecting those sections of rail. Imagine its like having one piece of rail on a table and the other on the floor looking down it may appear you can connect them but there is vertical seperation. As we are now adding a Helix to our layout we need to remember to think in 3 dimensions.
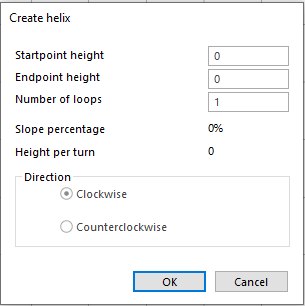
The next thing to do is enter the end point height, this will be in the same unit of measure as set for the rest of your project so if working in mm enter the value as 349.5(mm) not 13.5(inches) otherwise you’ll get some interesting slope % results. My layout is 225mm between decks so we’ll go ahead and enter 225 into the endpoint height.
As you can see the software has auto calculated the slope percentage and height per turn. I haven’t changed the number of turns so its off the scale and unlikely that any loco will pull anything up it. So next enter your turns, if you don’t know how many turns you need then enter the minimum clearence you need between decks in your choosen scale in this case its 65mm for N Scale to make sure you can get in and re-rail any cars. Remember to include the thickness of the helix material, track & roadbed in this calculation.
Divide the height per turn you want by the difference in height between the start and end points. Note you need to keep in the same unit of measure for clearance and heights so do a conversion if necessary always remember its 25.4mm to 1 inch.
the equation is:
(Endpoint Height – Startpoint Height) ÷ Clearance Height = # helix turns
(225 – 0) ÷ 65 = 3.46 turns
In reality we are not going to be that precise with a helix so round up or down to the quarter turn, we’ll use 3.5 turns for this helix.
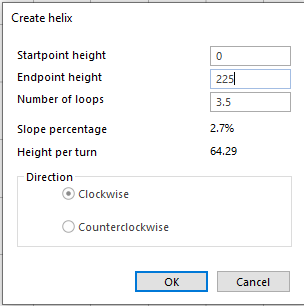
So now we have a 2.7% slope helix if this is too steep for you then you have three options open to you, either increase the radius if space allows or reduce the clearance height you are happy to accept or make an oval shaped helix to add run to each turn. Its most likely that you will have to increase the radius or go for an oval helix.
For example using a huge 481mm (18.91″) radius part with the same settings gives you a slope percentage of 2.1% which is probably more appealing than nearly 3%

The last thing to do is decide if you want your Helix to run clockwise or anti clockwise, select what works best for you and hit ok. AnyRail will then build your helix for you.

Types of Helix
Its not just the slope % you need to consider in the design of your helix you also need to make sure the exit and entrance are where you want them to be on your layout. A 1 turn helix will have your train exit in the same direction it entered if there is a wall in the way thats probably not desirable. So I produced this handy Helix guide for you to use.

