
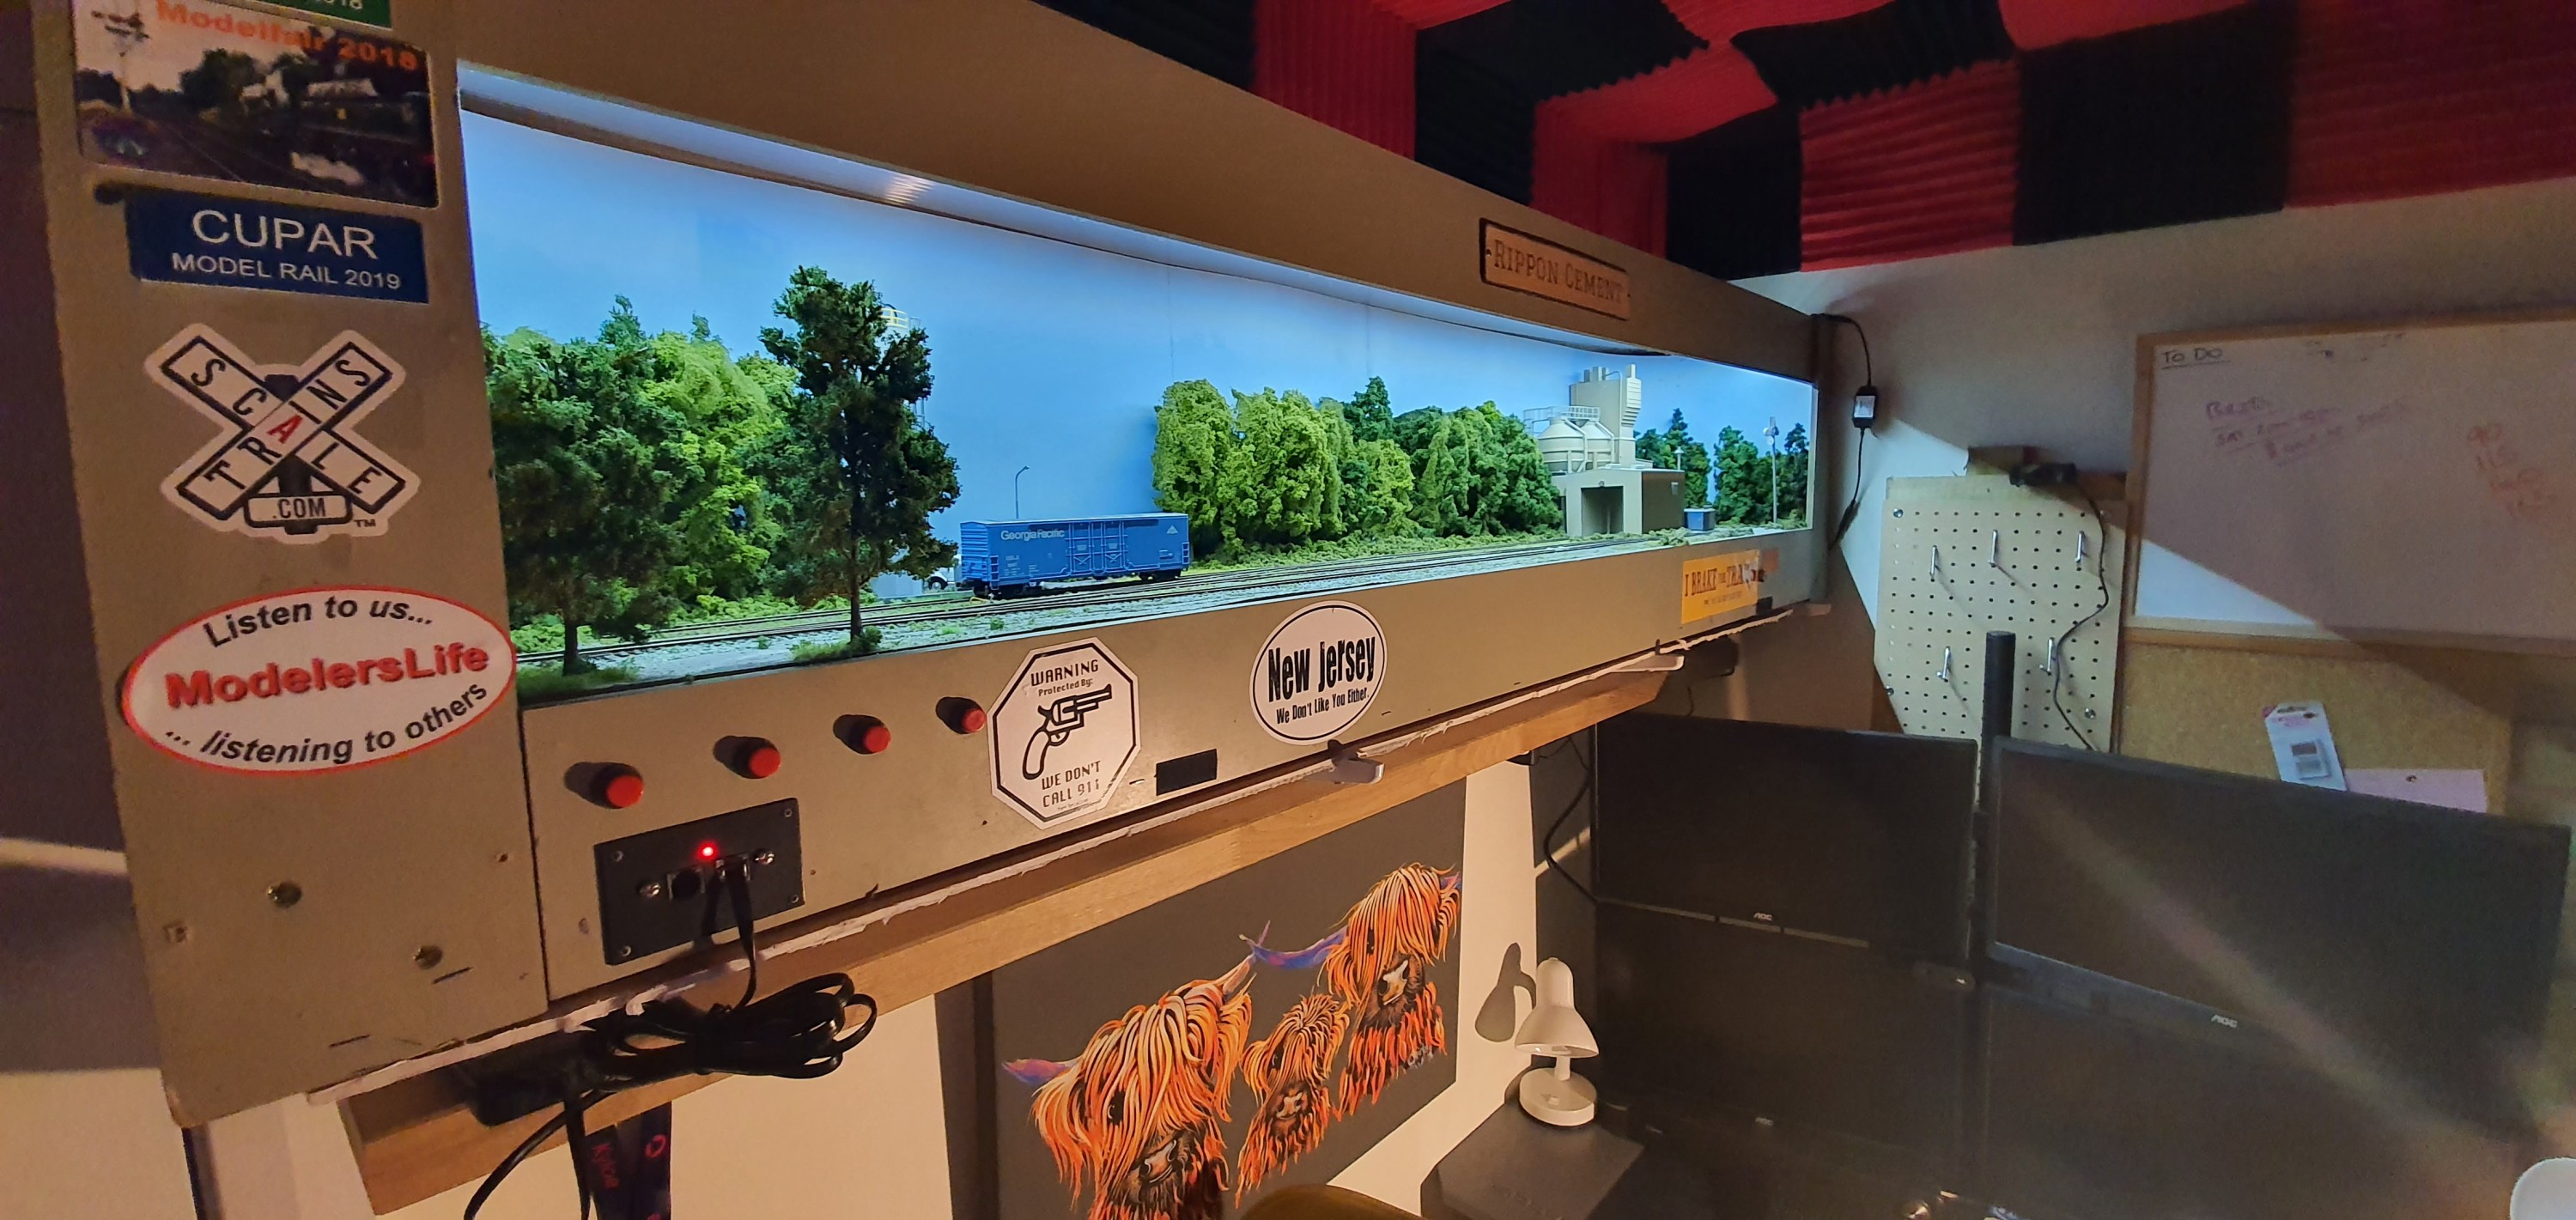
Ripon Cement has to have a staging track extending off scene in order for the operator to run around the layout and access the spur to the cement plant itself with more than just the locomotive.

There is space at the left hand end of the layout for a staging track, however we have to cross the doorway. The door into the room opens inwards and so a staging track across the doorway is needed but the door will have to be open. The next challenge is that I can’t trash the door!!!
Ok so lets get the door open and measure, well we have 82cm between the end of the layout and the door. You’d think I had planned this eh! as thats a locomotive and about 3 cars which is the perfect max length of train for the two industries on this layout. There are 3 car spots and 2 off spots on the layout so if at capacity and you bring that upto 8 cars plus a locomotive things can get very busy really quickly. Of course every train doesn’t serve every industry so most trains are going to be smaller than this.
Layout Designer Iain Rice, designed a over door staging track for a vertical switching layout on Ikea bookshelves. Just like the home office layout which will at some point be re-united with its other cousins to form the industrial branchline I had at my previous home. however, for now we only need to concern ourselves with a single track that can be removed quickly and easily with minimal damage to the layout or door.
Right ok! first we need at least a plank to hold the track. This needs to be strong but lightweight, remember we don’t want to construct a monster support and strain the layout or door. You always have some stuff hanging around from other projects right, well I had some Balsa wood. Three lengths of 25mmx6mmx914mm and some 100mmx6mmx914 so that would make a really nice solid support for the length of flex. It wouldn’t be too deep either so when in place would just be a nod under to get out of the room.
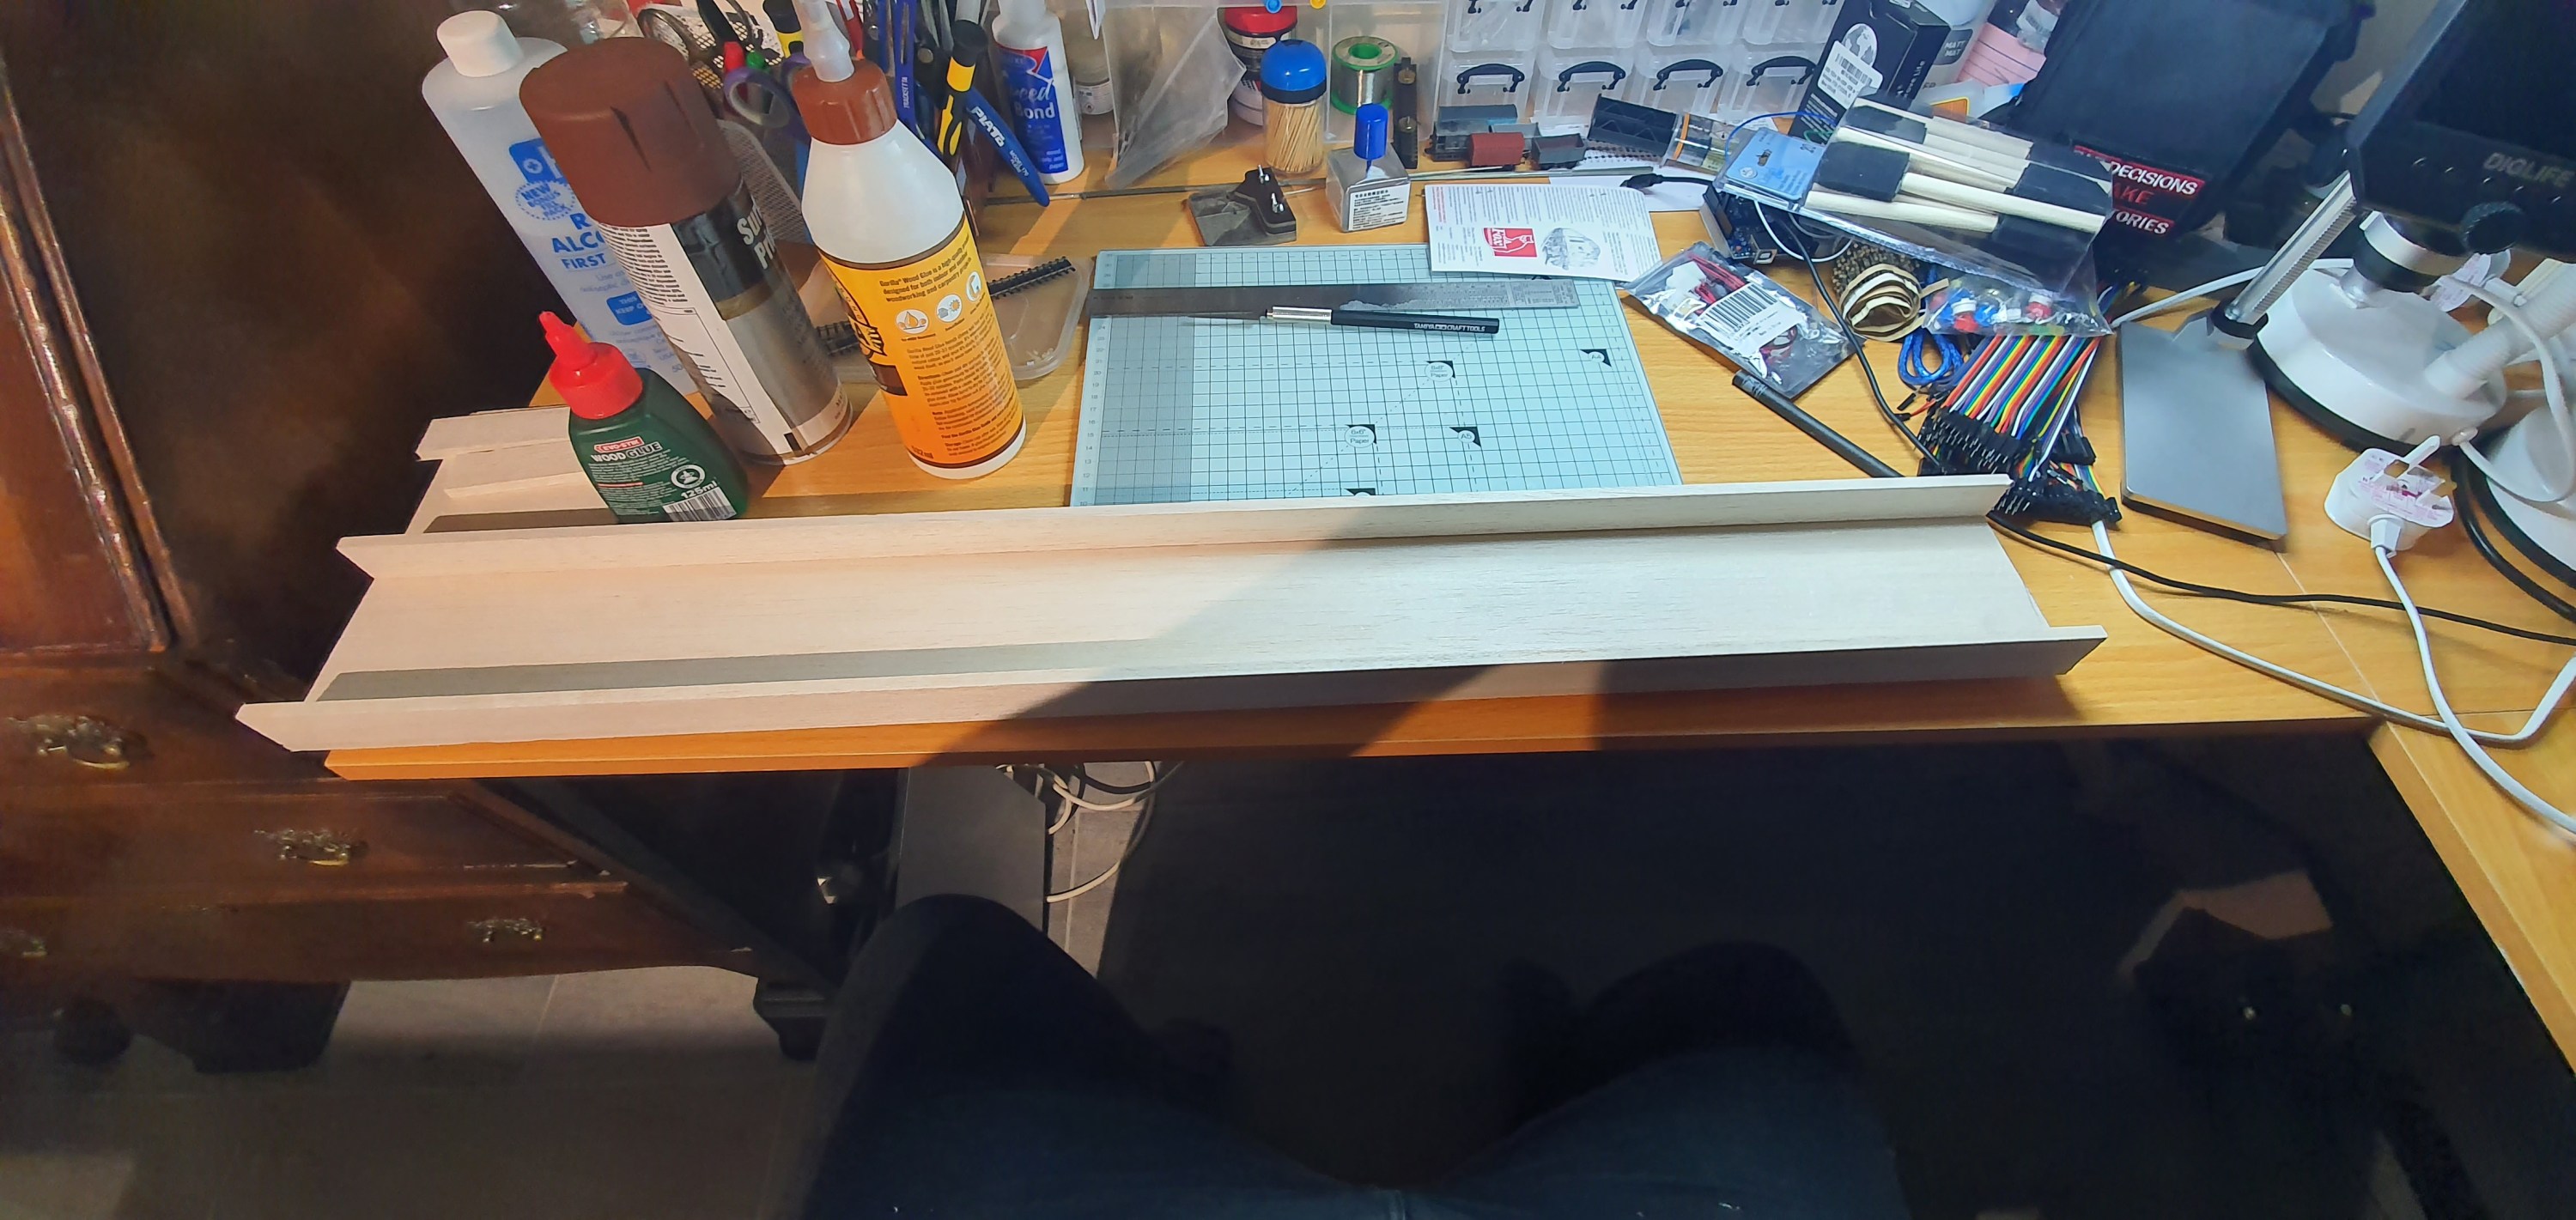
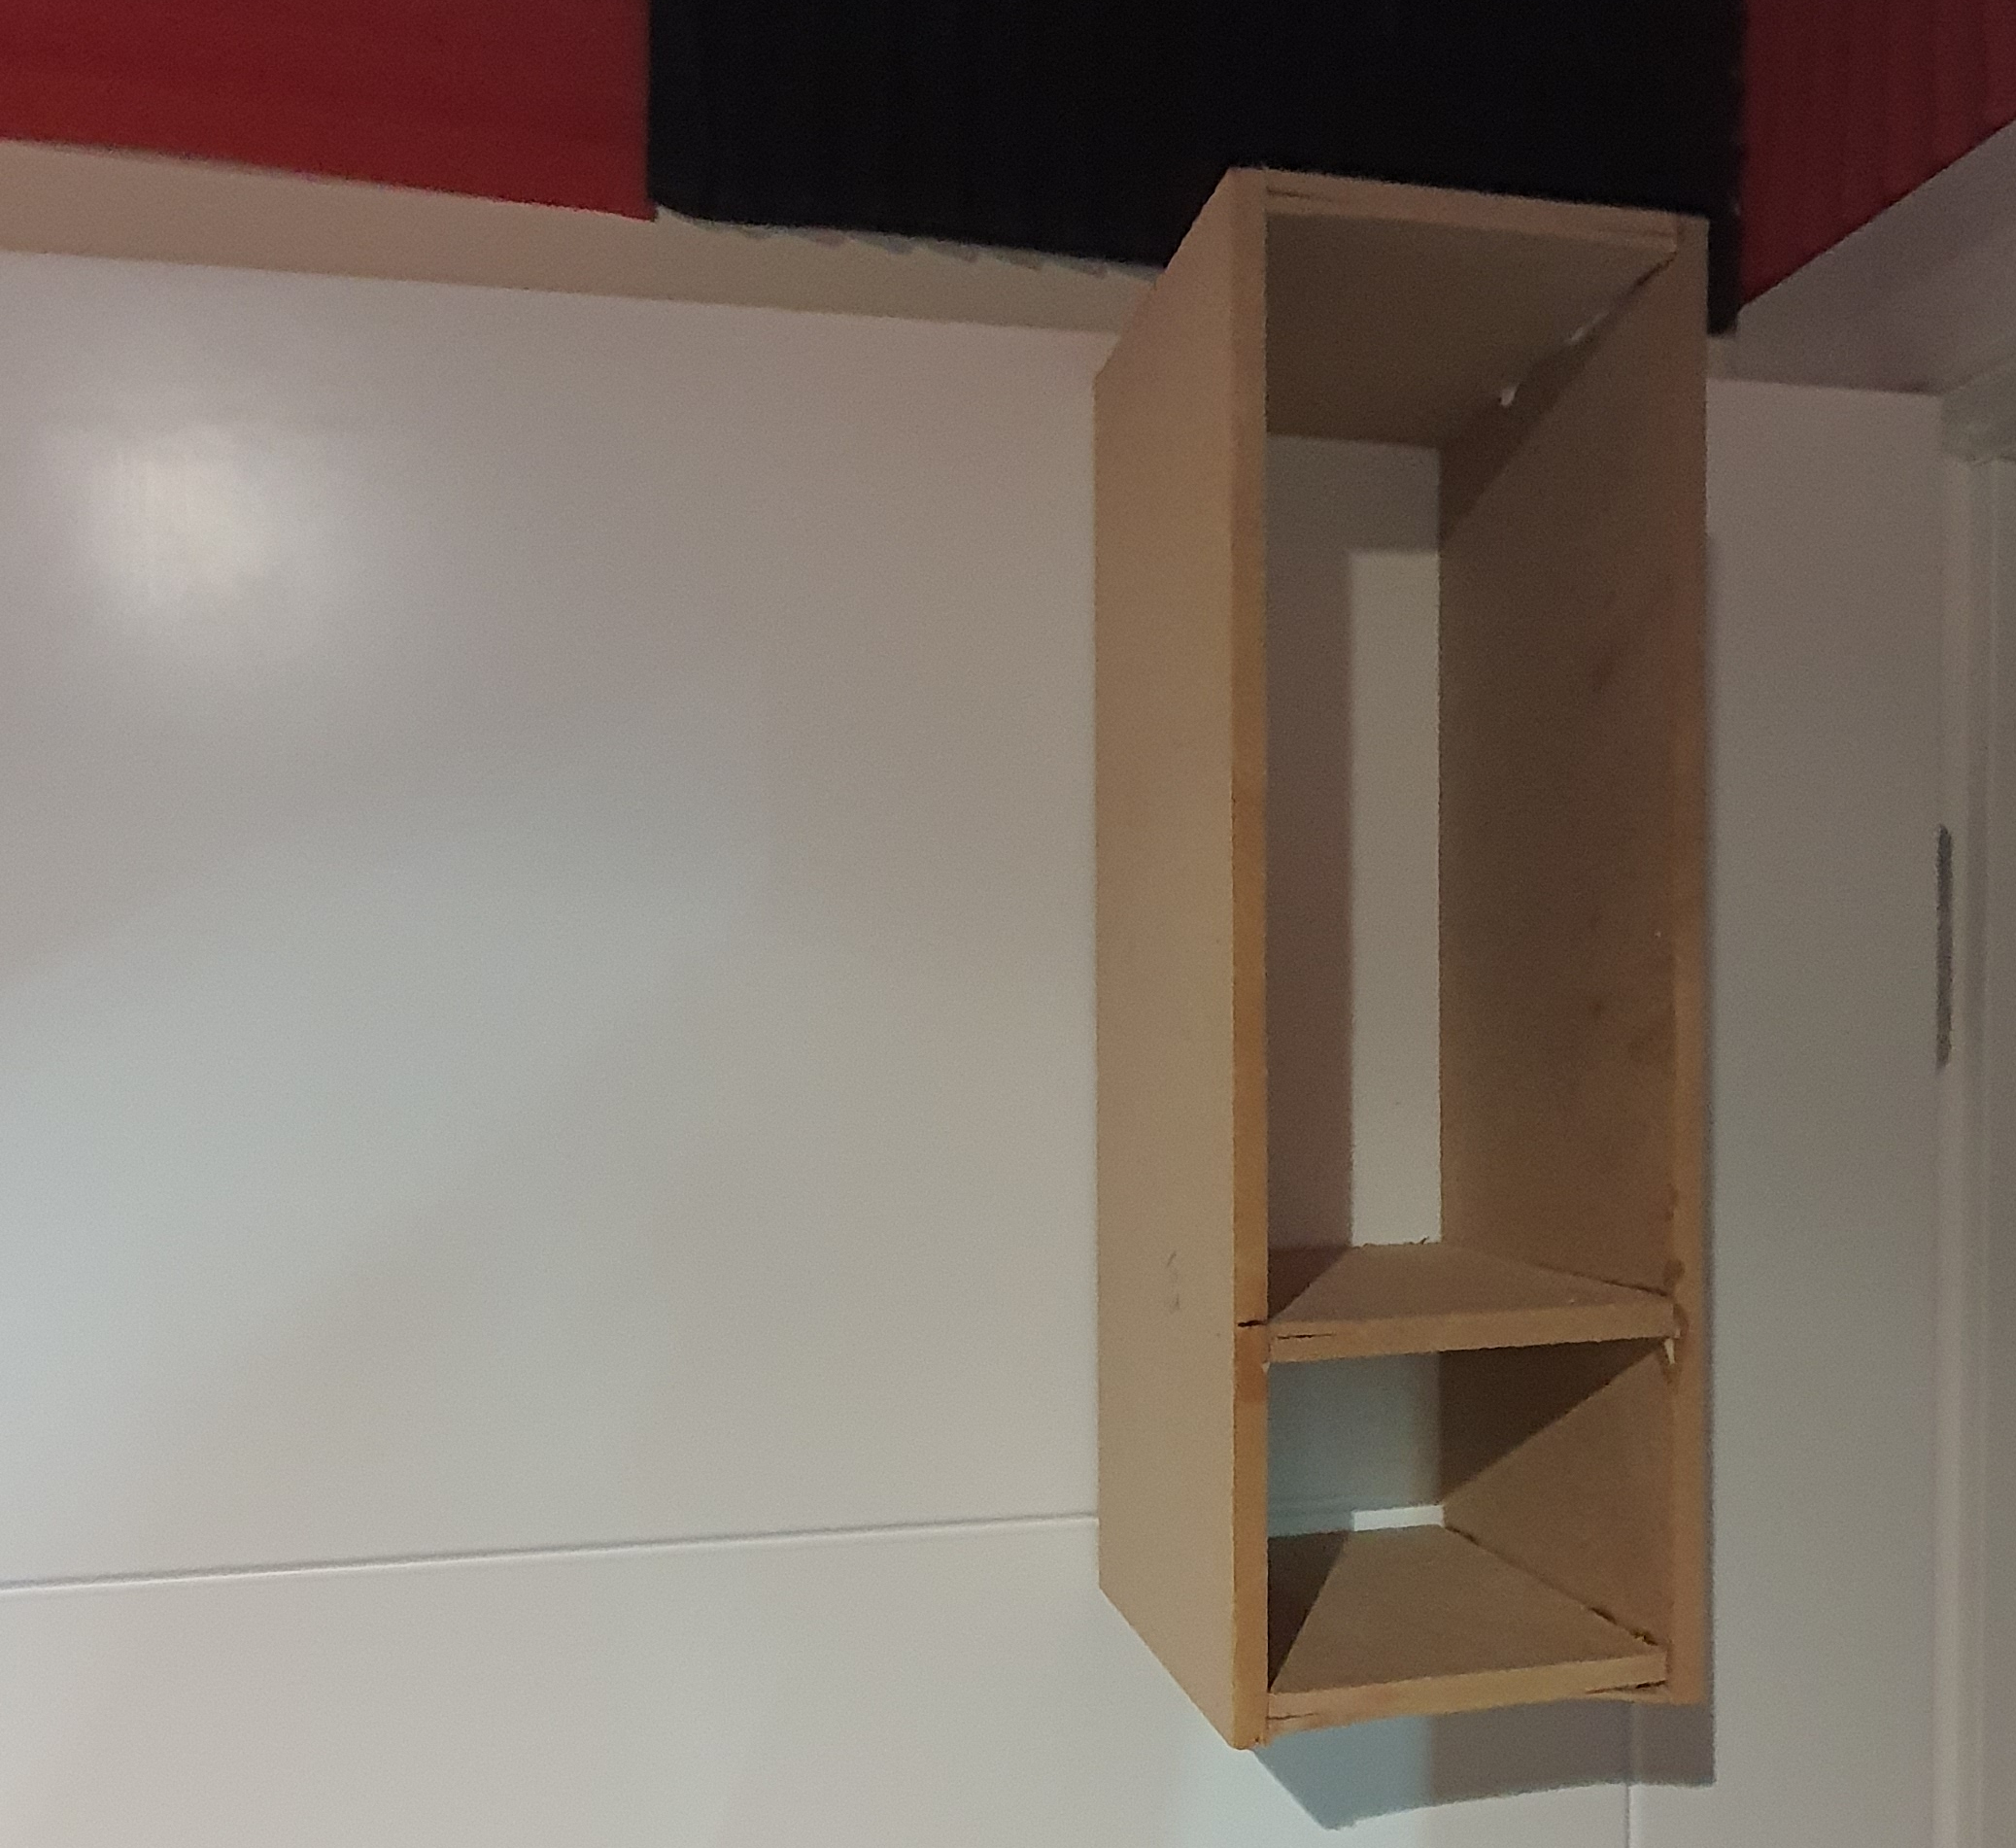
I cut two of the smaller strips and the wide strip down to 81cm in length. Using Deluxe Materials Speed Bond I just glued these together and added cross pieces at each end and in the centre giving 4 in total. I squared up the little box and made sure it stayed in place with small clamps. Flipped it over and added some weight while it glued. Its called speed bond for a reason after only an hour this was solid enough for paint.

Ah thats the easy part done then. Now for the door support. Fortunatley when the baseboards arrived for the Waukesha Sub just before Christmas they came with a bit of packaging that held the screws and bolts for assemble of they modules. Whilst this was just scrap MDF nailed together to form a box with a centre divider, it was perfect for my plank to fit into. So it was quickly deconstructed it and the centre divider was adjusted to hold the plank at the perfect height when hung over the door. A wee bit of glue and 2 mins with the nail gun and we had a nice support with 100mm sides that would prevent anyone knocking the plank off its support and turning my loco & rolling stock back into kits.
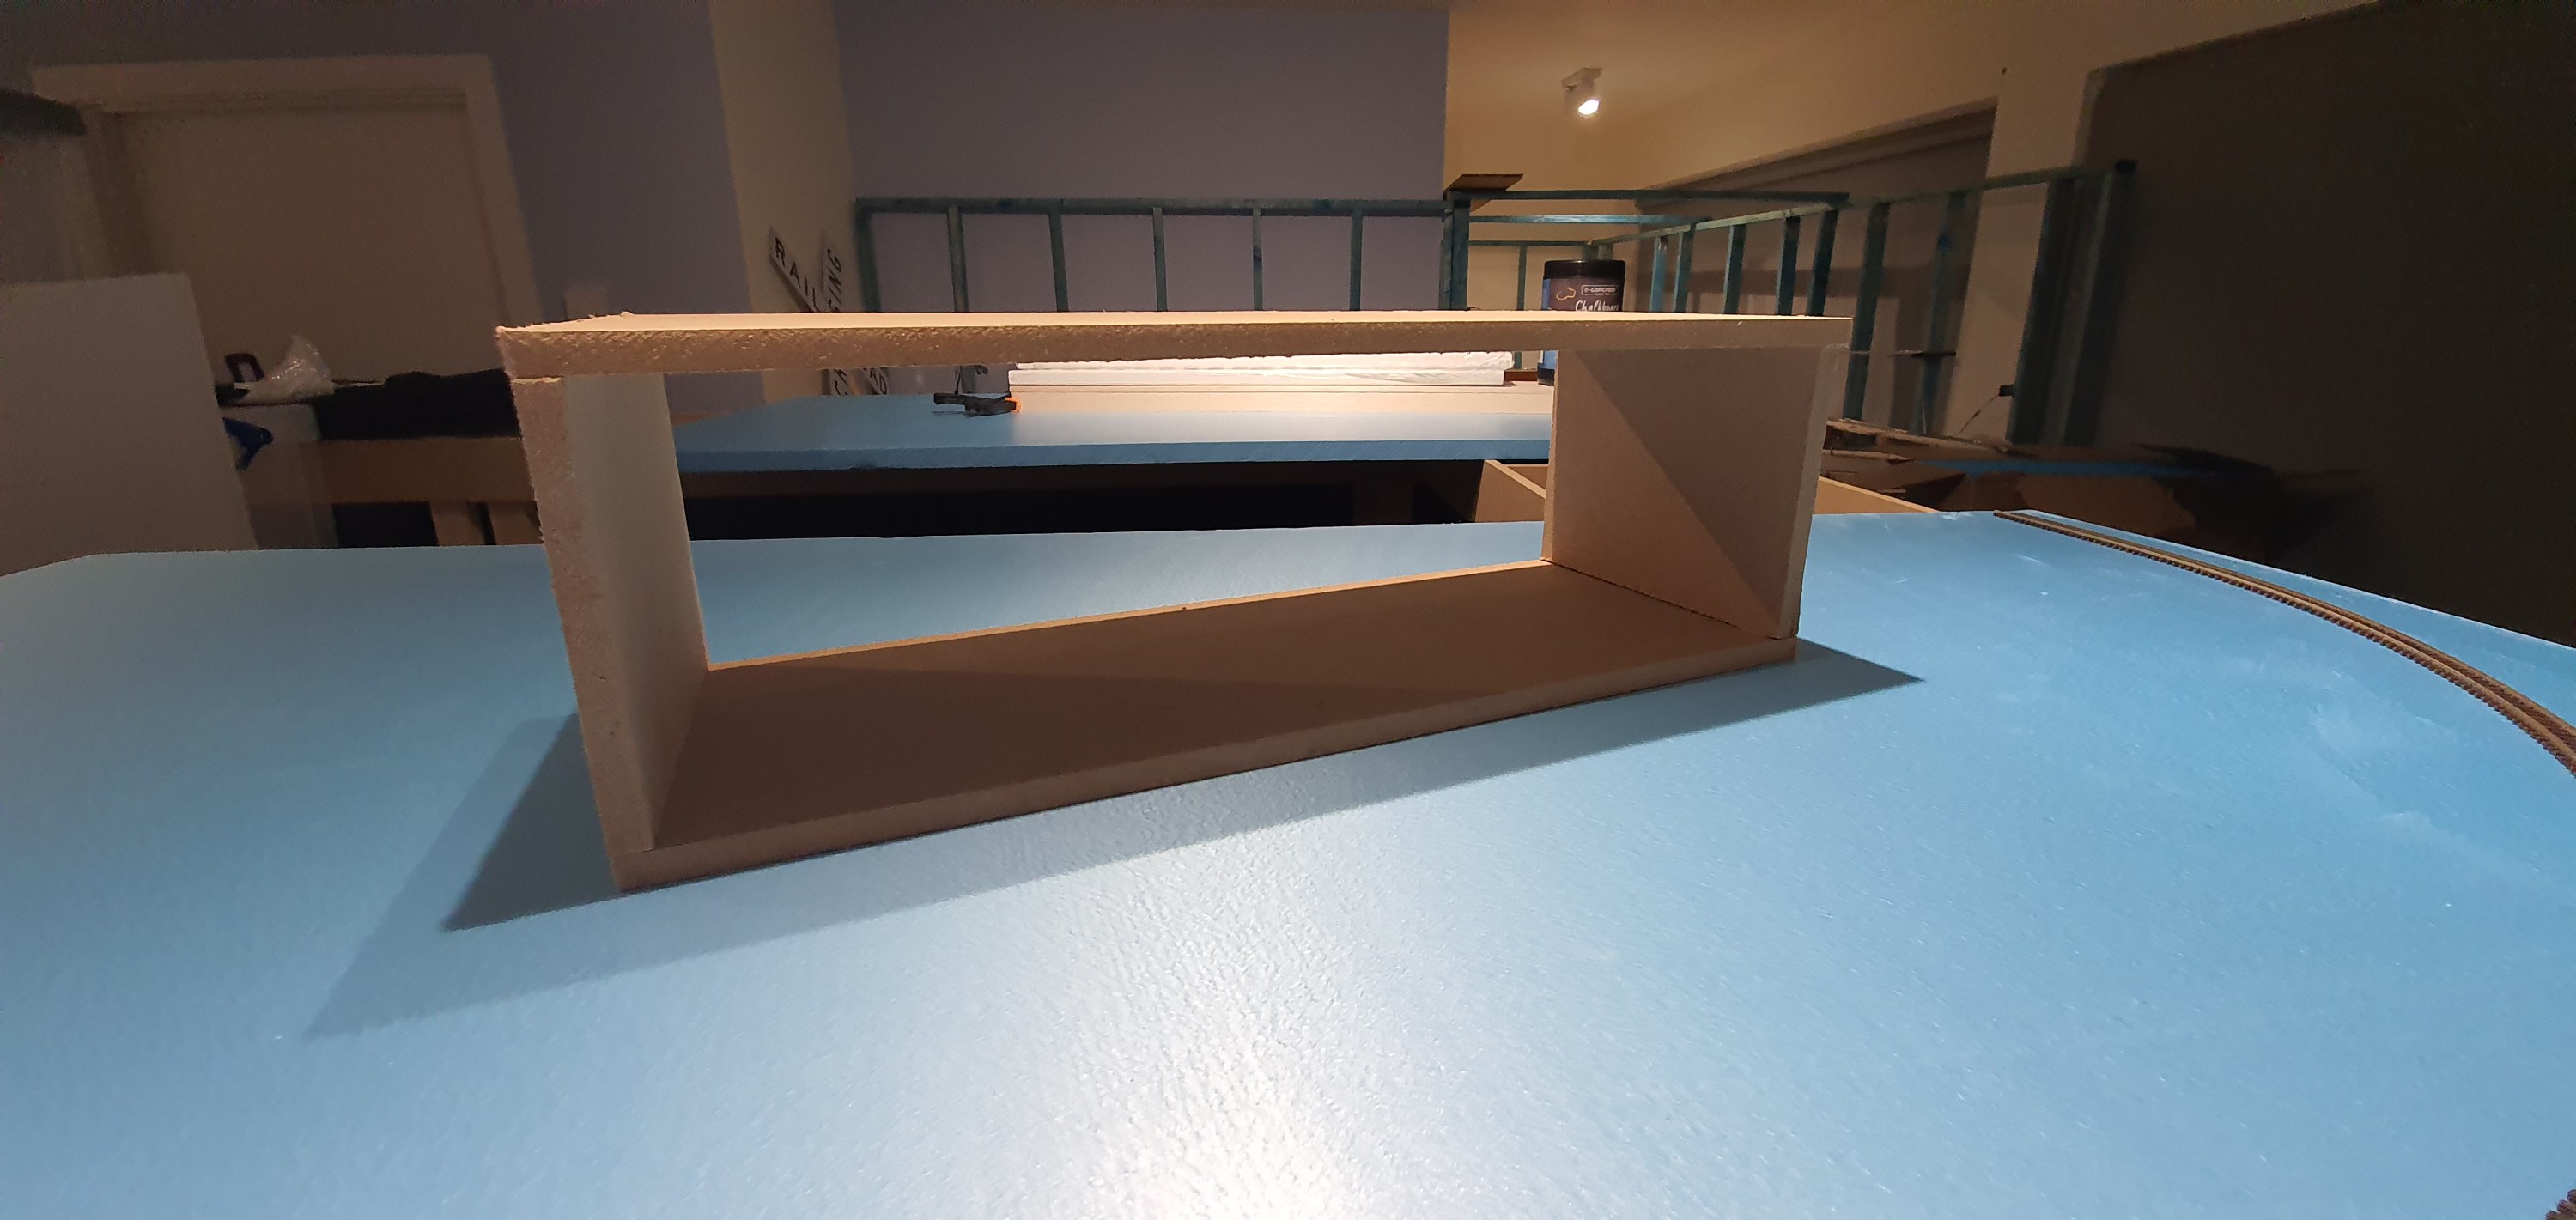
For the hook to hold it over the door I attached a piece of 2×1 to the top of the box and using some metal strips I secured another piece of 2×1 to the rear that would touch the door on the otherside. At this point glue and nails isn’t going to cut it so this whole section was attached to the box with 3.5x30mm screws and some glue, every little helps right?
Perfect now lets get this in place and see if it works.
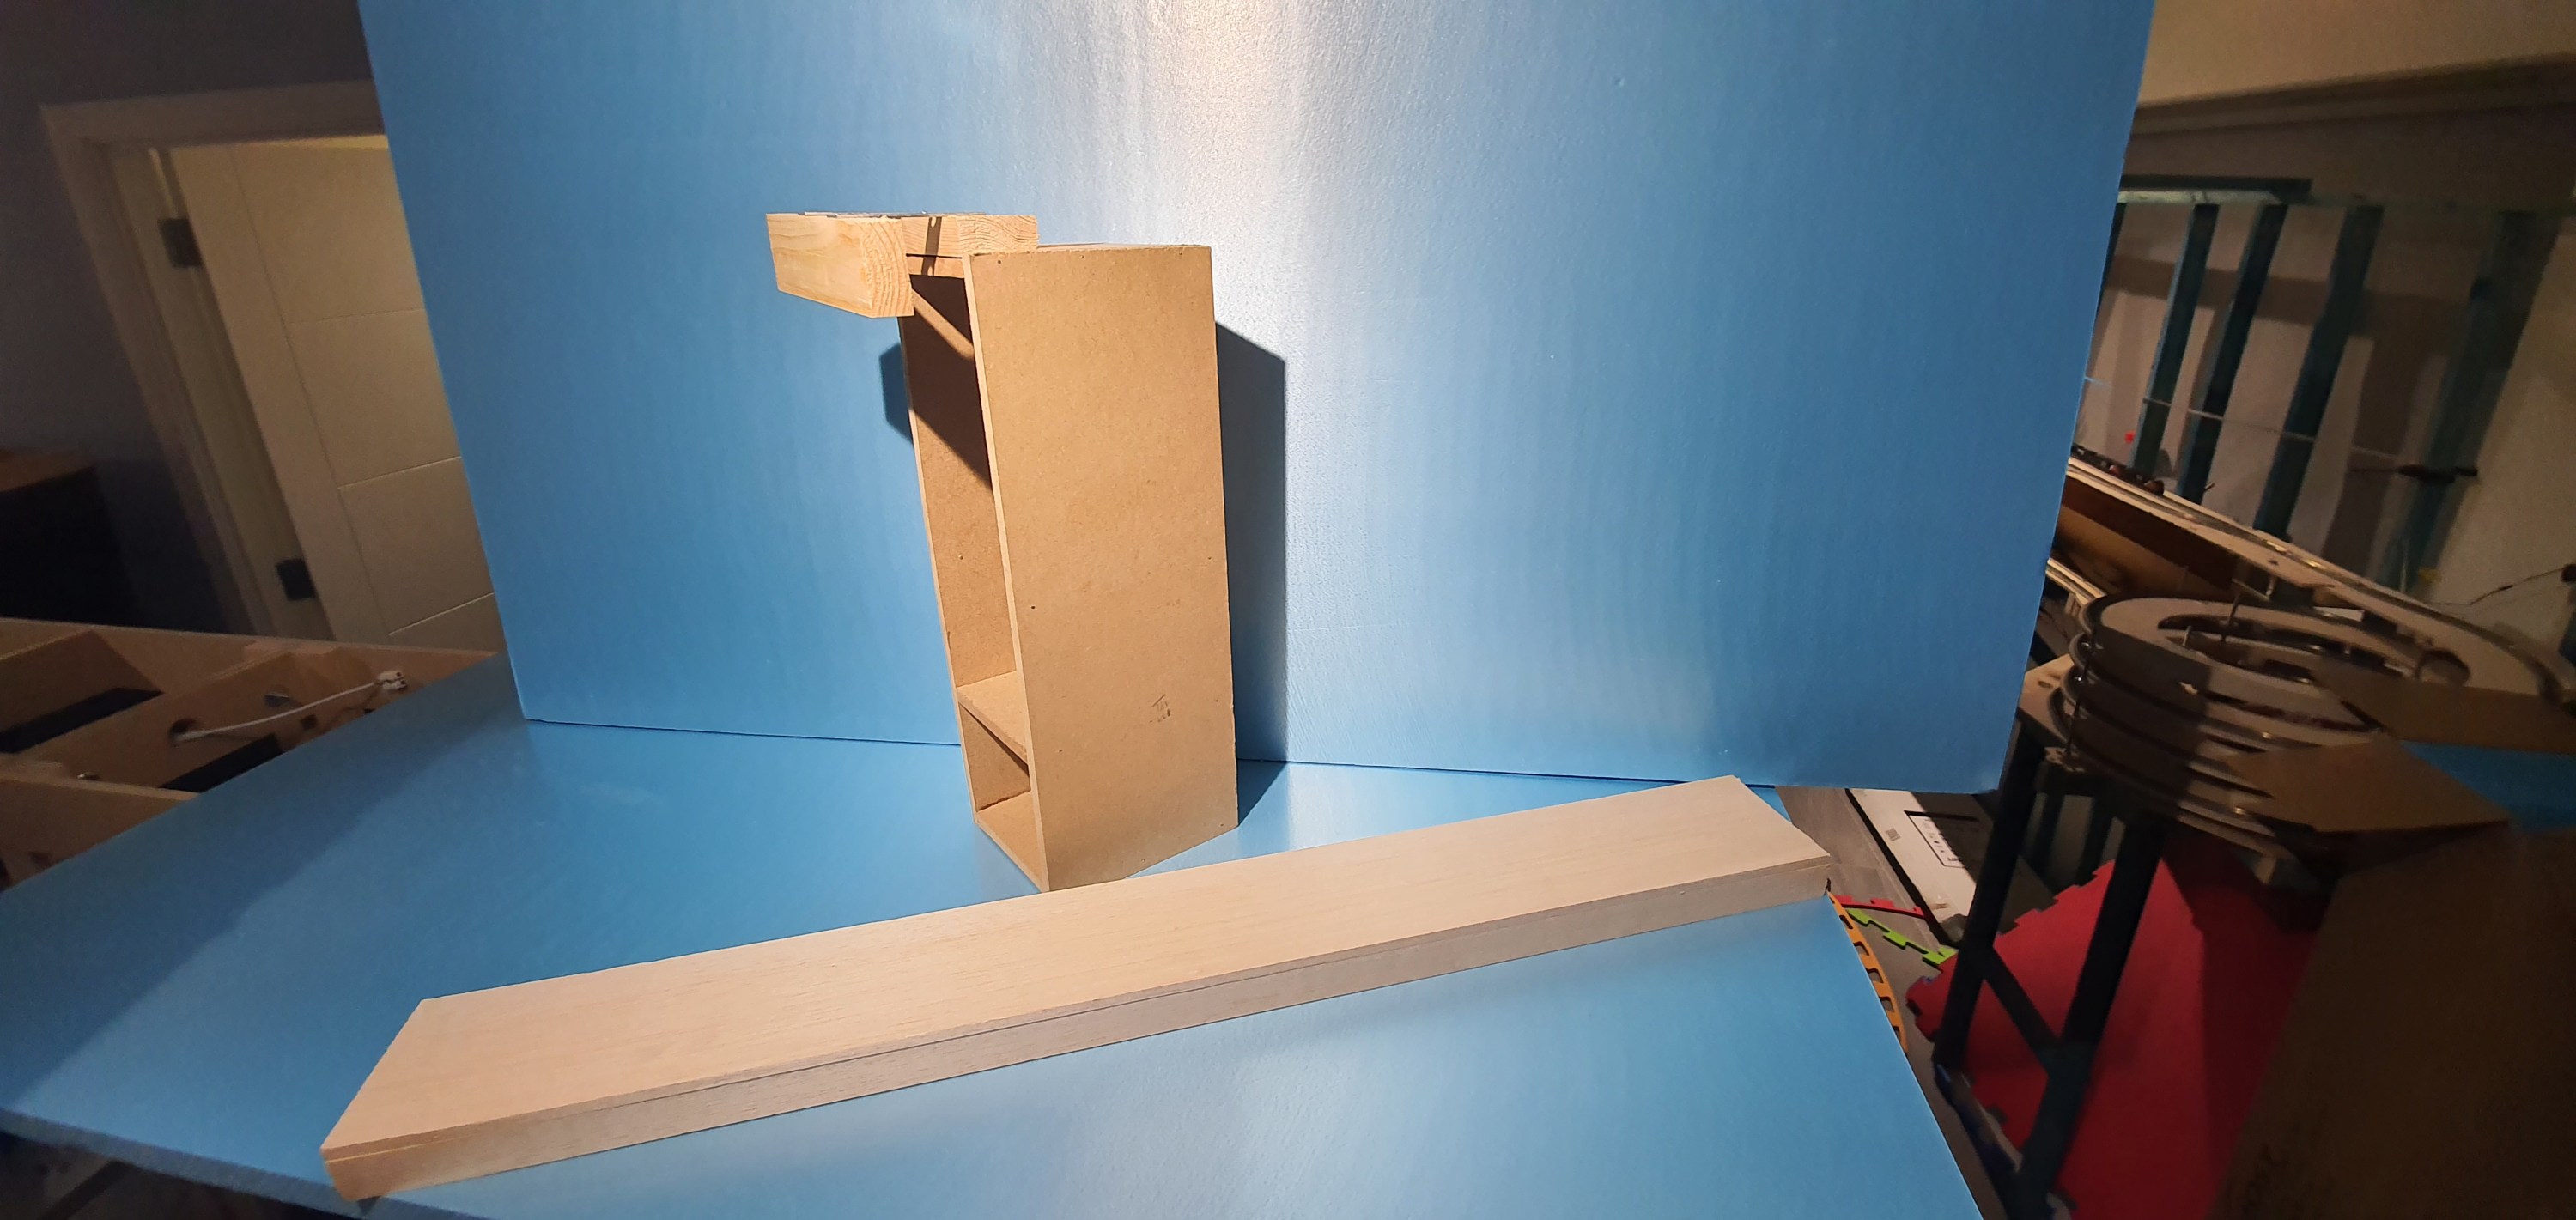
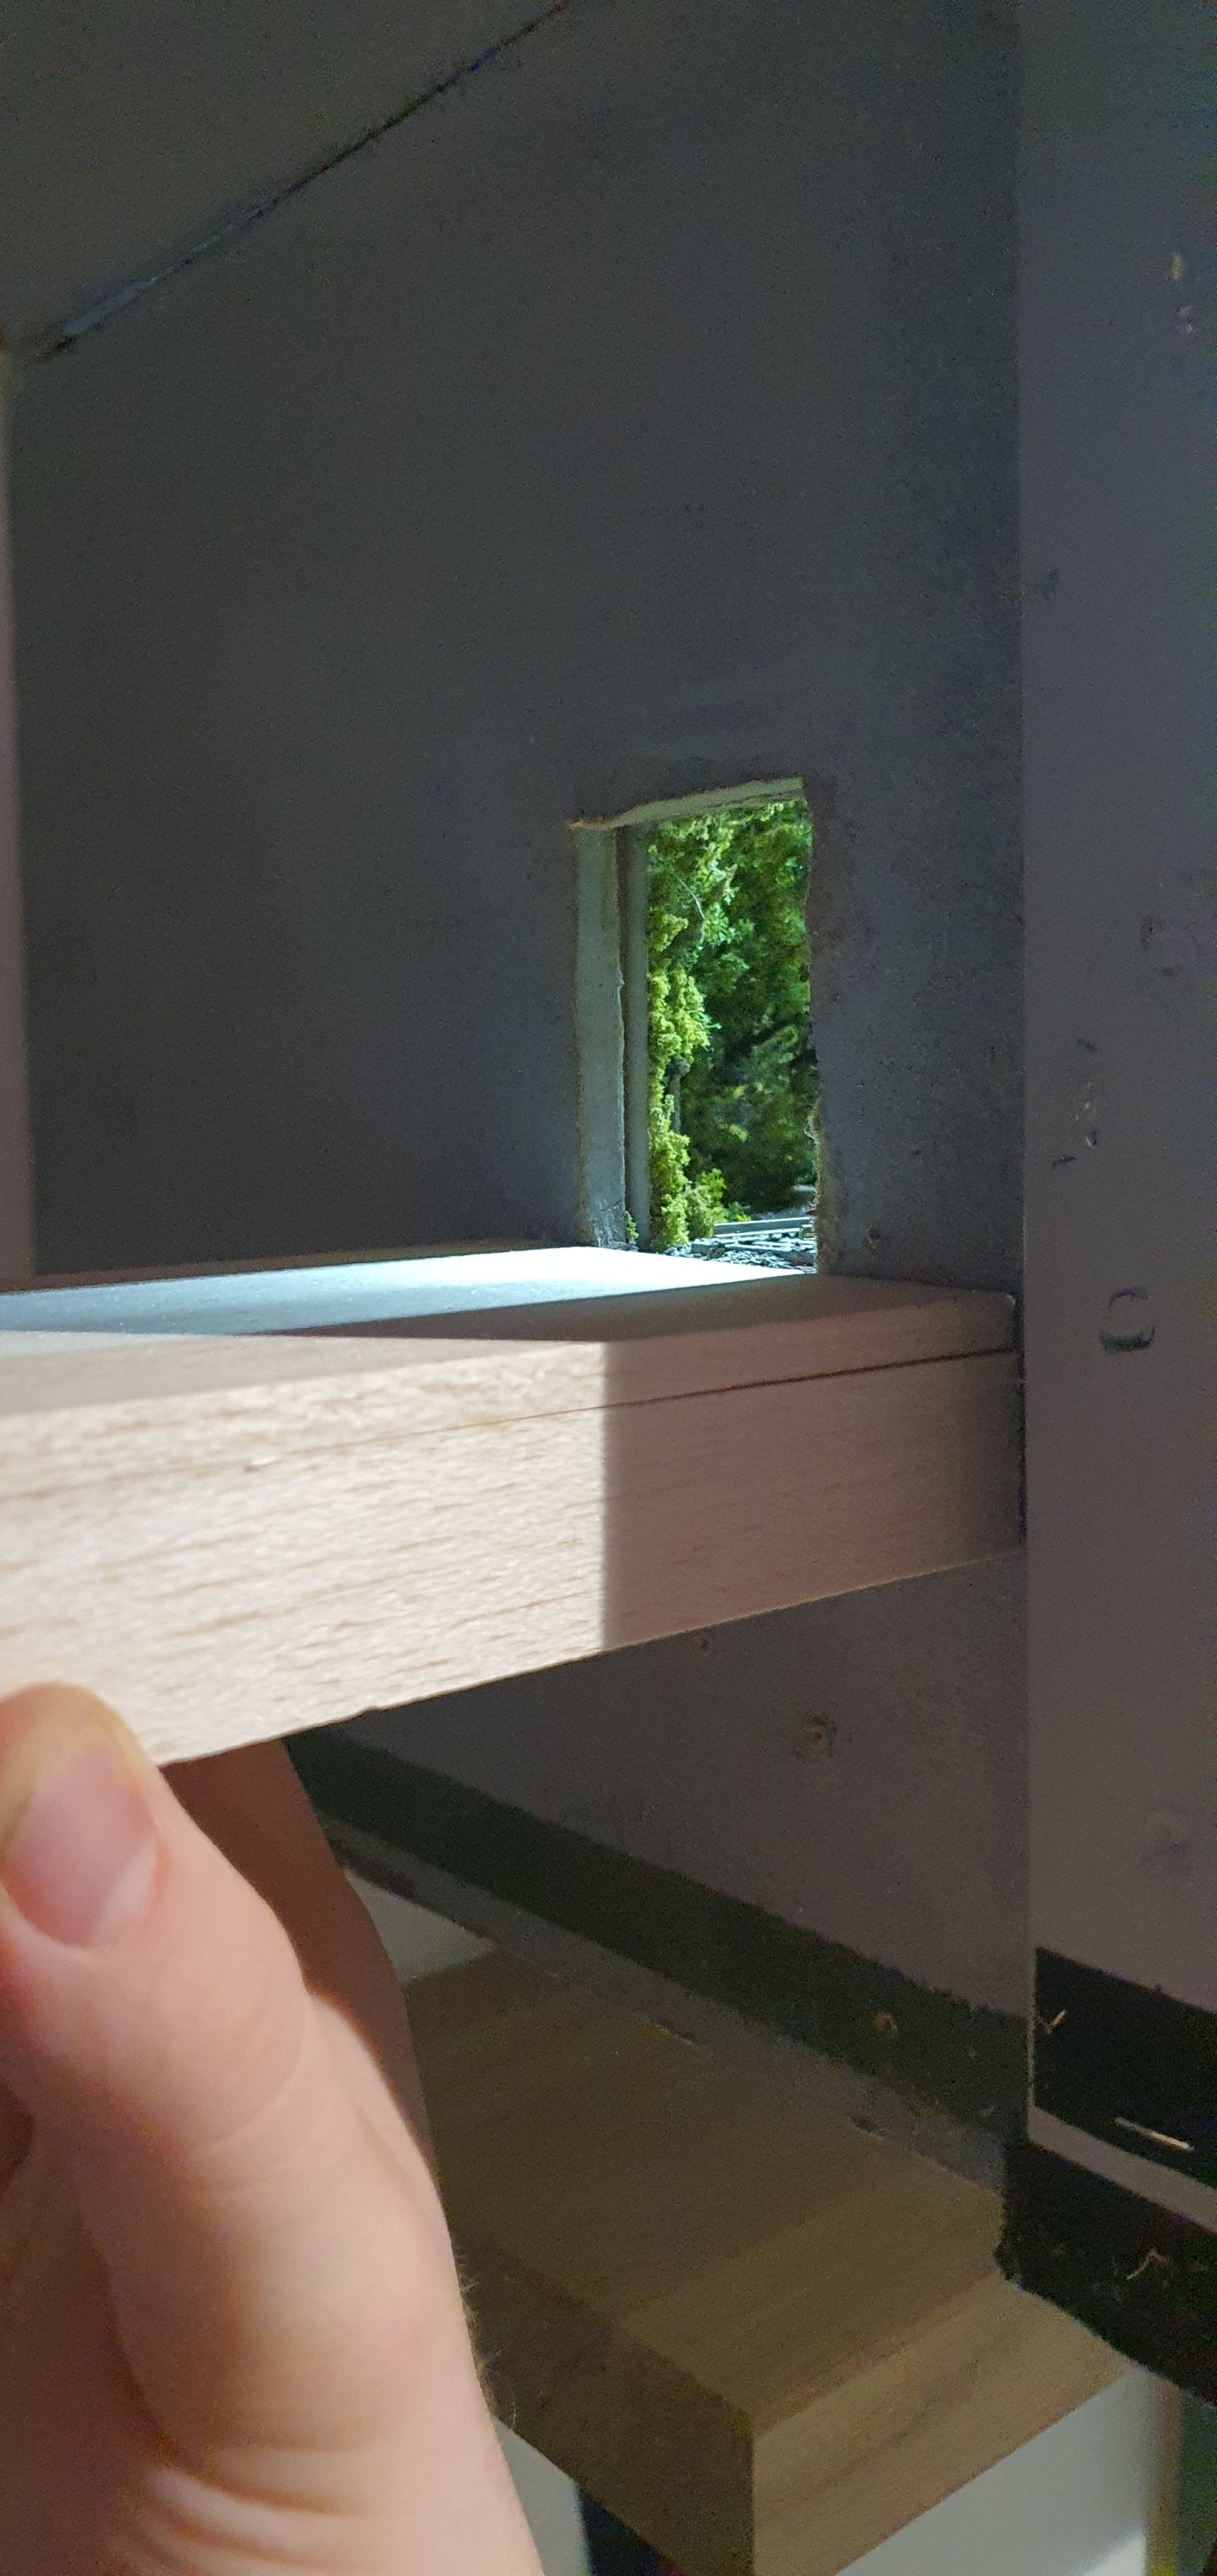
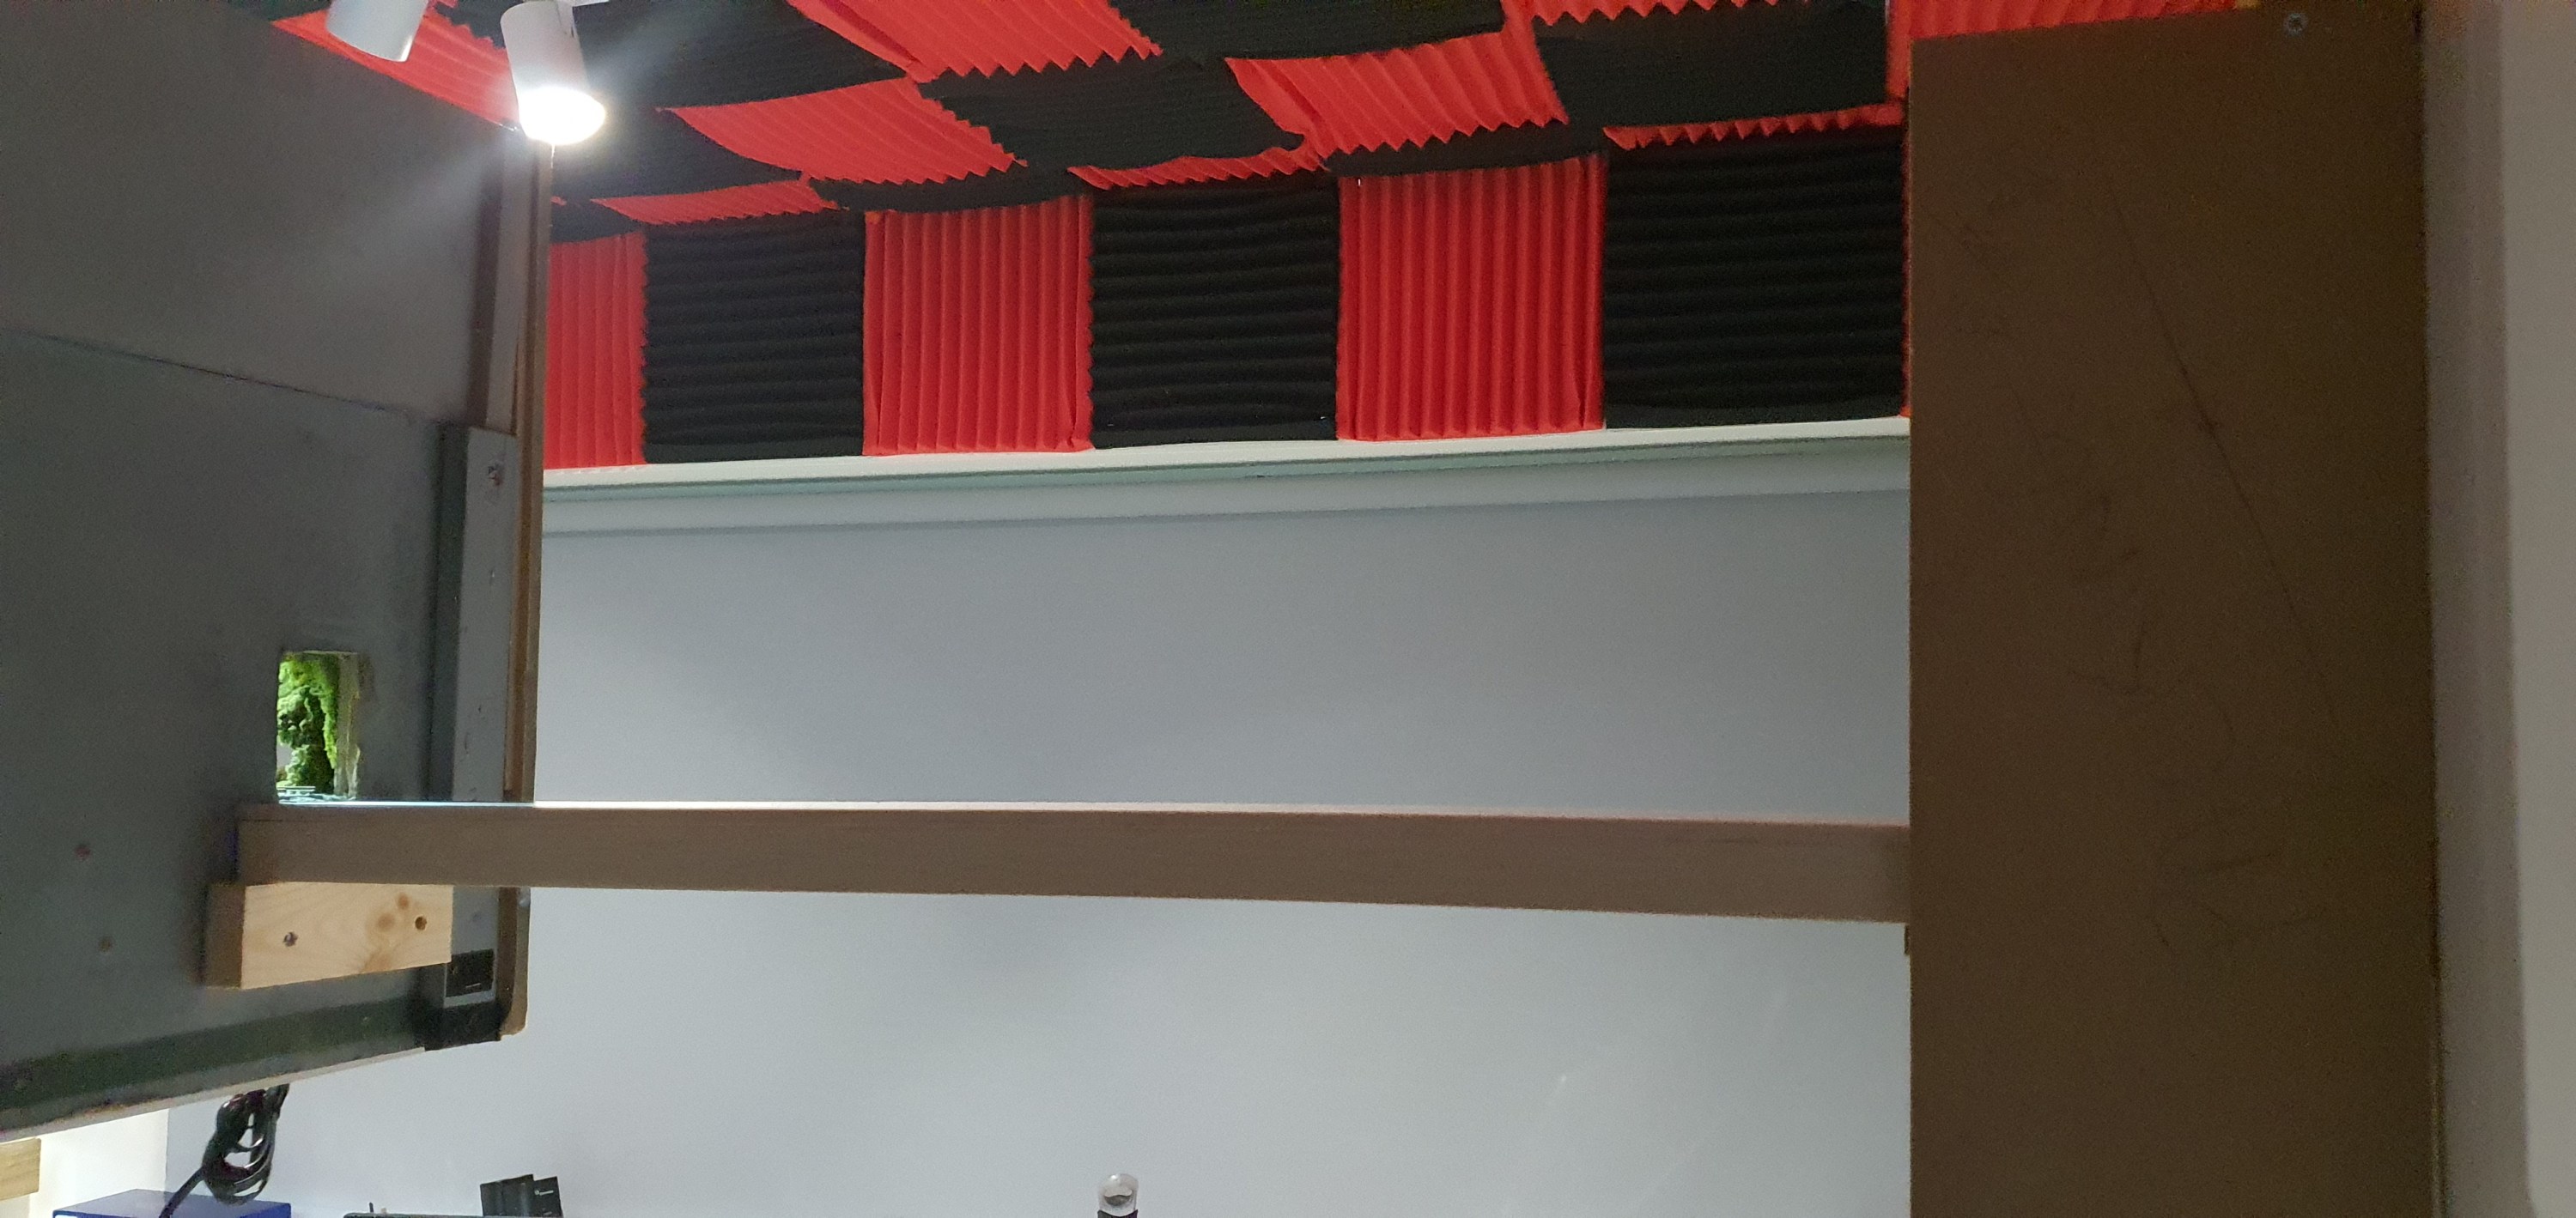
With the plank in place I could measure where I would need to add the 2×1 support on the layout end in order to hold the other end of the plank when in place.
Looking great eh! I added a couple of screws to the top of the 2×1 to hold the plank in alignement and prevent it from being pushed off if hit. To remove it you have to lift vertical so care will be needed when you are nodding under the layout.
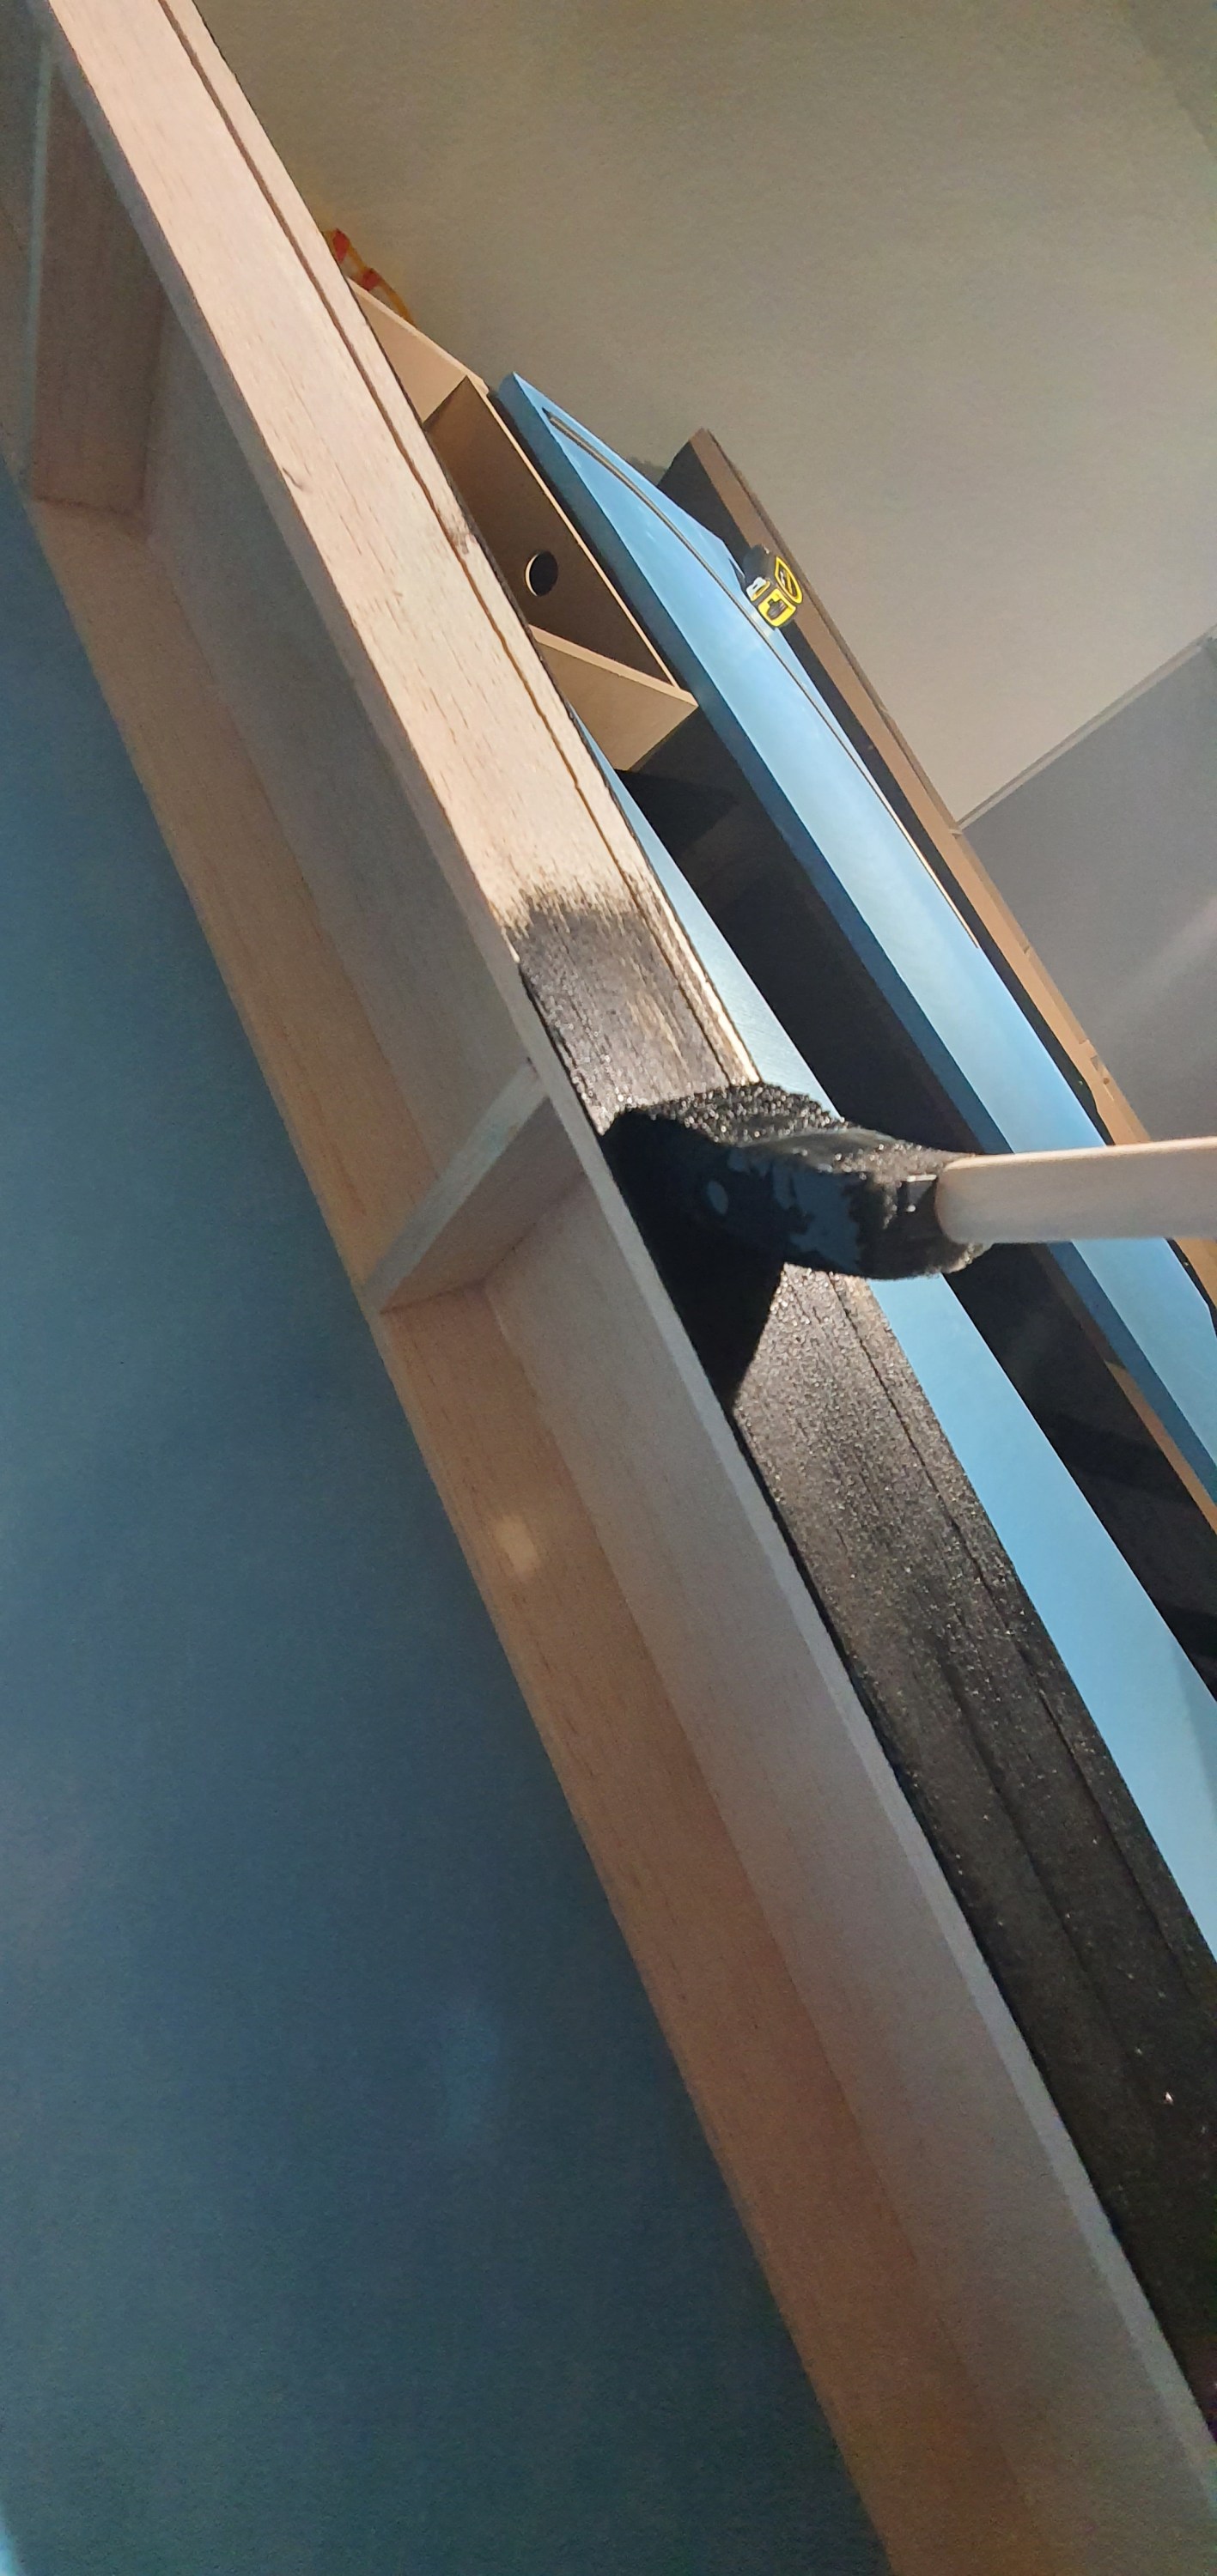
All that was left to do in the part 1 was paint. For this i decided to use Chalk board paint. It is a one coat and done deal, so super quick but is really thick when it applies. It dries quickly but I left if overnight to dry, in our next installment of the switching plank we’ll be adding the track and some wires with removeable connectors so we can start doing some operations.
Till next time 🙂

Pingback: Home Office Layout: Removeable staging stick Part 2 | Gordy's | Model Railroads